
Ọrọ Iṣaaju
The shift3 XL-90 Entertainment Projector is designed to display images up to 90 inches on walls or ceilings, transforming any space into an entertainment hub. This manual provides comprehensive instructions for the safe and efficient use of your projector, covering setup, operation, maintenance, and troubleshooting.
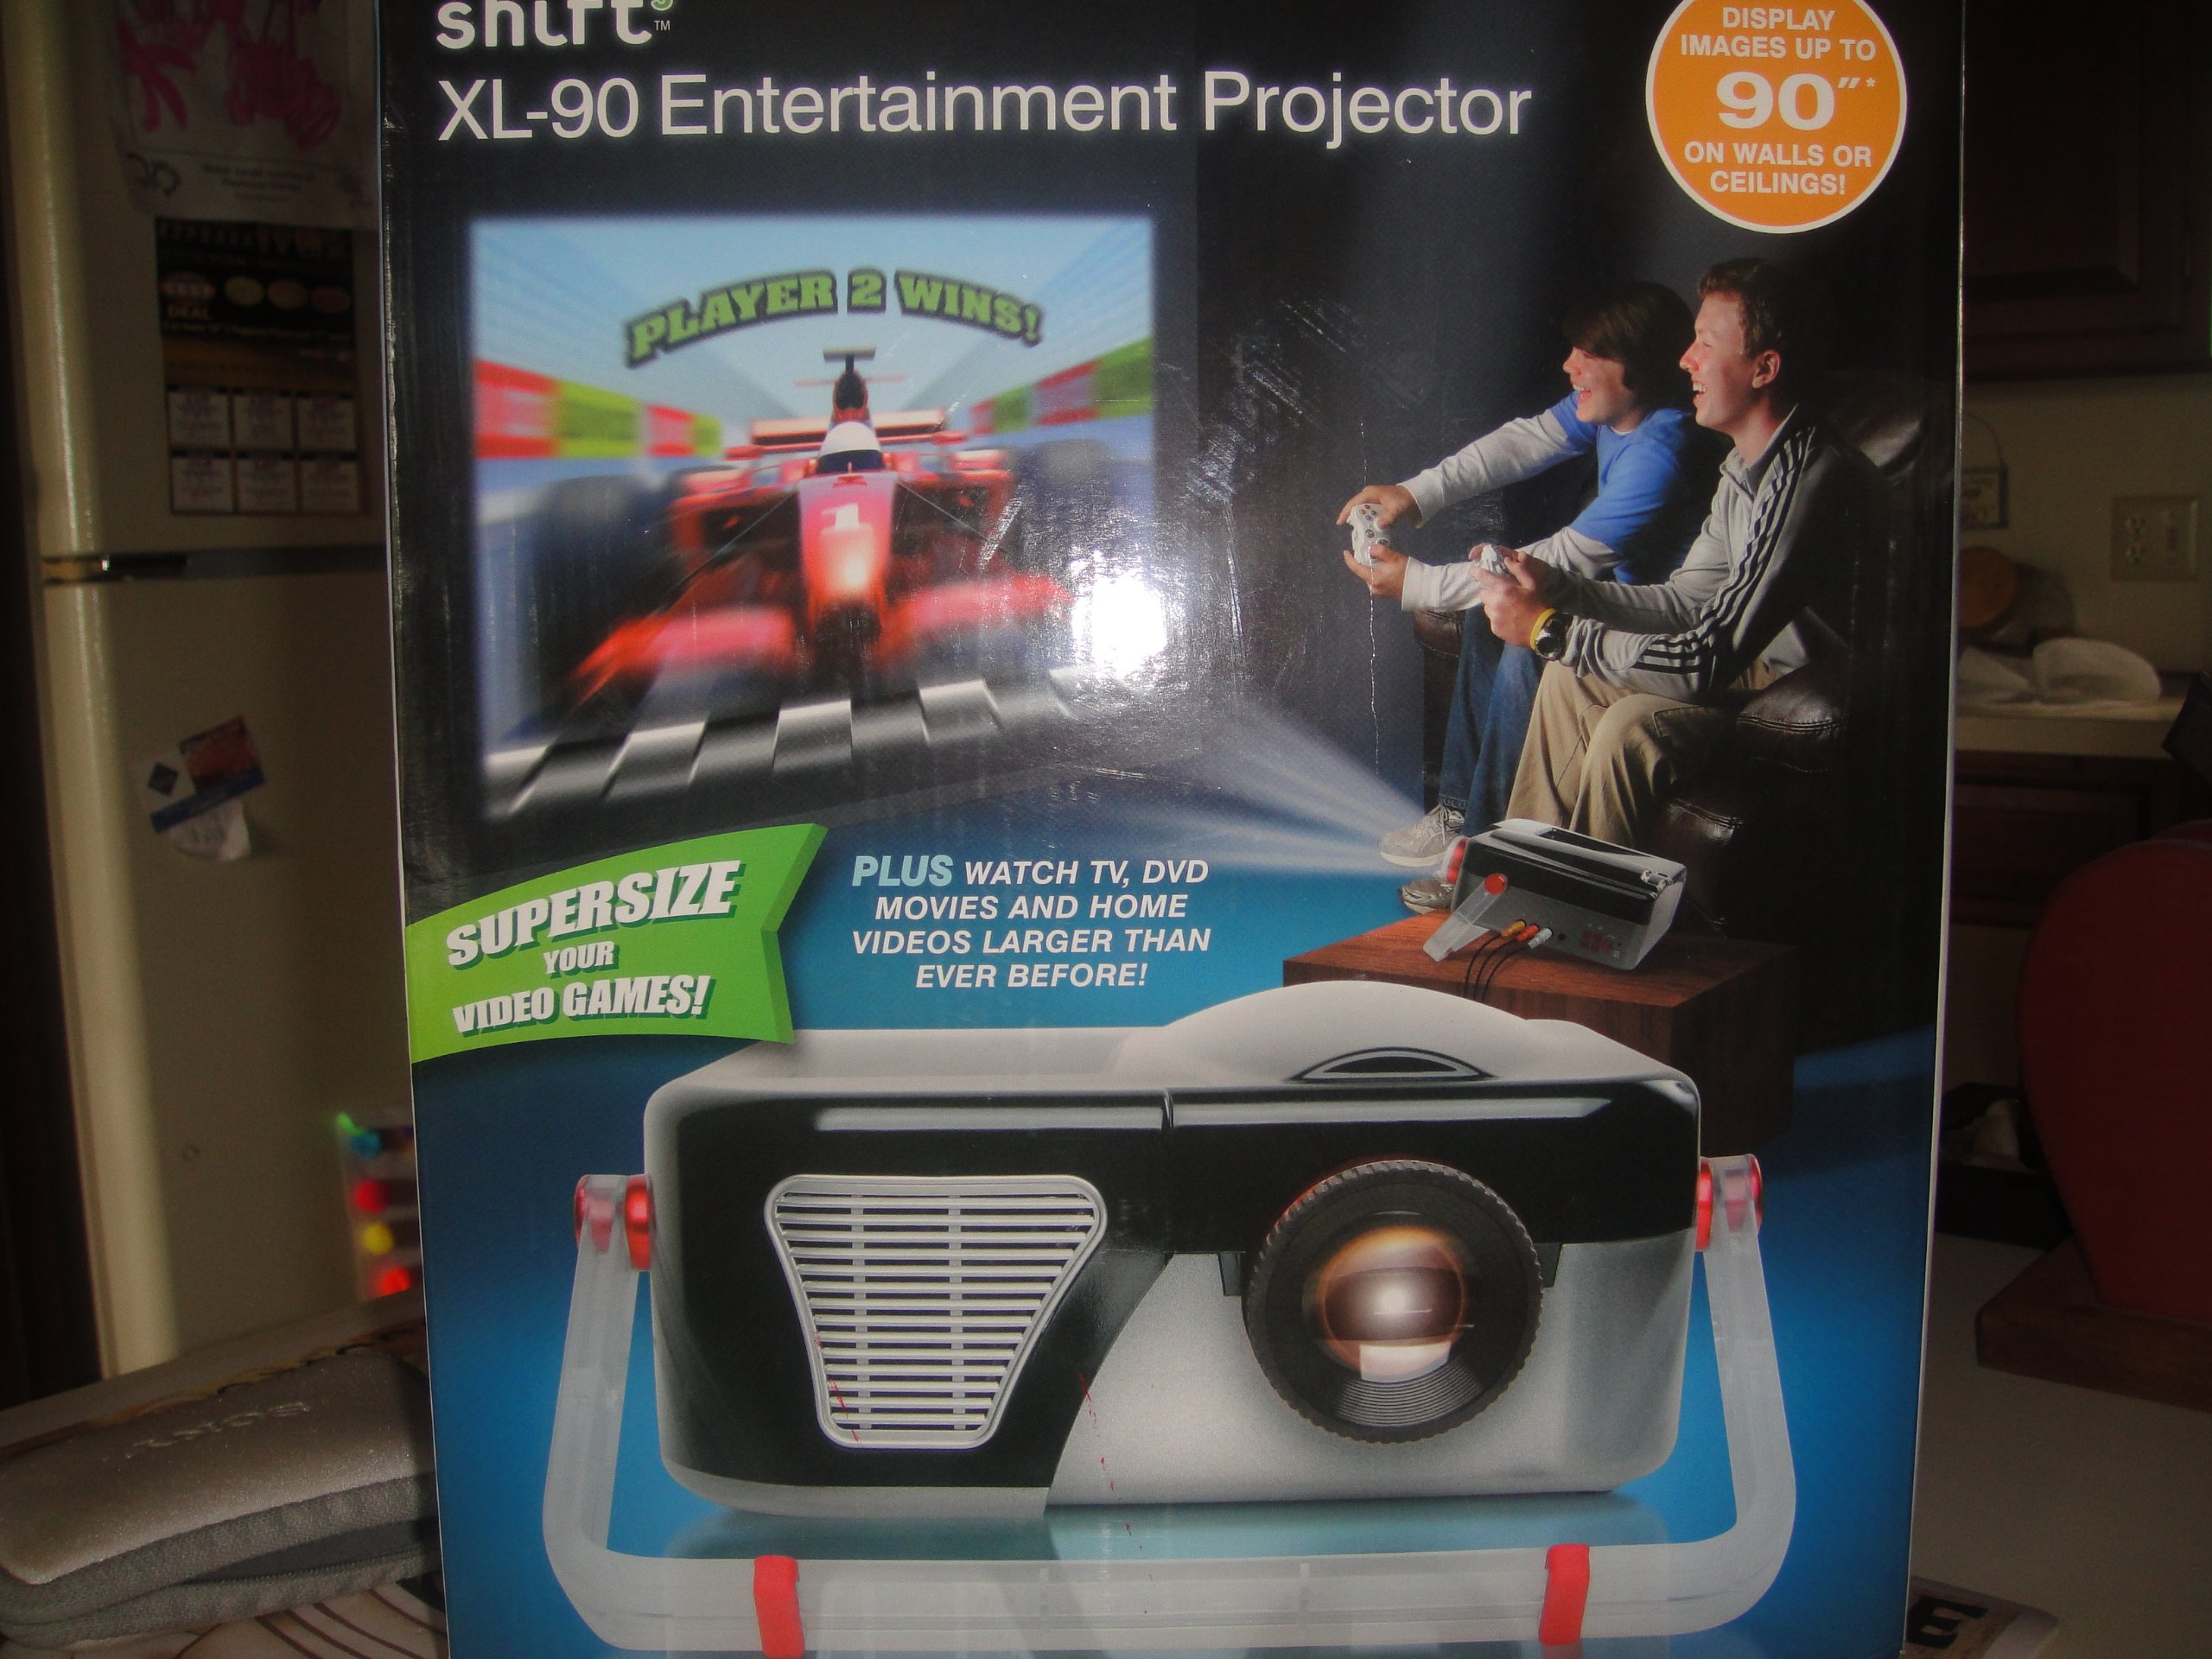
Nọmba 1: The shift3 XL-90 Entertainment Projector. This image displays the projector's main body, highlighting its compact design and primary lens.
Ṣeto
1. Unpacking
Ni ifarabalẹ yọ gbogbo awọn paati kuro ninu apoti. Rii daju pe awọn nkan wọnyi wa:
- shift3 XL-90 Projector
- Adapter agbara
- Iṣakoso latọna jijin (ti o ba wa)
- Afowoyi Olumulo (iwe-ipamọ yii)
2. Ifiweranṣẹ
The projector can be placed on a flat surface, wall-mounted, or ceiling-mounted. Ensure the projector is positioned at an appropriate distance from the projection surface to achieve the desired screen size (up to 90 inches).
- Ibi tabili: Gbe awọn pirojekito lori kan idurosinsin, ipele dada.
- Odi Odi: Use a compatible wall mount kit (sold separately) and follow its installation instructions.
- Oke Oke: Use a compatible ceiling mount kit (sold separately) and follow its installation instructions.
3. Asopọ agbara
- So ohun ti nmu badọgba agbara si awọn pirojekito ká agbara input ibudo.
- Pulọọgi ohun ti nmu badọgba agbara sinu iṣan itanna boṣewa.
- The power indicator light should illuminate.
4. Nsopọ Awọn orisun Input
Connect your desired video source (e.g., laptop, streaming device) to the projector using appropriate cables (HDMI, VGA, etc., depending on available ports).
As an internet-ready device, the projector may also support wireless connections or built-in streaming capabilities. Refer to the on-screen menu for network setup.
Awọn ilana Iṣiṣẹ
1. Agbara lori / Paa
- Lati Fi agbara: Press the Power button on the projector or the remote control. The projector will initiate its startup sequence.
- Lati Paarẹ: Press the Power button again. A confirmation message may appear. Confirm to shut down the projector. Allow the projector to cool down before unplugging.
2. Aṣayan Orisun Input
Use the "Source" button on the projector or remote control to cycle through available input sources (e.g., HDMI1, HDMI2, VGA, USB, Network).
3. Atunṣe Aworan
- Idojukọ: Yi òrùka ìfọjúsí lórí lẹ́ńsì projektor náà títí tí àwòrán náà yóò fi hàn kedere tí yóò sì hàn kedere.
- Atunse okuta bọtini: If the image appears trapezoidal, use the keystone adjustment (manual or digital, depending on model) to square the image. Refer to the on-screen menu for digital keystone settings.
- Sun-un: Adjust the zoom ring (if available) to change the image size without moving the projector.
4. Network and Internet Features
As an internet-ready device, the XL-90 can connect to your home network. Navigate to the "Network Settings" menu to connect to Wi-Fi or an Ethernet connection. Once connected, you can access built-in streaming apps or browse the internet directly from the projector.
Itoju
1. Ninu awọn lẹnsi
Rọra nu awọn lẹnsi pirojekito pẹlu asọ, asọ ti ko ni lint ti a ṣe apẹrẹ pataki fun awọn oju opiti. Maṣe lo awọn olutọpa abrasive tabi agbara pupọ, nitori eyi le fa lẹnsi naa.
2. Cleaning the Projector Casing
Use a soft, dry cloth to clean the exterior casing of the projector. For stubborn marks, a slightly damp cloth with mild detergent can be used, followed by a dry wipe. Ensure no liquid enters the projector vents.
3. Air Filter Cleaning/Replacement (if applicable)
Some projectors include an air filter to prevent dust accumulation. If your model has one, refer to the specific instructions for cleaning or replacing it to maintain optimal performance and prevent overheating.
4. Ibi ipamọ
When not in use for extended periods, store the projector in a cool, dry place, away from direct sunlight and extreme temperatures. Cover the lens with its cap to protect it from dust.
Laasigbotitusita
| Isoro | Owun to le Fa | Ojutu |
|---|---|---|
| Ko si aworan han |
|
|
| Aworan jẹ blurry |
|
|
| Aworan jẹ trapezoidal |
|
|
| Ko si ohun |
|
|
Awọn pato
| Ẹya ara ẹrọ | Ẹ̀kúnrẹ́rẹ́ |
|---|---|
| Nọmba awoṣe | 6.94202E + 11 |
| Brand | shift3 |
| Display Resolution (Native) | 1920 x 1080 |
| Display Resolution (Maximum) | 1920 x 1080 |
| Pataki Ẹya | Ayelujara-ṣetan |
| Fọọmù ifosiwewe | Ojú-iṣẹ |
| Iṣagbesori Iru | Oke odi, Oke Oke |
| Parcel Mefa | 33.02 x 27.94 x 27.18 cm |
| Iwọn Nkan | 2.22 kg |
| Ọjọ Akọkọ Wa | Oṣu Karun ọjọ 25 2014 |