
Ọrọ Iṣaaju
This manual provides essential information for the safe and effective operation of your Laserliner SoundTest-Master 082.070A Noise Level Meter. Please read these instructions carefully before using the device and keep them for future reference. The SoundTest-Master 082.070A is designed for precise measurement of noise levels, featuring integrated long-term memory and PC connectivity for comprehensive documentation.
Awọn Itọsọna Aabo
- Always operate the device within its specified environmental conditions.
- Ma ṣe fi ẹrọ naa han si awọn iwọn otutu to gaju, ọriniinitutu, tabi imọlẹ orun taara.
- Yago fun sisọ ẹrọ naa silẹ tabi fifisilẹ si awọn ipa to lagbara.
- Má ṣe gbìyànjú láti ṣí tàbí ṣe àtúnṣe sí ẹ̀rọ náà. Àwọn òṣìṣẹ́ tí a fún ní àṣẹ nìkan ló yẹ kí ó ṣe àtúnṣe náà.
- Jeki ẹrọ naa kuro ni awọn aaye oofa ti o lagbara.
- Ensure the microphone is clean and free from obstructions for accurate measurements.
Ọja Pariview
The Laserliner SoundTest-Master 082.070A is a handheld noise level meter equipped with a sensitive electret condenser microphone and a clear, illuminated display. It features various controls for measurement settings and data management.

Nọmba 1: Iwaju view of the SoundTest-Master 082.070A, showing the display, microphone with windshield, and control buttons.
Awọn eroja pataki:
- Electret Condenser Microphone: For capturing sound. Includes a removable windshield.
- Ifihan itanna: Shows measurement values, settings, and status.
- Awọn bọtini Iṣakoso: Power, Setup, Max, Record, A/C weighting, Fast/Slow time weighting, Level adjustment, Data send.
- Awọn abajade Analog: DC and AC outputs for external connections.
- RS232 Àwòrán: Optoisolated port for PC connection and data transfer.
Ṣeto
1. Fifi sori batiri
The device requires batteries for operation. Ensure correct polarity when inserting batteries into the compartment, typically located on the rear of the unit.
2. Ibẹrẹ Agbara-On
Tẹ awọn Agbara button to turn on the device. The display will illuminate and show initial readings.
3. Windshield Attachment
Attach the removable windshield to the microphone to minimize wind noise interference during outdoor measurements.
Awọn ilana Iṣiṣẹ
1. Ipilẹ Wiwọn
- Tan-an ẹrọ nipa lilo awọn Agbara bọtini.
- Point the microphone towards the sound source.
- The current noise level will be displayed in decibels (dB).
2. Frequency Weighting (dB(A), dB(C))
Lo awọn A/C button to switch between frequency weighting curves:
- dB (A): Simulates the human ear's response to sound, commonly used for environmental noise measurements.
- dB(C): Provides a flatter response, suitable for measuring peak sound pressure levels or low-frequency noise.
3. Time Weighting (Fast/Slow)
Tẹ awọn FAYARA / o lọra button to select the desired time weighting:
- FAST (125 ms): For measuring rapidly changing noise levels.
- SLOW (1 second): For measuring average noise levels over a longer period, suitable for stable noise sources.
4. Data Logging and PC Connection
The device features a long-term recording function with 16,000 memory points and real-time logging capabilities when connected to a PC.
- Internal Data Logging: Tẹ awọn Igbasilẹ button to start/stop internal data recording. The device can store up to 16,000 measurement points.
- PC Asopọ: Connect the device to a computer using the provided RS232 cable.
- Software: Install the provided software on your PC. This software allows for real-time data display, analysis, and download of recorded data.
- Fifiranṣẹ Data: Lo awọn Fi DATA ranṣẹ button to initiate data transfer to the connected PC.
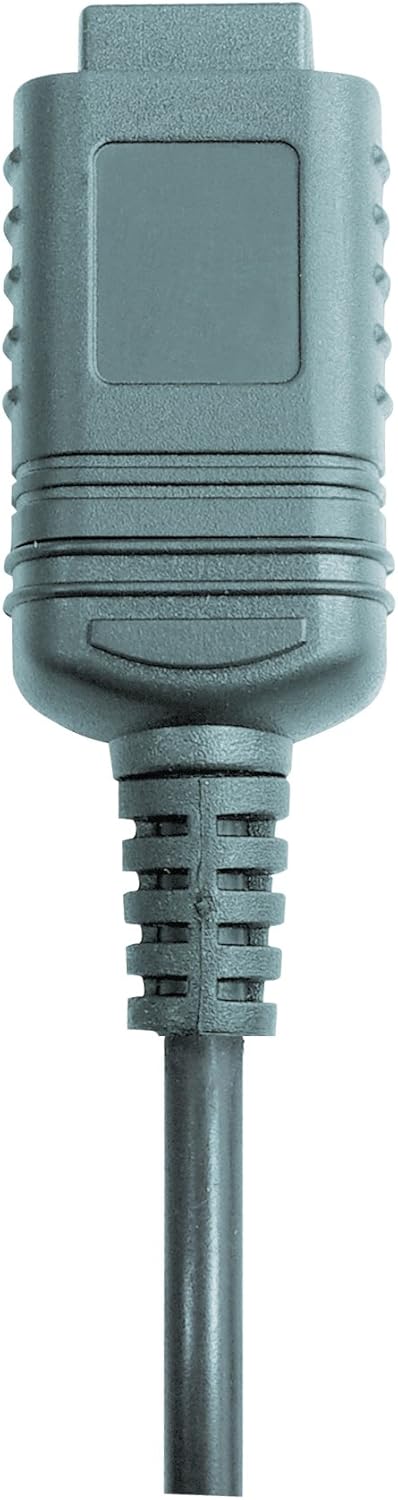

Nọmba 2: RS232 cable connectors used for connecting the SoundTest-Master to a PC.
5. Iṣatunṣe
The device can be calibrated and adjusted using a standard noise level calibrator (94 dB / 1 kHz). Refer to the calibrator's instructions for the specific calibration procedure.
Itoju
1. Ninu
- Nu ẹrọ naa casing pẹlu asọ ti o gbẹ.
- Ma ṣe lo abrasive ose tabi epo.
- Ensure the microphone is kept clean and free of dust or debris.
2. Ibi ipamọ
When not in use, store the SoundTest-Master in its protective case in a cool, dry place, away from direct sunlight and extreme temperatures. Remove batteries if storing for extended periods.
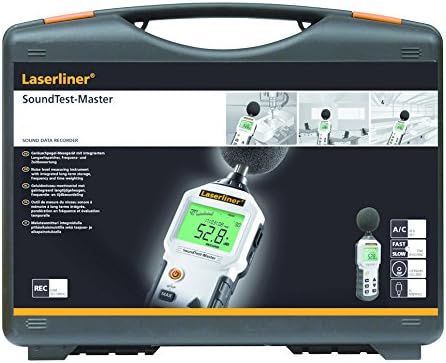
Nọmba 3: The SoundTest-Master 082.070A stored in its protective carrying case.
Laasigbotitusita
| Isoro | Owun to le Fa | Ojutu |
|---|---|---|
| Ẹrọ naa ko ṣiṣẹ. | Awọn batiri ti o ku tabi ti ko tọ ti fi sori ẹrọ. | Ropo awọn batiri, aridaju ti o tọ polarity. |
| Awọn kika ti ko pe. | Microphone obstructed or dirty; device needs calibration. | Clean microphone; perform calibration with a standard calibrator. |
| Ko si gbigbe data si PC. | Incorrect cable connection; software not installed or configured. | Check RS232 cable connection; ensure PC software is correctly installed and running. |
| Ifihan ti wa ni baibai tabi unreadable. | Low battery power; display backlight off. | Replace batteries; check device settings for backlight control. |
Awọn pato
| Ẹya ara ẹrọ | Ẹ̀kúnrẹ́rẹ́ |
|---|---|
| Orukọ awoṣe | SoundTest-Master |
| Nọmba apakan | 082.070A |
| Olupese | Umarex |
| Brand | laserliner |
| Iwuwo Igbohunsafẹfẹ | dB(A), dB(C) |
| Iwọn Iwọn akoko | FAST (125 ms), SLOW (1 second) |
| Memory data | 16,000 idiwon ojuami |
| Ni wiwo | Optoisolated RS232 |
| Awọn abajade Analog | DC ati AC |
| Isọdiwọn | Adjustable with 94 dB / 1 kHz standard calibrator |
| Gbohungbohun | Sensitive electret condenser with removable windshield |
| Ifihan | Illuminated, clear display |
| Iwọn Nkan | kilo 1.18 (2.6 poun) |
| Ọja Mefa | 10.33 x 5.51 x 13.78 inches |
| Ohun elo | Metal (Frame, Barrel) |
| Àwọ̀ | Dudu ati Grey |
| Awọn batiri ti a beere | Yes (not included, type not specified in data) |
Atilẹyin ọja ati Support
For warranty information and technical support, please refer to the documentation included with your purchase or visit the official Laserliner webojula.