
Ọrọ Iṣaaju
This manual provides comprehensive instructions for the installation, operation, and maintenance of your Azza XT1 Full Tower Gaming Case (Model: CSAZ-XT1 W). Please read this manual thoroughly before beginning installation to ensure proper setup and to maximize the performance and longevity of your product.
Alaye Aabo
Observe the following safety precautions to prevent damage to the case or injury to yourself:
- Máa yọ agbára iná kúrò nínú ihò ògiri kí o tó ṣe ìfisí tàbí ìtọ́jú èyíkéyìí.
- Handle internal components with care to avoid electrostatic discharge (ESD) damage. Consider using an anti-static wrist strap.
- Ensure all cables are routed properly to prevent interference with fans or other moving parts.
- Do not block ventilation openings. Maintain adequate airflow around the case.
- Keep the case away from sources of heat, direct sunlight, and moisture.
Ọja Awọn ẹya ara ẹrọ
The Azza XT1 Full Tower Gaming Case is designed with several features to enhance your computing experience:
- VGA Card Support: Accommodates VGA cards up to 340 mm in length.
- Easy Swap Slot: Features a bottom-mounted easy swap slot for tool-less hard drive installation.
- Iṣe Itutu: Equipped with four pre-installed fans for optimal airflow and supports up to two 120mm water cooling radiators.
- Customizable Grilles: Front and top decorative grilles are removable and exchangeable for aesthetic customization.
- Tool-less Installation: Designed for easy installation of 5.25" devices and HDDs with a tool-less mechanism and a 90-degree rotating HDD holder.
- Iṣakoso USB: Includes a dedicated compartment for efficient cable routing, improving internal airflow and aesthetics.
Eto ati fifi sori
Follow these steps to set up your Azza XT1 case and install components:
1. Múra Ẹjọ́ náà sílẹ̀
Place the case on a stable, flat surface. Remove the side panels by unscrewing the thumb screws at the rear and sliding the panels backward.
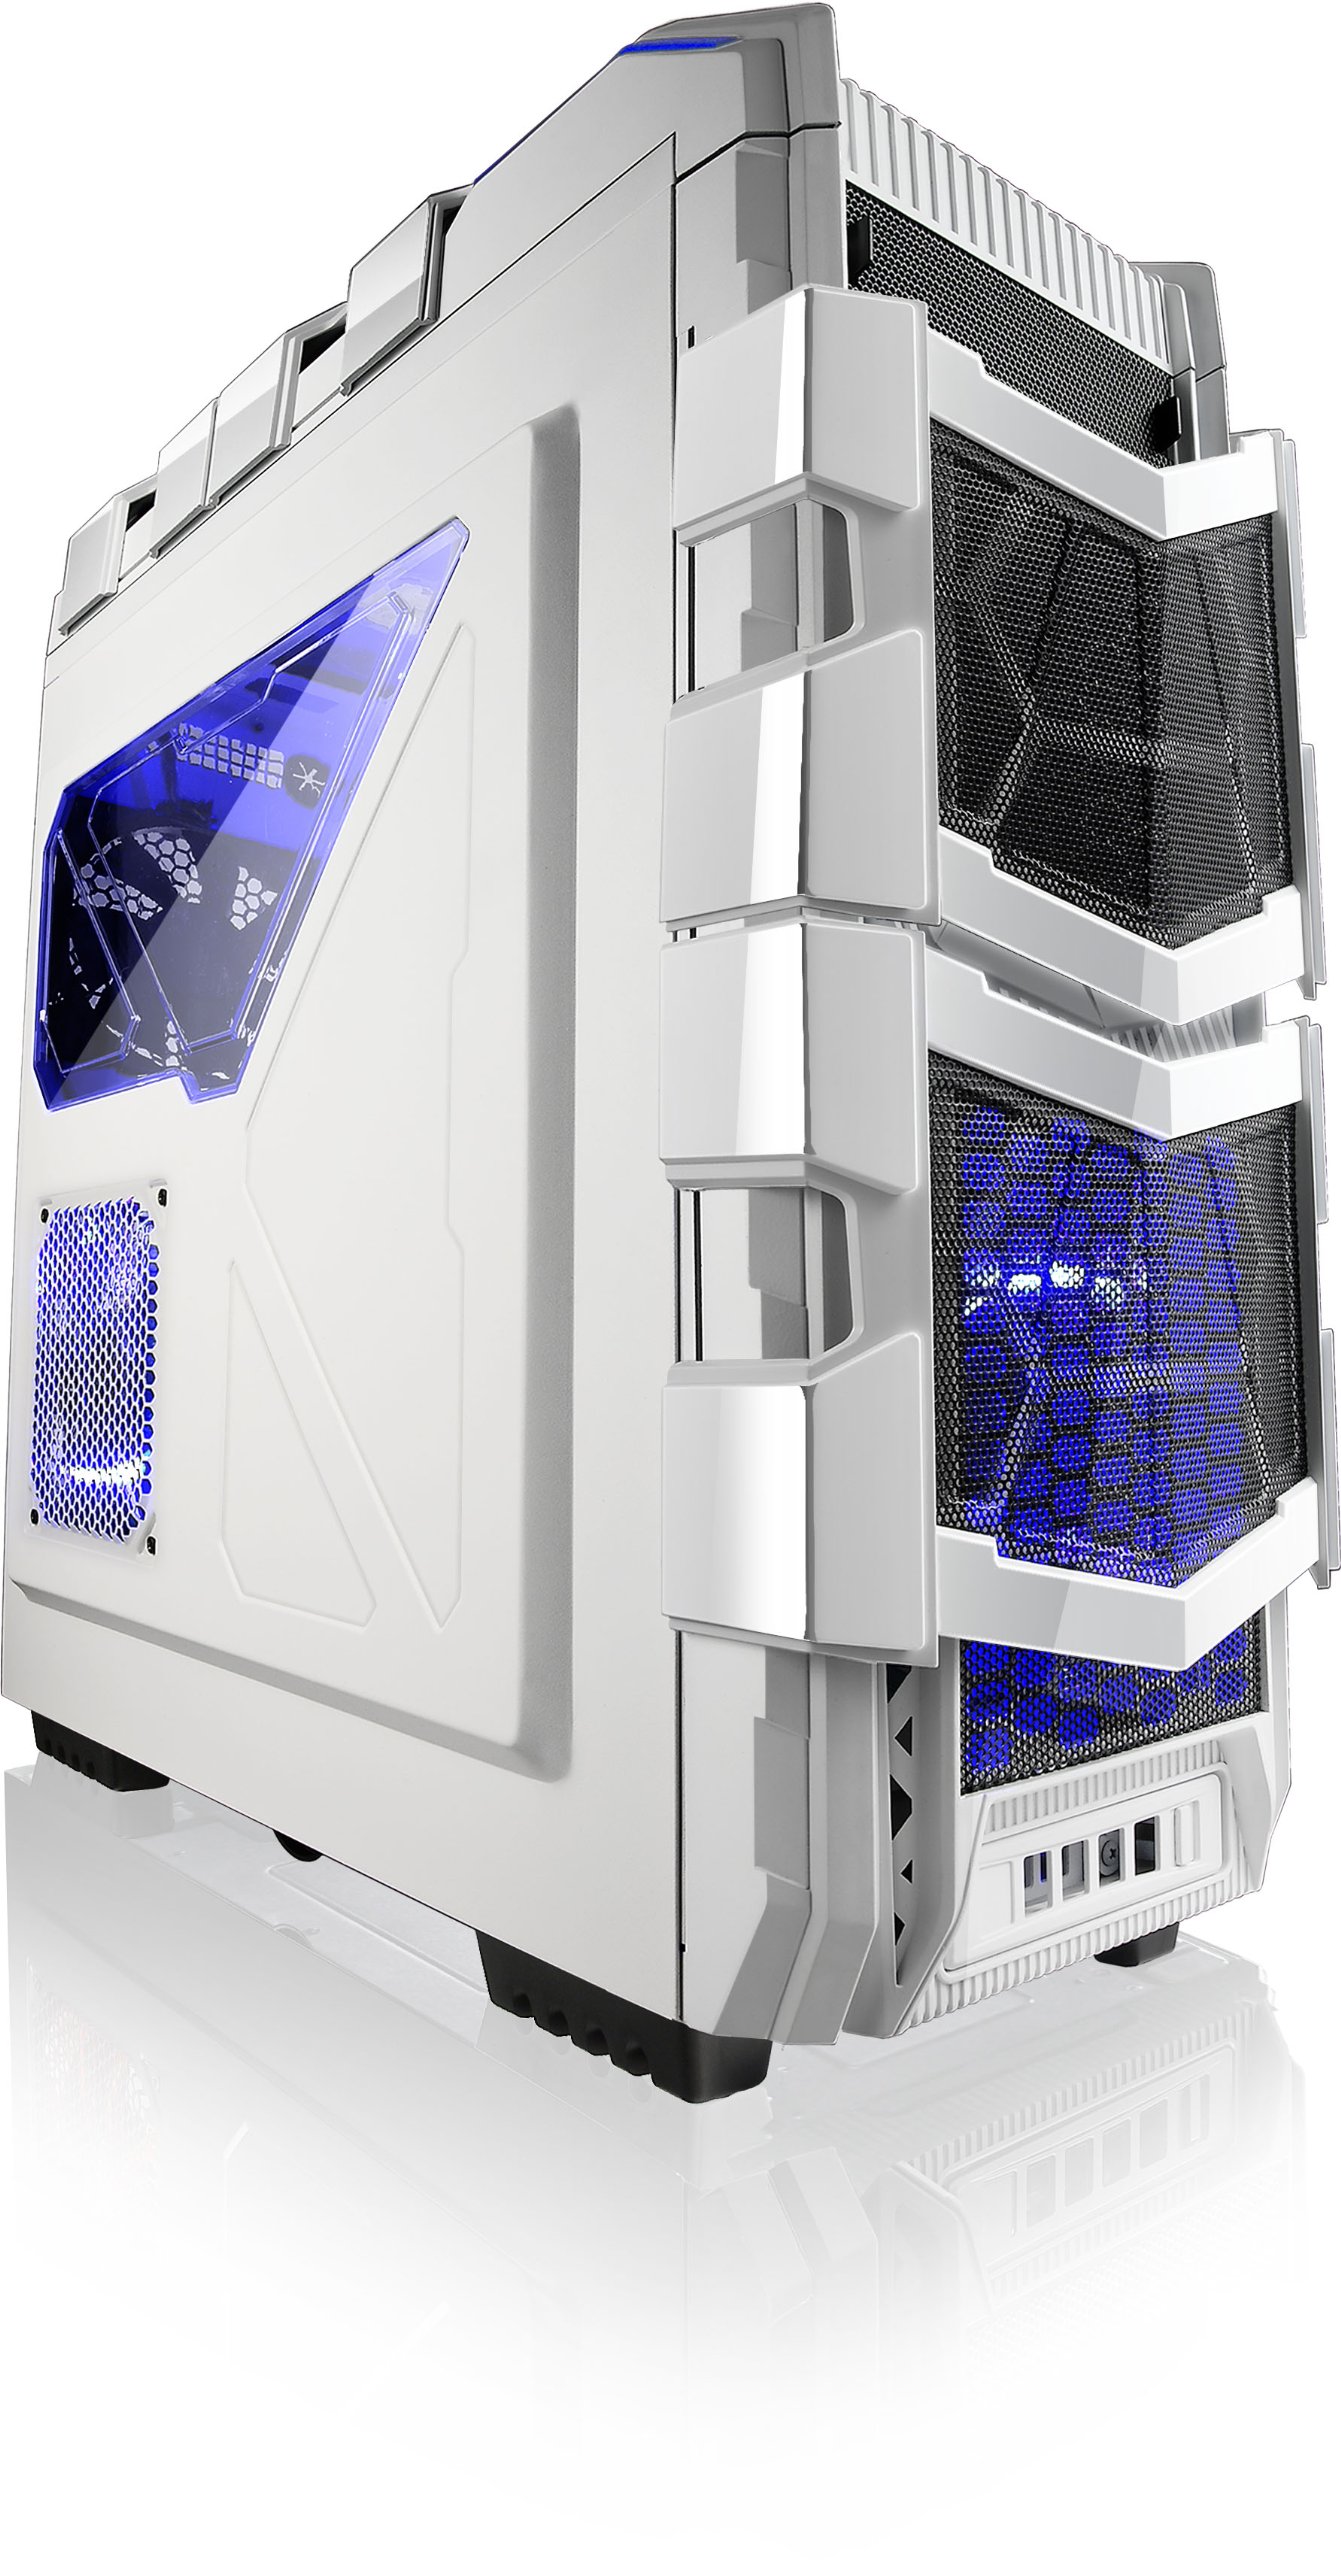
olusin 1: Angled view of the Azza XT1 case, showing its overall design and front mesh panels.
2. Modaboudu fifi sori
Install the I/O shield into the rear opening of the case. Align your ATX motherboard with the standoffs inside the case. Secure the motherboard using the provided screws.

Figure 2: Internal layout of the Azza XT1 case, highlighting the motherboard tray and drive bay areas.
3. Fifi sori Ipese Agbara
Mount your power supply unit (PSU) into the designated area at the bottom rear of the case. Secure it with screws from the outside.
4. Drive Installation (HDD/SSD)
Utilize the tool-less HDD holders. For the easy swap slot, simply slide the hard drive into the bottom slot until it clicks into place. For other bays, secure drives using the provided trays or mounting mechanisms. The HDD holder can rotate 90 degrees for easier access.

olusin 3: Ru ti abẹnu view of the Azza XT1 case, illustrating the drive bays and the space behind the motherboard for cable management.
5. Expansion Card Installation (VGA, etc.)
Remove the necessary expansion slot covers at the rear of the case. Insert your VGA card or other expansion cards into the motherboard's PCIe slots and secure them with screws or the tool-less retention clips.
6. Iṣakoso USB
Route all power and data cables through the designated cutouts and tie-down points behind the motherboard tray. This improves airflow and maintains a clean internal appearance.
7. Pa Ọran naa
Nígbà tí gbogbo àwọn ohun èlò bá ti wà lórí ẹ̀rọ tí a sì ti ń ṣàkóso àwọn okùn, tún so àwọn ẹ̀gbẹ́ páìnì náà pọ̀ kí o sì fi àwọn skru àtàǹpàkò dè wọ́n.
Ṣiṣẹ ọran naa
The Azza XT1 case provides the housing and cooling for your PC components. Operation primarily involves using the front panel controls:
- Bọtini agbara: Located on the top panel, press to power on or off your system.
- Bọtini atunto: Located on the top panel, press to restart your system.
- Awọn ibudo USB: Connect USB devices to the front panel USB 2.0 and USB 3.0 ports.
- Awọn Jacks Audio: Connect headphones and microphones to the front panel audio jacks.

olusin 4: Top view of the Azza XT1 case, detailing the power button, USB ports, and audio jacks.
Itoju
Regular maintenance helps ensure optimal performance and longevity of your Azza XT1 case and its components.
- Pipa eruku: Máa fọ àwọn àlẹ̀mọ́ eruku àti àwọn ohun èlò inú ilé nígbàkúgbà nípa lílo afẹ́fẹ́ tí a fún ní ìfúnpọ̀. Rí i dájú pé ẹ̀rọ náà ti pa àti pé ó ti tú agbára rẹ̀ kí o tó sọ ọ́ di mímọ́.
- Ayewo Olufẹ: Check fans for dust buildup and ensure they are spinning freely. Clean as necessary.
- Ṣayẹwo USB: Verify that all internal cables remain securely connected and are not obstructing airflow.
- Ode Ninu: Mu ese ita gbangba pẹlu asọ, damp asọ. Yago fun abrasive ose.
Laasigbotitusita
Abala yii n ṣalaye awọn ọran ti o wọpọ ti o le ba pade pẹlu ọran PC rẹ.
| Isoro | Owun to le Fa | Ojutu |
|---|---|---|
| System ko ni agbara lori. | Power button not connected correctly; PSU issue; motherboard issue. | Verify front panel power button cable is securely connected to the motherboard. Check PSU connections. |
| Àwọn afẹ́fẹ́ kò yípo. | Fan cables disconnected; fan failure; insufficient power. | Ensure all fan power cables are properly connected to the motherboard or fan controller. |
| Front panel USB ports not working. | USB header cable disconnected or incorrectly connected. | Check that the USB 2.0 and USB 3.0 header cables from the front panel are correctly plugged into the motherboard. |
| Poor airflow or overheating. | Dust buildup; blocked vents; improper fan configuration. | Clean dust filters and internal components. Ensure case fans are oriented correctly for optimal airflow. |
Awọn pato
Detailed specifications for the Azza XT1 Full Tower Gaming Case (CSAZ-XT1 W):
| Ẹya ara ẹrọ | Ẹ̀kúnrẹ́rẹ́ |
|---|---|
| Brand | Azza |
| Nọmba awoṣe | CSAZ-XT1 W |
| Iru Irú | Ile-iṣọ kikun |
| Àwọ̀ | Funfun |
| Ohun elo | SECC Steel |
| Modaboudu Ibamu | ATX |
| Awọn iwọn Ọja (LxWxH) | 51.56 x 20.57 x 56.64 cm |
| Iwọn Nkan | 9.98 kg |
| Awọn ibudo USB 2.0 | 2 |
| Awọn ibudo USB 3.0 | 1 |
| VGA Card Length Support | Titi di 340 mm |
| Atilẹyin Itutu Omi | Up to 2x120mm radiators |
Atilẹyin ọja ati Support
For warranty information and technical support, please refer to the official Azza webojula tabi kan si wọn onibara iṣẹ Eka. Tọju iwe-ẹri rira rẹ bi ẹri rira fun awọn iṣeduro atilẹyin ọja.
Olupese: AZZA (USA) Technology Inc