1. Ifihan
This user manual provides essential information for the safe and efficient installation, operation, and maintenance of your Supermicro YM-5201D ATX & EPS12V Power Supply. Please read this manual thoroughly before using the product to ensure proper functionality and to prevent damage.

Figure 1: Supermicro YM-5201D ATX & EPS12V Power Supply, showing the main unit and attached power cables.
2. Alaye Aabo
Always observe the following safety precautions to prevent injury or damage to the power supply and connected components:
- Rí i dájú pé a ti ge ipese agbara kuro ninu ibudo AC ṣaaju fifi sori ẹrọ tabi yiyọ kuro.
- Maṣe ṣii ipese agbara casing. There are no user-serviceable parts inside, and opening it voids the warranty and exposes you to dangerous voltages.
- Fi ipese agbara sii ni agbegbe ti afẹfẹ wa lati dena igbona pupọju.
- Use only the cables provided or approved by Supermicro for this power supply.
- Yẹra fún fífi agbára sí ọrinrin tàbí ooru tó le koko.
- Rii daju pe ilẹ ti o yẹ ti eto kọmputa naa.
3. Package Awọn akoonu
Jẹrisi pe gbogbo awọn ohun kan wa ninu package:
- Supermicro YM-5201D ATX & EPS12V Power Supply
- AC Power Cord (region specific)
- Iṣagbesori skru
- Afowoyi Olumulo (iwe-ipamọ yii)
4. Eto ati fifi sori
Follow these steps to install the power supply into your computer chassis:
- Ṣetan Eto naa: Disconnect the computer from the AC power outlet. Open the computer case according to its manufacturer's instructions.
- Yọ Ipese Agbara Atijọ kuro (ti o ba wulo): Unscrew and remove the existing power supply. Disconnect all power cables from the motherboard, graphics card, drives, and other components.
- Fi Ipese Agbara Tuntun sori ẹrọ: Carefully slide the Supermicro YM-5201D power supply into the designated power supply bay in your chassis. Ensure the fan is oriented correctly for optimal airflow (typically facing downwards or towards the rear vent).
- Ṣe aabo Ipese Agbara: Align the screw holes on the power supply with those on the chassis. Secure the power supply using the provided mounting screws.
- Awọn okun Sopọ:
- Asopọ Modabọọdu ATX pin 24: Connect the large 24-pin connector to the corresponding port on your motherboard. Ensure it clicks into place.
- 8-pin (4+4) EPS12V CPU Connector: Connect the 8-pin or split 4+4-pin connector to the CPU power port on your motherboard.
- PCIe Connectors (if applicable): If your graphics card requires additional power, connect the appropriate 6-pin or 8-pin PCIe power connectors.
- Awọn asopọ agbara SATA: So awọn okun agbara SATA pọ mọ awọn dirafu lile rẹ, awọn SSD, ati awọn awakọ opitika.
- Molex Connectors (if applicable): Connect Molex power cables to any legacy devices or case fans that require them.
- Iṣakoso USB: Rọ awọn kebulu naa ni ọna ti o tọ lati mu afẹfẹ ati ẹwa dara si ninu apoti naa.
- Pa chassis: Once all connections are secure, close the computer case.
- Sopọ agbara AC: Connect the AC power cord to the power supply's inlet and then to a grounded wall outlet or surge protector.
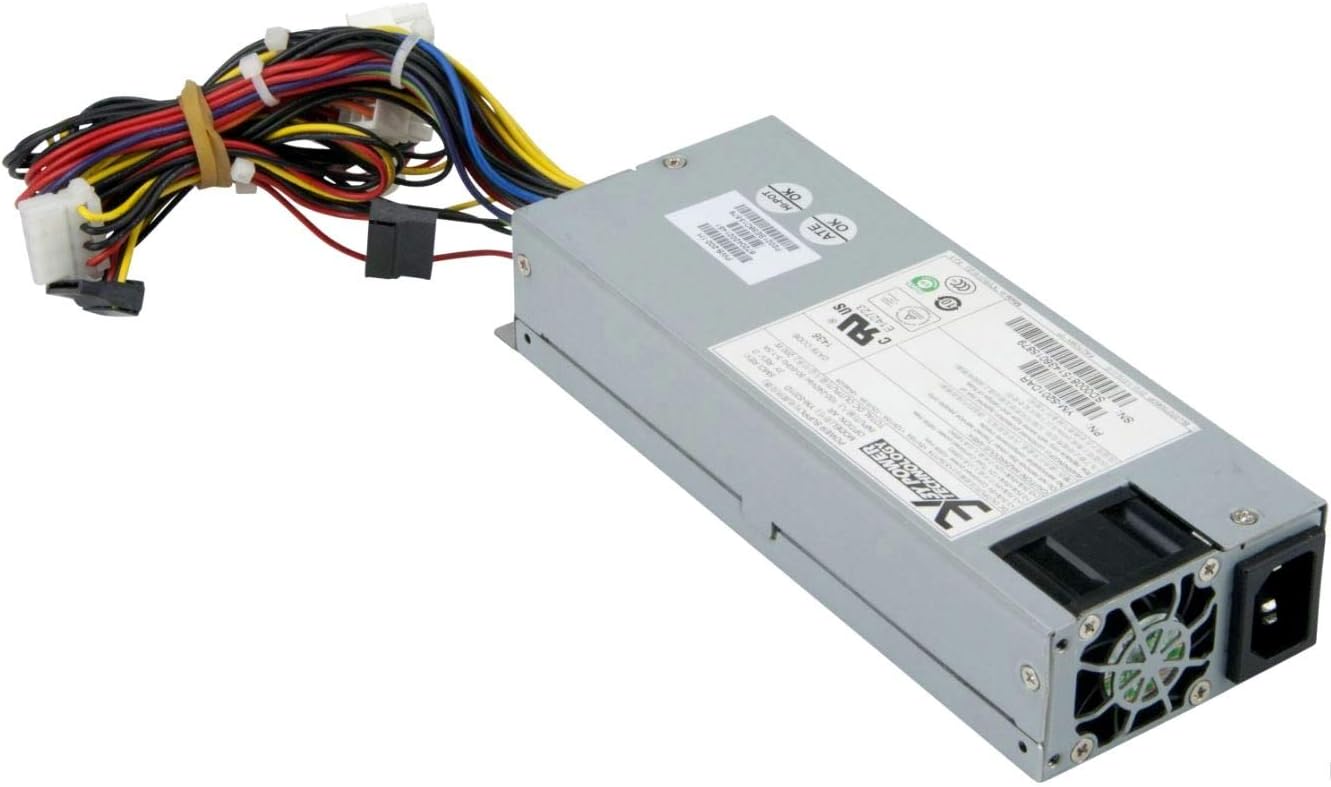
olusin 2: Ẹyìn view of the Supermicro YM-5201D Power Supply, highlighting the cooling fan and AC power input.
5. Awọn ilana Iṣiṣẹ
After successful installation, operating the power supply is straightforward:
- Agbara Tan: Ensure the power switch on the rear of the power supply (if present) is in the 'ON' (I) position. Then, press the power button on your computer case.
- Agbara Pa: Shut down your computer through the operating system. Once the system is off, you can flip the power switch on the power supply to the 'OFF' (O) position for complete power disconnection.
- Ise deede: The power supply will automatically regulate power delivery to your components based on demand. Ensure adequate ventilation around your computer to prevent heat buildup.
6. Itọju
Regular maintenance helps prolong the life of your power supply:
- Yiyọ eruku kuro: Periodically (e.g., every 3-6 months), disconnect the power supply from the AC outlet and use compressed air to gently blow dust out of the power supply's fan and vents. Do not open the casing.
- Ayẹwo USB: Occasionally check all power cables for any signs of wear, fraying, or loose connections.
- Afẹfẹ: Ensure that the computer case's ventilation openings are not obstructed.
7. Laasigbotitusita
Ti o ba pade awọn ọran, tọka si awọn iṣoro ti o wọpọ ati awọn ojutu wọnyi:
| Isoro | Owun to le Fa | Ojutu |
|---|---|---|
| Kọmputa ko ni agbara lori. | Power cable loose; Power switch off; Faulty component; Insufficient power. | Check AC power cord connection. Ensure power supply switch is ON. Verify all internal power connections (24-pin, 8-pin CPU). Test with minimal components. |
| Eto naa n tan ṣugbọn o wa ni pipa lẹsẹkẹsẹ. | Overload; Overheating; Short circuit. | Rii daju lapapọ wattage draw is within PSU limits. Check for proper ventilation. Inspect for any loose screws or components that might be causing a short. |
| Ariwo alafẹfẹ ariwo lati PSU. | Dust buildup; Fan bearing issue; High load. | Clean dust from fan and vents using compressed air. If noise persists and is excessive, consider professional inspection. |
If troubleshooting steps do not resolve the issue, contact Supermicro technical support.
8. Awọn pato
Key technical specifications for the Supermicro YM-5201D Power Supply:
| Ẹya ara ẹrọ | Ẹ̀kúnrẹ́rẹ́ |
|---|---|
| Orukọ awoṣe | YM-5201D |
| Nọmba Awoṣe Nkan | PWS-202-1H |
| Brand | Supermicro |
| Fọọmù ifosiwewe | 1U |
| Ijade Wattage | 200 Wattis |
| Asopọmọra Iru | ATX |
| Awọn ẹrọ ibaramu | Desktop Computers, Servers, Desktop Components |
| Ọna Itutu | Afẹfẹ |
| Awọn iwọn Ọja (L x W x H) | 1.1 x 9.7 x 6.5 inches |
| Iwọn Nkan | 6.6 iwon |
| Ọjọ Akọkọ Wa | Oṣu kọkanla ọjọ 14, ọdun 2012 |
9. Atilẹyin ọja ati Support
For warranty information and technical support, please refer to the official Supermicro webojula tabi kan si wọn onibara iṣẹ taara. Jeki ẹri rira rẹ fun awọn iṣeduro atilẹyin ọja.
Supermicro Official Webojula: www.supermicro.com