Ọrọ Iṣaaju
This manual provides detailed instructions for the assembly, operation, maintenance, and safety of your Keter STILO Utility Cabinet. Please read all instructions carefully before beginning assembly and retain this manual for future reference.
The Keter STILO Utility Cabinet is a versatile resin storage solution designed for both personal and professional use. It features a neutral design suitable for various rooms, including kitchens, garages, and workshops. The cabinet offers robust storage with shelves capable of holding up to 15 kg each. For enhanced stability and safety, wall mounting is recommended. Made from over 70% recycled materials, it is also 100% recyclable.
Awọn Ikilọ Abo
- Indoor or Sheltered Use Only: This cabinet is designed for indoor use or in sheltered outdoor areas (e.g., covered patios, garages). Do not expose to direct harsh weather conditions.
- Wall Mounting Recommended: For improved stability and safety, especially when storing heavier items or in areas with potential for tipping, wall mounting is strongly recommended. Follow the assembly instructions for proper wall attachment.
- Agbara iwuwo: Do not exceed the maximum weight capacity of 15 kg per shelf. Overloading can compromise the cabinet's stability and structural integrity.
- Apejọ: Ensure all parts are correctly assembled and secured before use. Do not use the cabinet if any parts are damaged or missing.
- Awọn ọmọde ati awọn ohun ọsin: Keep children and pets away from the assembly area. Do not allow children to climb on or play with the cabinet.
- Idasonu: This product is made from recyclable materials. Please dispose of it responsibly according to local recycling guidelines.
Ọja Pariview
The Keter STILO Utility Cabinet is a robust and durable storage solution featuring a modern design. It is constructed from high-quality polypropylene plastic, with over 70% recycled content.
- Ohun elo: Durable polypropylene plastic (over 70% recycled).
- Àwọ̀: Grey, Black, and Red accents.
- Awọn ibi ipamọ: Adjustable shelves with a capacity of 15 kg each.
- Awọn imudani: Ergonomic soft-touch handles.
- Aabo: Lockable design (padlock not included).
- Pada Pada: Extruded polypropylene back panel protects contents from dust.
- Ẹsẹ: Adjustable feet for leveling on uneven surfaces.

Image 1: Keter STILO Utility Cabinet shown in a typical laundry room setting, demonstrating its practical use for storage.
Awọn ilana Apejọ
The Keter STILO Utility Cabinet is designed for tool-free assembly. Follow these steps carefully for proper setup.
- Yọ awọn ohun elo kuro: Carefully remove all parts from the packaging. Verify that all components are present according to the parts list (refer to the included diagram in your physical manual).
- Ṣepọ Awọn Paneli ẹgbẹ: Connect the side panels to the base and top panels. Ensure all connections click securely into place.
- Fi Paarẹ Pada sori ẹrọ: Insert the polypropylene back panel into the designated grooves. This panel is designed to protect your items from dust.
- So awọn ilẹkun: Secure the cabinet doors to the main structure. Ensure they swing freely and close properly.
- Fi sori ẹrọ Awọn ọwọ: Attach the soft-touch handles to the doors.
- Fi awọn selifu sii: Place the adjustable shelves at your desired height. The shelf supports should click into the side panel slots.
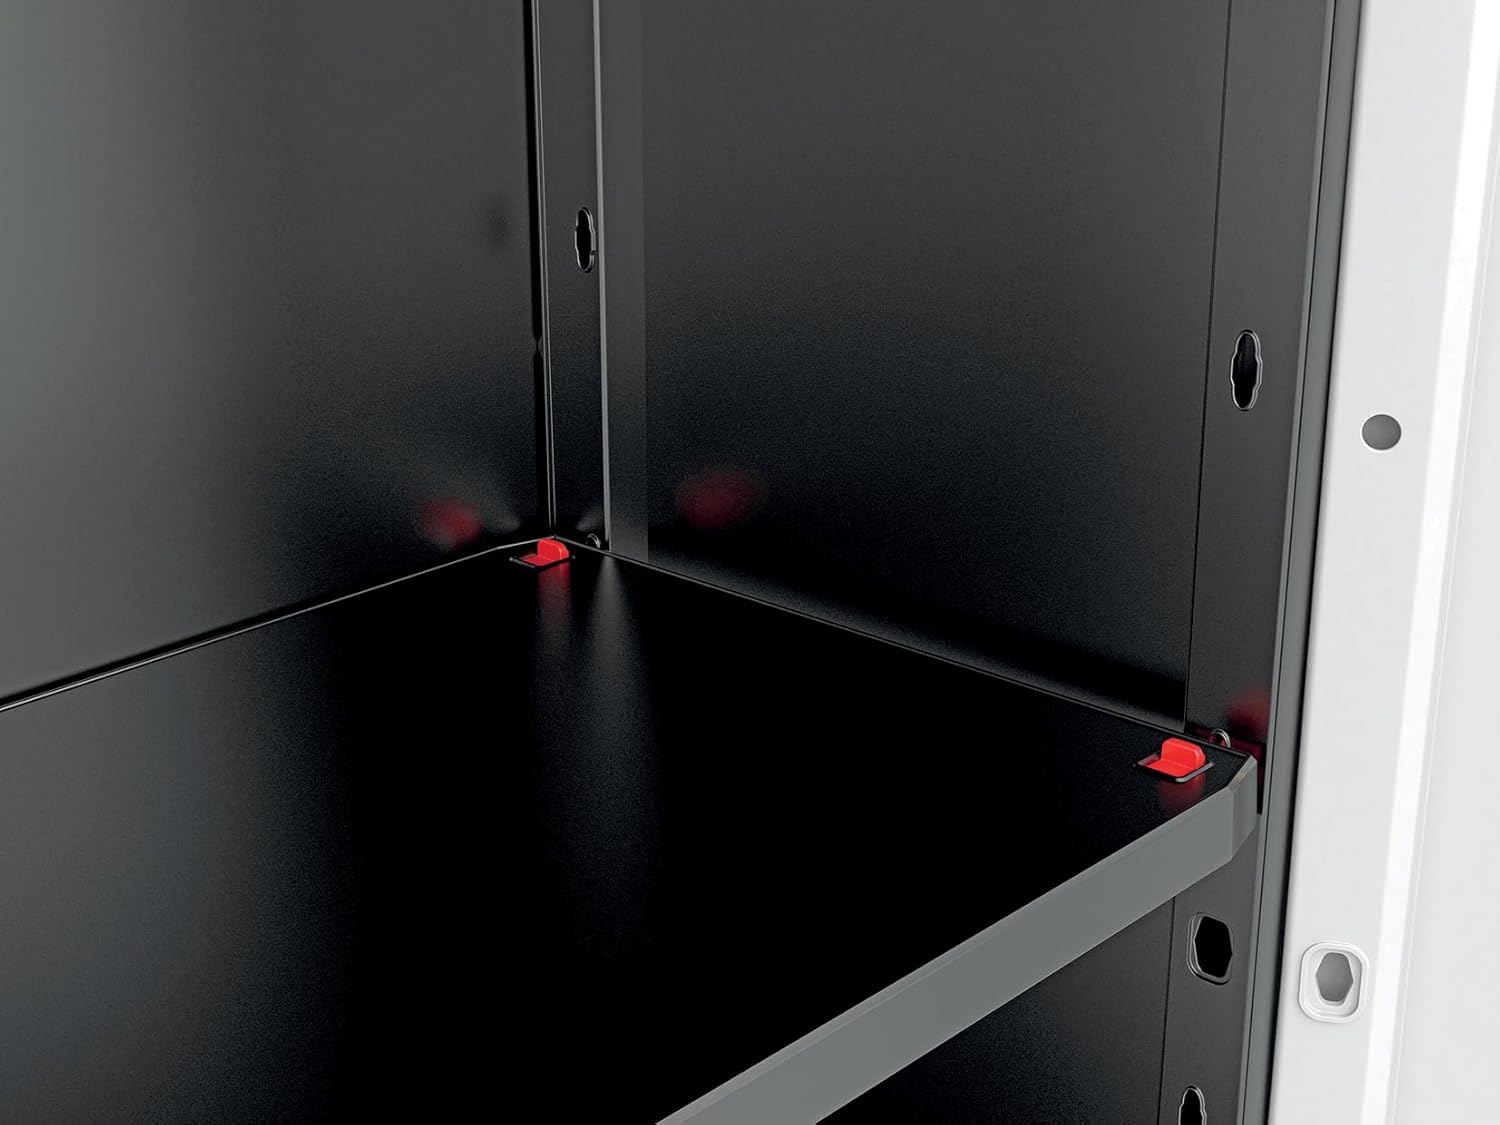
Image 2: Detail of the adjustable shelf support mechanism, allowing customization of shelf height.
- Ṣatunṣe Ẹsẹ: Use the adjustable feet at the bottom of the cabinet to level it on uneven surfaces.

Aworan 3: Isunmọ view of an adjustable foot, used for leveling the cabinet on various floor types.
- Wall Mounting (Recommended): For maximum stability and safety, especially in households with children or in earthquake-prone areas, secure the cabinet to a wall using appropriate hardware (not included). Refer to the specific wall mounting instructions in your physical manual for details on drilling and securing.

Image 4: The Keter STILO Utility Cabinet with its doors open, showcasing the interior and adjustable shelves.
Isẹ
Using your Keter STILO Utility Cabinet is straightforward.
- Awọn ilẹkun ṣiṣi/Titipade: Use the ergonomic soft-touch handles to open and close the cabinet doors.

Image 5: Close-up of the cabinet's soft-touch handles, designed for comfortable grip.
- Awọn selifu ti n ṣatunṣe: To adjust shelf height, carefully remove items from the shelf, lift the shelf slightly, and reposition the shelf supports into the desired slots on the side panels. Ensure the shelf is level and securely seated before placing items back.
- Nkojọpọ Awọn nkan: Distribute weight evenly across the shelves. Do not exceed 15 kg per shelf. Place heavier items on lower shelves for better stability.
- Ilana Titiipa: The cabinet doors are designed to be lockable. Insert a standard padlock (not included) through the designated holes on the handles to secure your belongings.

Image 6: Detail of the integrated locking mechanism on the cabinet handles, allowing for the use of a padlock (not included).
Itoju
The Keter STILO Utility Cabinet requires minimal maintenance to keep it in optimal condition.
- Ninu: Pa awọn ipele minisita nu pẹlu ipolowoamp cloth and mild soap. Avoid abrasive cleaners or solvents, as these can damage the plastic.
- Ayewo: Lokọọkan ṣayẹwo gbogbo awọn asopọ ati awọn imuduro lati rii daju pe wọn wa ni wiwọ ati aabo. Tun-mu ti o ba wulo.
- Shelf Integrity: Inspect shelves for any signs of damage or warping, especially if heavy items are stored. Replace damaged shelves immediately.
- Awọn ipo Ayika: Ensure the cabinet is not exposed to extreme temperatures or prolonged direct sunlight, which can affect the plastic's longevity.
Laasigbotitusita
| Isoro | Owun to le Fa | Ojutu |
|---|---|---|
| Minisita kan lara riru tabi riru. | Uneven floor; loose connections; not wall-mounted. | Adjust the leveling feet. Check all connections and ensure they are secure. Consider wall mounting the cabinet for added stability. |
| Awọn ilẹkun ko tii daradara. | Cabinet is not level; obstruction; hinges misaligned. | Ensure the cabinet is level using the adjustable feet. Check for any items obstructing the doors. Verify hinges are correctly installed. |
| Shelves sag or appear weak. | Sẹ́ẹ̀lì tí ó ti kún jù; fífi sori ẹrọ ti ko tọ. | Reduce the weight on the shelf, ensuring it does not exceed 15 kg. Re-install the shelf, making sure it is properly seated on its supports. |
| Awọn ẹya ti o padanu lakoko apejọ. | Aṣiṣe apoti. | Contact Keter customer support with your model number and proof of purchase for assistance. |
Awọn pato
- Brand: Keter
- Awoṣe: STILO Utility Cabinet
- Nọmba awoṣe: 9721000
- Awọn iwọn (D x W x H): 39 x 68 x 173 cm (15.35 x 26.77 x 68.11 inches)
- Ìwọ̀n Nkan: 10.6 kg (23.37 lbs)
- Ohun elo: Polypropylene Plastic (Resin), >70% recycled content
- Àwọ̀: Grey with Black and Red accents
- Max Weight Capacity per Shelf: 15 kg (33 lbs)
- Iṣeduro Lilo: Indoor storage for files, tools, laundry supplies, etc.
- Awọn ẹya pataki: Adjustable shelves, soft-touch handles, lockable design, adjustable feet, very resistant.
- Ilu isenbale: Italy
Atilẹyin ọja ati Support
Specific warranty information is not provided in the product details. For warranty claims, missing parts, or technical support, please contact Keter customer service directly. Keep your proof of purchase and model number (9721000) handy when contacting support.
You can typically find contact information for Keter on their official webaaye tabi nipasẹ alagbata ti o ti ra ọja naa.
Awọn fidio ọja osise
No official product videos from the seller were found in the provided data. Please refer to the assembly instructions and images for visual guidance.