1. Ifihan
This manual provides essential information for the safe and effective use of your Telwin BRENNER MT15 MIG-MAG welding torch. Please read these instructions carefully before installation, operation, or maintenance. Proper understanding and adherence to these guidelines will ensure optimal performance and extend the lifespan of your equipment.
The Telwin MT15 is a professional MIG-MAG welding torch designed for various welding applications. It features a Euro connection and an air cooling system, making it compatible with a range of Telwin welding machines and other brands.
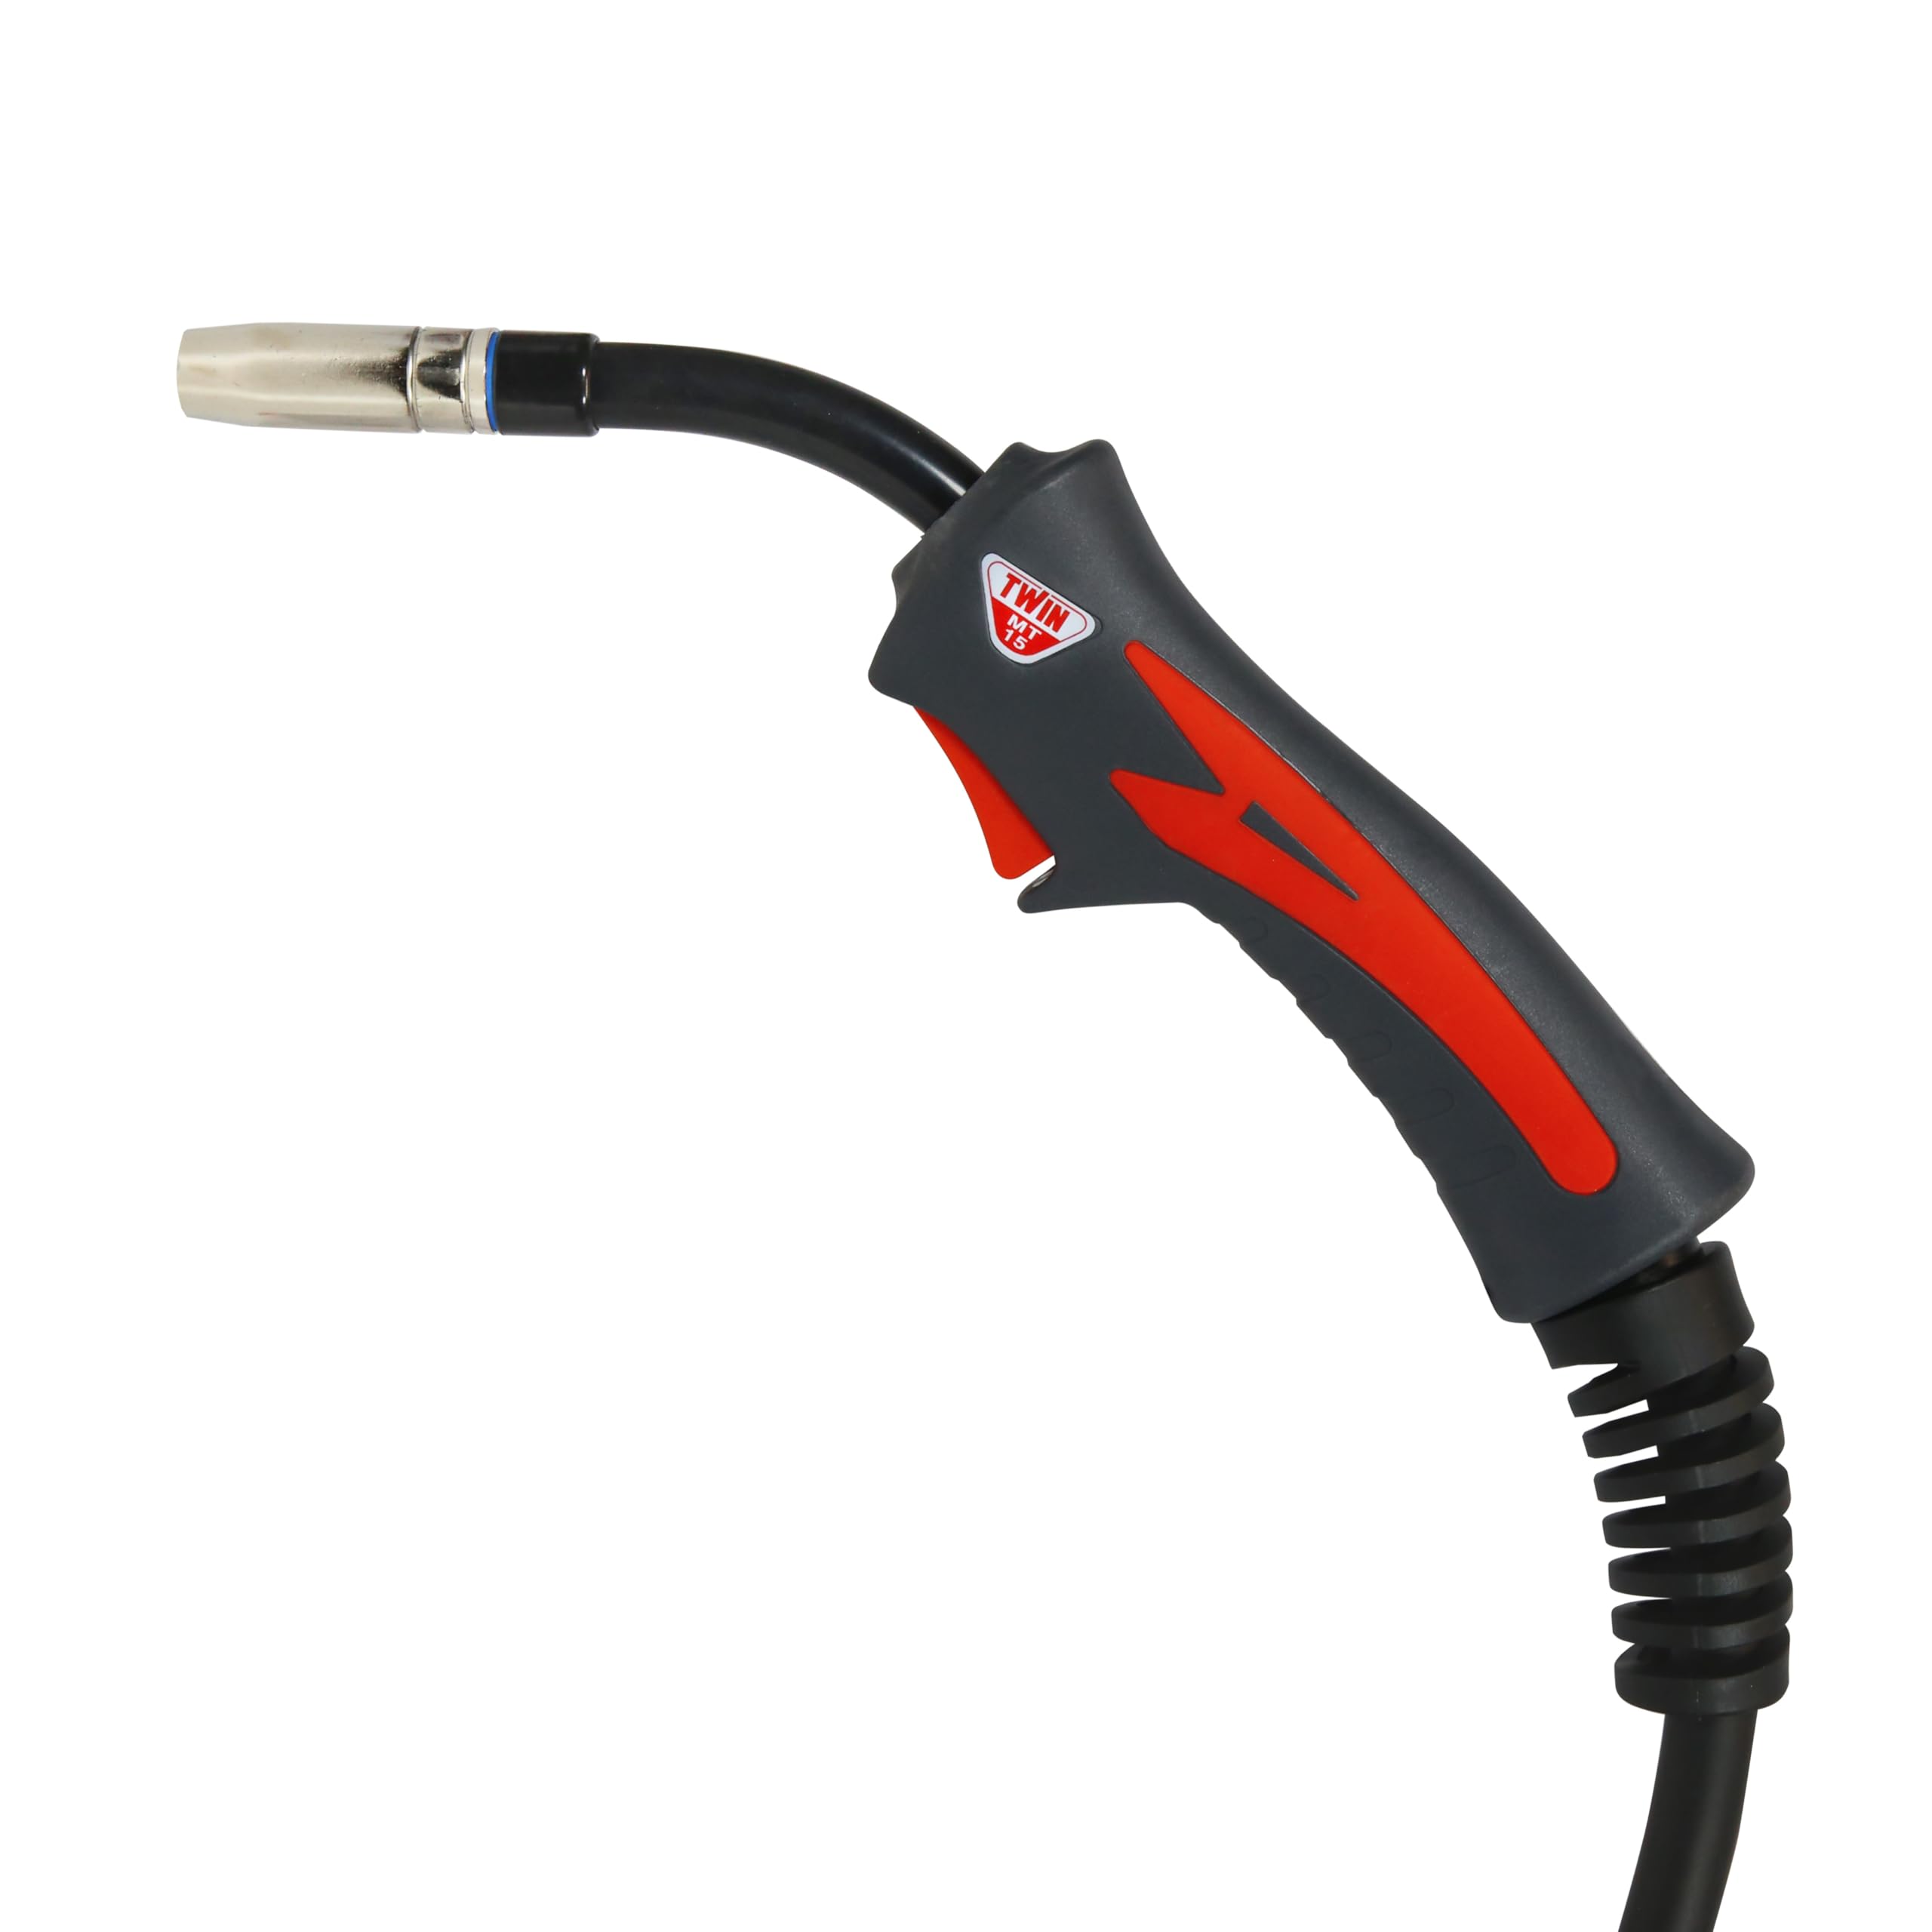
Image 1: The Telwin BRENNER MT15 MIG-MAG welding torch, showing the handle, trigger, and nozzle.
2. Alaye Aabo
WARNING: Welding operations can be dangerous and may cause injury or death. Always follow safety precautions to prevent electric shock, fire, explosions, burns, and other hazards.
- Ina mọnamọna: Ensure the welding machine is properly grounded. Do not touch live electrical parts. Wear dry welding gloves and protective clothing.
- Ooru ati Gas: Keep your head out of the fumes. Use adequate ventilation or exhaust at the arc to keep fumes and gases away from the breathing zone.
- Arc Rays: Wear a welding helmet with a proper shade filter to protect your eyes and face from arc rays. Wear protective clothing to protect skin.
- Ina ati Bugbamu: Remove all flammable materials from the welding area. Have a fire extinguisher readily available. Do not weld on containers that have held combustibles.
- Iná: Hot metal and electrodes can cause severe burns. Wear protective gloves and clothing.
- Itọju: Disconnect power from the welding machine before performing any maintenance or changing parts on the torch.
3. Ọja irinše
The Telwin BRENNER MT15 welding torch consists of several key components:
- Torch Body/Handle: Ergonomically designed for comfortable grip and control during welding.
- Nfa: Activates the welding process (wire feed and gas flow).
- Gooseneck/Neck: Connects the torch body to the nozzle assembly.
- Nozzle: Directs the shielding gas to the weld pool.
- Imọran Olubasọrọ: Electrically connects to the welding wire and transfers current to it. Must match wire diameter.
- Gas Diffuser: Distributes shielding gas evenly around the contact tip.
- Cable Alurinmorin: Carries welding current, shielding gas, and control signals from the welding machine to the torch.
- Euro Connection: Standardized connector for quick and secure attachment to compatible welding machines.

Aworan 2: Pariview of the Telwin BRENNER MT15 welding torch, highlighting its main parts.
4. Eto ati fifi sori
Follow these steps to properly set up your Telwin BRENNER MT15 welding torch:
- Ge Agbara: Ensure the welding machine is turned off and disconnected from the power supply before connecting the torch.
- Connect Torch to Welding Machine: The MT15 torch features a Euro connection. Align the Euro connector of the torch with the corresponding receptacle on your MIG-MAG welding machine. Push firmly and twist the locking nut clockwise until it is securely tightened.

Aworan 3: Isunmọ view of the Euro connector on the Telwin BRENNER MT15 welding torch, showing the gas inlet and electrical pins.
- Install Consumables:
- Imọran Olubasọrọ: Select a contact tip that matches the diameter of your welding wire (e.g., 0.6mm, 0.8mm, 1.0mm). Screw it firmly into the gas diffuser.
- Gas Diffuser: Ensure the gas diffuser is clean and securely seated.
- Nozzle: Slide the nozzle over the gas diffuser and twist or push to secure it, depending on the nozzle type.
- Load Welding Wire: Follow your welding machine's instructions for loading the welding wire through the wire feeder and into the torch liner. Ensure the wire diameter matches the drive rollers and contact tip.
- Connect Shielding Gas: Connect the gas hose from your welding machine to the gas regulator on your shielding gas cylinder. Ensure all connections are tight to prevent leaks.
- Agbara Tan: Once all connections are secure, you may connect the welding machine to the power supply and turn it on.
The Telwin MT15 torch is compatible with Telwin Telmig 195/2, 200/2, 203/2, 250/2 TURBO, Maxima 200, Maxima 230, Technomig 180 Euro, Technomig 210 Synergic, Mastermig 220/2, Technomig 215 Dual Synergic, Electromig 220 Synergic, Technomig 223 Treo, and Technomig 243 Wave machines. It can also be used with other welding machine brands that feature a Euro connection.
5. Awọn ilana Iṣiṣẹ
Before operating, ensure all safety precautions are observed and the welding machine settings (voltage, wire speed, gas flow) are appropriate for your material and wire type.
- Mura Iṣẹ-ṣiṣe: Clean the workpiece thoroughly to remove rust, paint, oil, or other contaminants.
- Ilẹ Clamp: So ilẹ clamp labeabo si workpiece tabi alurinmorin tabili, aridaju ti o dara itanna olubasọrọ.
- Position Torch: Hold the torch comfortably with the nozzle positioned at the starting point of your weld. Maintain the correct stick-out (distance from contact tip to workpiece).
- Bẹ̀rẹ̀ Arc: Press the trigger on the torch handle. This will initiate gas flow and wire feed, striking an arc.
- Weld: Move the torch steadily along the joint, maintaining a consistent travel speed and arc length. Observe the weld pool and adjust your technique as needed.
- Terminate Weld: Release the trigger to stop the wire feed and gas flow. Allow the weld to cool before handling.

Image 4: The Telwin BRENNER MT15 welding torch, illustrating the full assembly including the Euro connector.
6. Itọju
Regular maintenance ensures the longevity and optimal performance of your welding torch. Always disconnect power from the welding machine before performing maintenance.
- Nozzle mimọ: Periodically clean spatter from inside and outside the nozzle. Replace if it becomes excessively worn or damaged.
- Inspect Contact Tip: Check the contact tip for wear, enlargement of the bore, or spatter build-up. Replace if worn, as this can lead to poor arc stability and wire feeding issues.
- Clean Gas Diffuser: Ensure the gas diffuser is free of spatter and debris to maintain proper gas flow.
- Check Liner: If wire feeding problems occur, the wire liner may be clogged or kinked. Consult your welding machine manual for liner inspection and replacement procedures.
- Ṣayẹwo USB: Regularly check the welding cable for cuts, abrasions, or damage to the insulation. Damaged cables can pose an electrical hazard and affect performance.
- Euro Connection: Ensure the Euro connection remains clean and free of debris to maintain good electrical contact and gas flow.
7. Laasigbotitusita
This section addresses common issues you might encounter with your welding torch.
| Isoro | Owun to le Fa | Ojutu |
|---|---|---|
| Poor Arc Stability / Erratic Arc | Worn contact tip, incorrect contact tip size, poor ground connection, contaminated workpiece. | Replace contact tip, ensure correct tip size, clean and secure ground clamp, clean workpiece. |
| Wire Feeding Problems (Sticking, Jamming) | Clogged or kinked liner, incorrect drive roller tension, worn contact tip, incorrect wire spool tension. | Inspect/replace liner, adjust drive roller tension, replace contact tip, adjust wire spool tension. |
| Spatter ti o pọju | Voltage/wire speed, insufficient shielding gas, dirty workpiece, incorrect stick-out. | Adjust welding parameters, check gas flow/supply, clean workpiece, adjust stick-out. |
| Ko si Gaasi Sisan | Empty gas cylinder, closed valve, kinked gas hose, clogged gas diffuser, faulty solenoid valve in welder. | Check cylinder/valve, inspect hose, clean gas diffuser, consult welder manual for solenoid. |
| Torch Overheating | Exceeding duty cycle, insufficient air cooling, damaged cable. | Allow torch to cool, ensure proper ventilation around cable, inspect cable for damage. |
8. Imọ ni pato
- Awoṣe: Telwin BRENNER MT15
- Orisi Asopọmọra: Euro Asopọ
- Eto Itutu: Afẹfẹ Tutu
- Wire Diameter Compatibility: 0.6 - 1.0 milimita
- Gigun USB: 3 mita
- Ibamu: Telwin Telmig 195/2, 200/2, 203/2, 250/2 TURBO, Maxima 200, Maxima 230, Technomig 180 Euro, Technomig 210 Synergic, Mastermig 220/2, Technomig 215 Dual Synergic, Electromig 220 Synergic, Technomig 223 Treo, Technomig 243 Wave, and other compatible welding machines.
9. Atilẹyin ọja ati Support
For warranty information and technical support, please refer to the documentation provided with your welding machine or contact Telwin customer service directly. Keep your purchase receipt as proof of purchase.