
InstallGear IGCLS
InstallGear Keyless Entry System User Manual
Model: IGCLS
Ọrọ Iṣaaju
The InstallGear Keyless Entry System provides convenient and secure remote access to your vehicle's central locking system. This kit includes two 3-button remotes and four door actuators, designed for universal application in cars, autos, and trucks. It allows for seamless locking and unlocking, remote trunk release, and visual confirmation of system engagement.
Important Note: This is a highly technical product. Professional installation by an individual with extensive knowledge in car door locks and automotive electrical systems is strongly recommended to ensure proper function and safety.
Alaye Aabo
- Always disconnect the vehicle's battery before beginning any electrical installation to prevent short circuits and electrical shock.
- Ensure all wiring connections are secure and properly insulated to prevent short circuits, fire hazards, and system malfunctions.
- Route wires away from moving parts, sharp edges, and heat sources to prevent damage.
- Use appropriate fuses as specified in the wiring diagram to protect the system and vehicle's electrical components.
- Tí o bá ní iyèméjì nípa apá kan nínú ìlànà ìfisílé, kan sí onímọ̀-ẹ̀rọ ọkọ̀ ayọ́kẹ́lẹ́ tó mọ̀ nípa rẹ̀.
Package Awọn akoonu
Daju pe gbogbo awọn paati ti a ṣe akojọ si isalẹ wa ninu package rẹ:

Figure 1: Complete Kit Contents
- 1x Main Unit Control Module
- 2x 3-Button Remote Controls
- 1x Ijanu onirin
- 4x Door Lock Actuators (including one 5-wire master actuator and three 2-wire slave actuators)
- Mounting Hardware (brackets, rods, screws)
Eto ati fifi sori
Installation of the InstallGear Keyless Entry System requires knowledge of automotive electrical systems and mechanical aptitude. Refer to the wiring diagram provided and your vehicle's specific wiring schematics for accurate connections.
Wiring aworan atọka Loriview

Àwòrán 2: Àwòrán Ìsopọ̀mọ́ra Ètò
The diagram illustrates the connections between the main unit, the vehicle's battery, the door lock actuators, and optional accessories like parking lights and trunk release.
Key Wiring Awọn isopọ
- Okun Pupa: Connect to a constant +12V DC power source (e.g., vehicle battery or fuse box) with an inline fuse.
- Waya Dudu: Sopọ si ilẹ ẹnjini ọkọ ayọkẹlẹ.
- Blue & Green Wires: These pairs connect to each door actuator. Ensure correct polarity for lock/unlock action. If the default action is reversed, you may need to swap these wires at the actuator.
- Master Actuator (5-wire): The master actuator (typically for the driver's door) has additional Black, White, and Brown wires. These communicate the manual lock/unlock status to the main unit, allowing all other doors to synchronize.
- Violet (Purple) Wires: These wires are for connecting to your vehicle's signaling lights (e.g., turn signals or parking lights) to provide visual confirmation of lock/unlock. Diodes are included to prevent back-feeding.
- Amber (Orange) Wire: This wire provides a low-current pulse for remote trunk release. It is recommended to connect this to a relay coil, which then controls a higher-current trunk release actuator. Direct connection to an actuator may damage the unit.
- White & Brown (Extra Wires): These are for optional manual lock/unlock switches. Connect a momentary switch between Brown and ground for unlock, and White and ground for lock.
Fifi sori ẹrọ ẹrọ
Mount the actuators securely within the door panels. The included brackets and rods may need to be bent or cut to fit your specific vehicle's door mechanism. Ensure the actuator rod moves freely and aligns properly with the factory lock rod to prevent binding and ensure smooth operation. Test the mechanical movement before finalizing electrical connections.
Awọn ilana Iṣiṣẹ
Once installed, the system is operated using the provided 3-button remote controls.
Awọn iṣẹ iṣakoso latọna jijin
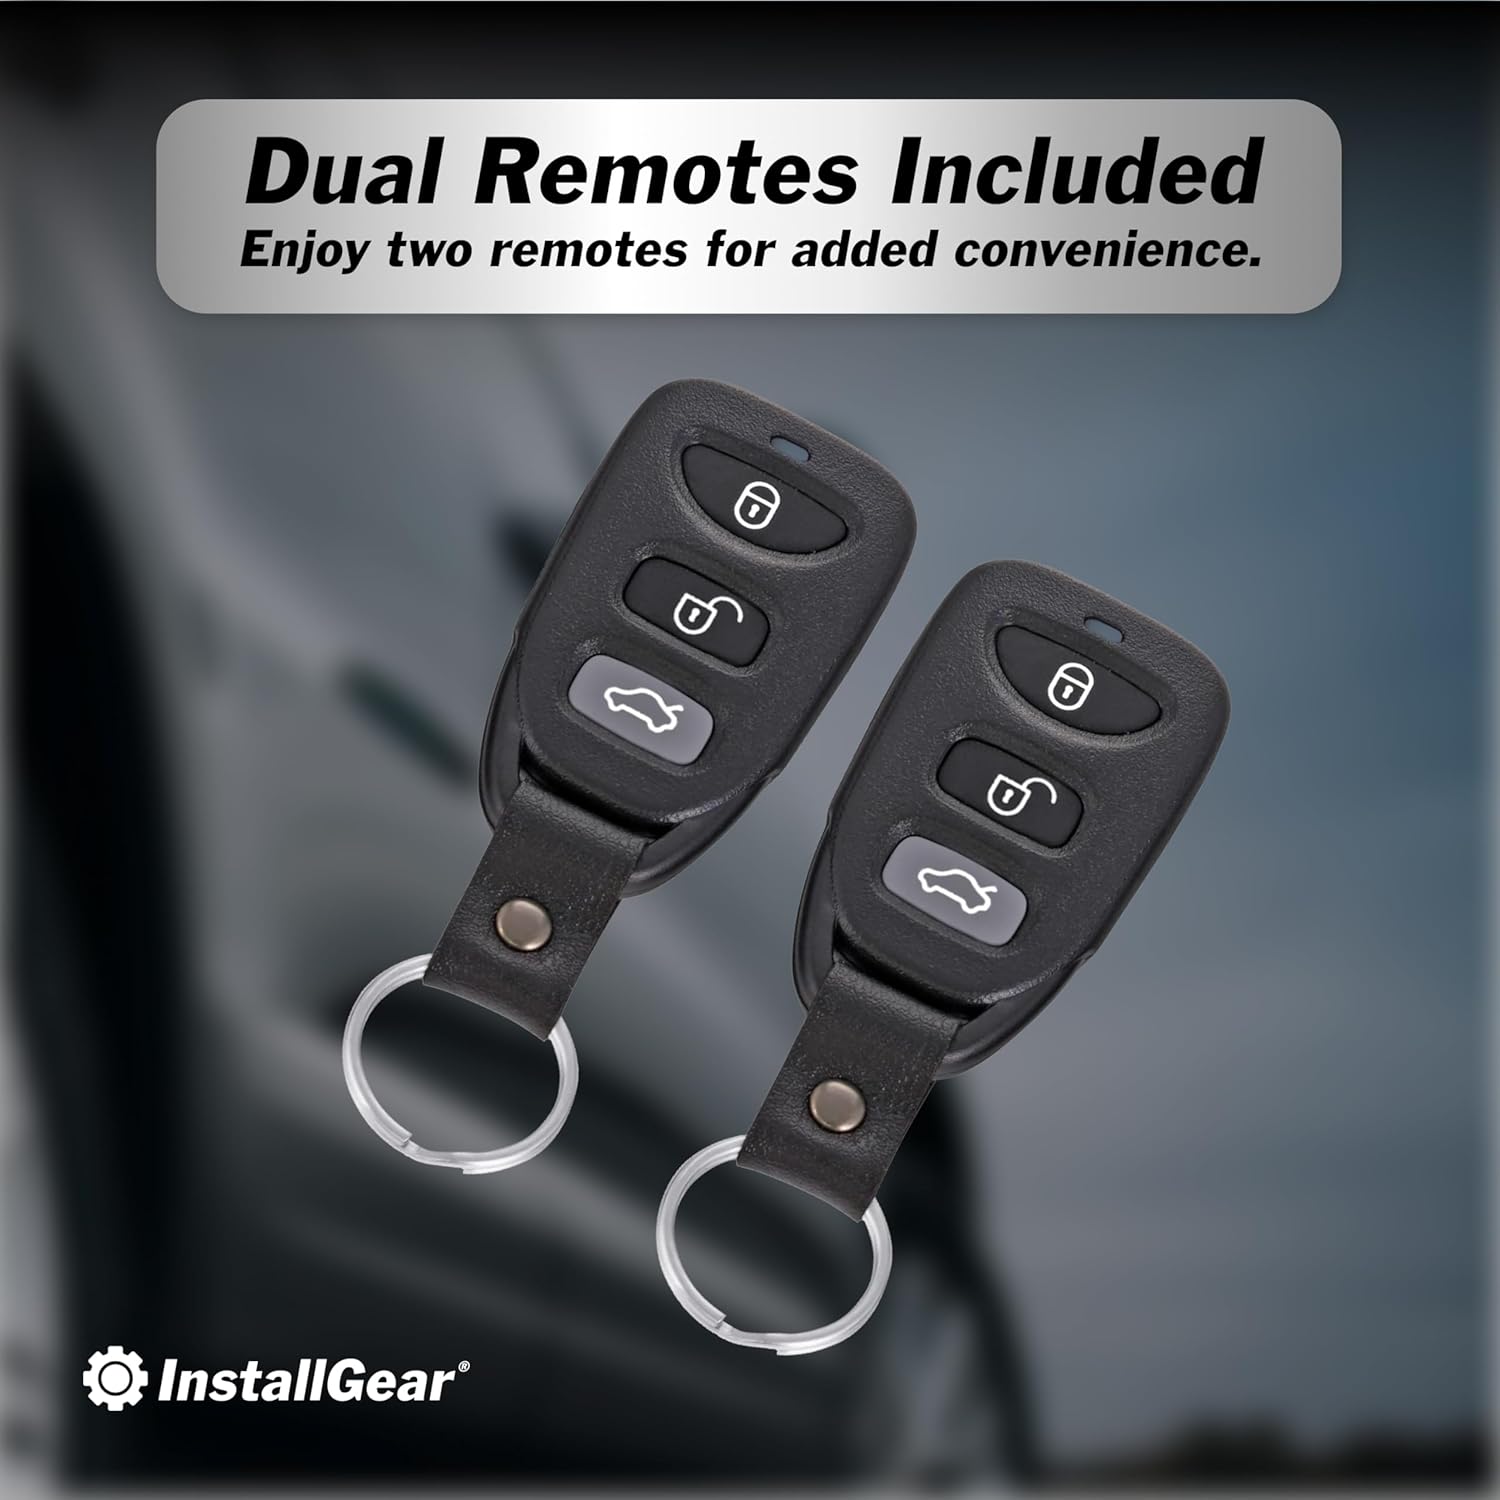
Figure 3: Remote Controls
- Bọtini Titiipa (🔒): Press once to lock all doors. The vehicle's lights will flash once to confirm. If the vehicle is already locked and you press the button again, the lights will flash five times.
- Bọ́tìnì Ṣíṣí (🔓): Press once to unlock all doors. The vehicle's lights will flash twice to confirm.
- Trunk Release Button (🚗💨): Press and hold for approximately 2.5 seconds to activate the remote trunk release. This sends a brief pulse to the amber wire.


Figure 4: Keyless Convenience and Trunk Access
Itoju
The InstallGear Keyless Entry System is designed for long-lasting performance with minimal maintenance.
- Awọn batiri Latọna jijin: If the remote's range decreases or it becomes unresponsive, replace the battery. Refer to the remote's casing for battery type (typically a coin cell battery).
- Ayẹwo onirin: Periodically inspect all wiring connections for signs of wear, corrosion, or loose connections. Ensure all wires are securely routed and protected.
- Actuator Function: Listen for smooth operation of the actuators. If you notice any unusual noises or sluggish movement, inspect the mechanical linkage for obstructions or misalignment.
Laasigbotitusita
If you encounter issues with your keyless entry system, consider the following common troubleshooting steps:
| Isoro | Owun to le Fa | Ojutu |
|---|---|---|
| System does not respond to remote. | Dead remote battery, remote out of range, main unit not powered, faulty wiring. | Replace remote battery. Move closer to vehicle. Check main unit power connection (Red and Black wires). Inspect wiring harness for damage. |
| Doors do not lock/unlock. | Actuator wiring incorrect, mechanical linkage issues, faulty actuator. | Verify Blue/Green wire polarity to actuators. Check mechanical rods for obstructions or misalignment. Test individual actuators if possible. |
| Lights do not flash upon lock/unlock. | Violet wire not connected, incorrect connection point, blown fuse. | Ensure Violet wires are correctly connected to vehicle's signaling lights. Check the inline fuse on the Violet wire. |
| Trunk release does not work. | Amber wire not connected to relay, faulty relay, faulty trunk actuator. | Confirm Amber wire is connected to a relay. Verify relay and trunk actuator functionality. |
If problems persist after attempting these solutions, it is recommended to consult a professional automotive electrician.
Awọn pato
- Olupese: Fi sori ẹrọGear
- Nọmba awoṣe: IGCLS
- Ìwọ̀n Nkan: 2.07 iwon
- Awọn iwọn idii: 11.02 x 7.44 x 2.68 inches
- Awọn ẹrọ ibaramu: Àwọn ọkọ̀ ayọ́kẹ́lẹ́, àwọn ọkọ̀ akẹ́rù
- Iṣakoso Latọna jijin To wa: Yes (Two 3-button remotes)
- ASIN: B01MDLUTPC
- Ọjọ Akọkọ Wa: Oṣu Kẹwa Ọjọ 13, Ọdun 2016
Atilẹyin ọja ati Support
For warranty information or technical support, please contact InstallGear directly through their official webaaye tabi alagbata ti o ti ra ọja naa. Jeki ẹri rira rẹ fun awọn iṣeduro atilẹyin ọja.
Ṣabẹwo si InstallGear Store on Amazon fun alaye siwaju sii.
Ask a question about this manual
Ask about setup, troubleshooting, compatibility, parts, safety, or missing instructions. Manuals+ will review the question and use this page’s manual context to help answer it.