
1. Ifihan
Thank you for choosing the Ferroli 10L Water Heater, model CALDO10V. This manual provides essential information for the safe and efficient installation, operation, and maintenance of your water heater. Please read these instructions carefully before installation and use, and keep them for future reference. Proper installation and adherence to these guidelines will ensure optimal performance and longevity of your appliance.
2. Ọja Ipariview
The Ferroli CALDO10V is a high-efficiency 10-liter water heater designed for reliable hot water supply. It features advanced technology for energy saving and durability.
Awọn ẹya pataki:
- High Pressure Rating: 8 bar, suitable for high-rise buildings.
- Blue Forever Heating Element for efficient heating.
- Digital Temperature Display for precise control.
- Long-lasting Aluminium Anode for enhanced tank protection.
- Healthy Blue Silicon Enamel Coated Tank for corrosion resistance.
- Rust Proof ABS Body for durability.
- Environment Friendly CFC-free Insulation for energy efficiency.
- Hi-Tech Capillary Thermostat & Cutout for additional safety.
Awọn eroja:
The water heater unit includes the main body, power cord, and a safety valve. Mounting hardware is also provided.

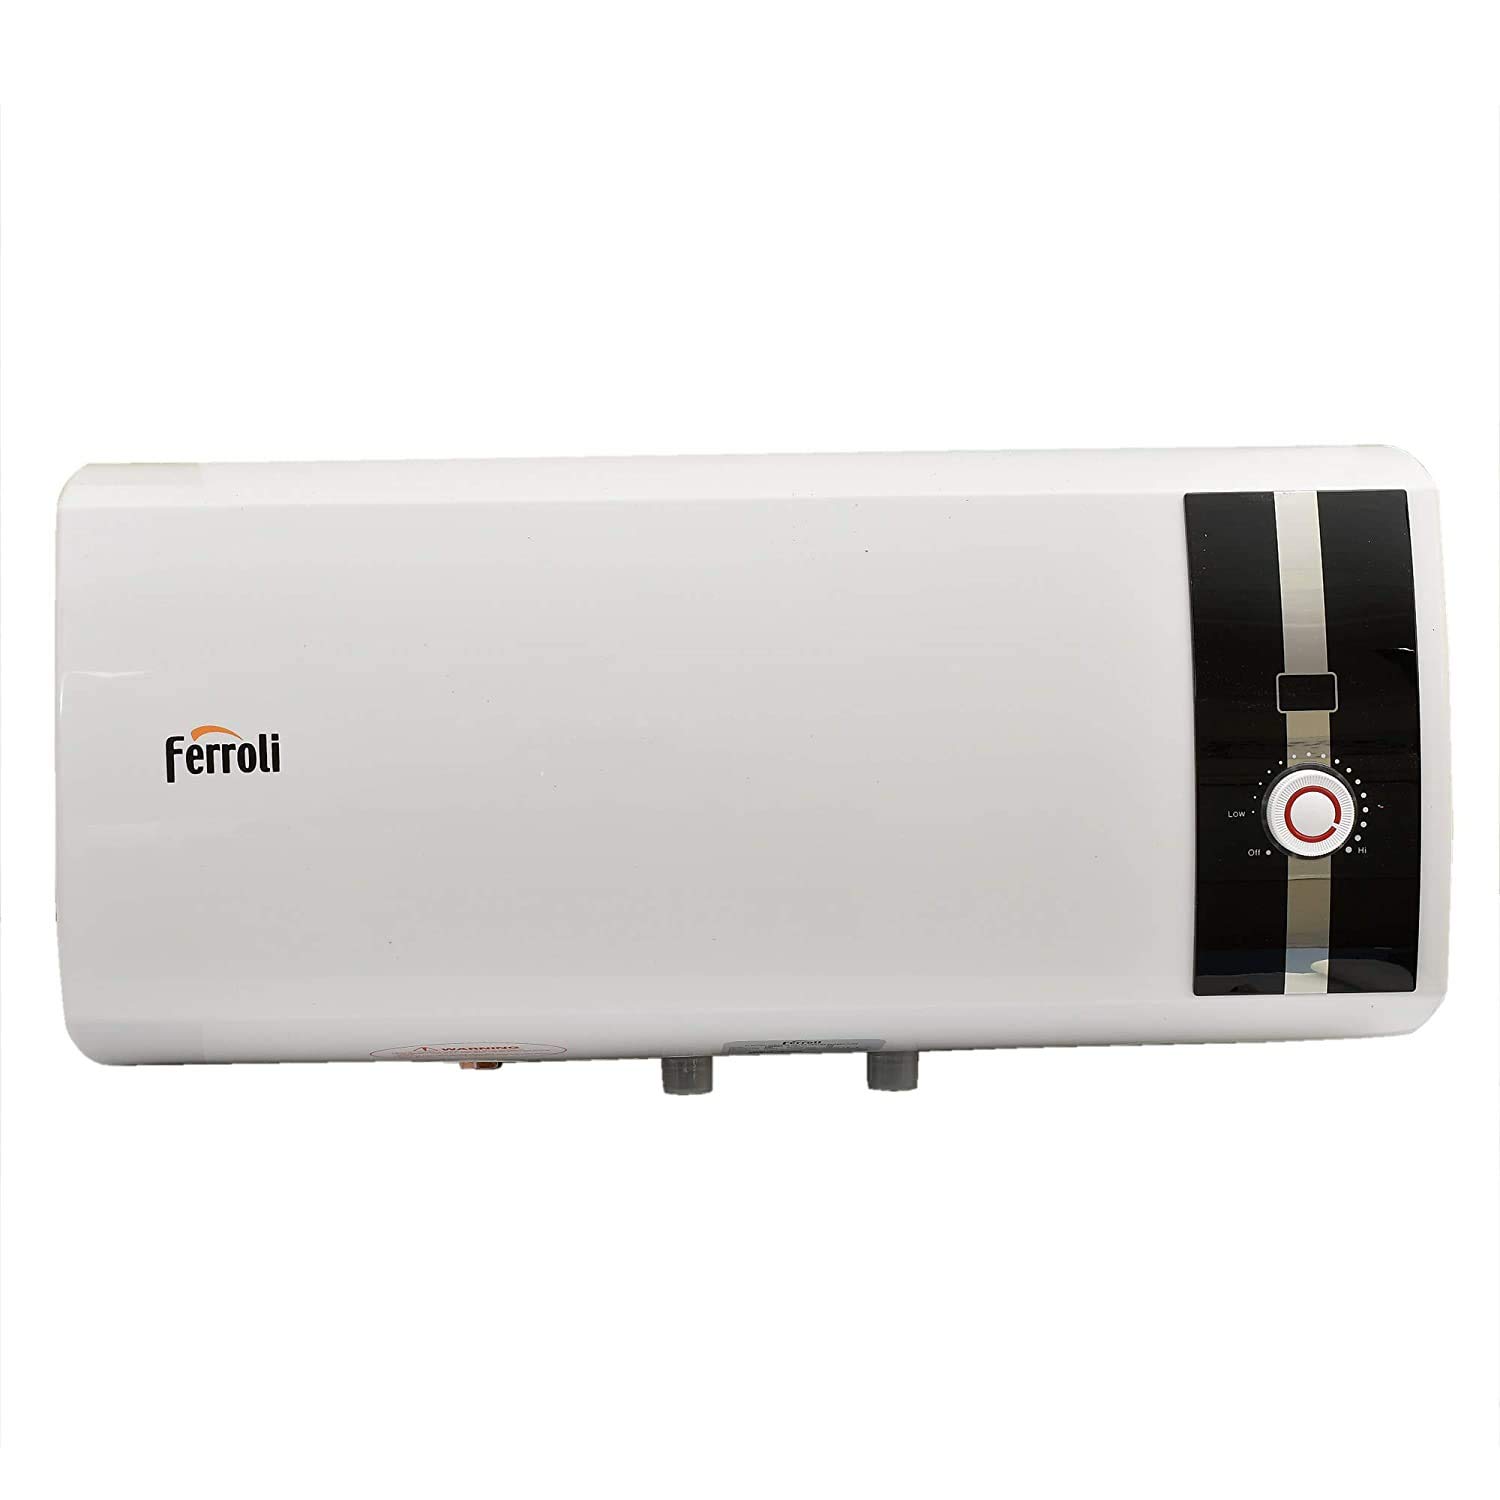
olusin 2.1: Iwaju view of the Ferroli 10L Water Heater CALDO10V, showing its compact design and control panel on the right side.
3. Awọn ilana aabo
Always observe the following safety precautions to reduce the risk of injury, electric shock, fire, or damage to the appliance.
- Oṣiṣẹ ti o peye: Installation and maintenance must be performed by qualified technicians in accordance with local regulations and this manual.
- Aabo Itanna: Rii daju pe ipese agbara ibaamu voltage specified on the appliance. Do not use extension cords. The appliance must be properly grounded.
- Ipa omi: The water heater is designed for a maximum pressure of 8 bar. Install a pressure reducing valve if the incoming water pressure exceeds this limit.
- Iwọn otutu: Hot water can cause severe burns. Exercise caution when using hot water and supervise children or individuals with reduced capabilities.
- Àtọwọdá Abo: Maṣe dina tabi tamper with the pressure relief valve. It must be installed and regularly checked for proper operation.
- Didi: Protect the appliance and water pipes from freezing temperatures.
- Awọn ohun elo ina: Do not store or use flammable materials near the water heater.
Olusin 3.1: Example of a warning label on the water heater, indicating important safety information regarding installation and usage.
4. Eto & Fifi sori
Proper installation is crucial for the safe and efficient operation of your water heater. Refer to the diagrams and follow these steps carefully.
4.1 Mounting the Water Heater:
- Choose a suitable wall location that can support the full weight of the water heater when filled with water (approx. 19 kg).
- Mark the drilling points for the mounting brackets using the provided template or by measuring the distance between the brackets on the unit.
- Drill holes and insert the wall plugs. Secure the mounting hooks firmly into the wall.
- Carefully lift the water heater and hang it securely on the mounting hooks. Ensure it is level.

olusin 4.1: Ẹyìn view of the water heater, illustrating the integrated mounting brackets and the water inlet (blue) and outlet (red) connections.

Figure 4.2: Included mounting hardware (hooks and wall plugs) and the pressure relief safety valve, essential for safe operation.
4.2 Awọn isopọ Omi:
- Connect the cold water supply to the blue marked inlet pipe.
- Connect the hot water outlet to the red marked pipe.
- Install the pressure relief safety valve on the cold water inlet pipe. Ensure the discharge pipe from the safety valve is directed downwards and left open to the atmosphere. Do not block it.
- Use appropriate sealing materials (e.g., PTFE tape) on all threaded connections to prevent leaks.
4.3 Asopọmọra Itanna:
- Ensure the main power supply is switched off before making any electrical connections.
- Connect the water heater's power cord to a properly grounded electrical outlet.
- Rii daju pe voltage and frequency of your electrical supply match the specifications of the water heater.
5. Awọn ilana Iṣiṣẹ
Follow these steps to operate your Ferroli water heater safely and efficiently.
5.1 Kikun ojò:
- Before switching on the power, open a hot water tap in your home to allow air to escape from the tank.
- Ṣii omi ipese omi tutu si ẹrọ ti ngbona omi.
- Wait until water flows steadily from the hot water tap, indicating the tank is full. Close the hot water tap.
5.2 Titan ati Atunṣe iwọn otutu:
- Plug in the power cord or switch on the dedicated circuit breaker for the water heater.
- The digital display will illuminate, showing the current water temperature.
- Use the temperature control knob on the front panel to set your desired water temperature. Turn clockwise for higher temperatures ('Hi') and counter-clockwise for lower temperatures ('Low').
- The heating element will activate, and the water will begin to heat to the set temperature.

Figure 5.1: Close-up of the control panel, featuring the temperature adjustment knob with 'Off', 'Low', and 'Hi' settings, and an indicator light.
6. Itọju
Ìtọ́jú déédéé máa ń jẹ́ kí ẹ̀rọ ìgbóná omi rẹ pẹ́ títí, kí ó sì ṣiṣẹ́ dáadáa. Máa yọ agbára kúrò kí o tó ṣe ìtọ́jú èyíkéyìí.
6.1 Sisọ ojò naa:
To drain the tank for maintenance or if there is a risk of freezing:
- Switch off the power supply to the water heater.
- Close the cold water inlet valve to the heater.
- Open a hot water tap in your home to relieve pressure.
- Connect a hose to the drain valve (if present, usually near the cold water inlet) or carefully open the pressure relief valve to drain the water.
6.2 Anode Rod Inspection/Replacement:
The water heater is equipped with a long-lasting Aluminium Anode to protect the tank from corrosion. It is recommended to have a qualified technician inspect the anode rod annually and replace it if significantly depleted. This extends the life of the tank.
6.3 Ninu:
Wipe the exterior of the water heater with a soft, damp asọ. Ma ṣe lo abrasive ose tabi epo.
7. Laasigbotitusita
If you encounter issues with your water heater, refer to this section before contacting service.
| Isoro | Owun to le Fa | Ojutu |
|---|---|---|
| Ko si omi gbona | Ko si ipese agbara Thermostat ṣeto ju kekere Alapapo ano ikuna | Ṣayẹwo asopọ agbara ati fifọ Circuit Ṣatunṣe iwọn otutu si eto ti o ga julọ Kan si onimọ-ẹrọ ti o peye |
| Omi ko gbona to | Thermostat ṣeto ju kekere Insufficient alapapo akoko High hot water demand | Ṣe alekun eto iwọn otutu Allow more time for heating Reduce hot water usage or consider a larger capacity unit |
| Omi jijo | Loose pipe connections Aṣiṣe titẹ iderun àtọwọdá Jijo ojò | Mu awọn asopọ pọ Inspect and replace safety valve if necessary Kan si onimọ-ẹrọ ti o ni oye lẹsẹkẹsẹ |
| Awọn ariwo ti ko ṣe deede (fun apẹẹrẹ, yiyo, ariwo) | Erofo buildup ni ojò | Drain and flush the tank to remove sediment. If problem persists, contact technician. |
8. Awọn pato
Technical specifications for the Ferroli 10L Water Heater CALDO10V.
| Ẹya ara ẹrọ | Sipesifikesonu |
|---|---|
| Brand | Ferroli |
| Nọmba awoṣe | CALDO10V |
| Agbara | 10 lita |
| Orisun agbara | Okun Itanna |
| Iwọn Nkan | 9 kg |
| Iwọn Rating | 8 igi |
| Alapapo Ano | Blue Forever |
| Tank Coating | Blue Silicon Enamel |
| Ohun elo ara | Rust Proof ABS |
| Idabobo | CFC-ọfẹ |
| Olupese | GSP INTERNATIONAL |
9. Atilẹyin ọja ati Support
For warranty information, technical support, or service requests, please contact your authorized Ferroli dealer or customer service center. Keep your purchase receipt as proof of purchase for warranty claims.