1. Ifihan
This user manual provides detailed instructions for the safe and efficient operation of your Xerox VersaLink B405/DN Monochrome Multifunction Printer. It covers initial setup, daily use, routine maintenance, and troubleshooting common issues. Please read this manual thoroughly before using the device to ensure optimal performance and longevity.

olusin 1.1: Iwaju view of the Xerox VersaLink B405/DN Multifunction Printer.
2. Alaye Aabo
Observe the following safety precautions to prevent injury and damage to the printer:
- Nigbagbogbo so itẹwe pọ mọ iṣan agbara ti ilẹ.
- Maṣe ṣe idiwọ awọn ṣiṣi eefin.
- Pa itẹwe naa mọ kuro ninu omi tabi ọriniinitutu pupọ.
- Use only specified power cords and accessories.
- Do not attempt to service the printer yourself; refer all servicing to qualified personnel.
3. Package Awọn akoonu
Jẹrisi pe gbogbo awọn ohun kan wa ninu package:
- Xerox VersaLink B405 Multifunction Printer
- Standard Capacity Toner Cartridge (5900 capacity)
- Software ati iwe CD
- Itọsọna fifi sori ẹrọ
- Itọsọna lilo iyara
- Okun agbara
- Faksi okun
4. Eto
4.1 Ṣiṣii ati Gbe
Carefully remove the printer from its packaging. Place the printer on a stable, level surface with adequate ventilation. Ensure sufficient space around the device for operation and maintenance.
4.2 Asopọ agbara
Connect the provided power cord to the printer's power inlet and then to a grounded electrical outlet.
4.3 Asopọ Nẹtiwọọki
Connect an Ethernet cable from your network router or switch to the Ethernet port on the rear of the printer. This printer uses an Ethernet hardware interface for network connectivity.
4.4 Software fifi sori
Insert the software and documentation CD into your computer's CD-ROM drive. Follow the on-screen instructions to install the printer drivers and utility software. Alternatively, visit the official Xerox support webojula lati gba lati ayelujara titun awakọ.
4.5 ikojọpọ Iwe
Open the paper tray located at the front of the printer. Adjust the paper guides to fit the size of your paper. Load the paper stack, ensuring it does not exceed the maximum fill line. The printer supports various print media including plain paper, envelopes, and labels, with a maximum media size of 8.5 x 14 inches.

olusin 4.1: Iwaju view showing the paper trays for loading media.
4.6 Toner Katiriji fifi sori
If the toner cartridge is not pre-installed, open the front access panel of the printer. Carefully insert the standard capacity toner cartridge into its designated slot until it clicks into place. Close the access panel.
5. Awọn ilana Iṣiṣẹ
The VersaLink B405/DN features an intuitive control panel for managing various functions.
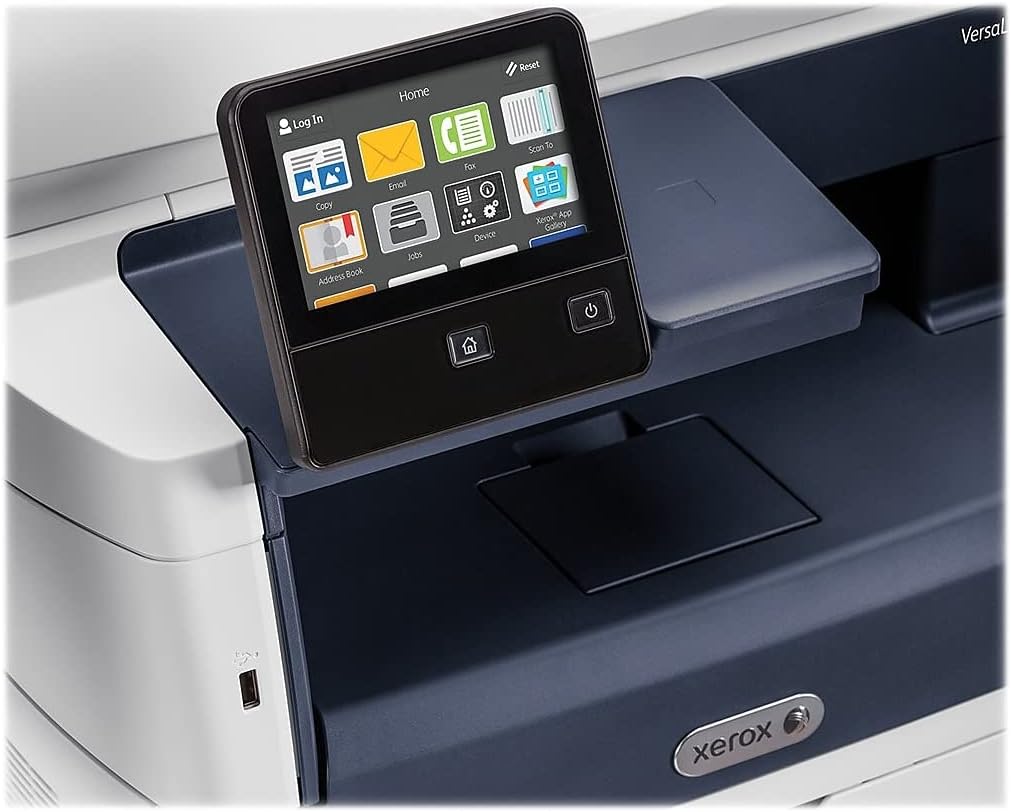
Figure 5.1: The touch-screen control panel for printer operation.
5.1 Titẹ sita
To print a document from your computer, select the Xerox VersaLink B405/DN from your printer list. Adjust print settings such as paper size, orientation, and duplex printing (automatic dual-sided printing is supported) as needed. Confirm the print job.
5.2 didaakọ
Place your document face-up in the Automatic Document Feeder (ADF) or face-down on the scanner glass. On the control panel, select the 'Copy' function. Adjust settings like number of copies, lightness/darkness, and two-sided copying. Press the 'Start' button to begin copying.

Figure 5.2: Paper loaded in the Automatic Document Feeder for copying or scanning multiple pages.
5.3 Ṣiṣayẹwo
Place your document in the ADF or on the scanner glass. On the control panel, select the 'Scan' function. Choose your desired scan destination (e.g., Scan to Email, Scan to Network, Scan to USB). Configure scan settings such as resolution and file format. Press 'Start' to initiate the scan.

Figure 5.3: The scanner lid open, showing the flatbed for scanning single pages or delicate documents.
5.4 Faxing
Connect the provided fax cord to the printer's fax port and a telephone wall jack. Place your document in the ADF or on the scanner glass. On the control panel, select the 'Fax' function. Enter the recipient's fax number and press 'Start'.
6. Itọju
6.1 Toner Rirọpo
When the printer indicates low toner, order a replacement Xerox toner cartridge. Open the front access panel, remove the old cartridge by pulling it out, and insert the new cartridge until it locks into place. Close the panel.
6.2 Ninu
Nigbagbogbo nu ode ti itẹwe pẹlu asọ, damp cloth. For the scanner glass, use a lint-free cloth and a non-abrasive glass cleaner. Avoid spraying cleaner directly onto the glass.
6.3 Paper Paper Jams
If a paper jam occurs, the control panel will display instructions. Open the indicated access covers and carefully remove any jammed paper, pulling in the direction of the paper path. Ensure all paper fragments are removed before closing the covers.
7. Laasigbotitusita
Abala yii n ṣalaye awọn ọran ti o wọpọ ti o le ba pade:
- Itẹwe Ko Dahun: Check power connections, network cable, and ensure the printer is online. Restart both the printer and your computer.
- Didara Titẹjade Ko dara: Check toner levels. Perform a print quality diagnostic from the printer's control panel or software. Clean the print heads if necessary (refer to the printer's internal menu).
- Awọn Jams Iwe: Follow the instructions on the control panel to locate and clear the jam. Ensure paper is loaded correctly and not creased or damaged.
- Awọn oran Ṣiṣayẹwo: Verify network connectivity. Ensure the scanner glass and ADF are clean. Check scan settings on the control panel.
For more complex issues, consult the full documentation on the provided CD or the Xerox support webojula.
8. Awọn pato
| Ẹya ara ẹrọ | Sipesifikesonu |
|---|---|
| Ọja Mefa | 19.5"D x 19.5"W x 21.7"H |
| Iwọn Nkan | 48 iwon |
| O pọju Media Iwon | 8.5 x 14 inch |
| O pọju Input dì Agbara | 2350 iwe |
| O pọju Dudu ati White Print Resolution | 1200 x 1200 dpi |
| Max Print Speed Monochrome | 47ppm |
| Iyara Daakọ ti o pọju (Dudu & Funfun) | 6.2 seconds (first copy out) |
| Titẹ sita-meji | Laifọwọyi |
| Ni wiwo Hardware | Ethernet, USB |
| Agbara Ibi ipamọ Iranti | 2 GB |
| Iwọn ero isise | 2 |
| Itẹwe Inki Iru | Toner |
| Scanner Iru | Document (ADF and Flatbed) |
9. Atilẹyin ọja ati Support
The Xerox VersaLink B405/DN Monochrome Multifunction Printer comes with a standard one-year warranty. For warranty claims, technical support, or service inquiries, please contact Xerox customer support directly. Refer to the official Xerox website or the documentation included with your product for contact details and further support resources.