
1. Ifihan
This manual provides detailed instructions for the installation, operation, and maintenance of your AMTIFO 720P 7 Inch Wireless Backup Camera Kit. Please read this manual thoroughly before using the product to ensure proper function and safety. This system is designed to assist drivers by providing a clear view of the area behind the vehicle, enhancing safety during reversing maneuvers.
2. Package Awọn akoonu
Before installation, please verify that all components listed below are present in your package.

Nọmba 2.1: All components included in the AMTIFO Wireless Backup Camera Kit. This image displays the 7-inch monitor, the rear view camera, two antennas, a cigarette lighter power adapter, power cords for the camera, and a dash mount for the monitor.
- 7-inch HD Wireless Monitor
- Kamẹra Afẹyinti Alailowaya
- Atẹle Eriali
- Eriali Kamẹra
- Adapter Power fẹẹrẹ
- Okun Agbara kamẹra
- Dash Mount for Monitor
3. Awọn ẹya Ọja
- Asopọ Alailowaya: The system utilizes a stable wireless signal for communication between the camera and monitor, eliminating the need for complex wiring through the vehicle's interior. This design supports reliable operation in various weather conditions.
- High-Definition 7-inch Monitor: Features a 720P HD display with adjustable contrast and brightness for optimal viewwípé wípé.
- Kamẹra Igun Gigun: Equipped with a 150-degree viewing angle lens, providing a broad perspective of the rear environment. The camera features a CCD sensor and 6-glass HD lens for sharp, distortion-free images.
- IP69 Waterproof Camera: The camera is designed with an IP69 waterproof rating, ensuring reliable performance in harsh weather conditions, including extreme temperatures.
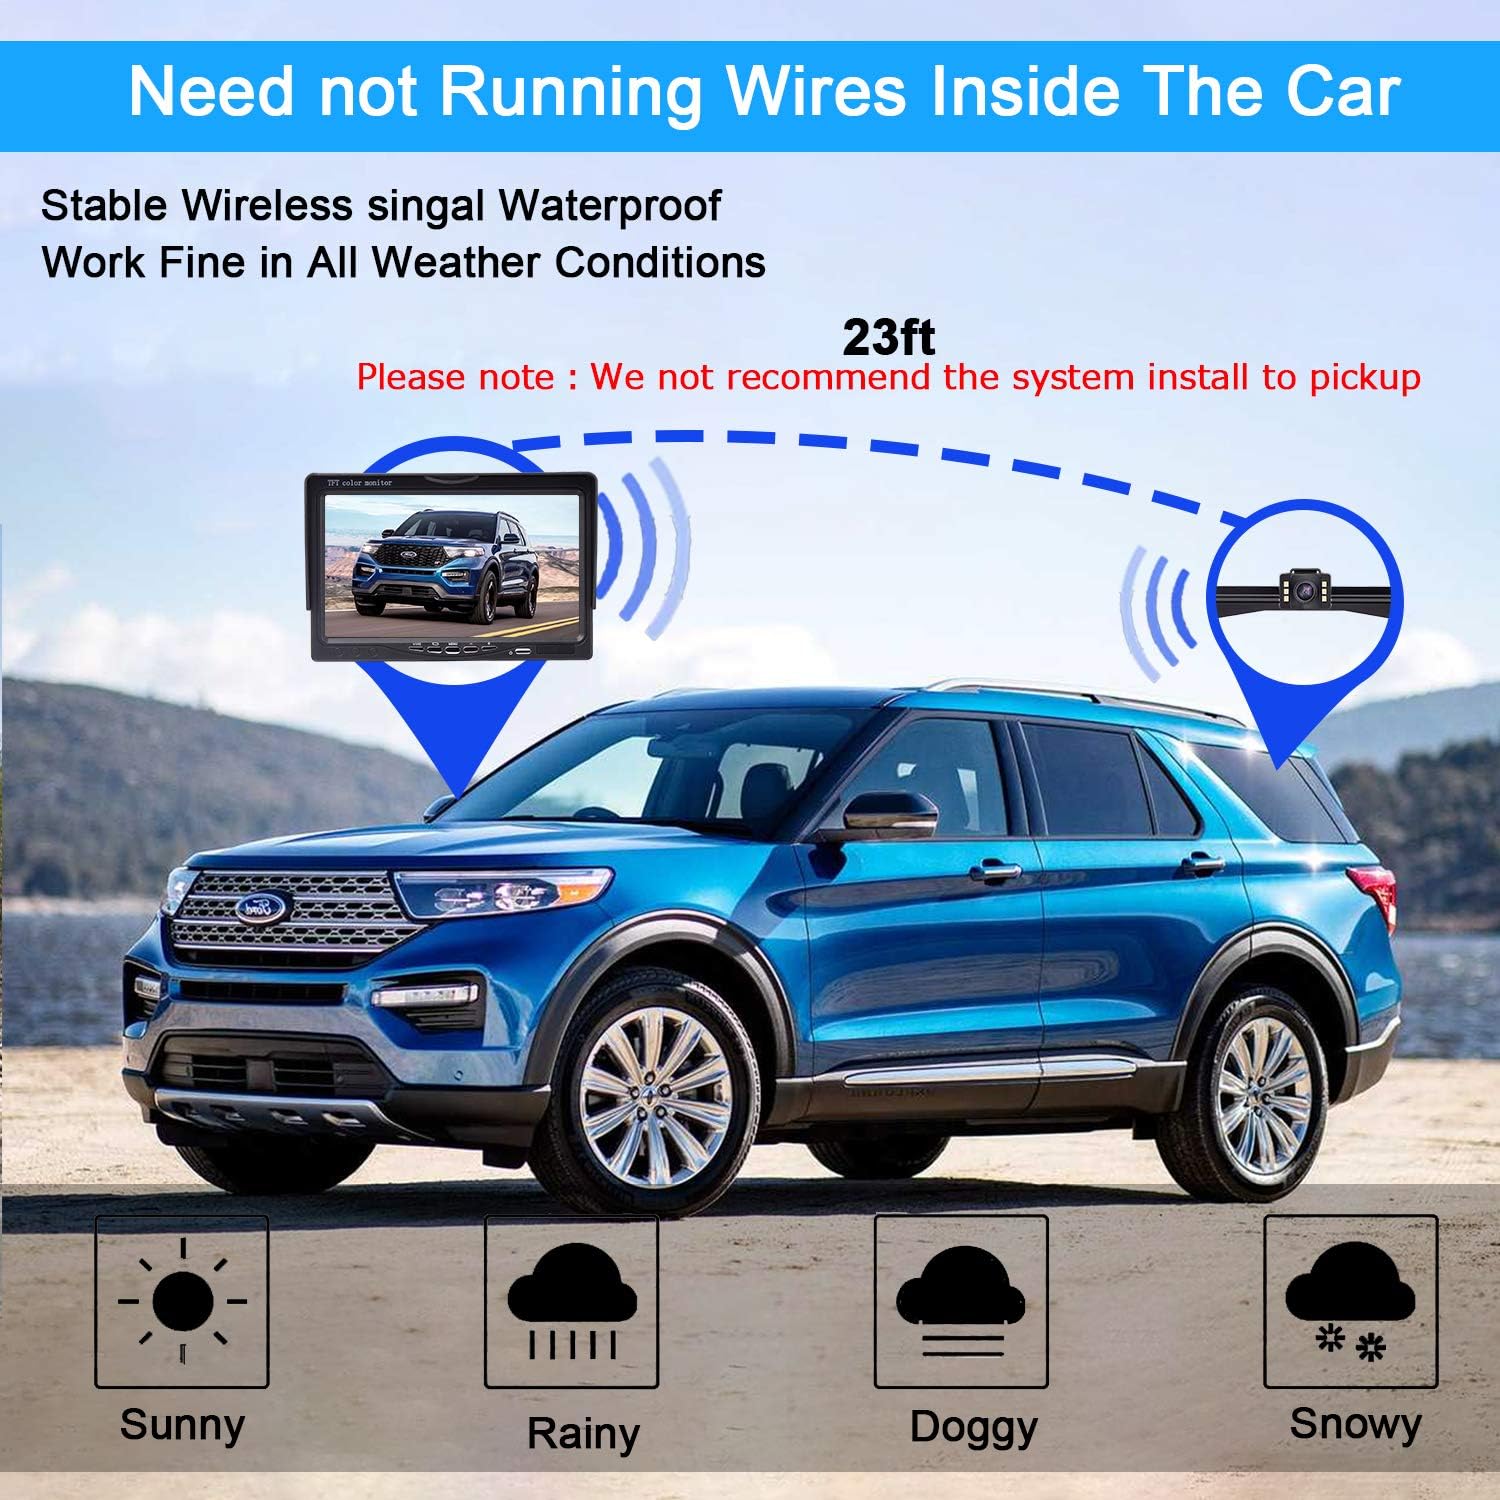
Nọmba 3.1: Wireless signal transmission between the camera and monitor. The diagram shows a car with the monitor inside and the camera mounted at the rear, indicating a wireless connection up to 23 feet. Icons below represent sunny, rainy, foggy, and snowy weather, signifying all-weather performance.
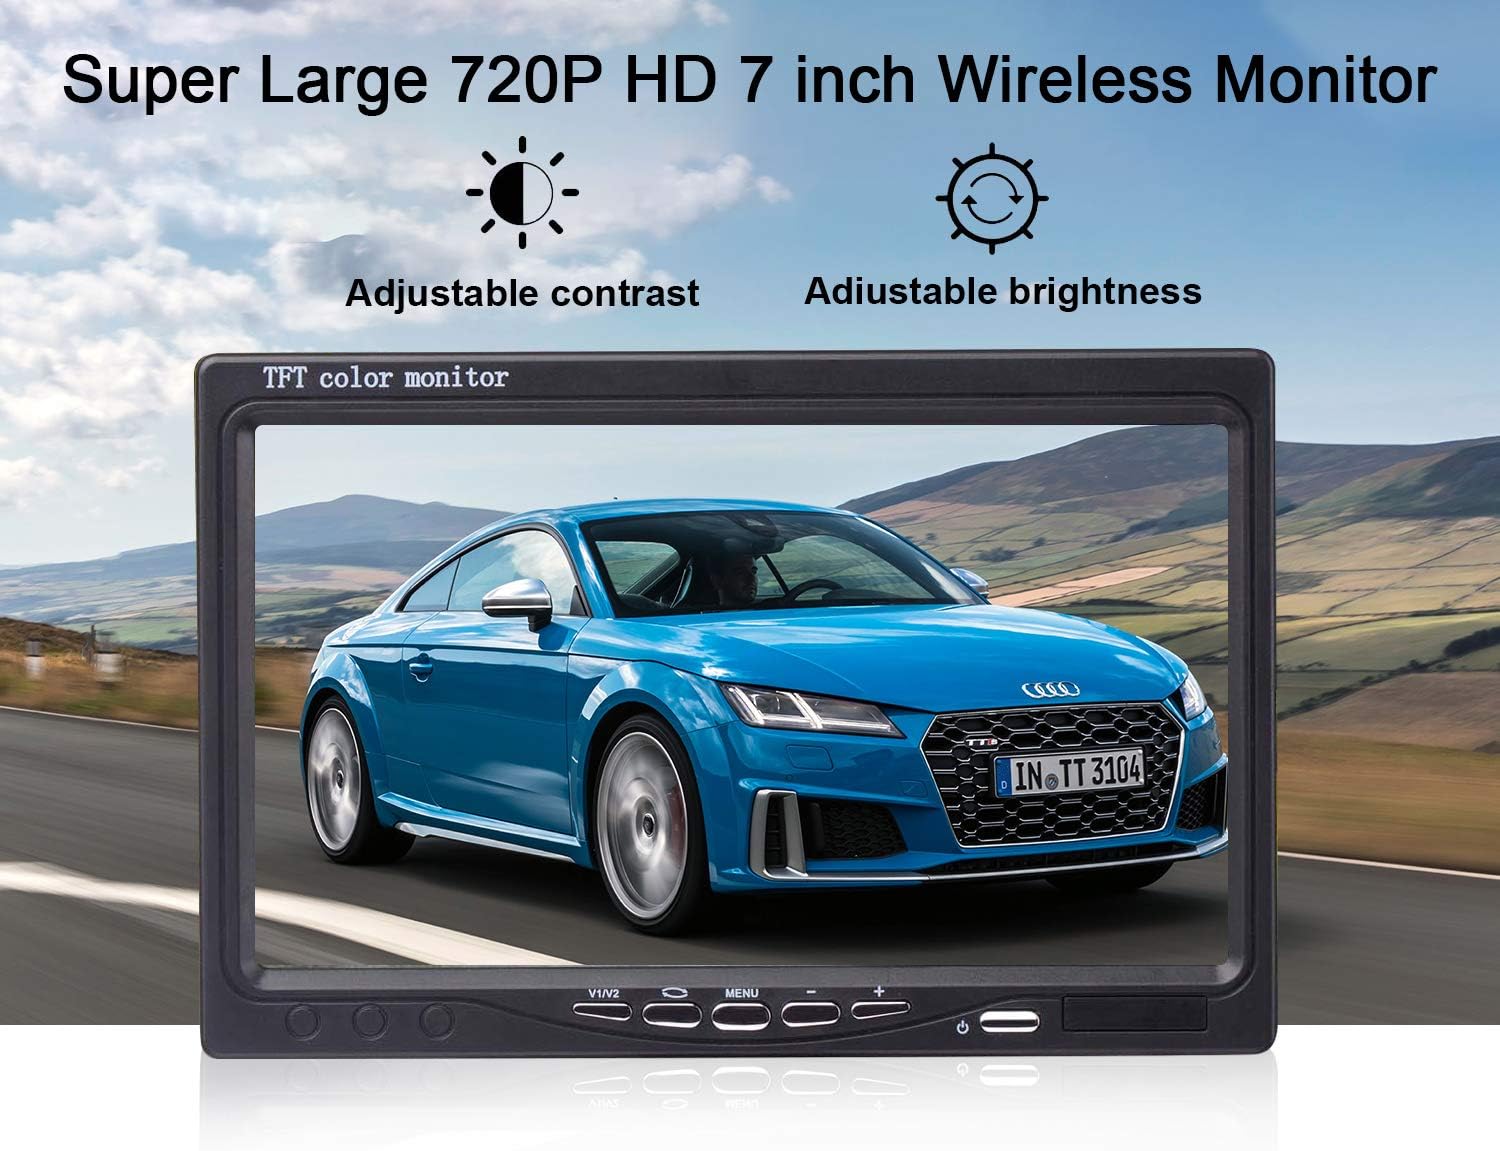
Nọmba 3.2: The 7-inch wireless monitor. The image highlights the monitor's display quality and its adjustable contrast and brightness settings.

Nọmba 3.3: Camera lens and features. This image details the 150-degree wide-angle lens, HD high-quality resolution with anti-blue ray and coated glass lenses, and the IP69 waterproof rating. An exploded view of the lens components is also shown.

Nọmba 3.4: IP69 waterproof camera. The camera is shown submerged in splashing water, with icons indicating its IP69 waterproof rating, resistance to 176°F (80°C) and -22°F (-30°C), and a 6-glass lens construction.
4. Eto & Fifi sori
Proper installation is crucial for the optimal performance of your backup camera system. Follow these steps carefully.
4.1 Atẹle fifi sori
The monitor can be mounted on your vehicle's dashboard or windshield using the provided dash mount.
- Attach the dash mount securely to the desired location on your dashboard or windshield.
- Mount the 7-inch monitor onto the dash mount.
- Connect the monitor's power cable to the cigarette lighter power adapter, then plug it into your vehicle's 12V power outlet.
4.2 Fifi sori ẹrọ Kamẹra
The camera is typically installed near the license plate. It can be mounted either on the front of the license plate bracket or hidden behind it.
- Choose your preferred mounting position for the camera (front or behind the license plate).
- Securely attach the camera to the vehicle using the provided bracket and screws.
- Connect the camera's power cord to a 12V power source, typically the reverse light wiring for automatic activation when reversing. Ensure a stable power connection.
- Attach the camera antenna to the camera unit.

Nọmba 4.1: Display and camera installation options. The top panel shows the monitor mounted on a dashboard. The bottom panel illustrates two camera installation methods: one with the bracket on the front of the license plate and another with the bracket hidden behind the license plate.
5. Awọn ilana Iṣiṣẹ
Once installed, the system is designed for straightforward operation.
5.1 Titan / Pa a
- The monitor will automatically power on when the vehicle's ignition is turned on and the camera receives power (e.g., when shifting into reverse).
- To manually power off, press and hold the power button on the monitor.
5.2 Monitor Adjustments
Use the buttons on the monitor to access and adjust settings such as contrast and brightness for optimal viewawọn ipo jijẹ.
5.3 DIY Guide Lines
The system allows for customization of the parking guide lines displayed on the monitor.
- Guide Line On/Off: Toggle the guide lines visibility.
- Adjustment Width: Modify the width of the guide lines to match your vehicle's dimensions.
- Moving Left or Right: Adjust the horizontal position of the guide lines.
- Moving Up or Down: Adjust the vertical position of the guide lines.

Nọmba 5.1: DIY Guide Lines adjustment options. This image displays four different views of the monitor, illustrating how guide lines can be turned on/off, their width adjusted, and their position moved left/right or up/down.
5.4 Image Flip Function
The monitor supports various image orientations to suit different camera mounting positions or user preferences.
- Deede: Standard image orientation.
- Digi: Flips the image horizontally, common for rear-view awọn ohun elo.
- Inverted Front Image: Flips the image vertically and horizontally.
- Inverted Mirror Image: Flips the image vertically.

Nọmba 5.2: Image Flip functionality. This image shows four different display modes: Normal, Mirror, Inverted Front Image, and Inverted Mirror Image, demonstrating how the camera's output can be adjusted.
6. Laasigbotitusita
If you encounter issues with your AMTIFO Wireless Backup Camera Kit, refer to the following common problems and solutions.
- No Signal on Monitor:
- Ensure both the monitor and camera are receiving power. Check all power connections.
- Verify that the antennas are securely attached to both the monitor and camera.
- Check for any obstructions between the camera and monitor that might interfere with the wireless signal.
- Ensure the distance between the camera and monitor does not exceed the recommended wireless range (approximately 23 feet).
- Yiyi tabi Aworan Daru:
- Check for strong electromagnetic interference from other devices in the vehicle.
- Ensure power connections are stable and free from fluctuations.
- Ṣàtúnṣe ìmọ́lẹ̀ àti àwọn ètò ìyàtọ̀ ti monitor náà.
- Camera Not Activating in Reverse:
- Verify that the camera's power cord is correctly wired to the vehicle's reverse light circuit.
- Check the fuse for the reverse lights.
7. Awọn pato
| Ẹya ara ẹrọ | Sipesifikesonu |
|---|---|
| Brand | AMTIFO |
| Iwon iboju | 7 inches |
| Awọn ẹrọ ibaramu | Atẹle |
| Iru fifi sori ẹrọ | Monitor (Dash/Windshield) |
| Voltage | 12 Volts |
| Real Igun ti View | Awọn iwọn 150 |
| Asopọmọra Iru | Pulọọgi-ni |
| UPC | 602191490785 |
| Olupese | AMTIFO |
8. Itọju
To ensure the longevity and optimal performance of your backup camera system, follow these maintenance guidelines:
- Ninu Atẹle naa: Use a soft, dry cloth to clean the monitor screen. For stubborn smudges, lightly dampen awọn asọ pẹlu omi tabi a iboju-ailewu regede. Yago fun awọn ohun elo abrasive tabi awọn kemikali lile.
- Nsọ lẹnsi Kamẹra nu: Fọ lẹnsi kamẹra lẹẹkọọkan pẹlu asọ, damp aṣọ láti yọ ẹrẹ̀, eruku, tàbí àwọn ibi omi tí ó lè dí i lọ́wọ́ kúrò view. Do not use excessive force or abrasive cleaners.
- Ṣiṣayẹwo awọn isopọ: Regularly inspect all power and antenna connections to ensure they are secure and free from corrosion.
- Idaabobo oju ojo: While the camera is IP69 waterproof, extreme weather conditions (e.g., heavy snow, ice) may temporarily affect performance. Ensure the lens is clear before driving.
9. Atilẹyin ọja & Atilẹyin
For warranty information, technical support, or service inquiries, please contact AMTIFO customer service through the retailer where the product was purchased or refer to the official AMTIFO webojula. Jọwọ ni awoṣe ọja rẹ ati awọn alaye rira ti ṣetan nigbati o ba kan si atilẹyin.