
DIGOO M1Z
Ìwé Ìtọ́sọ́nà Olùlò Kámẹ́rà Ààbò Ilé DIGOO DG-M1Z 1080P
Awoṣe: M1Z
1. Ifihan
This manual provides detailed instructions for the installation, operation, and maintenance of your DIGOO DG-M1Z 1080P Home Security Camera. Please read this manual thoroughly before using the product to ensure proper functionality and safety.
2. Ọja Ipariview
2.1 Key Awọn ẹya ara ẹrọ
- True 1080P HD Video Quality (2.0MP Image Sensor)
- 130° Wide Angle Lens (2.8mm)
- 11 Pcs IR LED for Night Vision (up to 10m)
- Ibaraẹnisọrọ Audio-Ona Meji
- Motion Detection with E-mail Alerts
- Pan & Titẹ Iṣẹ
- Support for Micro TF Card Slot (up to 64GB) for Local Storage
- H.264 Video funmorawon
- Atilẹyin ONVIF
- Compatible with iOS, Android, and Windows PC via "Digoo Eye" App
2.2 Awọn ohun elo kamẹra
The DIGOO DG-M1Z camera features a compact design with essential components for surveillance. Refer to the image below for a visual representation.

Aworan 1: Iwaju view of the DIGOO DG-M1Z camera, showing the lens, IR LEDs, and base with the DIGOO logo.
Awọn eroja pataki pẹlu:
- Lẹnsi kamẹra: Ya fidio footage.
- Àwọn LED infurarẹẹdi (IR): Pèsè ìmọ́lẹ̀ fún ìran alẹ́.
- Gbohungbohun: Fun igbewọle ohun lakoko ibaraẹnisọrọ ọna meji.
- Agbọrọsọ: For audio output during two-way communication and alarms.
- Iho kaadi Micro TF: For local video storage (up to 64GB).
- Ibudo Agbara: DC 5V/2A+ input.
- Àjọlò Port: Fun asopọ nẹtiwọki ti a firanṣẹ.
3. Eto Itọsọna
3.1 Lilo Kamẹra
- Connect the provided Micro USB power cable (3 meters long) to the camera's power port.
- Plug the other end of the cable into a DC 5V/2A+ power adapter (ensure the adapter provides sufficient current).
- Kamẹra yoo tan ina naa yoo si bẹrẹ ilana ibẹrẹ rẹ.
3.2 Installing the "Digoo Eye" App
The "Digoo Eye" application is required to configure and operate your camera. It is available for iOS, Android, and Windows PC.
- For mobile devices, search for "Digoo Eye" in your device's app store (Google Play Store for Android, Apple App Store for iOS).
- Ṣe igbasilẹ ati fi sori ẹrọ ohun elo naa.
- For Windows PC, download the client software from the official DIGOO webaaye (ti o ba wa).

Image 2: A smartphone displaying the "Digoo Eye" application interface, showing a live camera feed and control options.
3.3 Iṣeto Nẹtiwọọki
The camera supports both wireless (Wi-Fi) and wired network connections. Note: The camera only supports 2.4GHz Wi-Fi networks, not 5GHz.
3.3.1 Wireless Connection (Acoustic Smart Link)
- Rii daju pe ẹrọ alagbeka rẹ ti sopọ si 2.4GHz Wi-Fi nẹtiwọki.
- Open the "Digoo Eye" app and follow the on-screen instructions to add a new device.
- Select the "Acoustic smart link configuration" option.
- The app will guide you through entering your Wi-Fi password and using sound to pair the camera.
3.3.2 Asopọ Onirin
- So okùn Ethernet kan lati inu olulana rẹ pọ mọ ibudo Ethernet kamẹra naa.
- The camera will automatically connect to the network.
- Open the "Digoo Eye" app and follow the instructions to add a new device, selecting the wired connection option.
4. Awọn ilana Iṣiṣẹ
4.1 Live View ati Pan / Pulọọgi Iṣakoso
Once connected, you can access the live video feed through the "Digoo Eye" app. Use the on-screen controls to pan (horizontal movement) and tilt (vertical movement) the camera lens to adjust the viewigun igun.

Image 3: Illustration of key camera functionalities including Pan & Tilt, Two-Way Talking, Inframe Light (IR), and Screeching Alarm.
4.2 Meji-Ona Audio
The camera supports two-way audio communication. In the app's live view, tap the microphone icon to speak through the camera's speaker, and listen through your device's speaker to audio captured by the camera's microphone.

Image 4: Depiction of multi-account video sharing and two-way audio communication feature.
4.3 Išipopada erin ati titaniji
Configure motion detection settings within the "Digoo Eye" app. When motion is detected, the camera can trigger an alarm, send real-time message pushes, and E-mail alerts to your configured accounts.

Image 5: Visual explanation of motion detection functionality, showing alerts and diverse applications.
4.4 Gbigbasilẹ ati Sisisẹsẹhin
Insert a Micro TF card (up to 64GB) into the camera's slot for local video storage. The camera supports continuous recording or event-triggered recording based on your settings. You can review foo ti o ti gbasilẹtage directly from the "Digoo Eye" app.
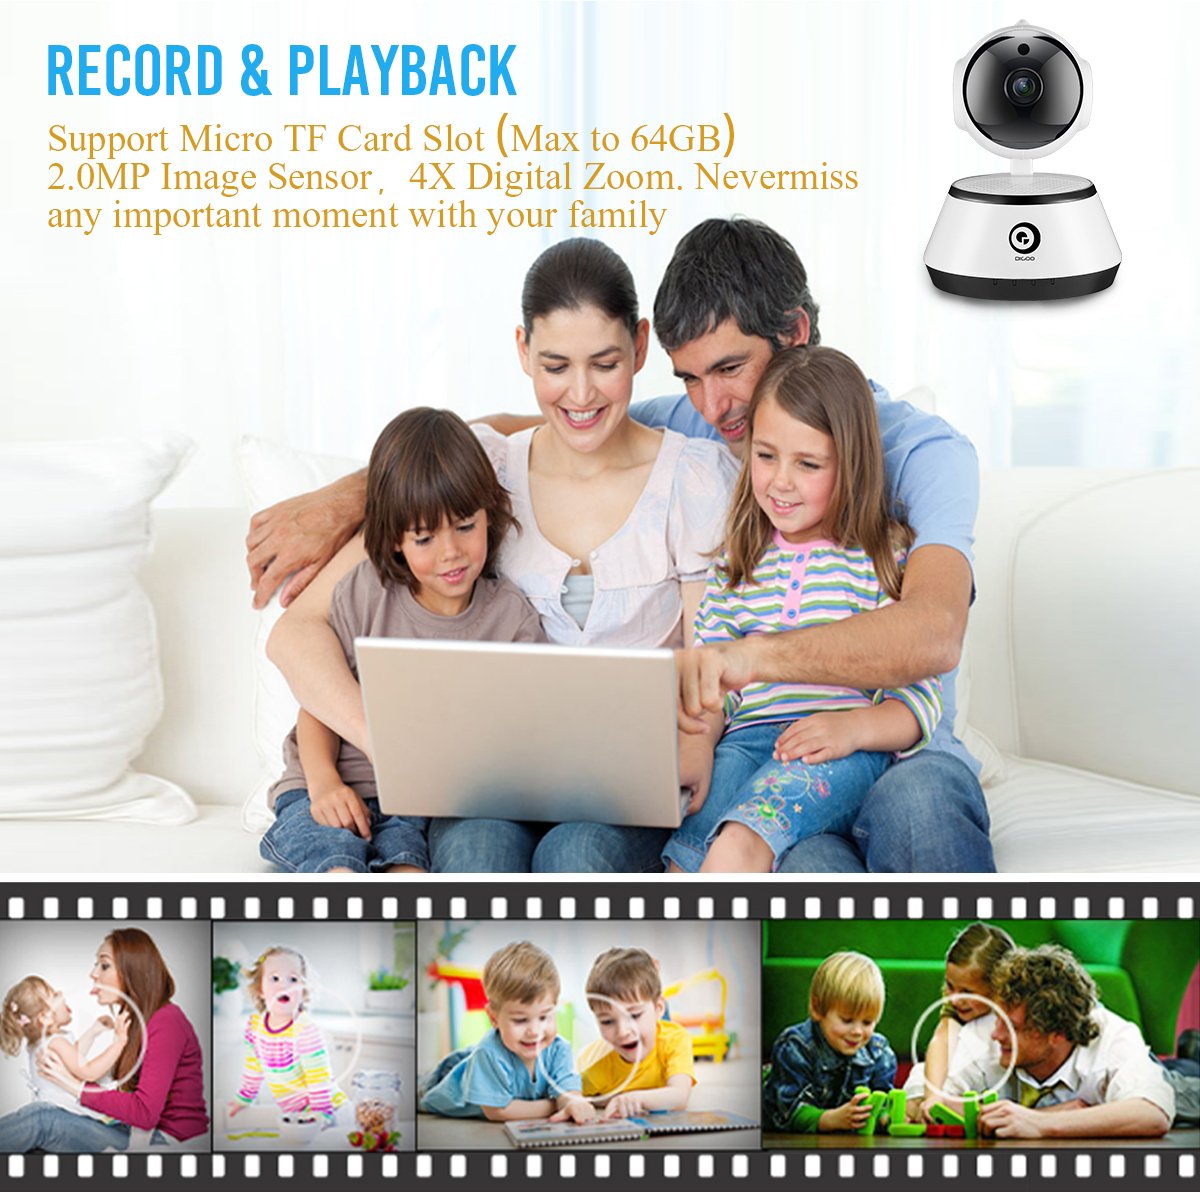
Image 6: A family viewing recorded video, highlighting the record and playback feature with a timeline of events.
4.5 Night Vision
The camera automatically switches to night vision mode in low-light conditions, utilizing its 11 IR LEDs to provide clear black-and-white video up to 10 meters.

Image 7: Visual comparison demonstrating the clarity of 1080P HD video quality compared to lower resolutions.
5. Itọju
- Ninu: Fi rọra nu lẹnsi kamẹra ati ara pẹlu asọ ti o gbẹ. Yago fun lilo awọn kẹmika lile tabi awọn ohun elo abrasive.
- Awọn imudojuiwọn famuwia: Periodically check the "Digoo Eye" app for available firmware updates to ensure optimal performance and security.
- Ibi ti ina elekitiriki ti nwa: Ensure the camera is always connected to a stable DC 5V/2A+ power source.
- Awọn ipo Ayika: Operate the camera within the specified temperature range (-10°C to +60°C) and humidity (RH95% Max). While it can be used indoors or outdoors, ensure it is protected from direct weather exposure if used outdoors.
6. Laasigbotitusita
- Kamẹra ko ṣiṣẹ:
- Ensure the power adapter is correctly connected and providing sufficient power (DC 5V/2A+). Try a different power outlet or adapter.
- Unable to connect to Wi-Fi:
- Verify your Wi-Fi network is 2.4GHz. The camera does not support 5GHz networks.
- Ṣayẹwo ọrọ igbaniwọle Wi-Fi rẹ fun deede.
- Rii daju pe kamẹra wa laarin aaye ti olulana Wi-Fi rẹ.
- Tun olulana rẹ ati kamẹra bẹrẹ.
- If using acoustic smart link, ensure there is no excessive background noise.
- No video feed in the app:
- Confirm the camera is powered on and connected to the network.
- Ṣayẹwo asopọ intanẹẹti rẹ.
- Tun app ati kamẹra naa bẹrẹ.
- Micro TF card not recording:
- Rii daju pe kaadi TF ti fi sii daradara.
- Check if the TF card is formatted correctly (usually FAT32).
- Verify that recording settings are enabled in the "Digoo Eye" app.
- The card might be full; consider backing up data and formatting or replacing it.
7. Awọn pato
| Ẹya ara ẹrọ | Ẹ̀kúnrẹ́rẹ́ |
|---|---|
| Awoṣe | DG-M1Z SHARK |
| Sensọ Aworan | 1/2.7 Progressive CMOS Sensor |
| Lẹnsi | 2.8mm, 130° Wide Angle Lens, 5.0MP Lens |
| Àgbo | 1GB |
| Ipinnu | FHD 1080P (2.0MP) |
| Iwọn fireemu | 25fps± (internet adaptively adjustment) |
| Digital Sisun | 4X Digital Sun |
| Fidio funmorawon | H.264 |
| Audio funmorawon | G.711 |
| Ibi ipamọ | Micro TF Card Slot (Max 64GB) |
| Asopọmọra | Wireless (2.4G Wi-Fi), Wired (Ethernet), ONVIF |
| Iṣẹ-ṣiṣe itaniji | Motion Detection, One Button Guard/Dis-Guard, E-mail alert |
| Imọlẹ IR | 11 Pcs IR LED |
| Ijinna IR | Night Visibility 10m+ |
| Awọn iwọn otutu ti nṣiṣẹ | -10°C ~ +60°C RH95% Max |
| Ibi ti ina elekitiriki ti nwa | DC 5V/2A+ |
| Agbara agbara | 3W-5W |
| Awọn iwọn | 15.01 x 11.99 x 10.01 cm |
| Iwọn | 381 g |
| Ibamu App | iOS, Android, Windows PC ("Digoo Eye") |
8. Atilẹyin ọja ati Support
For warranty information and technical support, please refer to the documentation provided with your purchase or visit the official DIGOO webojula. Tọju iwe-ẹri rira rẹ bi ẹri rira fun awọn iṣeduro atilẹyin ọja.
For further assistance, you may contact DIGOO customer support through their official channels.
Ask a question about this manual
Ask about setup, troubleshooting, compatibility, parts, safety, or missing instructions. Manuals+ will review the question and use this page’s manual context to help answer it.