
1. Ti pariview
The LDSOLAR Sky Dream Series PWM Solar Charge Controller is designed for efficient and reliable management of solar power systems. Utilizing full digital technology and an intuitive LCD display, this controller operates in series PWM mode, optimizing the charging process for extended battery life and enhanced system performance. It is suitable for a wide range of applications, including off-grid solar home systems, traffic indicators, solar street lights, and solar garden lights.
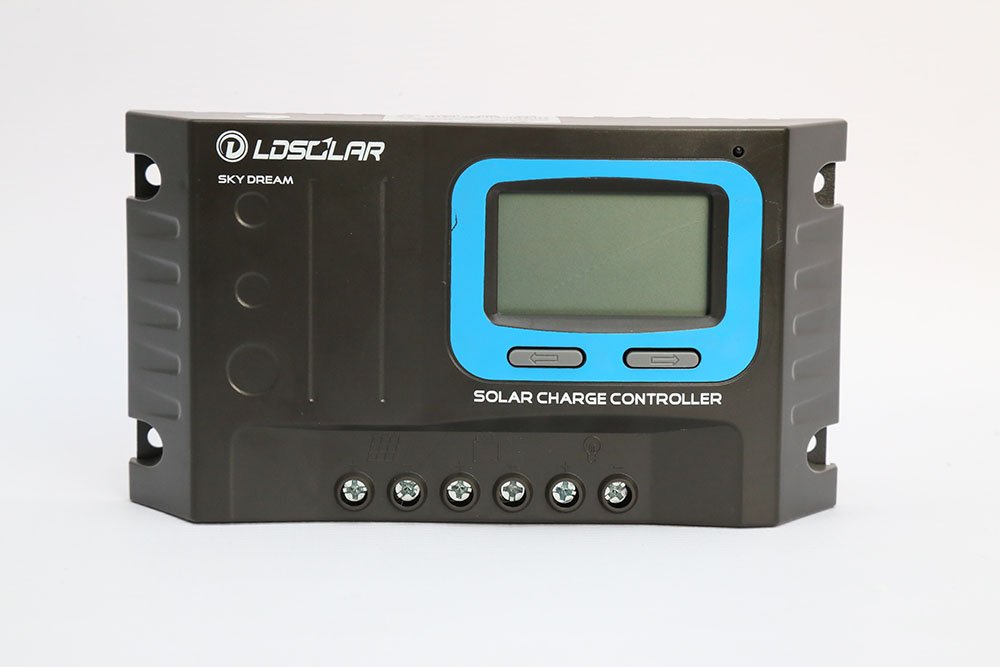
olusin 1: Iwaju view of the SD Series Sky Dream Solar Charge Controller, showing the LCD screen and control buttons.
2. Key Awọn ẹya ara ẹrọ
- 32-bit CPU: Ensures higher sampling precision and faster operation speed.
- Automatic System Voltage Idanimọ: Supports 12V/24V DC systems.
- 3-StagGbigba agbara PWM e: Features Bulk, Boost, and Float charging stages for optimal battery health.
- Aṣayan Iru Batiri: Compatible with Sealed, Gel, and Flooded batteries.
- Humanized LCD Display: Provides dynamic display of operation data and working status.
- Built-in Operation Log: Records system working state for monitoring.
- Multi-Load Control Modes: Includes Normal mode, Sensor mode, and Timer mode.
- Iṣe Biinu iwọn otutu: Adjusts charging parameters based on ambient temperature.
- Comprehensive Digital Protection: Safeguards against overcharging, over-discharging, overload, short circuit, and reverse connection.
- Max 16mm² Connectors: Accommodates robust wiring.
- 5V 1A USB Output: Rọrùn fún gbigba agbara awọn ẹrọ itanna kekere.
3. Eto ati fifi sori
Proper installation is crucial for the safe and efficient operation of your solar charge controller. Please follow these steps carefully:
- Mura Waya: Ensure all wires are of appropriate gauge for the current and length, and that all connections are clean and secure.
- Batiri Sopọ: Connect the battery to the charge controller first. Ensure correct polarity (+ to + and - to -). The controller will automatically detect the system voltage (12V tabi 24V).
- Solar Panel: Connect the solar panel array to the charge controller. Again, observe correct polarity. The controller will begin charging the battery.
- Ẹrù Sopọ̀: Finally, connect the DC load to the charge controller's load terminals. Do not exceed the maximum rated load current.
Important: Always connect the battery first and disconnect the battery last to prevent damage to the controller.
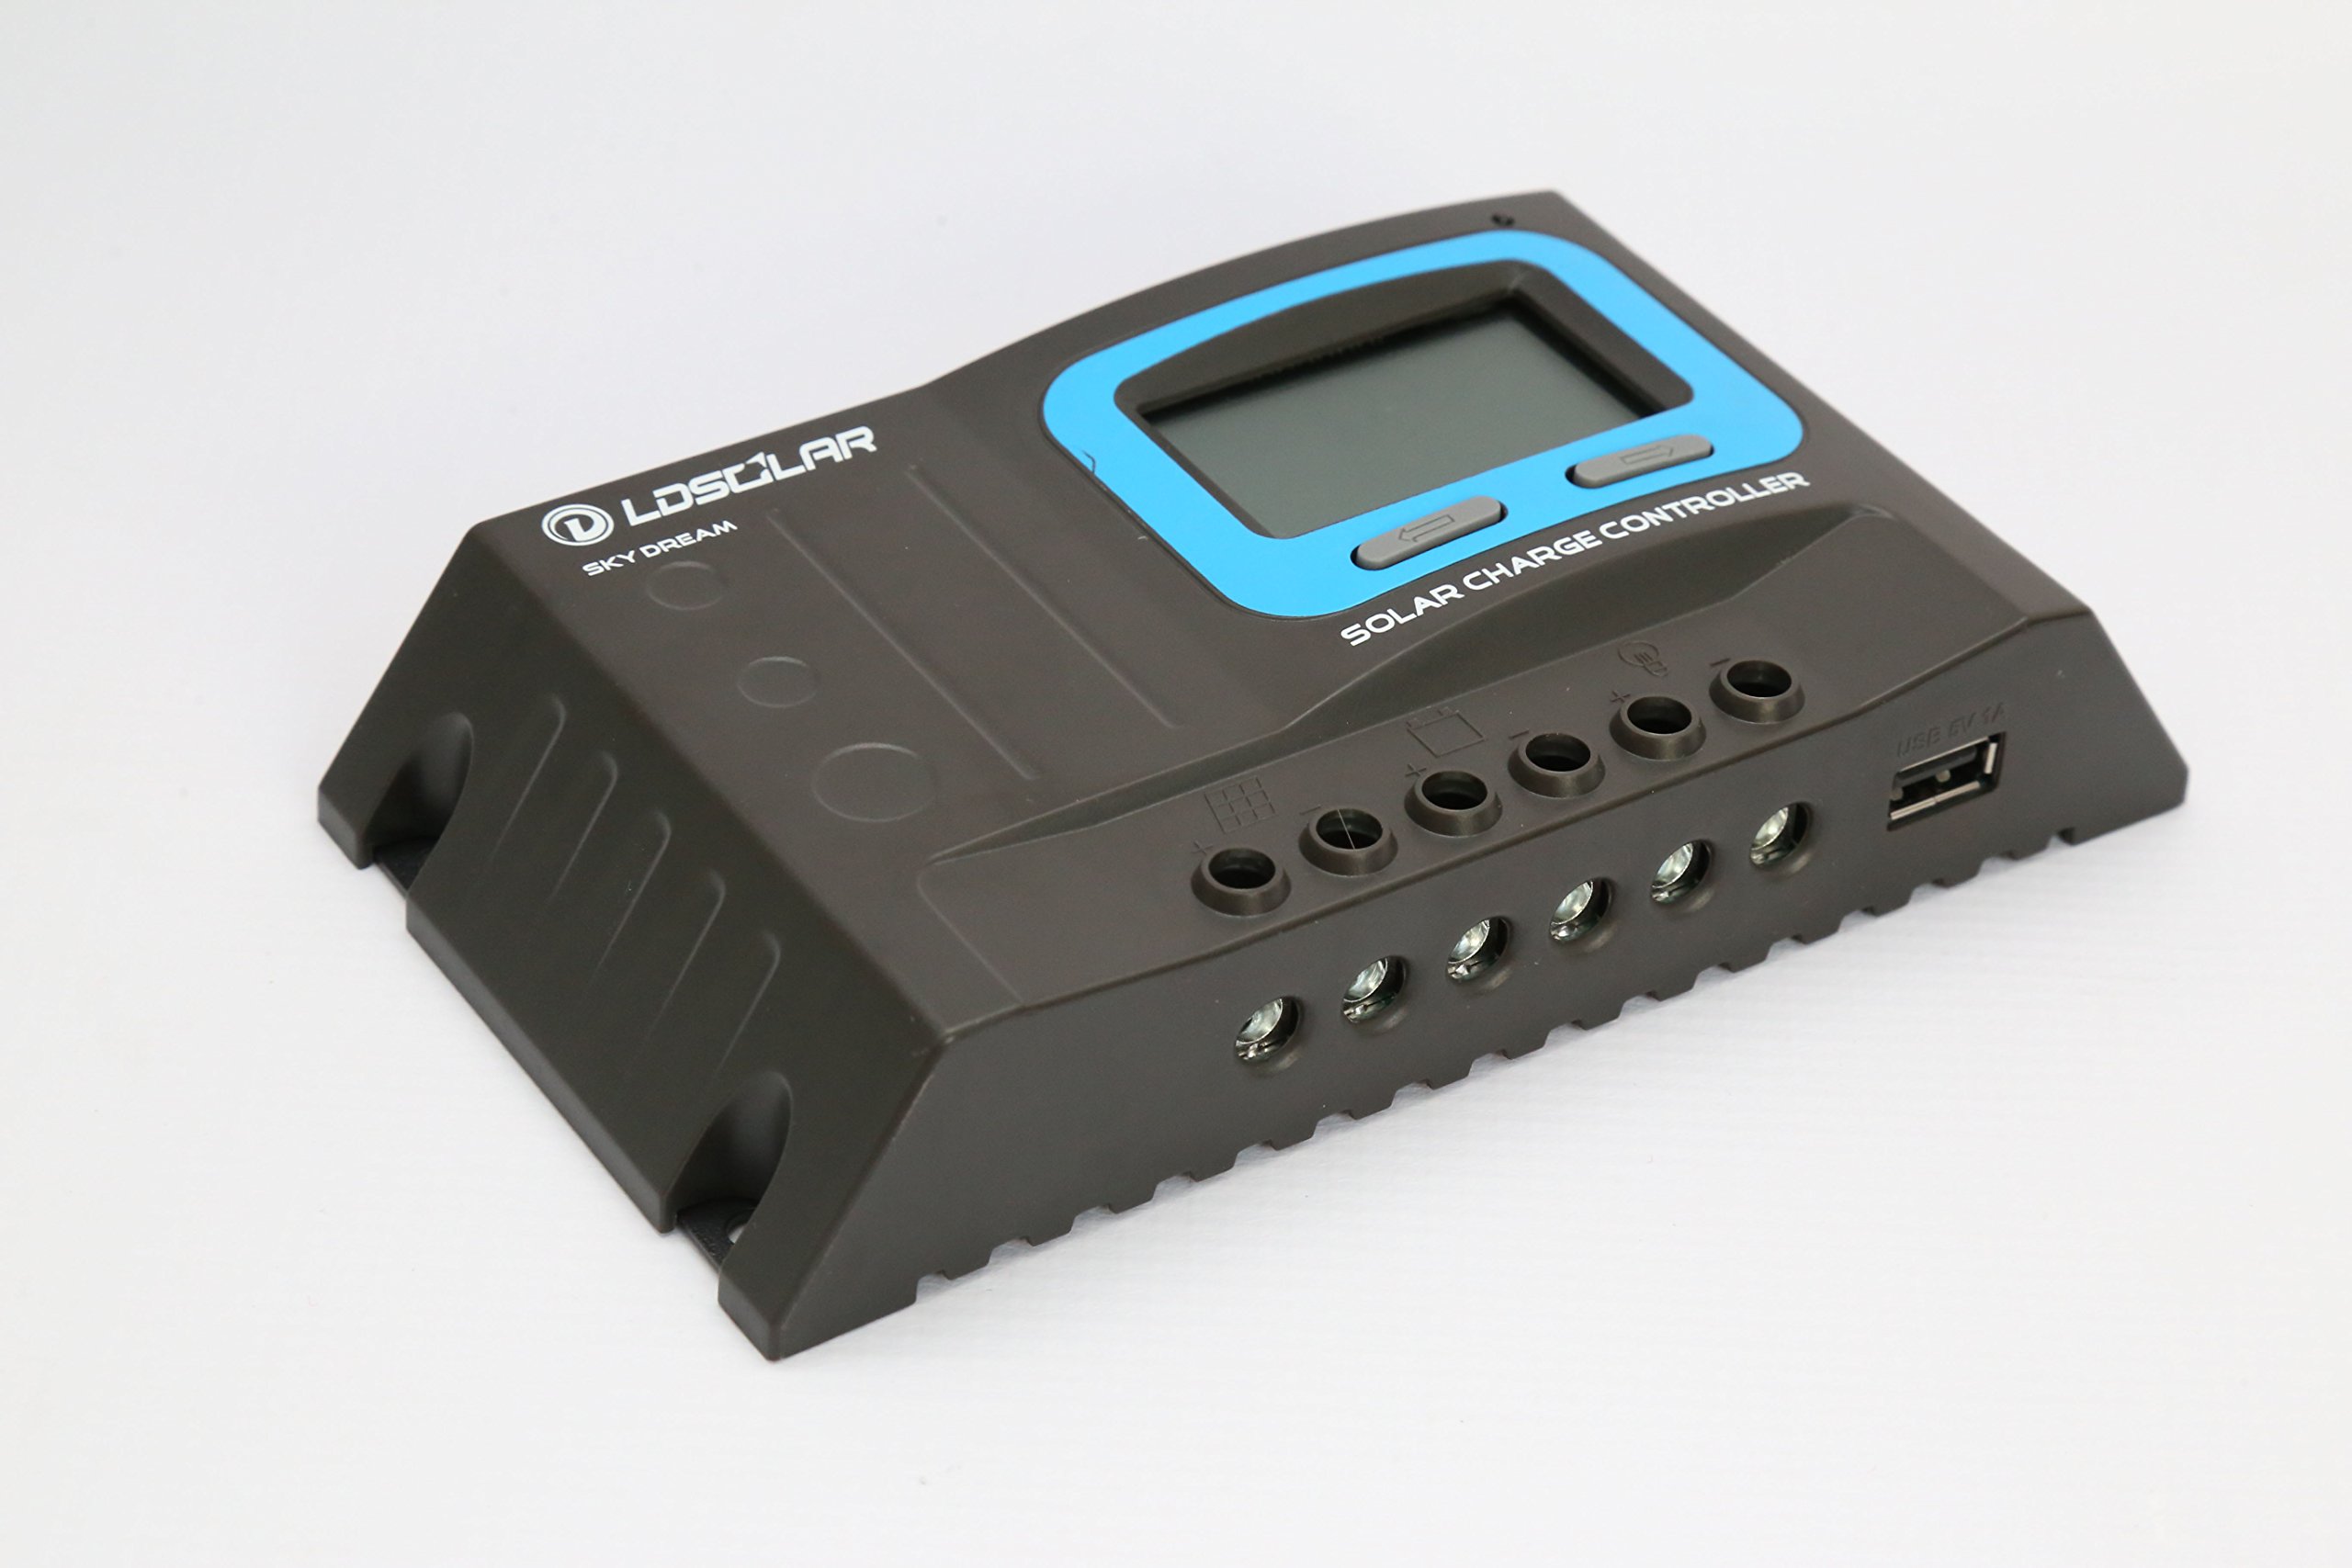
olusin 2: Angled view of the controller showing the input/output terminals for battery, solar panel, and load connections.
4. Awọn ilana Iṣiṣẹ
4.1. Ifihan LCD
The LCD display provides real-time information about the system's status. It shows battery voltage, charging current, discharging current, battery state of charge, and various error indicators.
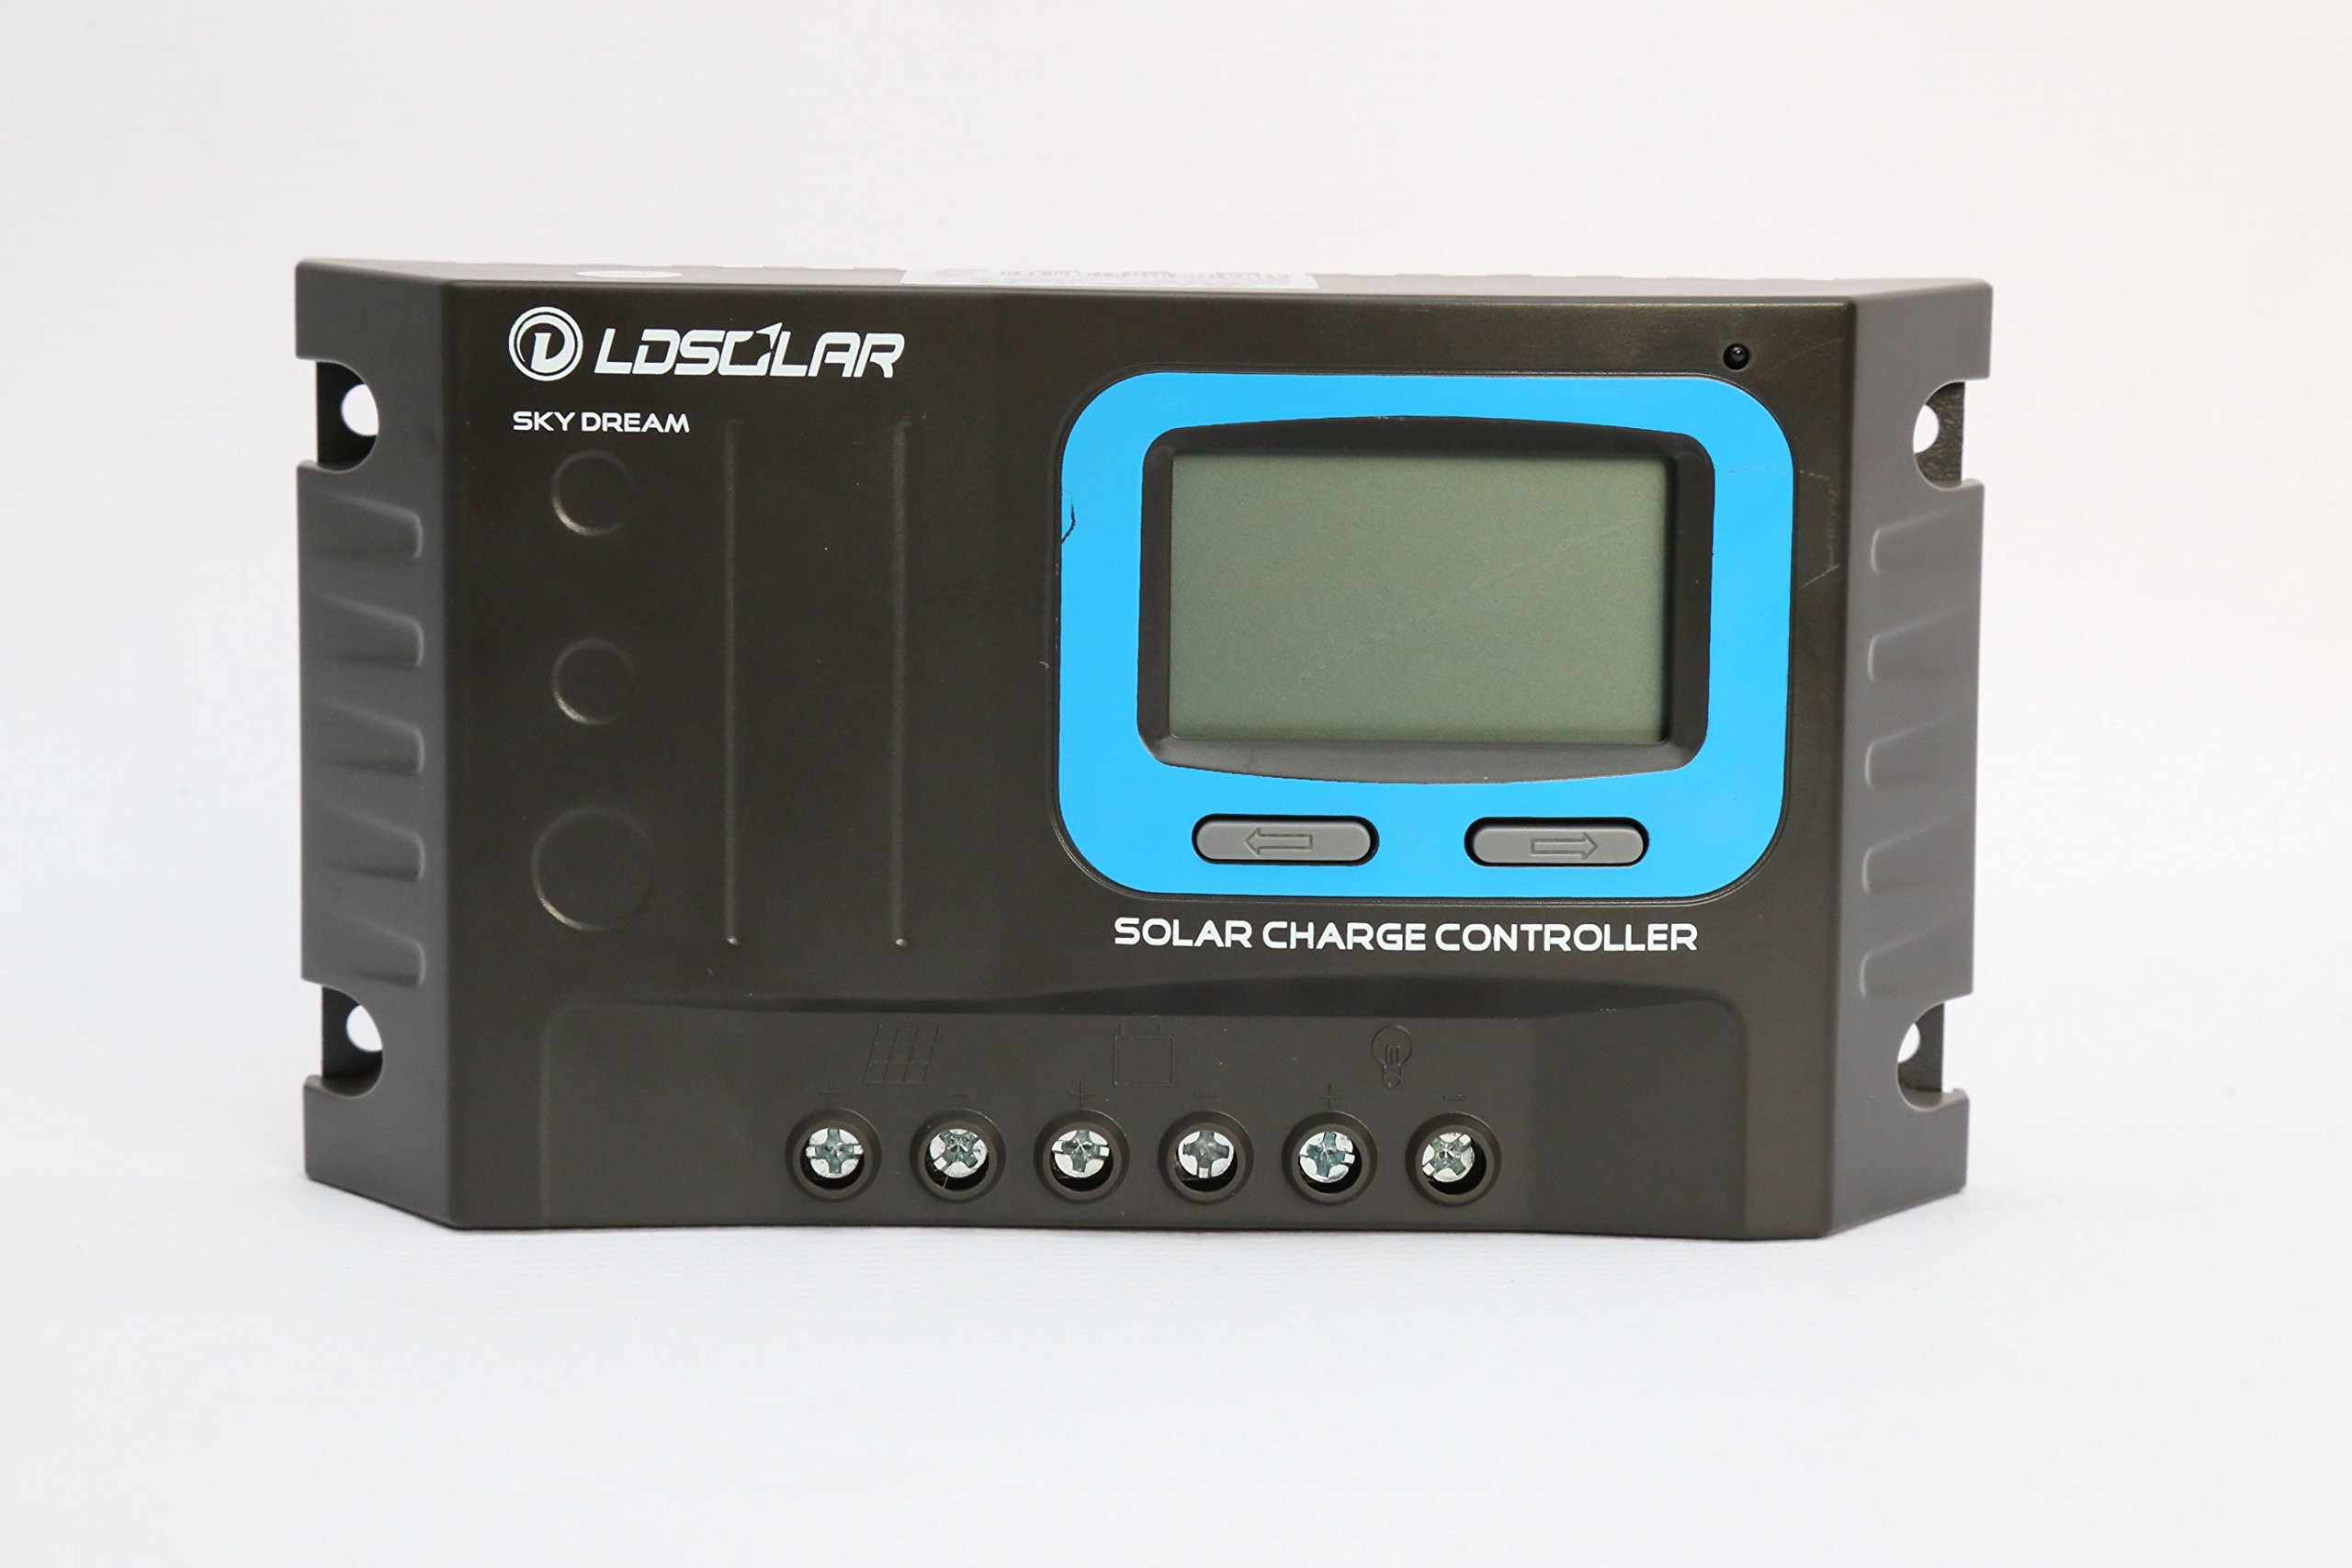
Figure 3: Close-up of the LCD display and control buttons for navigation and settings.
4.2. Awọn iṣẹ bọtini
The controller features two buttons for navigation and setting adjustments:
- Left Button (Menu/Select): Used to cycle through display screens and enter/confirm settings.
- Right Button (Up/Adjust): Used to increase values or navigate options within settings.
4.3. Load Control Modes
The controller supports multiple load control modes to suit different application needs:
- Ipo deede: Load is continuously ON or OFF based on manual setting.
- Ipo sensọ: Load turns ON automatically when it gets dark and OFF when it gets light (e.g., for street lights).
- Ipo aago: Load turns ON when it gets dark and stays ON for a set number of hours.
4.4. Battery Type Selection
To ensure optimal charging, select the correct battery type in the controller settings:
- Edidi: For sealed lead-acid batteries.
- Jeli: For gel batteries.
- Ìkún omi: For flooded (wet cell) lead-acid batteries.
Refer to the detailed instructions in the full manual for specific steps on navigating menus and adjusting settings.
5. Itọju
Itọju deedee n ṣe idaniloju pe o pẹ to ati iṣẹ to dara julọ ti oludari agbara oorun rẹ:
- Mimọ: Jẹ́ kí olùdarí náà mọ́ tónítóní, kí ó sì wà láìsí eruku àti ìdọ̀tí. Lo aṣọ gbígbẹ fún fífọ nǹkan mọ́.
- Awọn ayẹwo Asopọmọra: Periodically inspect all wiring connections to ensure they are tight and free from corrosion. Loose connections can cause overheating and poor performance.
- Afẹfẹ: Ensure the controller has adequate ventilation to prevent overheating. Do not block ventilation holes.
- Awọn ipo Ayika: Operate the controller within its specified temperature range (-20℃ to +55℃) and avoid exposure to direct sunlight or excessive moisture. The waterproof grade is IP32.
6. Laasigbotitusita
This section outlines common issues and their potential solutions. The controller features comprehensive digital protection functions to prevent damage.
| Isoro | Owun to le Fa | Ojutu |
|---|---|---|
| Ifihan oludari wa ni pipa. | Battery not connected or reverse polarity; battery voltage kere ju. | Check battery connections and polarity. Ensure battery voltage is above LVD (Low Voltage Disconnection) threshold. |
| Batiri ko ngba agbara. | Solar panel not connected or reverse polarity; insufficient sunlight; PV input voltage kere ju. | Check solar panel connections and polarity. Ensure adequate sunlight. Verify PV voltage jẹ laarin awọn pato. |
| Fifuye ko ṣiṣẹ. | Load over current; short circuit; battery voltage too low (LVD); load control mode setting. | Check load current and wiring for short circuits. The controller has load over current protection (auto restart every 30s). Check battery voltage. Adjust load control mode settings. |
| Controller overheating. | Poor ventilation; excessive load or charging current. | Ensure proper airflow around the controller. Reduce load or charging current if consistently high. |
For issues not listed here, or if problems persist, please contact LDSOLAR customer support.
7. Imọ ni pato
| Paramita | Value (SD2410C) |
|---|---|
| Eto Voltage | 12V / 24V Aifọwọyi |
| PV Max Input Voltage | 55V |
| Ijẹ-ara-ẹni | ≤12mA |
| Gbigba agbara ti o pọju lọwọlọwọ | 10A |
| Max yosita Lọwọlọwọ | 10A |
| Kekere Voltage Ge asopọ (LVD) | 11.0V ADJ (9V…12V); ×2/24V |
| Kekere Voltage Asopọmọra (LVR) | 12.6V ADJ (11V…13.5V); ×2/24V |
| Leefofo Voltage | 13.8V ADJ (13V…15V); ×2/24V |
| Igbelaruge Voltage | 14.4V; ×2/24V (auto boost 2 hours if battery voltage <12.6V) |
| Batiri Lori Voltage Ge asopọ | 16.5V; ×2/24V |
| Yipada Asopọmọra Idaabobo | Bẹẹni |
| Fifuye Lori Idaabobo lọwọlọwọ | Yes, auto restart every 30s |
| Iru agbara | PWM |
| Biinu iwọn otutu | -24 mV /℃ for 12V system; ×2/24V |
| Awọn iwọn otutu ṣiṣẹ | -20 ℃ si + 55 ℃ |
| Asekale ebute | 14---6 AWG (16mm²) |
| Mabomire ite | IP32 |
| Ọja Mefa | 190mm × 108mm × 41.5mm (7.48 x 4.25 x 1.63 inches) |
| Apapọ iwuwo | 450g (15.8 iwon) |
* Please ensure the product is used under its rated power in high temperature environments.
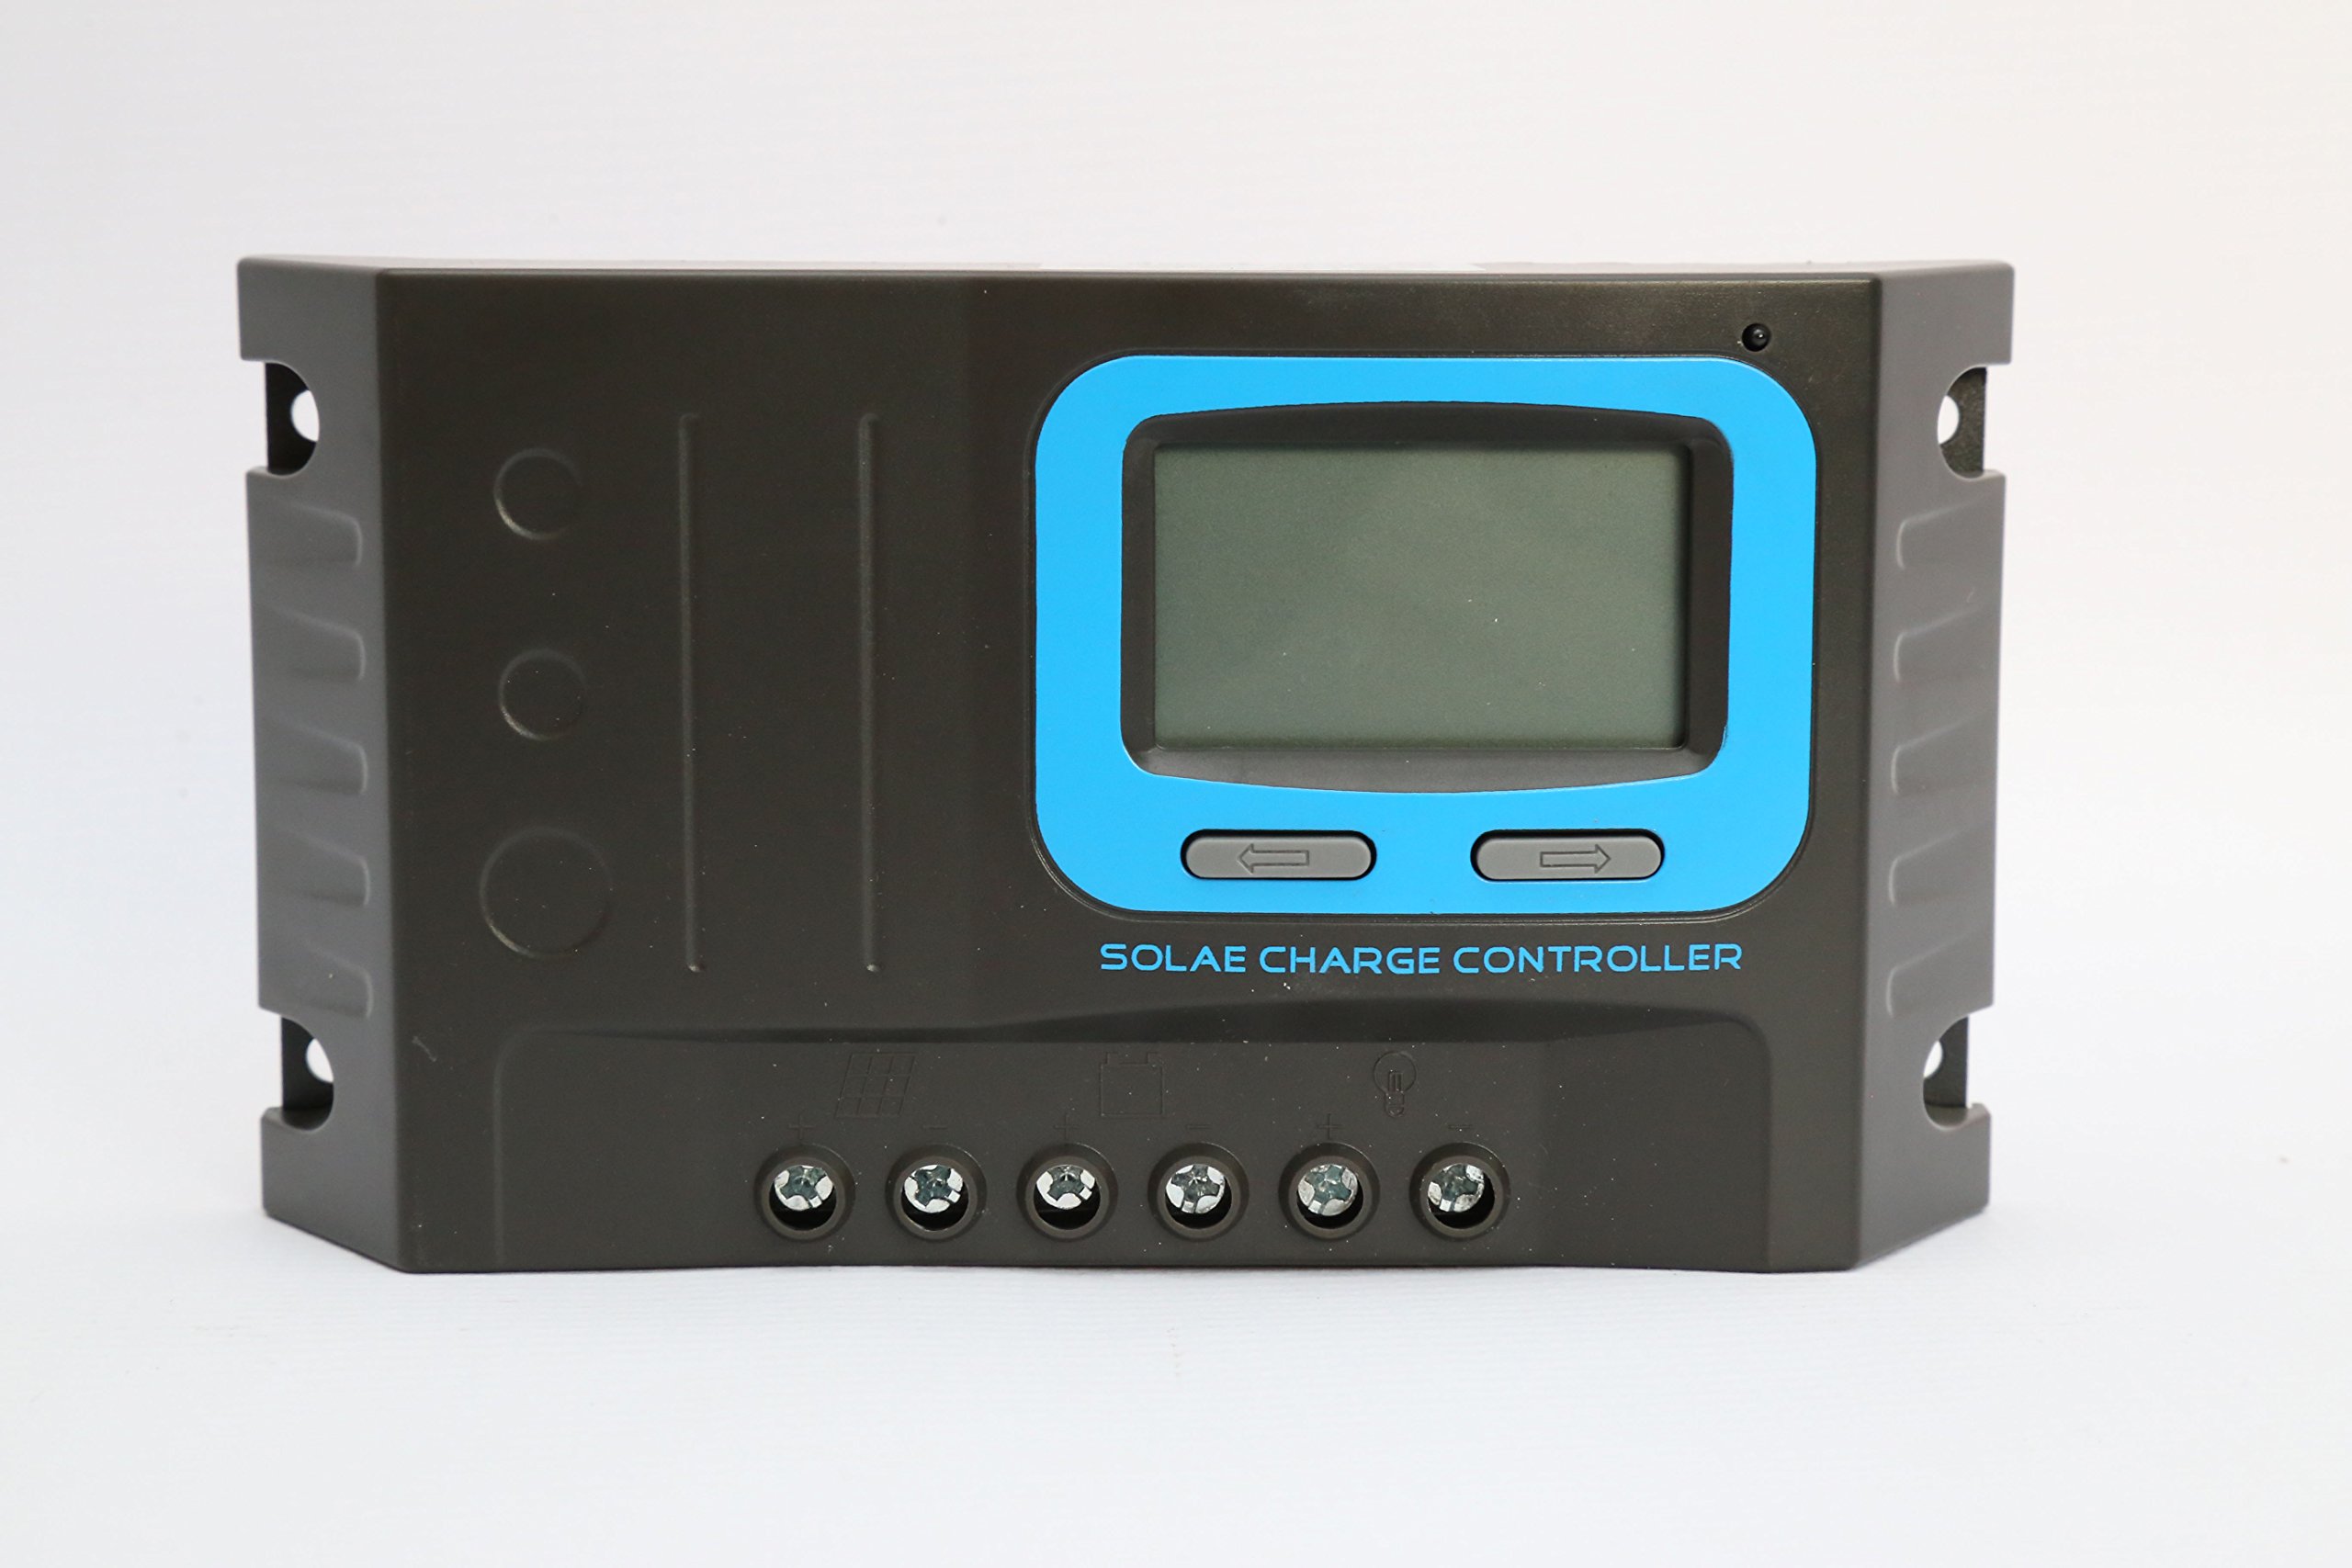
Figure 4: Diagram illustrating the dimensions and port layout of the solar charge controller.
8. atilẹyin ọja Information
Specific warranty terms and conditions for the LDSOLAR SD Series Sky Dream PWM Solar Charge Controller are typically provided with the product packaging or on the manufacturer's official website. Please refer to these resources for detailed warranty coverage, duration, and claim procedures. Keep your proof of purchase for warranty claims.
9. Atilẹyin
For technical assistance, troubleshooting beyond this manual, or inquiries regarding your LDSOLAR product, please contact LDSOLAR customer support. You can typically find contact information on the product packaging, the manufacturer's official webojula, tabi nipasẹ rẹ ojuami ti o ra.
LDSOLAR Official Webojula: www.ldsolar.com (Akiyesi: Eyi jẹ aaye ibi URL, jọ̀wọ́ wádìí òṣìṣẹ́ gidi náà webojula fun support.)