
1. Ifihan
This manual provides instructions for the Insten 4-in-1 Joy-Con Charging Dock. This device is designed to charge up to four Nintendo Switch Joy-Con controllers simultaneously, ensuring they are ready for use. It is compatible with both the original Nintendo Switch and the OLED Model.
2. Alaye Aabo
- Do not expose the charging dock to water or excessive moisture.
- Yago fun sisọ silẹ tabi tẹriba ẹrọ si awọn ipa to lagbara.
- Ma ṣe gbiyanju lati ṣajọpọ tabi yi ibi iduro gbigba agbara pada.
- Use only the provided USB cable or a certified equivalent for power.
- Jeki kuro ni arọwọto awọn ọmọde.
- Ensure proper ventilation around the charging dock during use.
3. Package Awọn akoonu
- 1 x Insten 4-in-1 Joy-Con Charging Dock
- 1 x Okun Ngba agbara USB
4. Eto
- Place the charging dock on a stable, flat surface.
- Connect the small end of the included USB charging cable to the Micro USB port on the back of the charging dock.
- Connect the standard USB end of the cable to a powered USB port (e.g., a Nintendo Switch dock, computer, or USB wall adapter).
The charging dock is now ready for use.

Figure 1: Connecting the USB cable to the charging dock. The image also shows the dock's dimensions (4.8" height, 3.3" diameter) and the 2.25 ft USB cable length.
Video 1: Demonstrates connecting the USB cable to the charging dock and inserting Joy-Cons for charging. The video also shows the LED indicators changing color.
5. Awọn ilana Iṣiṣẹ
5.1 Charging Joy-Cons
- Ensure the charging dock is powered on and connected to a USB power source.
- Slide your Joy-Con controllers into the available slots on the charging dock. Ensure they click into place securely. The dock supports up to four Joy-Cons simultaneously.
- The LED indicators on the top of the dock will illuminate to show the charging status.

Figure 2: Four Joy-Con controllers (two red, two blue) inserted into the charging dock, illustrating simultaneous charging capability. The image highlights that Joy-Cons can be easily slid in for quick charging.
5.2 LED Charging Indicators
The Insten 4-in-1 Joy-Con Charging Dock features individual LED indicators for each charging slot. These indicators provide visual feedback on the charging status of your Joy-Cons:
- Imọlẹ bulu: Indicates that the Joy-Con controller is currently charging.
- Imọlẹ alawọ ewe: Indicates that the Joy-Con controller is fully charged.
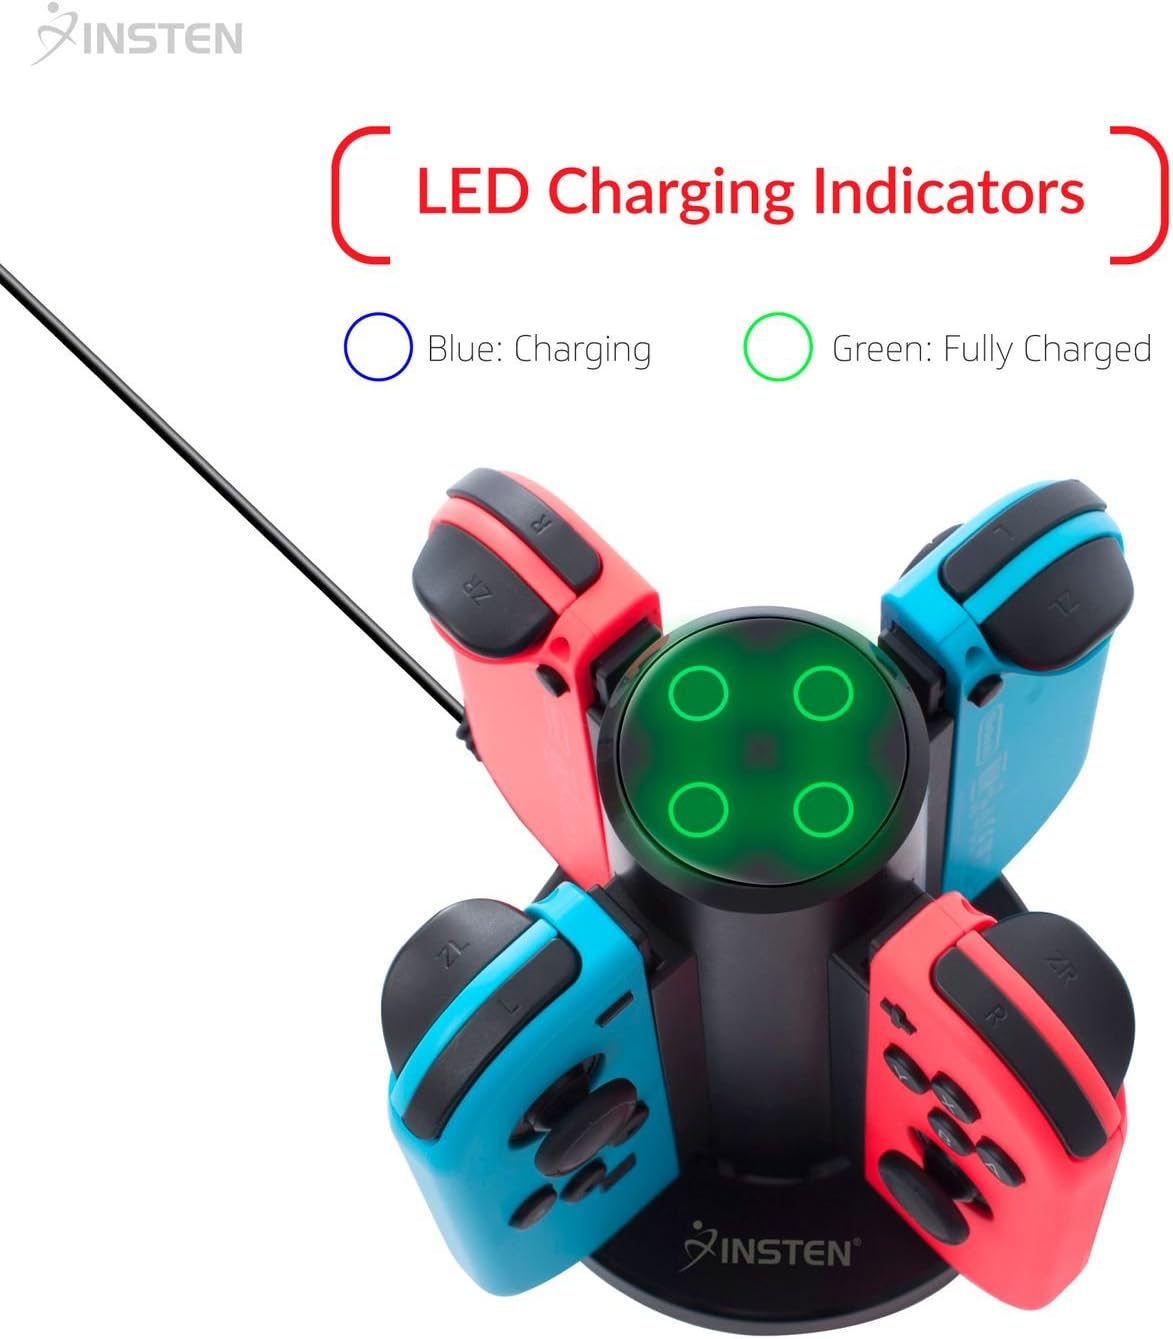
Figure 3: Close-up of the Insten Joy-Con Charging Dock's top, showing the LED charging indicators. The image clarifies that a blue light signifies charging, and a green light signifies a full charge.
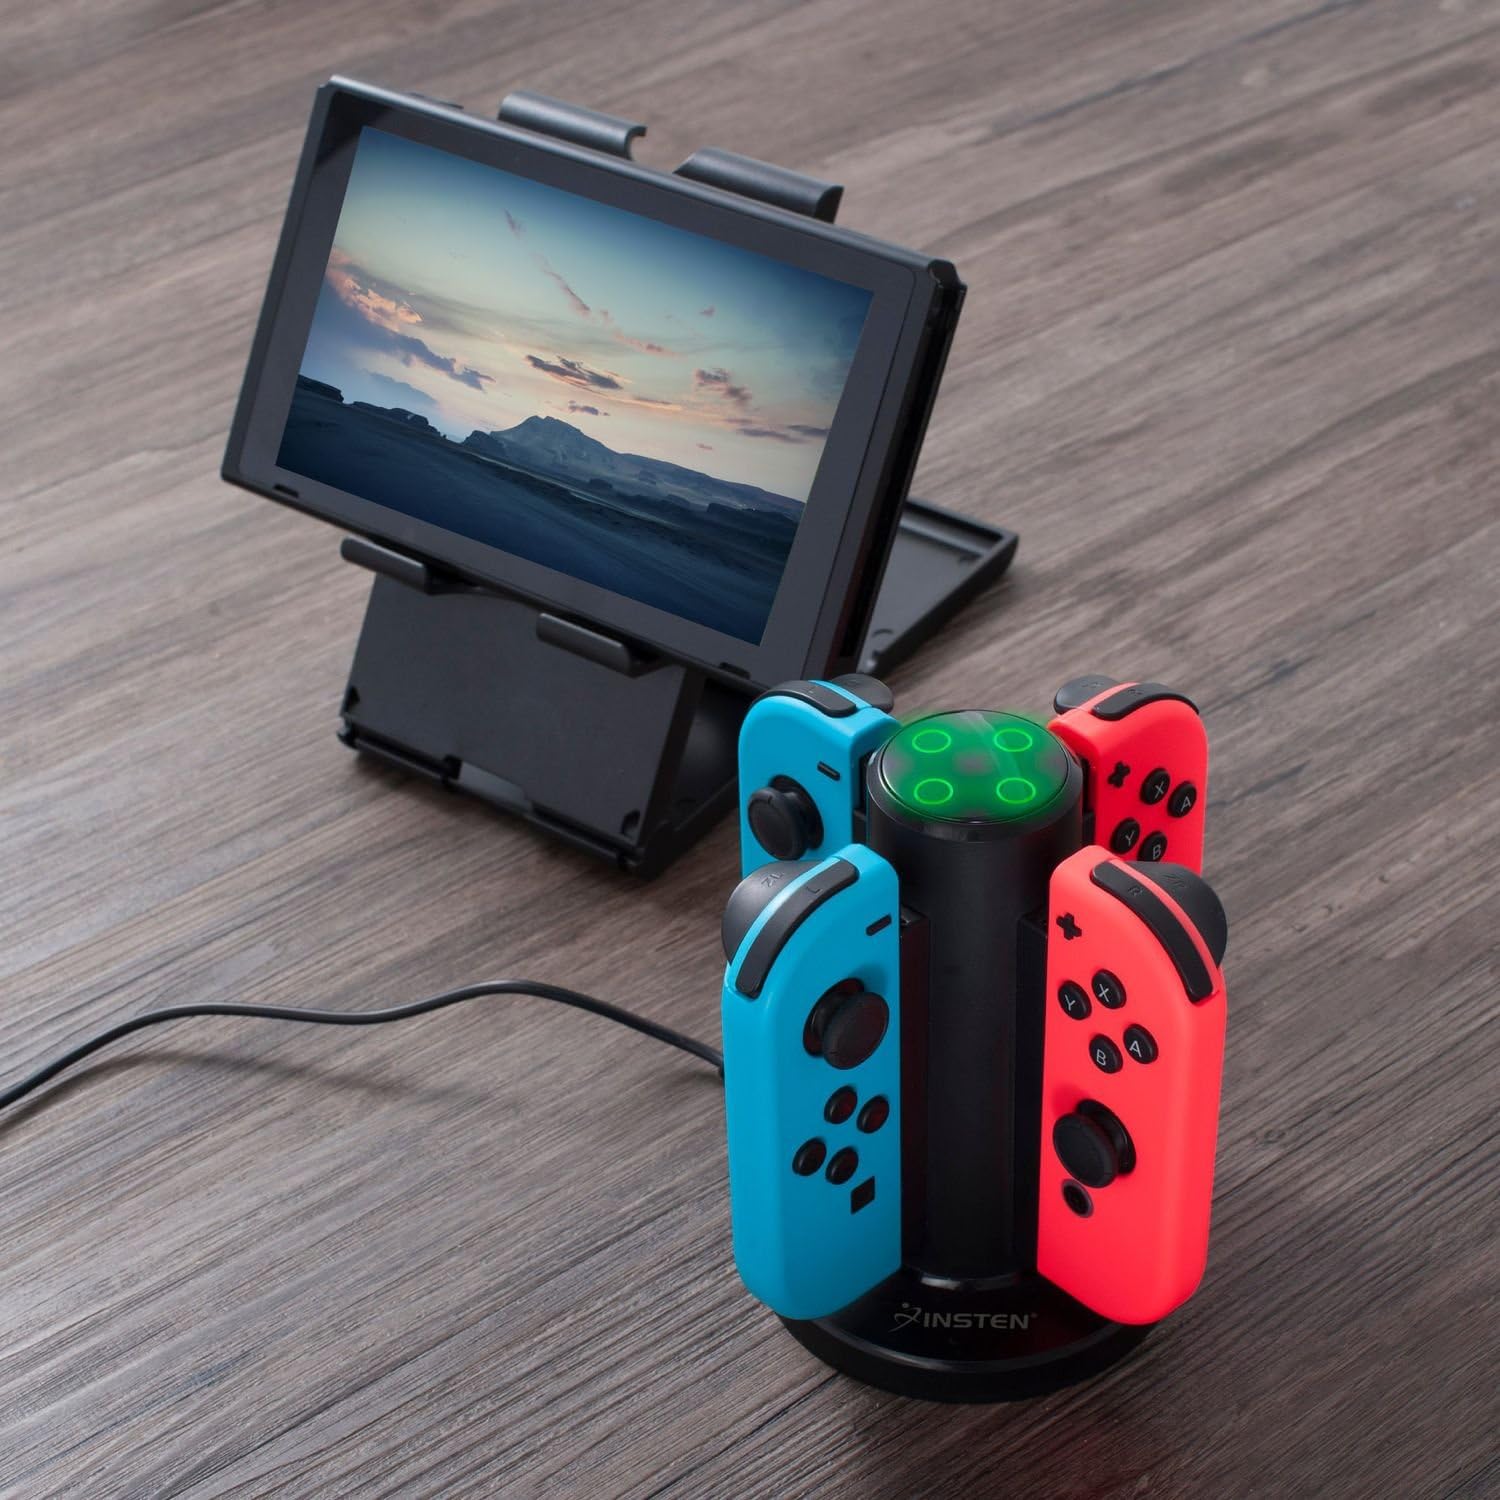
Figure 4: The Insten Joy-Con Charging Dock actively charging four Joy-Con controllers (red and blue) on a wooden surface, positioned next to a Nintendo Switch console on a separate stand. The LED indicators on the dock are illuminated green, indicating fully charged controllers.
6. Itọju
- To clean the charging dock, disconnect it from the power source and wipe it with a soft, dry cloth.
- Ma ṣe lo abrasive ose tabi epo.
- Store the charging dock in a cool, dry place when not in use.
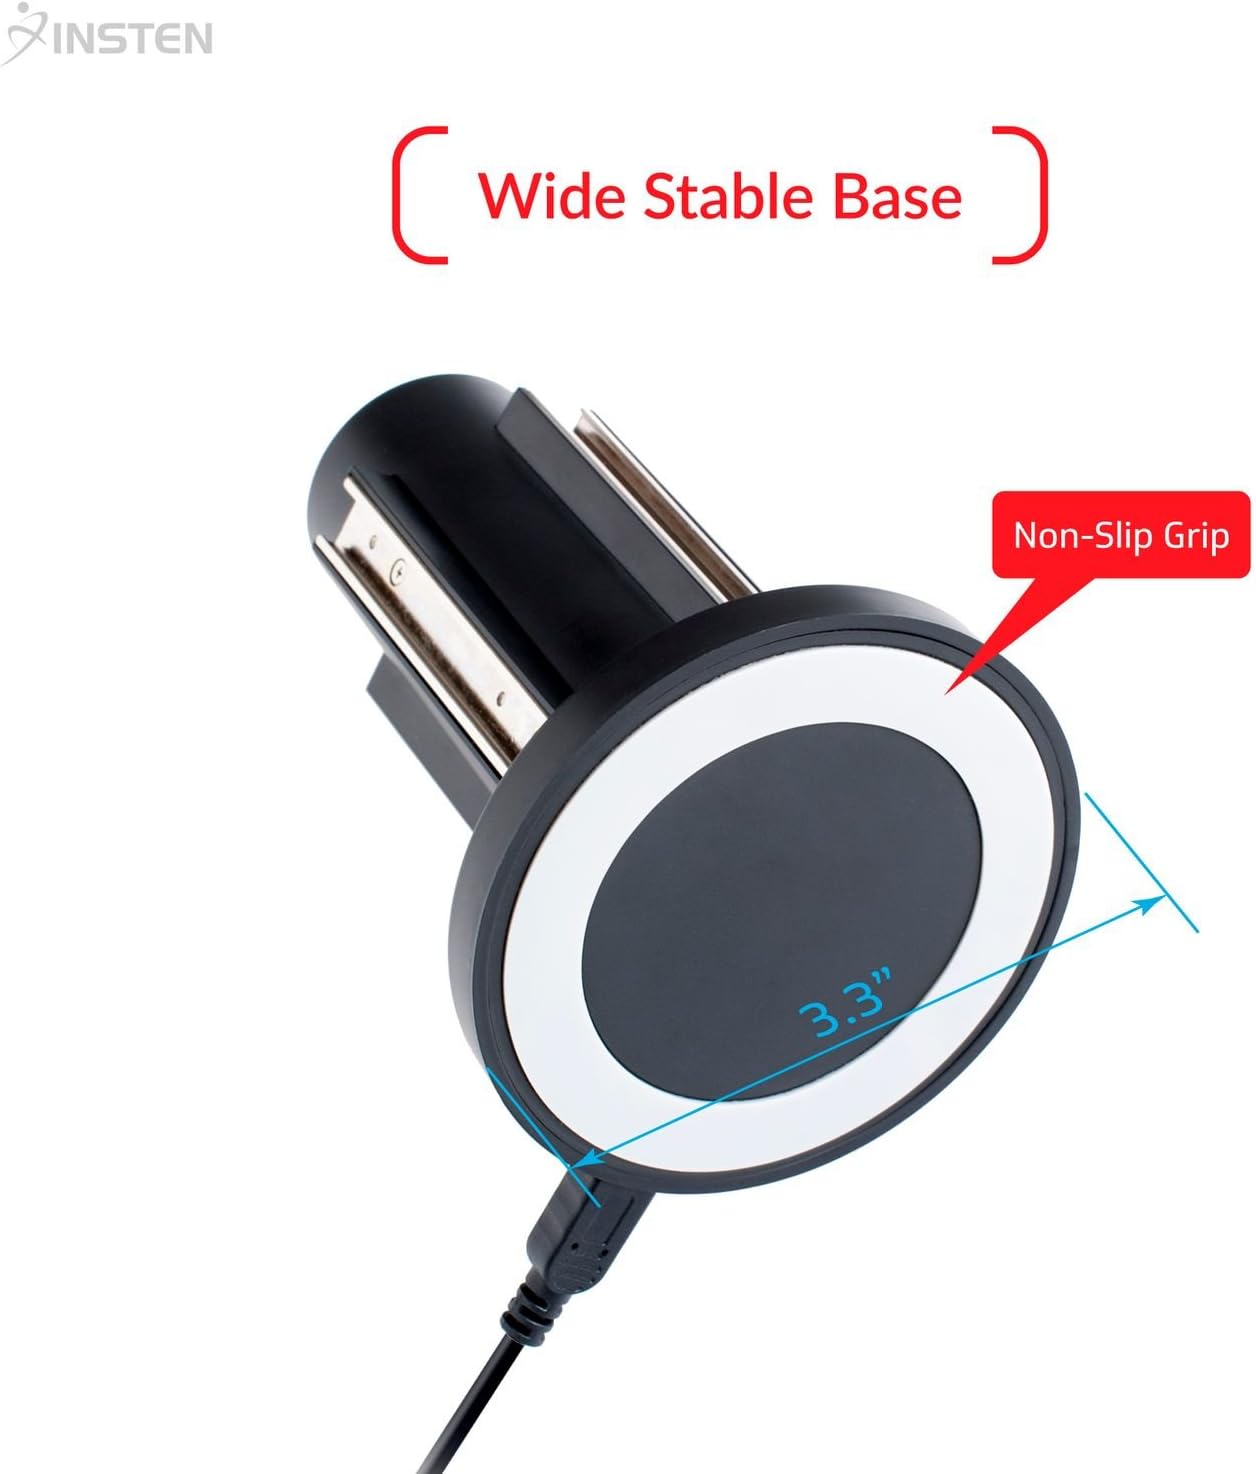
Figure 5: The underside of the Insten Joy-Con Charging Dock, highlighting its wide stable base (3.3" diameter) and non-slip grip for secure placement during use and maintenance.
7. Laasigbotitusita
- Joy-Cons ko gba agbara: Ensure the USB cable is securely connected to both the charging dock and the power source. Try a different USB port or power adapter. Verify Joy-Cons are correctly inserted into the slots.
- LED indicators not lighting up: Check the power connection. If the Joy-Cons are already fully charged, the LEDs will be green or off depending on the specific charge cycle.
- Gbigba agbara lọra: Ensure the power source provides sufficient output (e.g., a wall adapter rather than a low-power USB port on a computer).
8. Awọn pato
| Ẹya ara ẹrọ | Sipesifikesonu |
|---|---|
| Ọja Mefa | 4.92 x 3.39 x 3.39 inches |
| Iwọn Nkan | 2.56 iwon |
| Asopọmọra Iru | USB |
| Awọn ẹrọ ibaramu | Nintendo Switch Joy-Cons |
| Awọn irinše to wa | 1 x Joy-Con Charging Dock |
| Pataki Ẹya | Multiple Output Ports, LED Charge Indicator |
| Iṣagbewọle Voltage | 240 Volts (AC, via USB adapter) |
| O wujade Voltage | 5 Volts (DC) |
| Lapapọ Awọn ibudo USB | 1 (for input power) |
| Nọmba ti Awọn nkan | 1 |
9. Atilẹyin ọja ati Support
For warranty information or technical support, please refer to the product packaging or contact Insten customer service through their official website or the retailer where the product was purchased. Please have your product model number (B0753FLMVG) and purchase date available.