
Ọrọ Iṣaaju
This manual provides instructions for the installation, operation, and maintenance of your Keeney K820-75 Universal Button Bathroom Sink Drain with Overflow. This drain features a solid brass body and a polished chrome finish, designed for durability and ease of use. It is compatible with various sink styles, including pedestal, vessel, drop-in, and undermount sinks that have an overflow and a 1-1/4 inch drain hole.

Image: Keeney K820-75 Universal Button Bathroom Sink Drain in Polished Chrome. This image shows the complete drain assembly, highlighting its polished chrome finish and push-button stopper design.
Eto ati fifi sori
Follow these five steps for proper installation of your sink drain. Ensure your sink has a 1-1/4 inch drain hole and an overflow for this model.
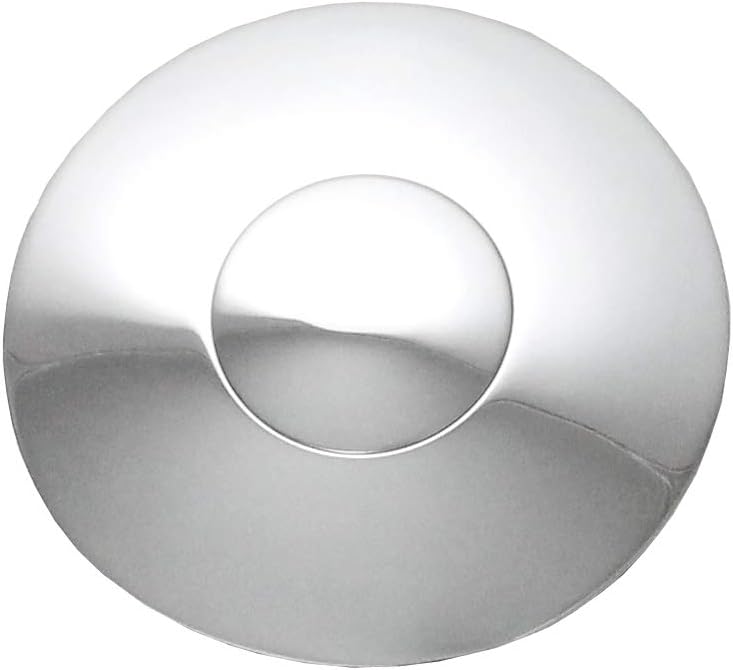
Image: Diagram illustrating the five-step installation process for the Keeney K820-75 sink drain. It shows components being assembled and secured to a bathroom sink.
- Igbesẹ 1: Remove the locknut, friction washer, and sink drain washer from the drain body.
- Igbesẹ 2: Apply a suitable sealant to the underside of the drain flange. Insert the drain body into the sink's drain opening. Akiyesi: When using sealant, avoid plumber's putty on marble or plastic surfaces as it may cause discoloration.
- Igbesẹ 3: From underneath the sink, place the sink drain washer (beveled side up), followed by the friction washer and the nut onto the drain body. Tighten the nut securely onto the drain body. MAA ṢE GBOJU.
- Igbesẹ 4: Insert the tailpiece washer into the flanged end of the tailpiece. Place the tailpiece nut onto the tailpiece and hand tighten onto the drain body.
- Igbesẹ 5: Connect the assembly to an extension tube or P-trap. After connection, fill the sink with water and check for any leaks.

Aworan: Exploded view of the Keeney K820-75 sink drain components, including the stopper, drain body, washers, locknut, and tailpiece. This helps identify each part during installation.
Awọn ilana Iṣiṣẹ
The Keeney K820-75 drain features a simple push-button mechanism for controlling water flow.
- Si sunmo the drain and retain water in the sink, press the button on the top of the stopper.
- Si ṣii the drain and allow water to flow out, press the button again. The stopper will release, allowing drainage.
Itọju ati Cleaning
Regular cleaning and proper maintenance will ensure the longevity and optimal performance of your sink drain.
Ninu baraku
- To maintain the polished chrome finish, clean regularly with a soft, damp cloth and a mild, non-abrasive soap.
- Yẹra fun lilo awọn kẹmika lile, awọn olutọpa abrasive, tabi awọn paadi iyẹfun, nitori iwọnyi le ba ipari jẹ.
- Fi omi ṣan daradara pẹlu omi mimọ ati ki o gbẹ pẹlu asọ asọ lati dena awọn aaye omi.
Clearing Clogs and Deep Cleaning
The drain's center section is designed to be removable for easy cleaning and clog removal.
- To remove the stopper assembly, grip the outer rim of the visible stopper disk and pull upward firmly with your fingers. The entire topside assembly is a friction-fit component.
- Once the topside assembly is removed, you will have clear access to the drain pipe for cleaning out hair, debris, or calcium buildup.
- Clean the removed stopper assembly and the inside of the drain pipe using appropriate tools and cleaners.
- After cleaning, reinsert the stopper assembly by aligning it and pressing it down firmly until it seats properly. The large O-ring on the assembly ensures a proper seal.
Laasigbotitusita
If you encounter issues with your Keeney K820-75 sink drain, refer to the common problems and solutions below.
Leakage from Drain Assembly
- Oro: Water leaks from around the drain flange or from the threaded connections below the sink.
- Awọn Okunfa ti o le Ṣe & Awọn ojutu:
- Improper Sealant Application: Ensure a suitable sealant was applied correctly to the underside of the drain flange during installation. Reapply if necessary, avoiding plumber's putty on sensitive surfaces.
- Incorrect Washer Placement: Verify that the sink drain washer was placed with the beveled side up and that all washers are correctly seated.
- Overtightening or Undertightening: The nuts should be tightened securely but not excessively. Overtightening can crack components, while undertightening leads to loose seals. Adjust tightness as needed.
- Incompatible Sink Hole: Confirm that your sink's drain hole diameter is compatible (1-1/4 inch for overflow sinks, or at least 1.60 inches in diameter). An improperly sized sink hole can prevent a proper seal.
- Awọn eroja ti bajẹ: Inspect washers, gaskets, and threaded parts for any damage or manufacturing defects. Replace any compromised parts.
Stopper Not Sealing or Releasing Properly
- Oro: The push-button stopper does not hold water or gets stuck.
- Awọn Okunfa ti o le Ṣe & Awọn ojutu:
- Debris or Buildup: Remove the stopper assembly (as described in Maintenance) and clean any hair, soap scum, or mineral deposits that may be obstructing its movement or preventing a full seal.
- O-ring Issue: Check the large O-ring on the stopper assembly for damage or misalignment. Ensure it is properly seated and intact.
Awọn pato
| Ẹya ara ẹrọ | Ẹ̀kúnrẹ́rẹ́ |
|---|---|
| Nọmba awoṣe | K820-75 |
| Ohun elo | Idẹ |
| Pari | Chrome didan |
| Ara | With Overflow |
| Sink Hole Compatibility | 1-1/4 inch (for sinks with overflow) |
| Minimum Sink Opening Diameter | 1.60 inches |
| Ìwò Giga | 8.375 inches |
| Stopper Diameter | 2.677 inches |
| Tailpiece Diameter | 1.25 inches |
| Olupese | Keeney |

Image: Technical drawing showing the key dimensions of the Keeney K820-75 sink drain, including overall height, stopper diameter, and tailpiece diameter, along with minimum sink opening requirements.
Alaye atilẹyin ọja
This Keeney K820-75 Universal Button Bathroom Sink Drain is covered by a 1-odun lopin atilẹyin ọja from the date of purchase. This warranty covers defects in materials and workmanship under normal use and service. For specific terms and conditions, please refer to the warranty documentation included with your product or contact customer support.
Onibara Support
If you have any questions, require assistance with installation, or need to report a warranty claim, please contact Plumb Pak customer service. Refer to the packaging or the manufacturer's webojú òpó wẹ́ẹ̀bù fún ìwífún ìbánisọ̀rọ̀ tuntun, pẹ̀lú àwọn nọ́mbà fóònù àti àdírẹ́sì ìméèlì.