
1. Ifihan
This manual provides essential information for the proper installation, operation, and maintenance of your Audiovox Push Button Switch, Model 1364288. This component is designed for automotive applications, featuring a normally open contact type and a surface mount design. Please read this manual thoroughly before installation and use to ensure safe and efficient operation.
2. Alaye Aabo
IKILO: Àìtẹ̀lé àwọn ìlànà ààbò wọ̀nyí lè yọrí sí iná, ìkọlù iná mànàmáná, tàbí ìpalára tàbí ìbàjẹ́ mìíràn.
- Always disconnect the vehicle's battery before performing any electrical installation or maintenance.
- Rii daju pe gbogbo awọn asopọ onirin wa ni aabo ati idayatọ daradara lati ṣe idiwọ awọn iyika kukuru.
- Do not exceed the specified electrical ratings for the switch.
- Consult a qualified automotive technician if you are unsure about any installation steps.
- Keep the switch away from moisture and extreme temperatures.
3. Eto ati fifi sori
The Audiovox Push Button Switch (Model 1364288) is designed for surface mounting and features a pin header connector. Follow these steps for proper installation:
- Mura Ilẹ Iṣagbesori: Select a clean, dry, and flat surface for mounting the switch. Ensure there is sufficient space for the switch (dimensions: 0.05 x 0.03 x 0.04 inches) and its wiring.
- Ṣe aabo fun Yipada: Use appropriate fasteners (not included) to securely attach the switch to the chosen surface. Ensure it is firmly in place and will not vibrate loose during vehicle operation.
- Awọn isopọ onirin: The switch features a Normally Open (NO) contact type and a pin header connector. Connect the appropriate wires from your automotive circuit to the switch's pins. Typically, one pin will connect to the power source (or signal input) and the other to the device or circuit you intend to control. When the button is pressed, the circuit will close, allowing current to flow.
- Isopọmọra idabobo: After making all electrical connections, ensure they are properly insulated using electrical tape or heat shrink tubing to prevent accidental short circuits.
- Iṣe idanwo: Reconnect the vehicle's battery and test the switch's operation to ensure it functions as intended before fully reassembling any removed panels.
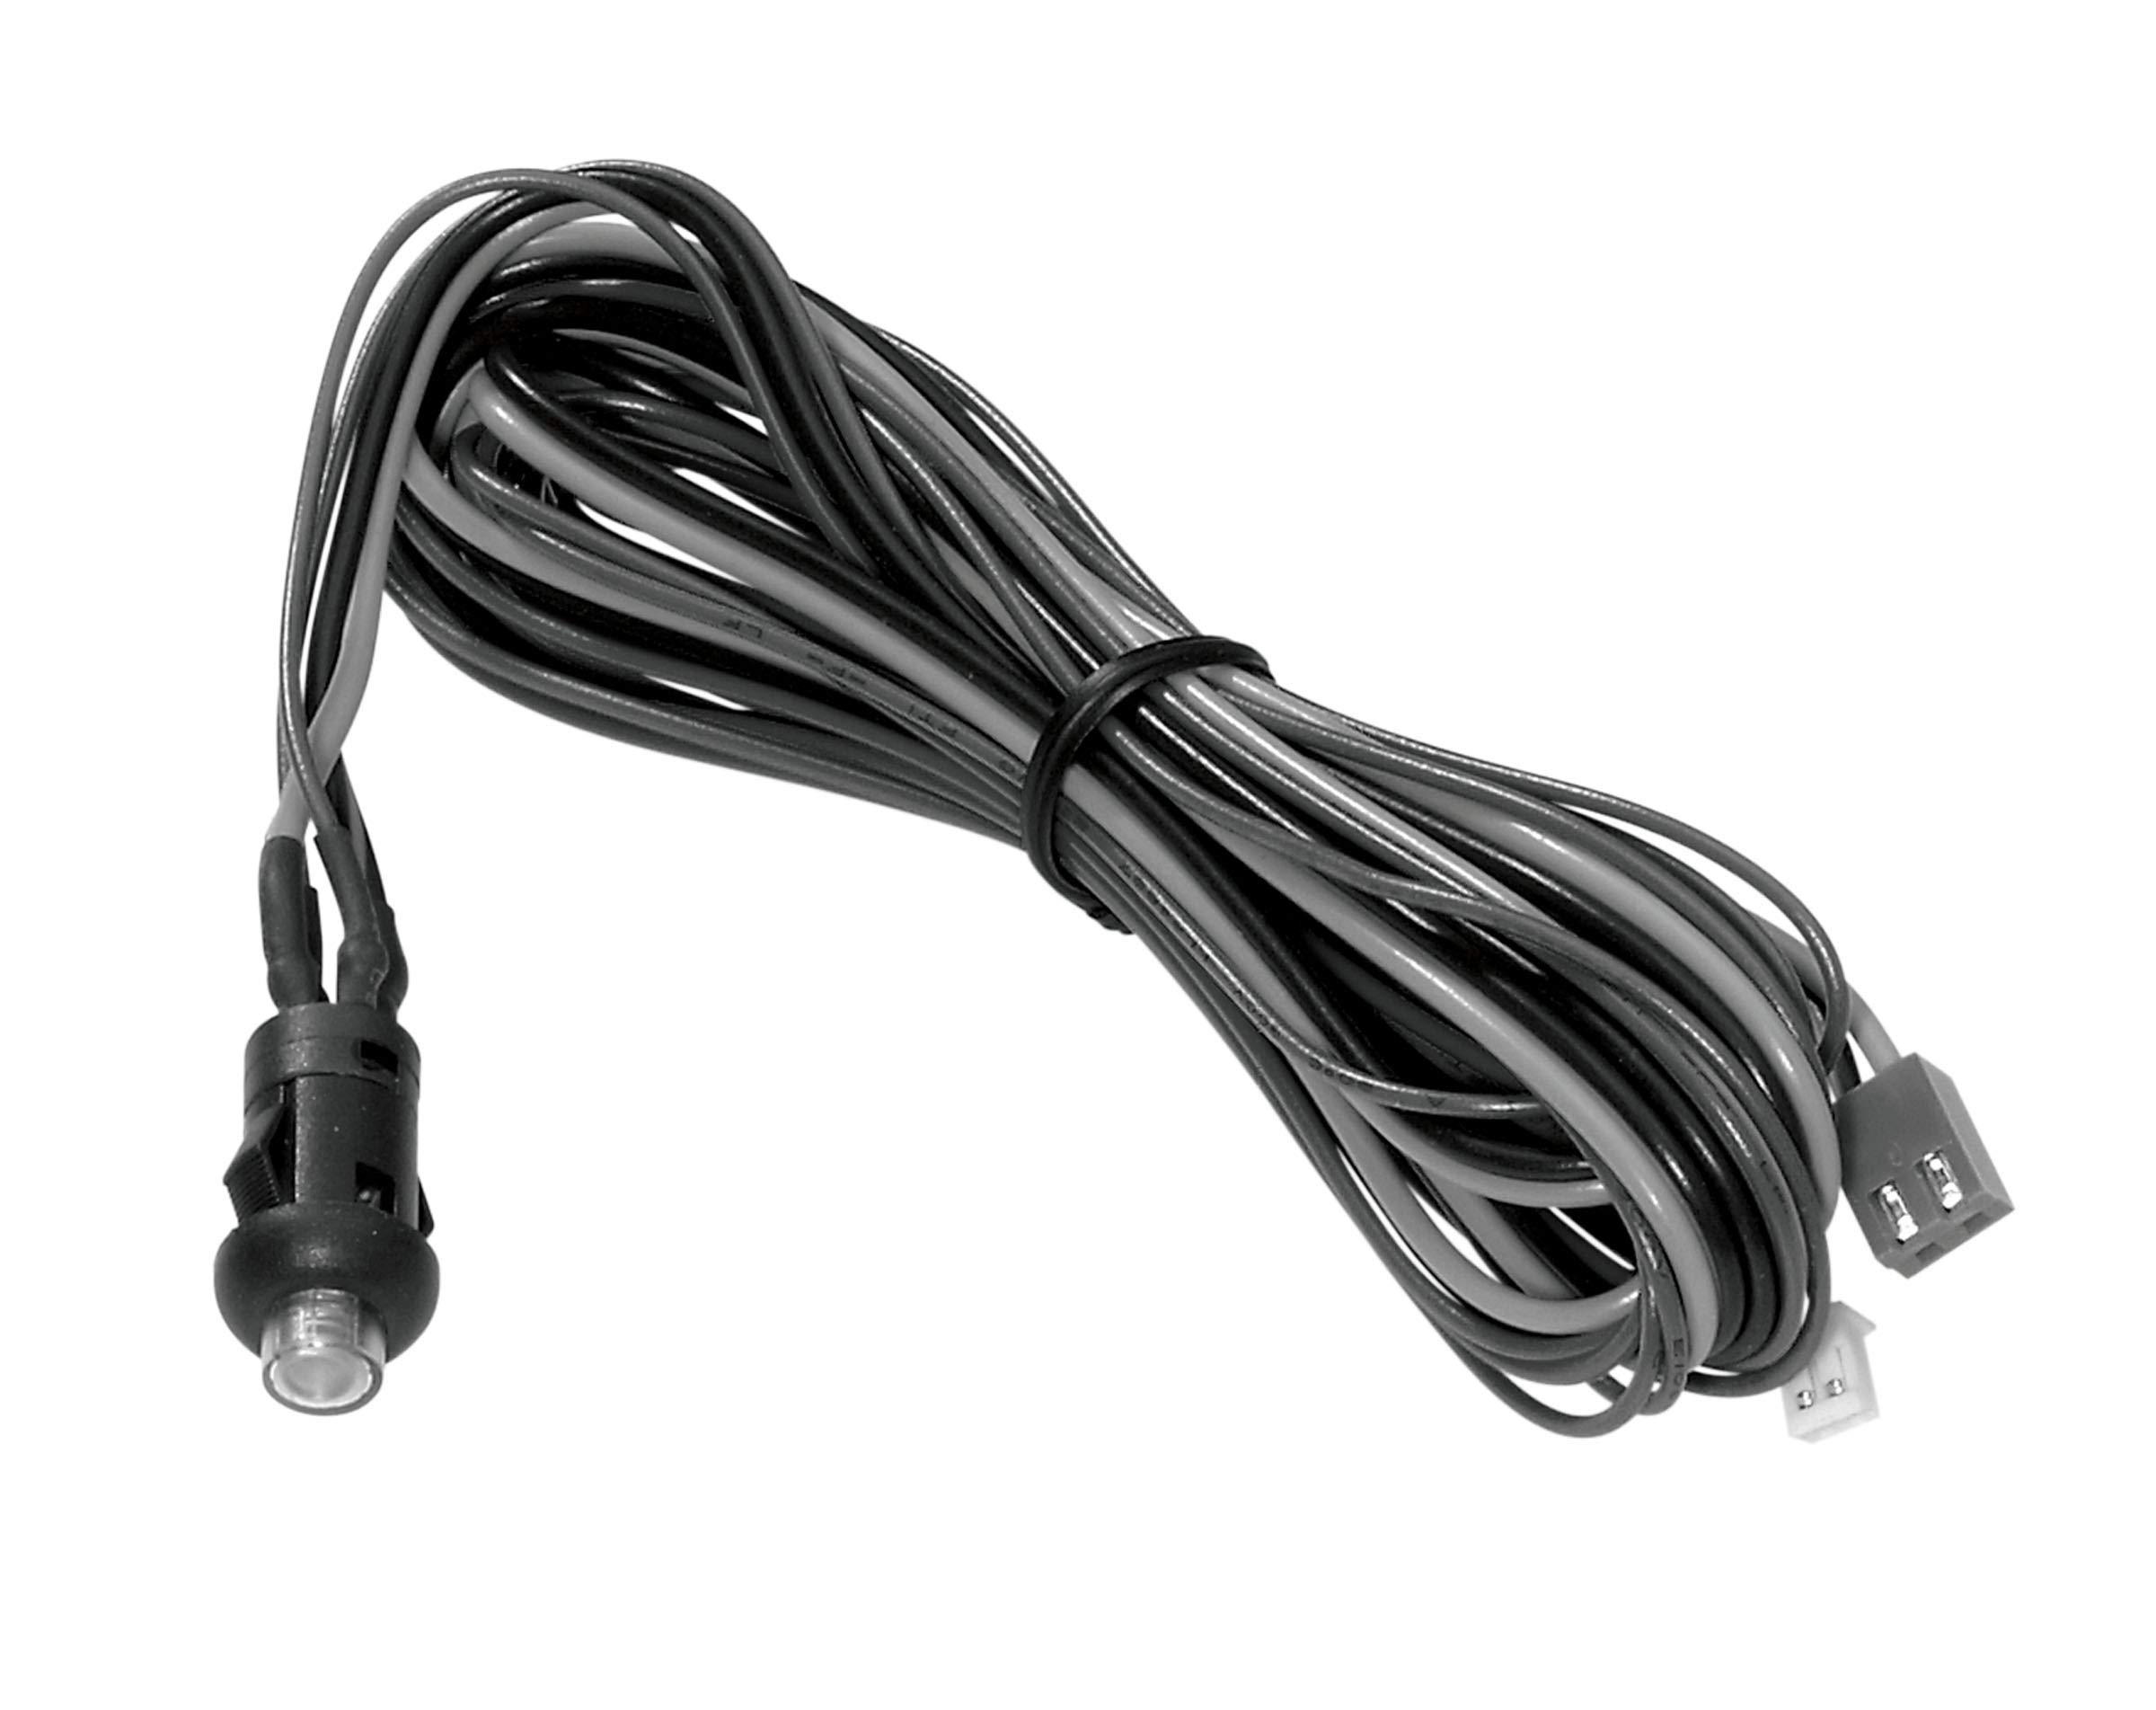
Figure 3.1: The Audiovox Push Button Switch (Model 1364288). This image shows the compact black push-button switch, highlighting its design suitable for surface mounting in automotive applications.
4. Awọn ilana Iṣiṣẹ
The Audiovox Push Button Switch (Model 1364288) operates as a simple momentary switch with a Normally Open (NO) contact type.
- Muu ṣiṣẹ: To activate the connected circuit or device, firmly press the button. While the button is pressed, the internal contacts close, completing the circuit.
- Pa aṣiṣẹ: To deactivate the connected circuit or device, release the button. Upon release, the internal contacts open, breaking the circuit.
This switch is designed for applications requiring a temporary electrical connection, such as activating a horn, a momentary light, or a specific function within an automotive system.
5. Itọju
The Audiovox Push Button Switch (Model 1364288) is designed for durability and requires minimal maintenance.
- Ninu: Periodically wipe the exterior of the switch with a soft, dry cloth to remove dust and debris. Avoid using harsh chemicals or abrasive cleaners.
- Ayewo: Regularly inspect the wiring connections to ensure they remain secure and free from corrosion. Check for any signs of physical damage to the switch housing or button.
- Idaabobo Ayika: Ensure the switch remains protected from excessive moisture and direct exposure to harsh environmental elements, which could degrade its performance over time.
6. Laasigbotitusita
If you experience issues with your Audiovox Push Button Switch, refer to the following common troubleshooting steps:
| Isoro | Owun to le Fa | Ojutu |
|---|---|---|
| Switch does not activate device. | Asopọ waya ti ko tọ tabi ti ko tọ. Ko si agbara si awọn Circuit. Yipada aṣiṣe. | Check all wiring connections for security and correct polarity. Ensure the circuit has power. Test the switch with a multimeter for continuity when pressed. Replace if faulty. |
| Išišẹ ti o lemọlemọ. | Isopọ ti ko dara. Internal wear or debris. | Inspect wiring for corrosion or loose terminals. Ensure the switch is clean. If the issue persists, the switch may need replacement. |
| Button is stuck or difficult to press. | Debris lodged around the button. Ipalara ti ara. | Carefully clean around the button. Do not force the button. If damaged, replace the switch. |
7. Awọn pato
| Ẹya ara ẹrọ | Ẹ̀kúnrẹ́rẹ́ |
|---|---|
| Brand | Audiovox |
| Nọmba awoṣe | 1364288 |
| Ipo Isẹ | Push button (Momentary) |
| Olubasọrọ Iru | Ṣii ni deede (KO) |
| Asopọmọra Iru | Akọsori Pin |
| Yipada Iru | Titari Bọtini |
| Awọn iwọn (L x W x H) | 0.05 x 0.03 x 0.04 inches |
| Circuit Iru | 1-ọna |
| Iṣagbesori Iru | Oke Oke |
| Actuator Iru | Titari Bọtini |
| Ọna Iṣakoso | Fọwọkan |
| Ilana Asopọmọra | X-10 (Note: This may refer to a specific internal component or compatibility, not necessarily a direct user interface protocol.) |
| Àwọ̀ | Dudu |
| Iwọn Ẹka | 1 Iṣiro |
| UPC | 044476040528 |
| ASIN | B07HP882SM |
8. atilẹyin ọja Information
Audiovox products are manufactured to high-quality standards. This product is covered by the manufacturer's standard limited warranty. Please refer to the official Audiovox website or contact customer support for detailed warranty terms and conditions, including coverage period and claim procedures. Keep your proof of purchase for warranty validation.
9. Onibara Support
For technical assistance, troubleshooting beyond this manual, or warranty inquiries, please contact Audiovox customer support.
- Webojula: Visit the official Audiovox webaaye fun awọn orisun atilẹyin, Awọn ibeere FAQ, ati alaye olubasọrọ.
- Foonu/Imeeli: Refer to the Audiovox webAaye fun awọn nọmba foonu tuntun ati awọn adirẹsi imeeli fun iṣẹ alabara.
Nigbati o ba kan si atilẹyin, jọwọ ni nọmba awoṣe ọja rẹ (1364288) ati ẹri rira ni imurasilẹ wa.