
1. Ifihan
Welcome to the user manual for your Modecom Oberon Pro Glass USB 3.0 White PC Case. This manual provides essential information for the proper installation, operation, and maintenance of your computer chassis. Please read this manual thoroughly before beginning assembly to ensure correct setup and to prevent damage to your components or the case itself.
Awọn iṣọra Aabo:
- Nigbagbogbo ge asopọ ipese agbara lati inu iṣan ogiri ṣaaju fifi sori ẹrọ tabi yiyọ awọn paati eyikeyi kuro.
- Handle components with care to avoid electrostatic discharge (ESD). Consider using an anti-static wrist strap.
- Pa awọn ẹya kekere ati awọn ohun elo apoti kuro lọdọ awọn ọmọde.
- Rí i dájú pé afẹ́fẹ́ tó yẹ wà ní àyíká àpótí náà kí ó má baà gbóná jù.
2. Ọja Ipariview
The Modecom Oberon Pro Glass is a stylish mid-tower PC case designed to house your computer components. It features a tempered glass side panel for showcasing your build and a clean white finish. The front panel includes convenient USB 3.0 ports for high-speed data transfer.
Nọmba 2.1: Iwaju-ọtun view of the Modecom Oberon Pro Glass PC Case. This image displays the white exterior, the front panel with ventilation, and the top-mounted I/O ports including USB 3.0.
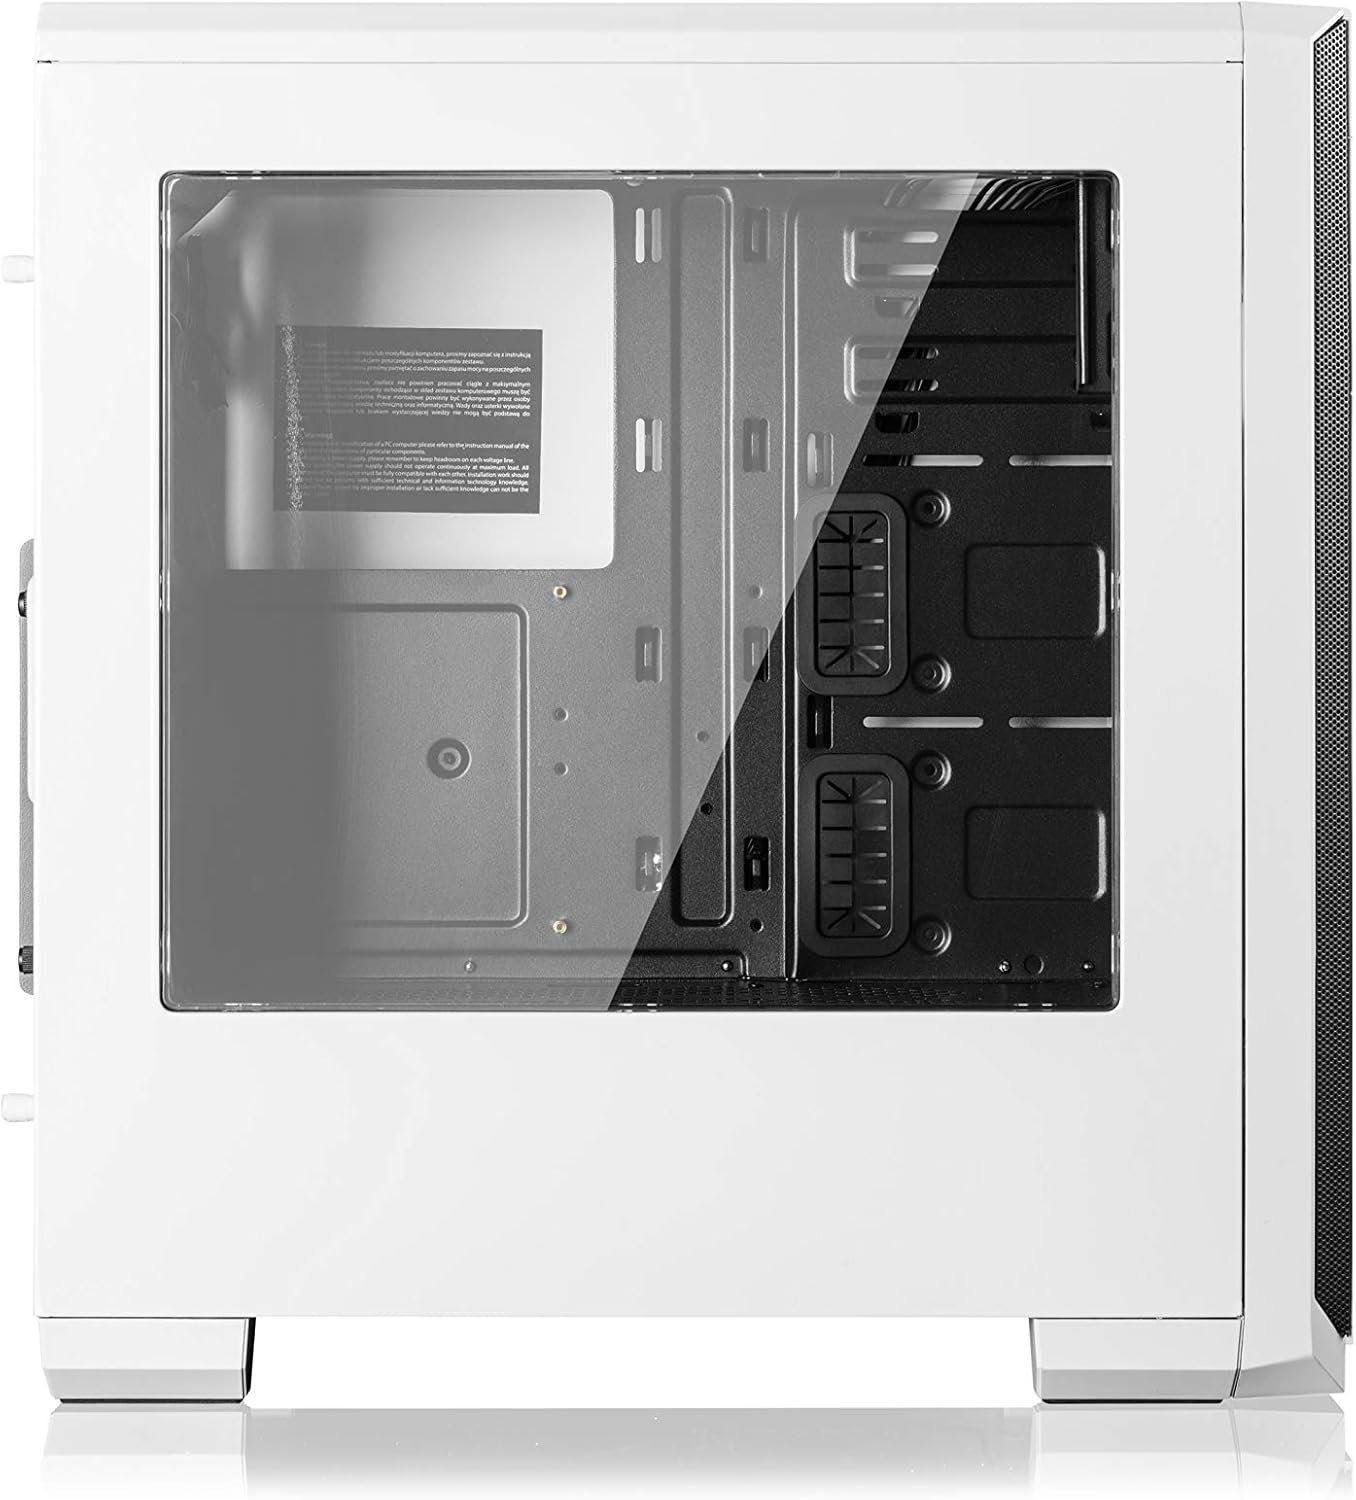
Nọmba 2.2: Apa view of the Modecom Oberon Pro Glass PC Case, highlighting the tempered glass side panel. This panel allows for a clear view of the internal components when installed.
3. Eto ati fifi sori
Follow these steps to install your computer components into the Modecom Oberon Pro Glass PC Case.
3.1. Unpacking ati Ibẹrẹ Ayewo
- Fi ìṣọ́ra yọ àpótí PC náà kúrò nínú àpótí rẹ̀.
- Inspect the case for any signs of damage during transit. Contact your retailer immediately if damage is found.
- Remove the tempered glass side panel by unscrewing the thumb screws, typically located at the rear corners of the panel. Set the panel aside on a soft, flat surface to prevent scratches.
3.2. Modaboudu fifi sori

Nọmba 3.1: Inu ilohunsoke view of the Modecom Oberon Pro Glass PC Case, showing the motherboard tray, drive bays, and cable management cutouts.
- Install the I/O shield that came with your motherboard into the designated opening at the rear of the case.
- Ensure the motherboard standoffs are correctly aligned for your motherboard's form factor (ATX, Micro ATX, or ITX). Install additional standoffs if necessary.
- Fi pẹ̀lẹ́pẹ̀lẹ́ gbé mótábódì rẹ sí orí àwọn ibi tí wọ́n ti ń dì í, kí o sì ṣe àtúnṣe àwọn ihò skru náà.
- Fi àwọn skru tí a pèsè so mọ́ motherboard náà. Má ṣe fún un ní okun jù.
3.3. Agbara Ipese Unit (PSU) fifi sori
- Position your PSU in the dedicated compartment, typically at the bottom rear of the case.
- Align the screw holes on the PSU with those on the case's rear panel.
- Secure the PSU with the provided screws.
3.4. Storage Drive Installation (HDD/SSD)
- Locate the 3.5" HDD bays and 2.5" SSD mounting points within the case.
- For 3.5" HDDs, slide the drive into a bay and secure it with screws or tool-less clips if available.
- For 2.5" SSDs, mount them to the designated trays or screw points, typically behind the motherboard tray or in specific drive cages.
3.5. Expansion Card Installation (GPU, PCIe cards)

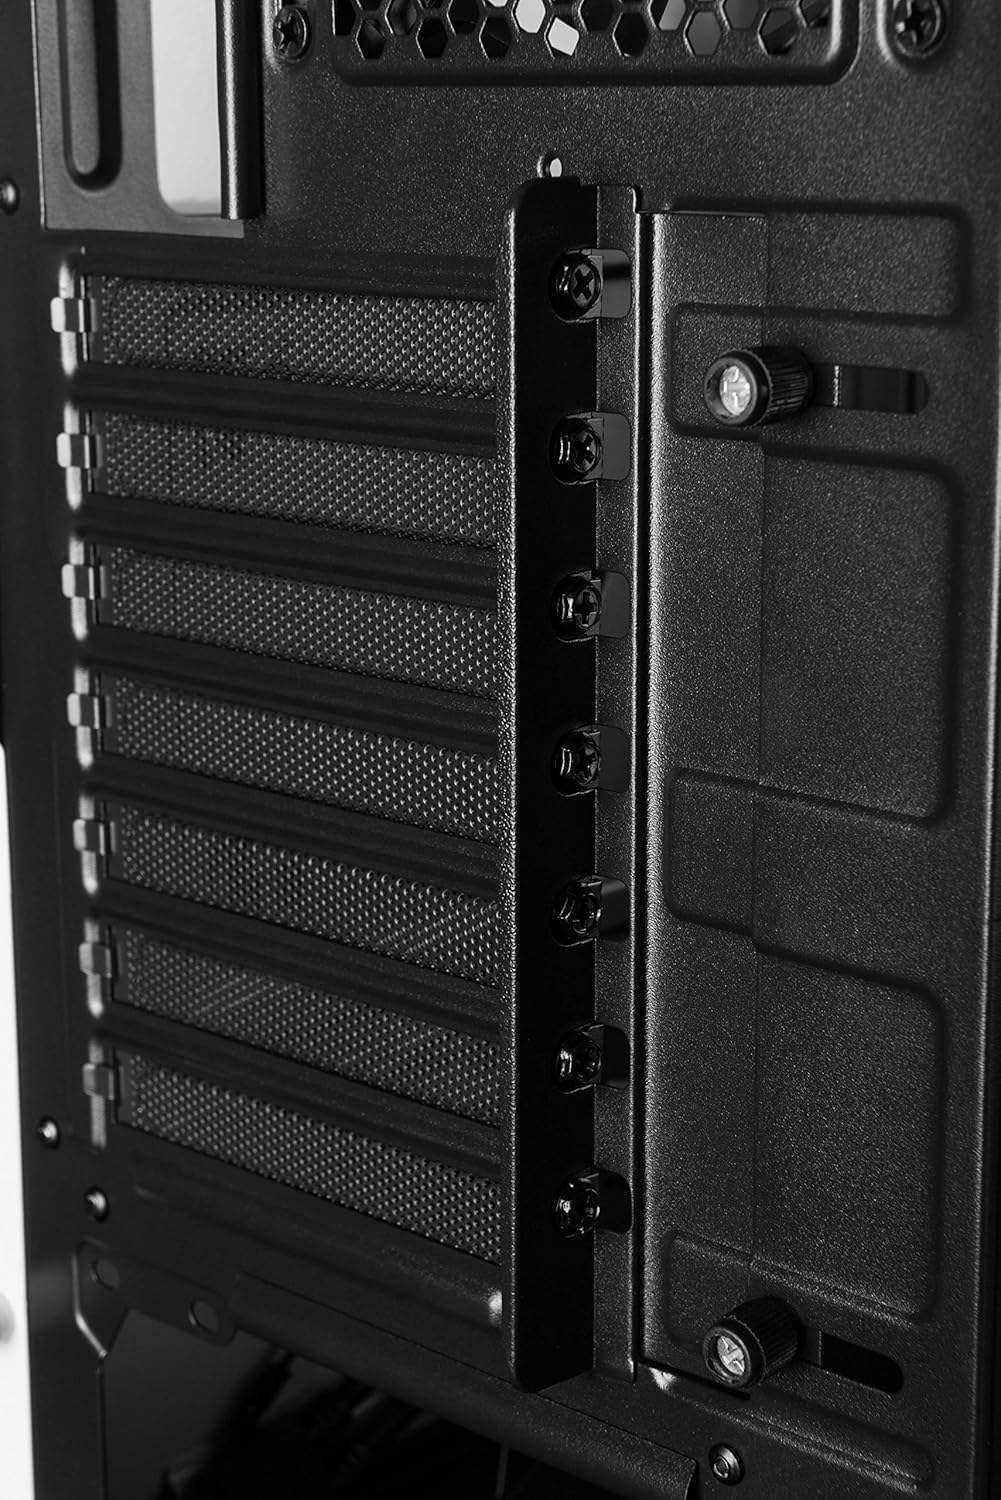
Nọmba 3.2: Ru inu inu view of the Modecom Oberon Pro Glass PC Case, illustrating the expansion slot covers and thumb screws for securing PCIe cards.
- Remove the necessary expansion slot covers from the rear of the case, corresponding to your card's slot on the motherboard.
- Insert your expansion card (e.g., graphics card) firmly into the PCIe slot on the motherboard.
- Secure the card to the case with the provided screws or retention mechanism.
3.6. Front Panel Connector Installation
- Connect the front panel cables (USB 3.0, HD Audio, Power Switch, Reset Switch, Power LED, HDD LED) to their respective headers on your motherboard. Refer to your motherboard manual for exact pin layouts.
3.7. Iṣakoso USB
- Lo àwọn ohun tí a gé síta àti àwọn ibi tí a ti so mọ́ ara wọn lẹ́yìn àwo módàbù láti ṣètò àwọn wáyà. Èyí mú kí afẹ́fẹ́ àti ẹwà wọn sunwọ̀n síi.
- Once all components are installed and cables managed, reattach the tempered glass side panel and secure it with the thumb screws.
4. Isẹ
After successful installation, your PC is ready for operation.
- Ngba agbara: Press the power button located on the top I/O panel of the case.
- Using Front Panel Ports: The front panel includes USB 3.0 ports and audio jacks. Connect your USB devices (e.g., flash drives, external hard drives) to the USB ports for data transfer. Plug your headphones or microphone into the respective audio jacks.
5. Itọju
Itọju deedee n ṣe iranlọwọ lati rii daju pe iṣẹ ṣiṣe to dara julọ ati igba pipẹ ti awọn paati PC rẹ.
- Awọn Ajọ Eruku: Periodically remove and clean the dust filters (if present) to maintain good airflow and prevent dust buildup inside the case. Use compressed air or a soft brush.
- Ode Ninu: Nu awọn oju ita ti apoti naa pẹlu asọ ti o rọ, damp cloth. Avoid abrasive cleaners or solvents that could damage the finish or tempered glass.
- Tempered Glass Panel: Clean the tempered glass with a glass cleaner and a microfiber cloth to avoid streaks and scratches.
6. Laasigbotitusita
If you encounter issues, consider the following basic troubleshooting steps:
- Eto Ko Titan:
- Rí i dájú pé PSU ti tan-an àti pé a so mọ́ ibi tí a ti ń ta ohun èlò náà dáadáa.
- Verify that the front panel power switch cable is correctly connected to the motherboard header.
- Check all power connections to the motherboard and components.
- Awọn ibudo USB Ko Ṣiṣẹ:
- Confirm that the front panel USB 3.0 cable is securely connected to the corresponding header on the motherboard.
- Test with different USB devices.
- Ariwo Pupọ:
- Identify the source of the noise (e.g., case fans, CPU cooler fan, GPU fan).
- Ensure all fans are free from obstructions and properly secured.
- Clean any dust buildup on fans.
Fun awọn ọran ti o nira sii, kan si awọn iwe afọwọkọ paati rẹ tabi wa iranlọwọ ọjọgbọn.
7. Awọn pato
| Ẹya ara ẹrọ | Apejuwe |
|---|---|
| Brand | Modecom |
| Orukọ awoṣe | Oberon Pro Glass |
| Nọmba awoṣe | AT-OBERON-PG-20-000000-0002 |
| Iru Irú | Aarin-Tower |
| Àwọ̀ | Funfun |
| Ohun elo | Polycarbonate (PC) |
| Awọn modaboudu ibaramu | ATX, Micro ATX, ITX |
| Iwaju Awọn Ibudo I / O | USB 3.0, Audio In/Out |
| Ibi ti ina elekitiriki ti nwa | W/O PSU (Power Supply Unit not included) |
| Iwọn Nkan | 2 kilo |
| International Ìwé Code | 05901885248370 |
8. Atilẹyin ọja ati Support
Alaye Atilẹyin ọja:
Modecom provides a guarantee of spare parts availability for 2 years from the date of purchase. This ensures that essential components for repair or replacement will be accessible within this period.
Atilẹyin Onibara:
For technical assistance, warranty claims, or further inquiries, please refer to the official Modecom website or contact your local retailer where the product was purchased. Ensure you have your product model number and proof of purchase available when seeking support.