
1. Ifihan
The SanJie DA03S-8 Door and Window Alarm Sensor is designed to enhance the security of your home or property. This wireless, easy-to-install device provides an audible alert when a protected door or window is opened, offering peace of mind for various applications including child safety, home security, and monitoring access points.
2. Awọn ẹya Ọja
- Alaafia ti Ọkàn: Guards your home's security and helps ensure the safety of children and the elderly.
- Lilo jakejado: Magnetic sensor triggers an alarm or chime when separated. Suitable for pools, homes, apartments, stores, offices, garages, RVs, warehouses, hotels, and can be installed on sliding doors/windows, cabinets, drawers, etc.
- Rọrun lati fi sori ẹrọ: Features 3M double-sided tape for quick, tool-free installation on doors or windows.
- Iṣakoso iwọn didun: Offers 3 modes: 125dB Alarm (loud), 100dB Alarm, and 100dB Chime (ding-dong 2 times). The alarm sounds continuously for 30 seconds and stops when the door/window is closed.
- Igbesi aye batiri gigun: Powered by 3 LR44 button batteries (included), providing up to 12 months of normal operation. A low battery indicator light will flash to alert you when replacement is needed.
3. Package Awọn akoonu
- SanJie Door and Window Alarm Unit (x8)
- Magnetic Strip (x8)
- LR44 Button Batteries (3 per unit, pre-installed)
- Double-sided Adhesive Tape (pre-applied)
4. irinše Loriview

- Main Alarm Unit: Contains the speaker, ON/OFF switch, setup key, and low battery indicator.
- Ìlà Oofa: The smaller component that triggers the alarm when separated from the main unit.
- ON/PA Yipada: Located on the side of the main unit to power the device.
- Setup Key: A small button on the front of the main unit to cycle through alarm modes.
- Atọka Batiri Kekere: An LED light that flashes to indicate low battery.
- Abala Batiri: Located at the bottom of the main unit for LR44 battery access.
5. Eto & Fifi sori
5.1 Fifi sori batiri
The alarm units come with 3 LR44 button batteries pre-installed. Before first use, ensure any protective tabs are removed from the battery compartment if present. The low battery indicator will flash 5 times when batteries need replacement.
5.2 Fifi itaniji sori ẹrọ
- Mọ Ilẹ-ilẹ: Ensure the surface where you plan to install the alarm and magnetic strip is clean, dry, and smooth.
- Mura alemora: The units come with double-sided adhesive tape pre-applied. Peel off the protective backing from both the main alarm unit and the magnetic strip.
- Ipo Apakan Pataki: Attach the main alarm unit to the fixed part of your door or window frame.
- Position the Magnetic Strip: Attach the magnetic strip to the moving part of the door or window. Ensure the magnetic strip is aligned with the main alarm unit's marked triangle and the gap between them is no more than 0.4 inches (approximately 1 cm) when the door/window is closed.
- Igbeyewo fifi sori: Open and close the door/window to verify the alarm triggers and stops correctly.

Video 1: Demonstration of easy installation for door and window alarms.
6. Awọn ilana Iṣiṣẹ
6.1 Agbara Tan / Pa
Locate the ON/OFF switch on the side of the main alarm unit. Slide the switch to the 'ON' position to activate the alarm, and to the 'OFF' position to deactivate it.
6.2 Aṣayan ipo
The alarm offers three distinct modes. To cycle through these modes, press the 'Setup key' button located on the front of the main alarm unit.
- Mode 1 (125dB Alarm): Provides a very loud alarm sound. Ideal for deterring intruders or alerting to critical access.
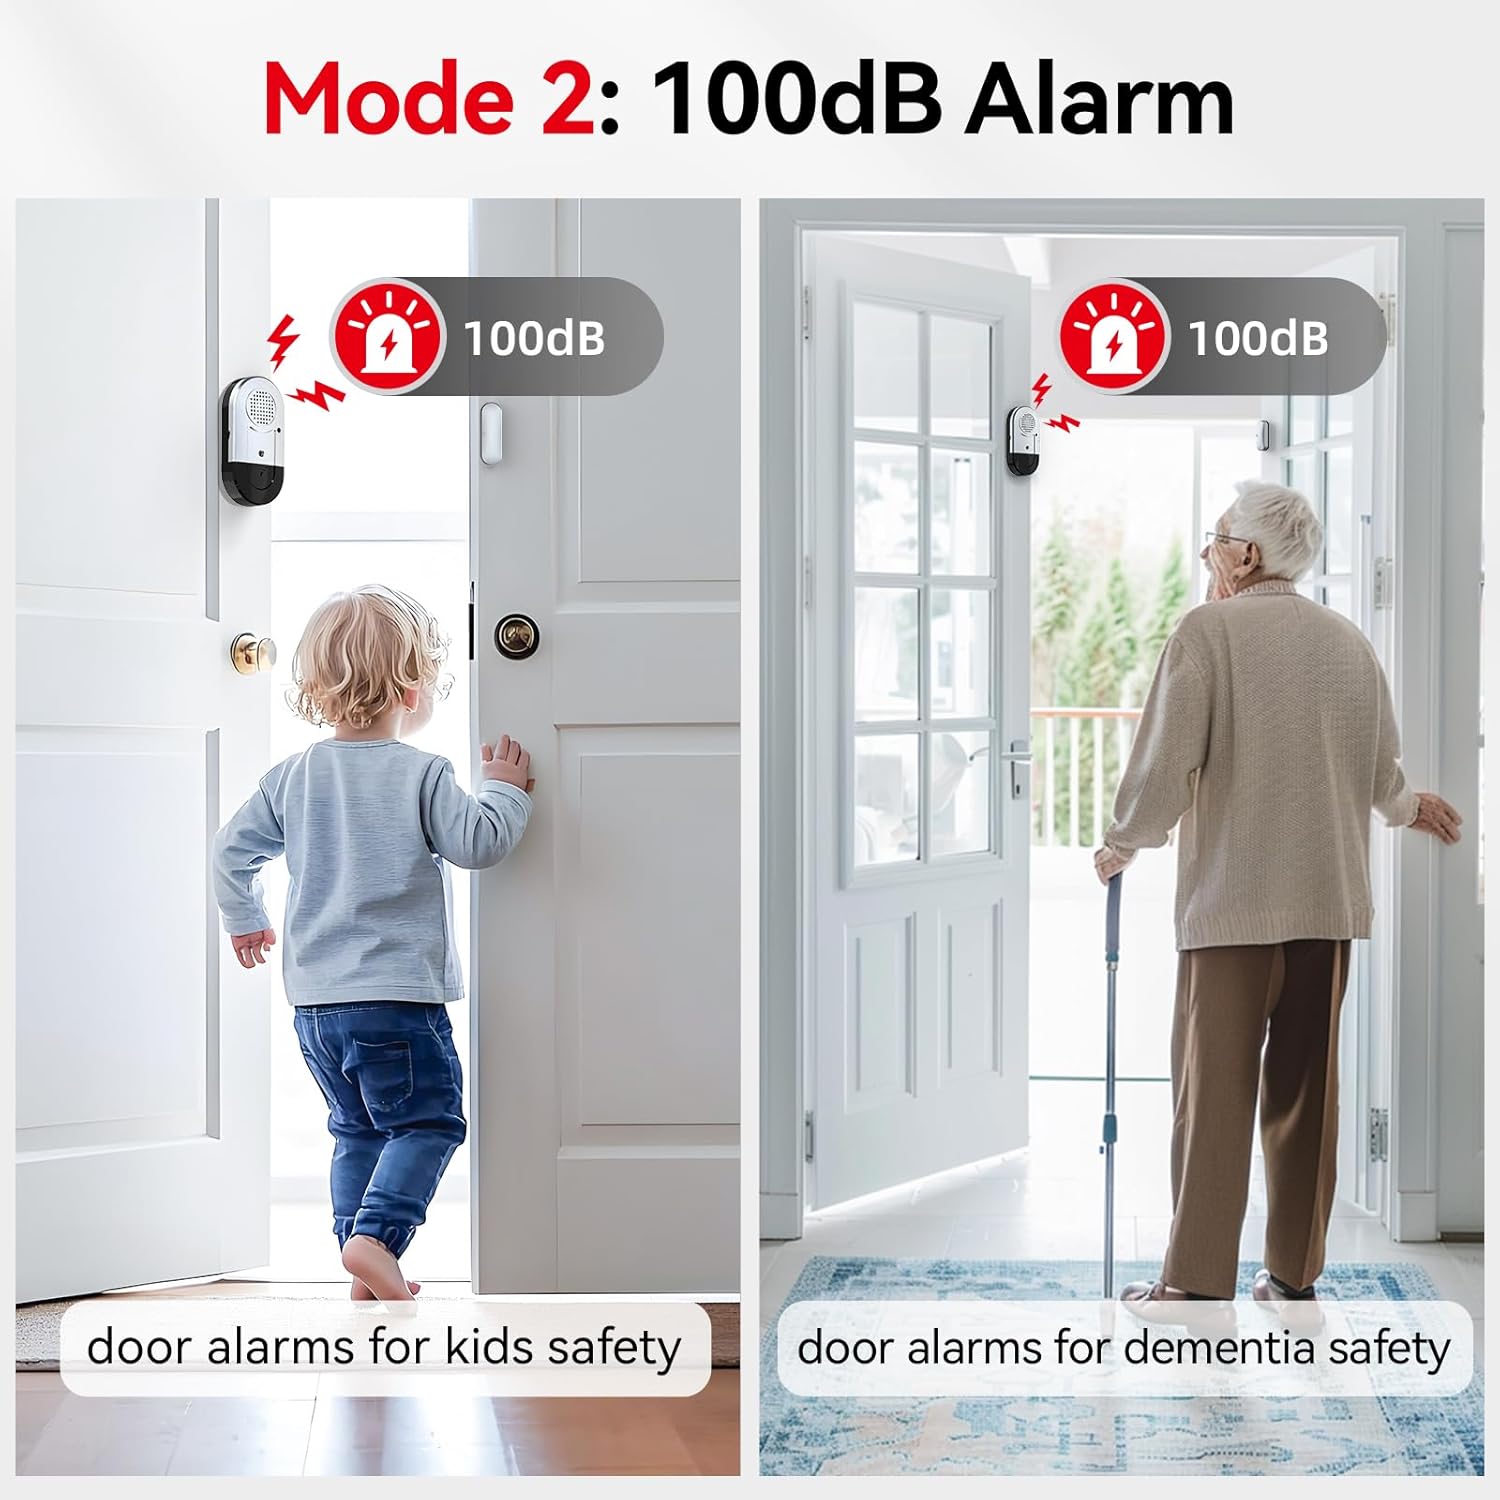
- Mode 2 (100dB Alarm): A loud alarm sound, suitable for general security and alerting to children or the elderly opening doors.
- Mode 3 (100dB Chime): A 'ding-dong' sound (2 times), perfect for notification when someone enters or exits, such as in a shop or for monitoring children without a startling alarm.


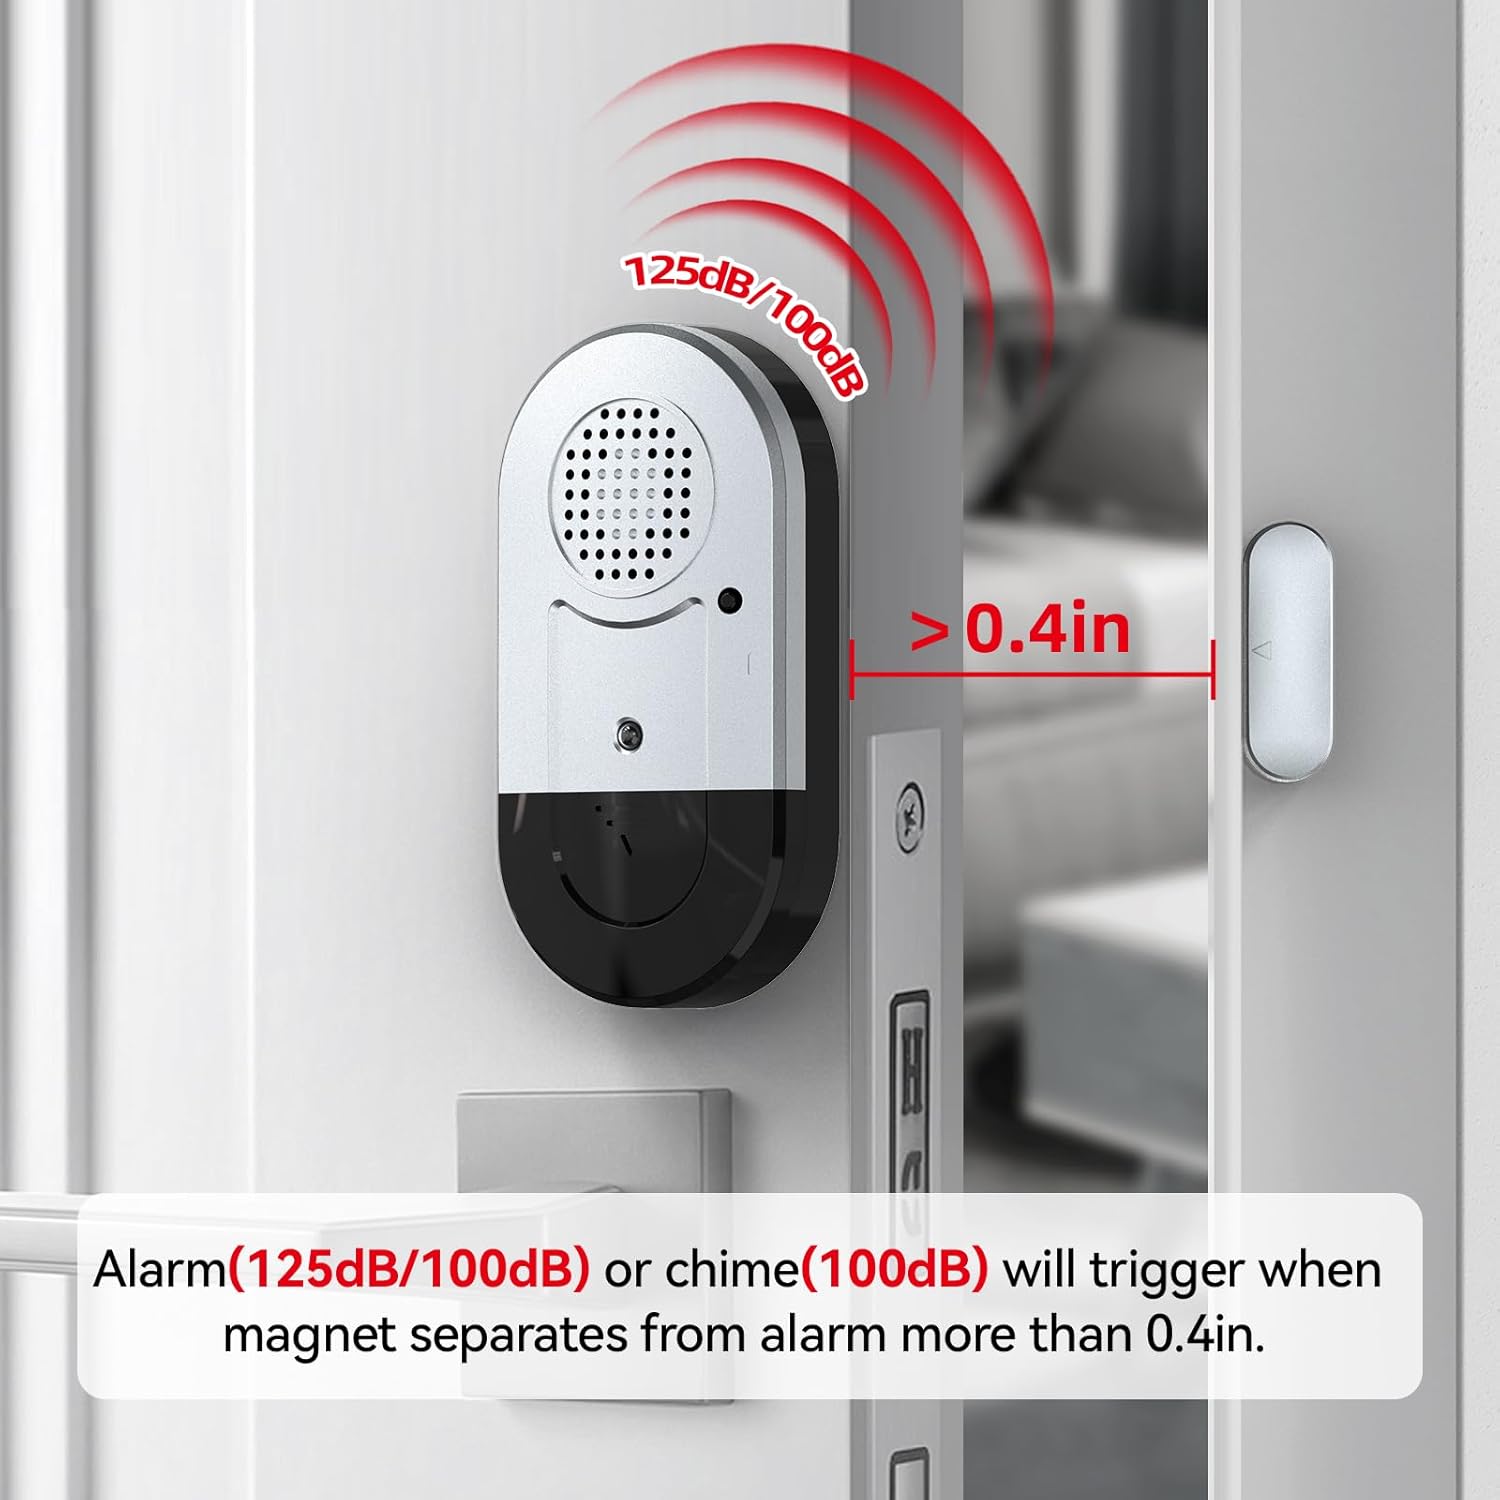
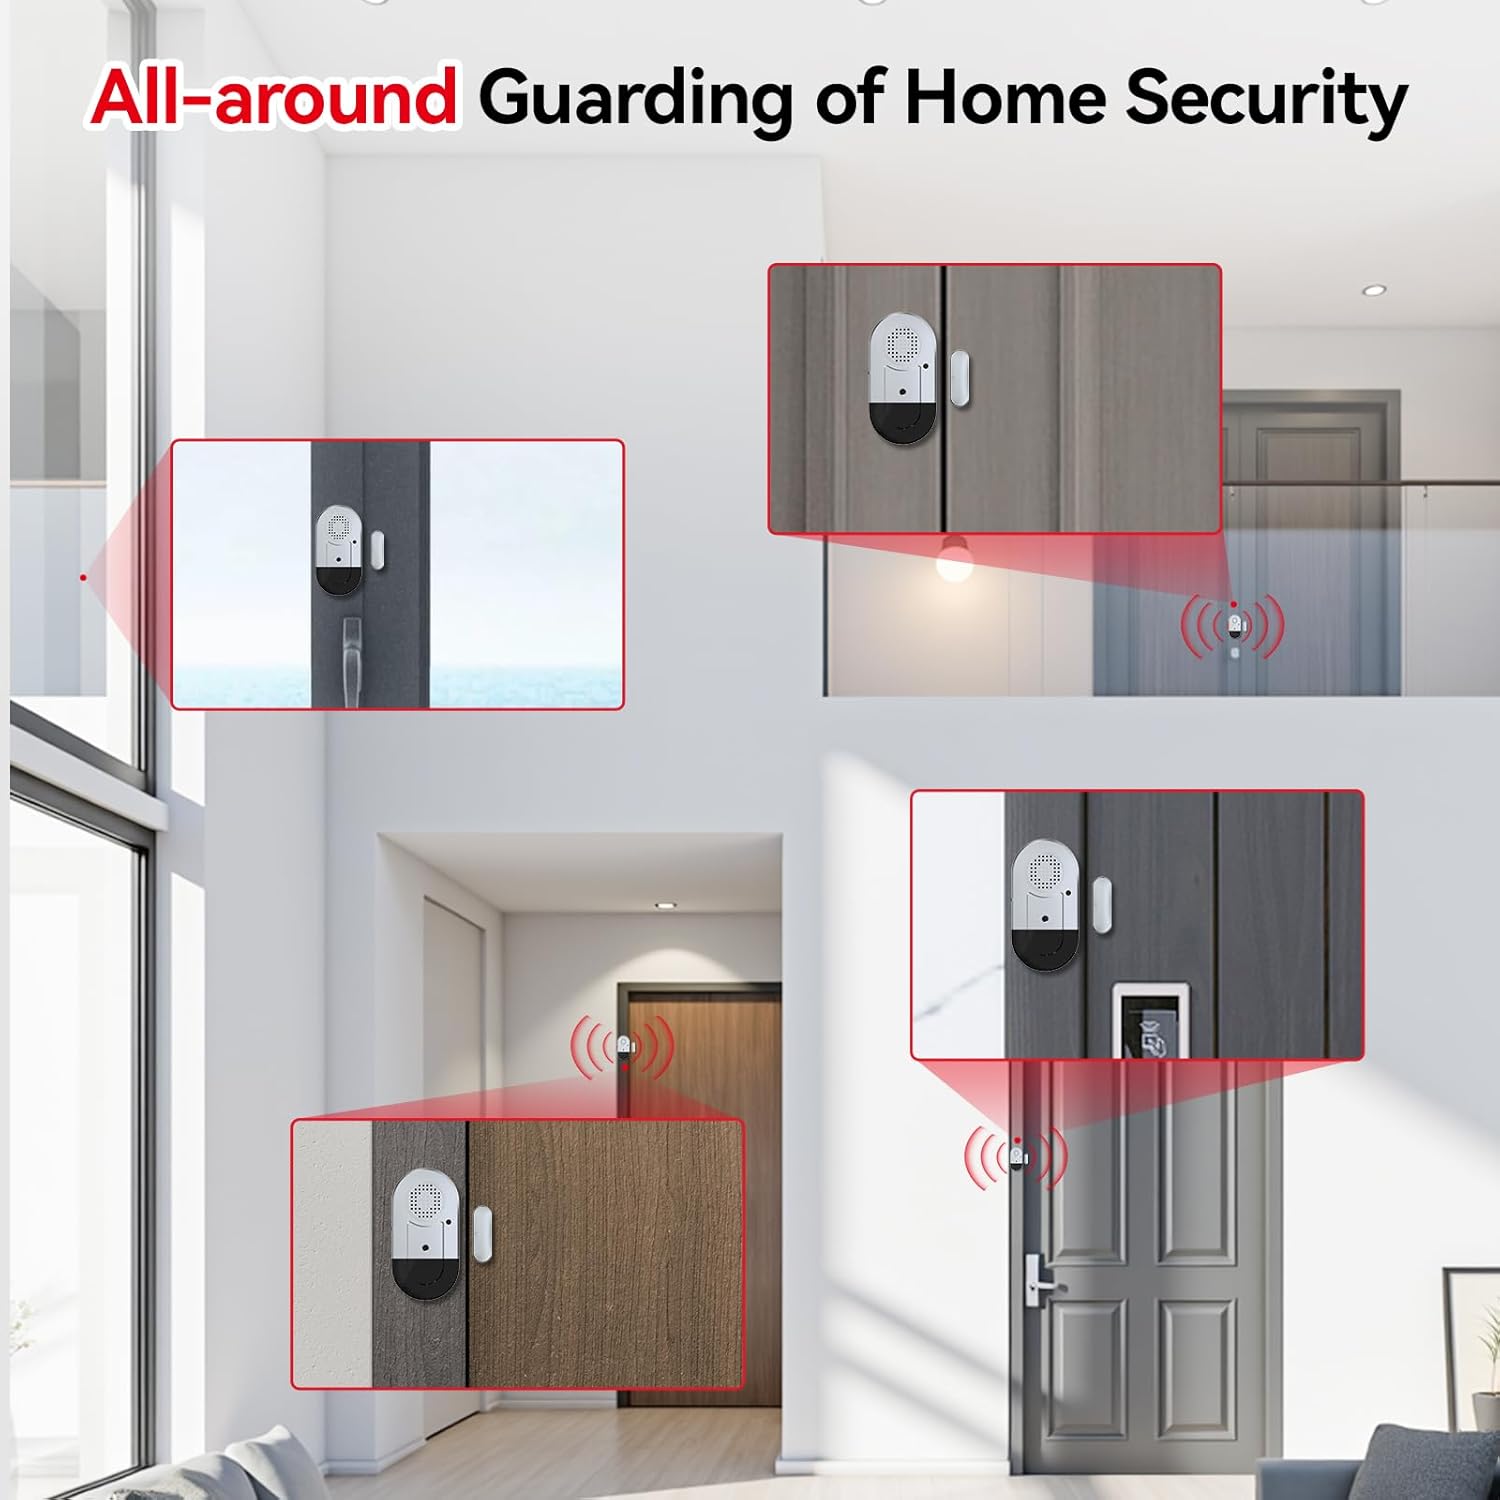
Fidio 2: Pariview of alarm modes and their applications for safety and security.
7. Itọju
7.1 Batiri Rirọpo
When the low battery indicator flashes 5 times, it's time to replace the batteries. Open the battery compartment at the bottom of the main unit, remove the old LR44 batteries, and insert 3 new LR44 batteries, ensuring correct polarity. Close the compartment securely.
7.2 Ninu
Wipe the alarm units with a dry, soft cloth. Do not use liquid cleaners or abrasive materials, as this may damage the device.
8. Laasigbotitusita
- Itaniji ko nfa:
- Rí i dájú pé stíìpù ON/OFF wà ní ipò 'ON'.
- Ṣàyẹ̀wò bóyá àwọn bátìrì náà ti wà ní ọ̀nà tó tọ́ tí wọn kò sì ti bàjẹ́. Rọpò rẹ̀ tí ó bá pọndandan.
- Verify that the main unit and magnetic strip are aligned correctly and the gap is less than 0.4 inches when the door/window is closed.
- Itaniji n dun nigbagbogbo:
- Ensure the door or window is fully closed and the magnetic strip is within 0.4 inches of the main unit.
- If the issue persists, try repositioning the units slightly.
- Volume too low or mode incorrect:
- Press the 'Setup key' button to cycle through the 3 available modes (125dB Alarm, 100dB Alarm, 100dB Chime) until the desired setting is reached.
9. Awọn pato
| Nọmba awoṣe | DA03S-8 |
| Orisun agbara | 3 x LR44 Button Batteries |
| Igbesi aye batiri | Titi di oṣu mẹfa (lilo deede) |
| Ariwo Ipele | 100dB - 125dB (depending on mode) |
| Activation Gap | Separation greater than 0.4 inches (1 cm) |
| Ọna fifi sori ẹrọ | Ara-Adhesive |
| Ohun elo | Ṣiṣu |
| Àwọ̀ | Funfun |
| Awọn iwọn Ọja (Ẹka akọkọ) | 2.9"L x 1.5"H x 0.4"W (approx.) |
10. Atilẹyin ọja & Atilẹyin
This SanJie product comes with a lifelong warranty, ensuring long-term reliability and customer satisfaction. For any questions, troubleshooting assistance, or warranty claims, please contact SanJie customer support through the retailer's platform or the official SanJie webojula.
Jọwọ ṣe idaduro iwe rira rẹ bi ẹri rira fun awọn idi atilẹyin ọja.