1. Ifihan
This manual provides essential information for the proper setup, operation, and maintenance of your Jectse GT2 Timing Belt Pulleys. These pulleys are designed for precision motion control applications, commonly found in 3D printers, CNC machines, and other automation equipment. Please read this manual thoroughly before installation and use to ensure optimal performance and longevity of the product.
2. Ọja Ipariview
The Jectse GT2 Timing Belt Pulley set includes five (5) aluminum pulleys, each featuring 16 teeth and a 5mm bore. They are specifically designed to be compatible with 6mm wide GT2 timing belts and 17-series stepper motors. The robust aluminum construction ensures durability and reliable performance in demanding environments.
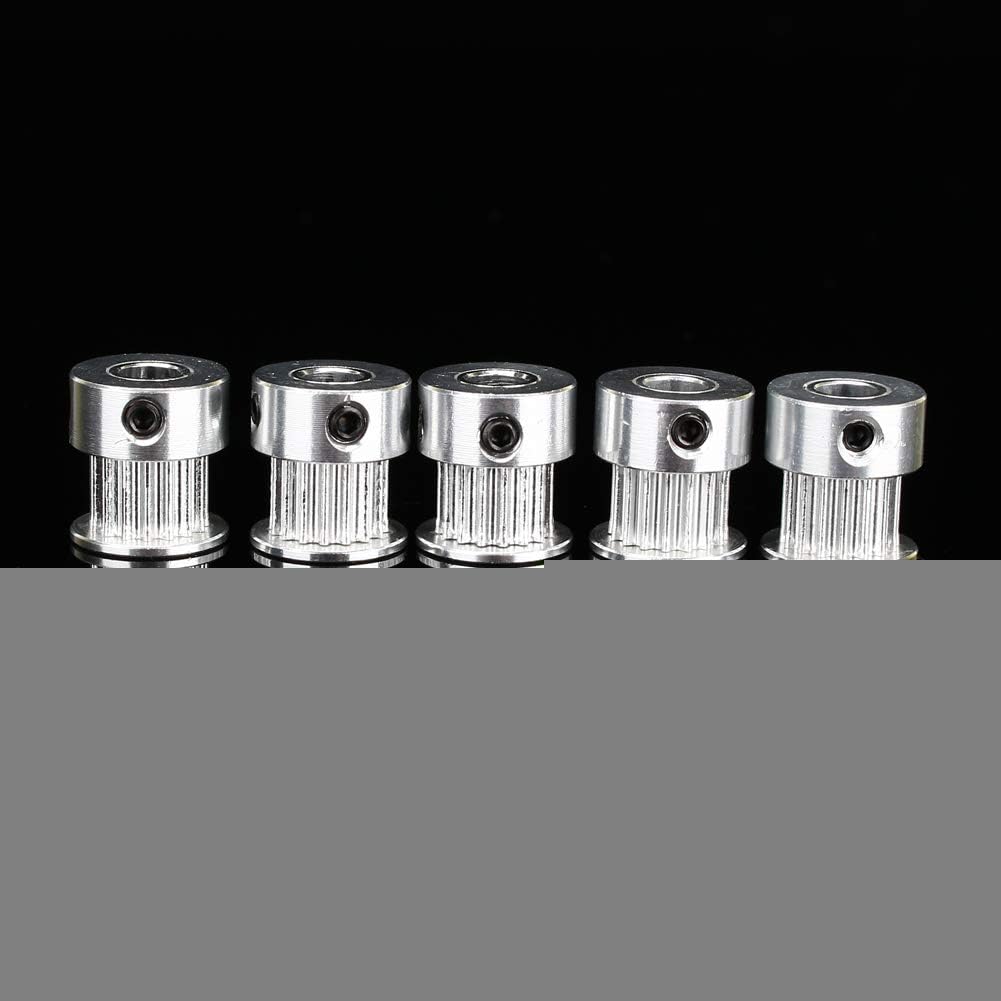
Image 2.1: A set of five Jectse GT2 timing belt pulleys, showcasing their uniform design and aluminum finish.

Aworan 2.2: alaye view of a single GT2 timing belt pulley, highlighting the teeth profile and the bore for shaft mounting.
3. Awọn pato
| Ẹya ara ẹrọ | Sipesifikesonu |
|---|---|
| Nọmba ti Eyin | 16 |
| Bore Opin | 5mm |
| Compatible Stepper Motors | 17 jara |
| Compatible Timing Belt Width | 6mm (GT2 type) |
| Ohun elo | Aluminiomu |
| Awọn iwọn Ọja (isunmọ.) | 5.91 x 3.94 x 0.39 inches (per pulley) |
| Ìwúwo Ohun kan (tó fẹ́rẹ̀ẹ́ tó) | 0.317 ounces (per pulley) |
4. Eto
Follow these steps to properly install the GT2 timing belt pulley:
- Prepare the Stepper Motor: Ensure the stepper motor shaft is clean and free of debris or burrs.
- Gbe Pulley naa si ipo: Slide the GT2 pulley onto the 5mm shaft of your 17-series stepper motor. Ensure the pulley is aligned correctly with the intended path of the timing belt.
- Secure the Pulley: Use an appropriate hex key to tighten the set screws located on the side of the pulley. Tighten firmly but do not overtighten, as this can damage the shaft or the set screw threads. Ensure the pulley is securely fastened and does not wobble.
- Install the Timing Belt: Route the 6mm wide GT2 timing belt around the pulley and any other associated pulleys or idlers in your system.
- Adjust Belt Tension: Adjust the timing belt tension according to your machine's specifications. Proper tension is crucial for accurate motion and to prevent belt slippage or excessive wear on components.

Aworan 4.1: Ẹgbẹ profile of the pulley, illustrating the bore and set screw location for secure mounting.
5. Awọn ilana Iṣiṣẹ
Once installed, the GT2 timing belt pulley operates as part of a synchronous drive system. Its primary function is to transmit rotational motion from a stepper motor to another component (e.g., a lead screw, another pulley, or a linear rail system) via a timing belt, maintaining precise synchronization without slippage.
- Synchronous Motion: The teeth on the pulley engage with the teeth on the GT2 timing belt, ensuring a positive, non-slip drive. This is critical for applications requiring high precision and repeatability, such as 3D printing and CNC machining.
- Iṣakoso itọsọna: The pulley accurately translates the rotational direction of the stepper motor to the belt.
- Gbigbe Gbigbe: Ensure that the load applied to the system does not exceed the design limits of the timing belt or the motor. Excessive load can lead to belt skipping or premature wear.
6. Itọju
Regular maintenance helps ensure the longevity and reliable performance of your GT2 timing belt pulleys.
- Ayewo wiwo: Periodically inspect the pulleys for signs of wear, damage, or corrosion. Check for any deformation of the teeth or cracks in the aluminum.
- Set Screw Check: Verify that the set screws remain tight. Vibrations during operation can sometimes loosen them, leading to pulley slippage on the shaft.
- Mimọ: Keep the pulleys and timing belts free from dust, debris, and lubricants. Accumulation of foreign material can interfere with tooth engagement and cause premature wear. Use a dry, soft brush or compressed air for cleaning. Avoid using harsh chemicals.
- Ipò Ìgbànú: While not part of the pulley, regularly inspect the timing belt for fraying, cracking, or missing teeth. A worn belt can negatively impact pulley performance.
7. Laasigbotitusita
If you encounter issues with your GT2 timing belt pulley system, consider the following:
- Pulley Slippage on Shaft:
- Aisan: Inconsistent motion, lost steps, or the pulley spinning freely on the motor shaft.
- Ojutu: Tighten the set screws on the pulley. Ensure the shaft is clean and free of oil or grease that could reduce friction.
- Belt Skipping/Jumping Teeth:
- Aisan: Inaccurate positioning, grinding noises, or complete loss of motion.
- Ojutu: Check timing belt tension; it may be too loose. Inspect the timing belt for wear or damage. Ensure the pulley teeth are not worn or clogged with debris. Reduce excessive load if applicable.
- Ariwo/Ariwo Pupọ:
- Aisan: Unusual sounds or noticeable vibration during operation.
- Ojutu: Verify that the pulley is mounted squarely and securely on the shaft. Check for proper belt alignment and tension. Inspect for any foreign objects caught in the belt or pulley teeth.
8. atilẹyin ọja Information
Specific warranty details for the Jectse GT2 Timing Belt Pulley are not provided in the product information. For any warranty-related inquiries, please refer to the purchase documentation or contact the seller directly.
9. Alaye atilẹyin
For technical assistance or product support, please contact the seller, Jectse us, through the Amazon platform where the product was purchased. Provide your order details and a clear description of the issue for efficient support.
You can typically find seller contact information on your order history page or the product listing page on Amazon.