EUROLAB 639277670649
Intertek 6-Outlet Wall Tap Instruction Manual
Awoṣe: 639277670649
1. Ifihan ati Loriview
The Intertek 6-Outlet Wall Tap is designed to expand the number of available electrical outlets from a standard wall receptacle. This device converts a single duplex wall outlet into six grounded outlets, providing convenient power access for multiple electronic devices. It is rated for 15 Amps, 125 Volts, 60 Hertz, with a maximum wattage ti 1875 Wattis.
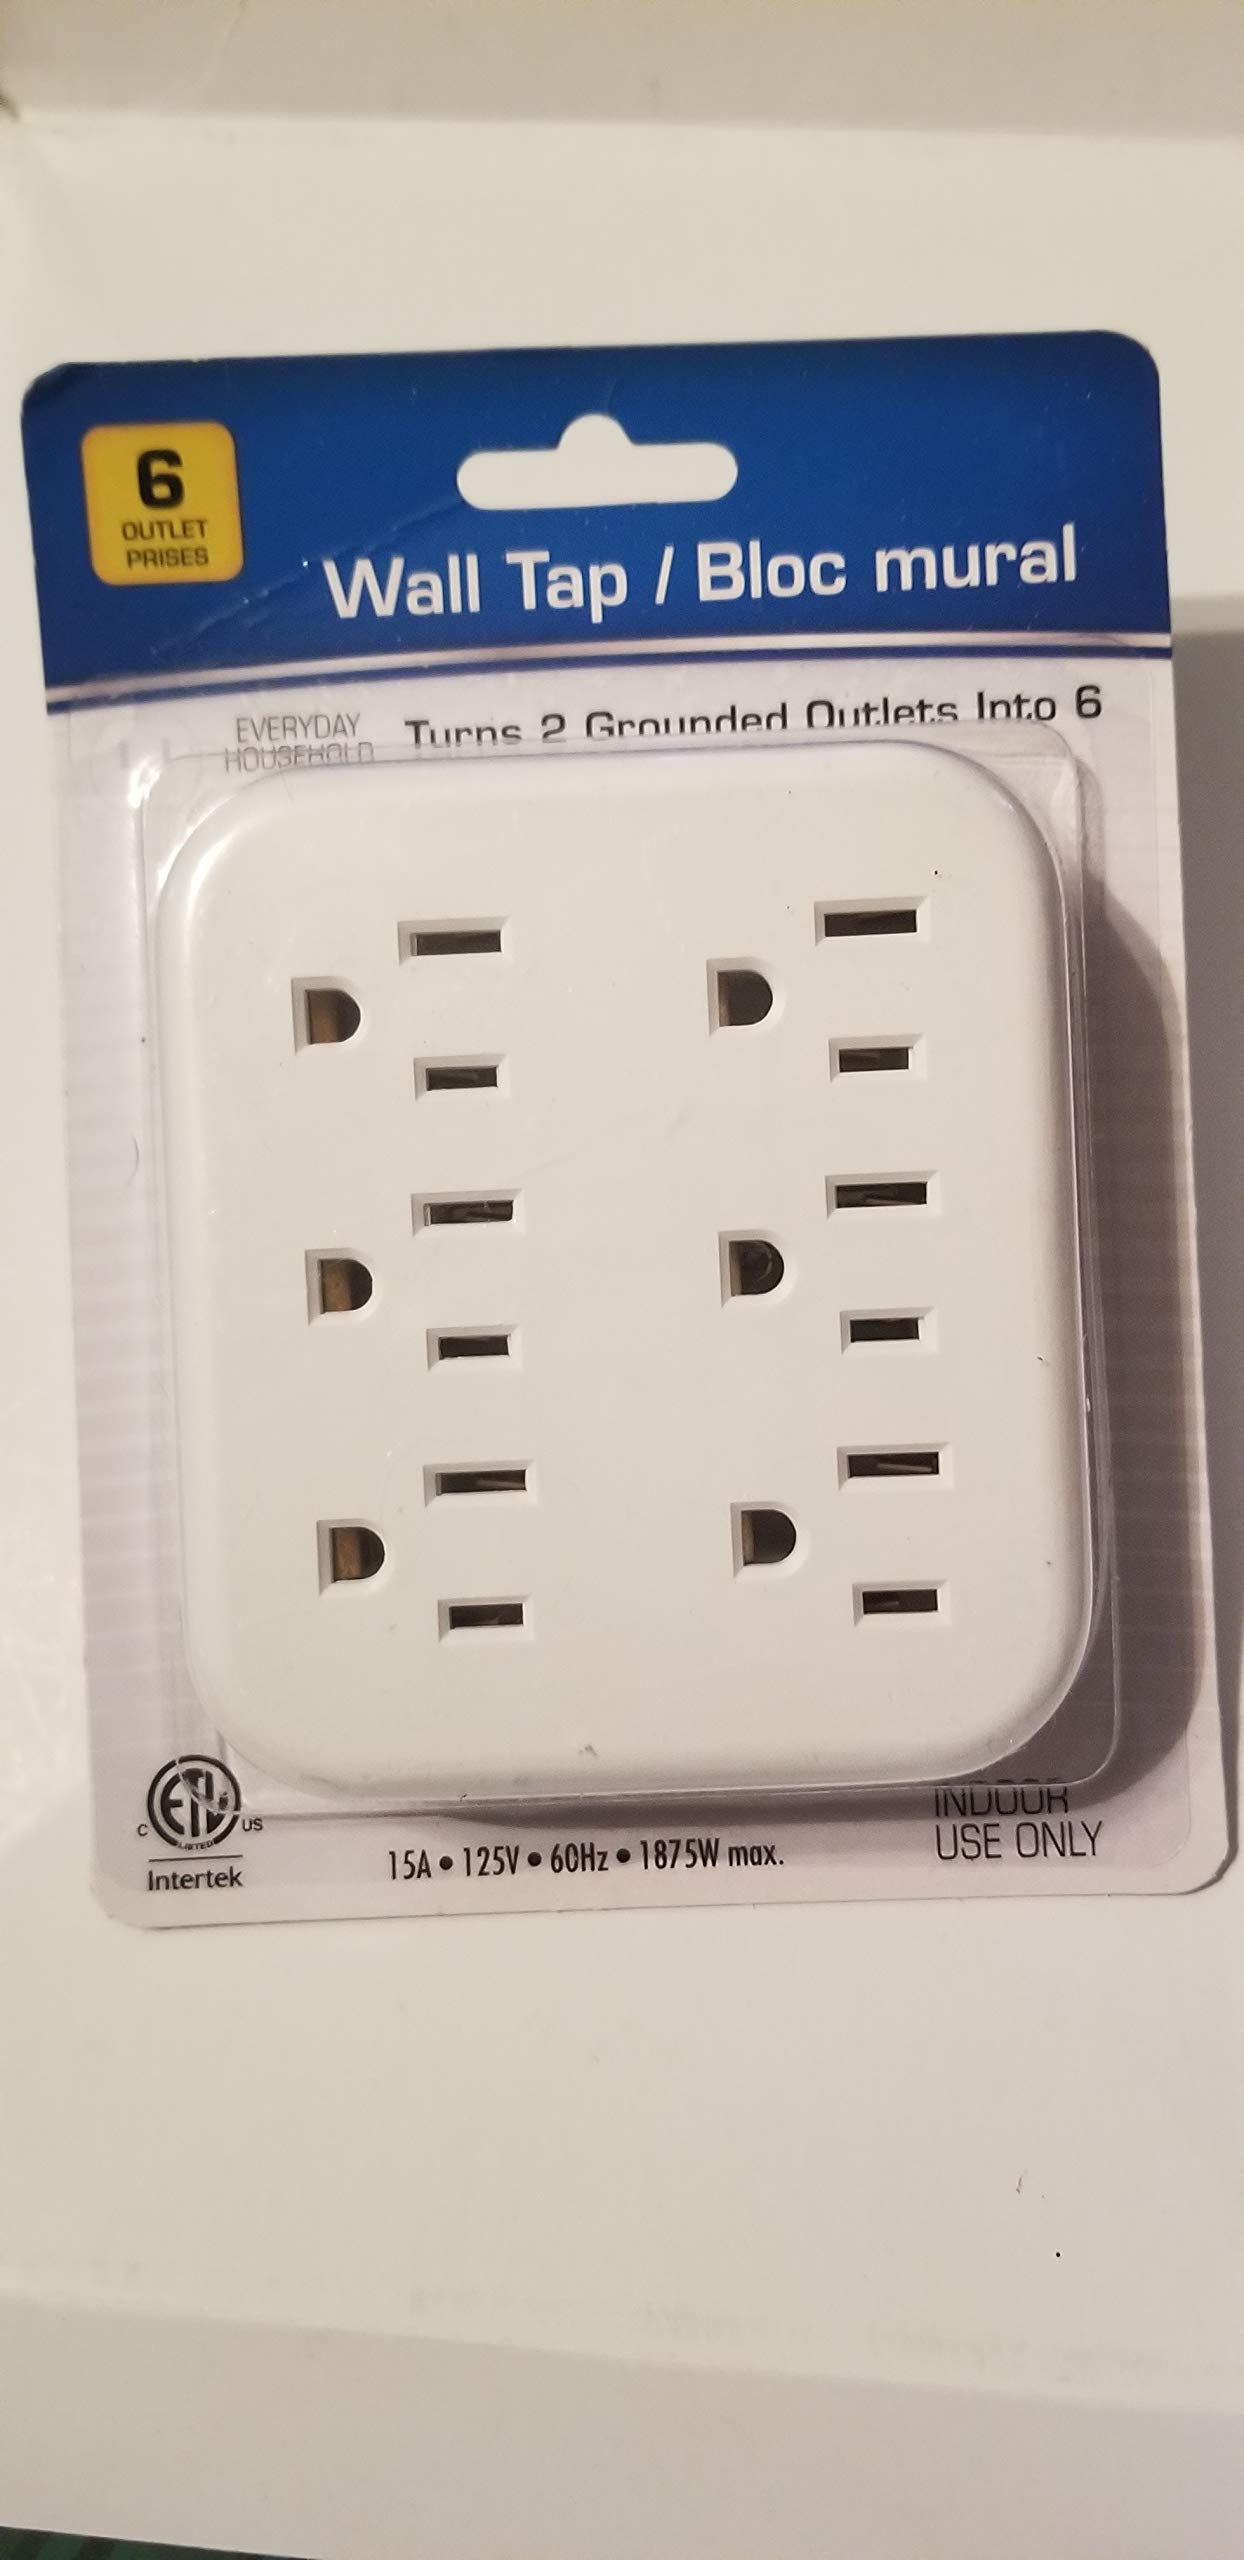
olusin 1: Iwaju view of the Intertek 6-Outlet Wall Tap, illustrating the six available outlets.
2. Eto ati fifi sori
- Identify a suitable wall outlet: Ensure the wall outlet is a standard 3-prong (grounded) duplex receptacle.
- Inspect the wall tap: Before installation, visually inspect the Intertek 6-Outlet Wall Tap for any signs of damage. Do not use if damaged.
- Plug into the wall: Align the two prongs and the grounding pin of the wall tap with the corresponding slots in your wall outlet. Gently push the wall tap firmly into the wall outlet until it is securely seated. The wall tap is designed to cover both receptacles of a standard duplex outlet.
- Verify secure connection: Ensure the wall tap is flush against the wall and does not wobble. A loose connection can cause overheating and potential hazards.
olusin 2: Ẹyìn view of the wall tap, showing the two prongs and grounding pin for insertion into a standard wall outlet.
3. Awọn ilana Iṣiṣẹ
Once the Intertek 6-Outlet Wall Tap is securely installed, you can plug up to six devices into its available outlets. Ensure that the total power consumption of all connected devices does not exceed the maximum rated wattage of 1875 Watts (15 Amps at 125 Volts).
- Insert device plugs firmly into any of the six available outlets.
- To remove a device, grasp the plug and pull it straight out from the outlet. Do not pull by the cord.
4. Alaye Aabo
To reduce the risk of electric shock or fire, always follow these safety precautions:
- ṢE ṢE exceed the electrical ratings: 15 Amps, 125 Volts, 1875 Watts.
- ṢE ṢE use in wet locations or near water.
- ṢE ṢE use with ungrounded outlets or adapters.
- ṢE ṢE plug into another relocatable power tap or extension cord.
- ṢE ṢE use if the product or connected cords are damaged.
- Keep children away from the wall tap and connected devices.
- Rí i dájú pé àwọn páálíìgì náà ti wà ní gbogbo ibi tí a ti ń tọ́jú wọn.
5. Awọn pato
| Ẹya ara ẹrọ | Sipesifikesonu |
|---|---|
| Brand | Intertek |
| Nọmba awoṣe | 639277670649 |
| Lapapọ Power iÿë | 6 |
| Voltage Rating | 125 Volts |
| Amperage Rating | 15 Amps |
| Wattage Rating | 1875 Wattis (O pọju) |
| Igbohunsafẹfẹ | 60 Hz |
| Awọn iwọn Ọja (L x W) | 3"L x 4"W |
| Ohun elo | Ọra |
| Power Plug Iru | Type A - 2 pin (North American), Type B - 3 pin (North American) |
| Smart Home ibamu | Not Smart Home Compatible |
6. Laasigbotitusita
- Ko si agbara si awọn ẹrọ:
- Ensure the wall tap is securely plugged into a functioning wall outlet.
- Check if the wall outlet itself is receiving power (e.g., by plugging in another known working device directly).
- Jẹrisi pe lapapọ wattage of connected devices does not exceed 1875 Watts. Overloading can trip a circuit breaker in your home.
- Isopọ alaimuṣinṣin:
- If the wall tap feels loose in the wall outlet, ensure it is fully inserted. If it remains loose, the wall outlet may be worn and should be inspected by a qualified electrician.
7. Itọju
The Intertek 6-Outlet Wall Tap requires minimal maintenance. To ensure optimal performance and safety:
- Ninu: Disconnect the wall tap from the power outlet before cleaning. Wipe the exterior with a dry, soft cloth. Do not use liquid cleaners or abrasive materials.
- Ibi ipamọ: When not in use, store the wall tap in a cool, dry place away from direct sunlight and moisture.
- Ayewo: Periodically inspect the wall tap for any signs of wear, damage, or discoloration. Discontinue use and replace if any damage is observed.
8. Atilẹyin ọja ati Support
For warranty information or technical support regarding your Intertek 6-Outlet Wall Tap, please refer to the product packaging or contact the manufacturer directly. Keep your purchase receipt as proof of purchase for any warranty claims.
Ask a question about this manual
Ask about setup, troubleshooting, compatibility, parts, safety, or missing instructions. Manuals+ will review the question and use this page’s manual context to help answer it.