
1. Ifihan
The Laserliner ThermoSpot Pocket is a compact, non-contact infrared thermometer designed for quick and accurate surface temperature measurements. It features laser-focus technology for precise targeting and a clear digital display with backlight for easy reading. This manual provides essential information for the safe and effective use of your device.
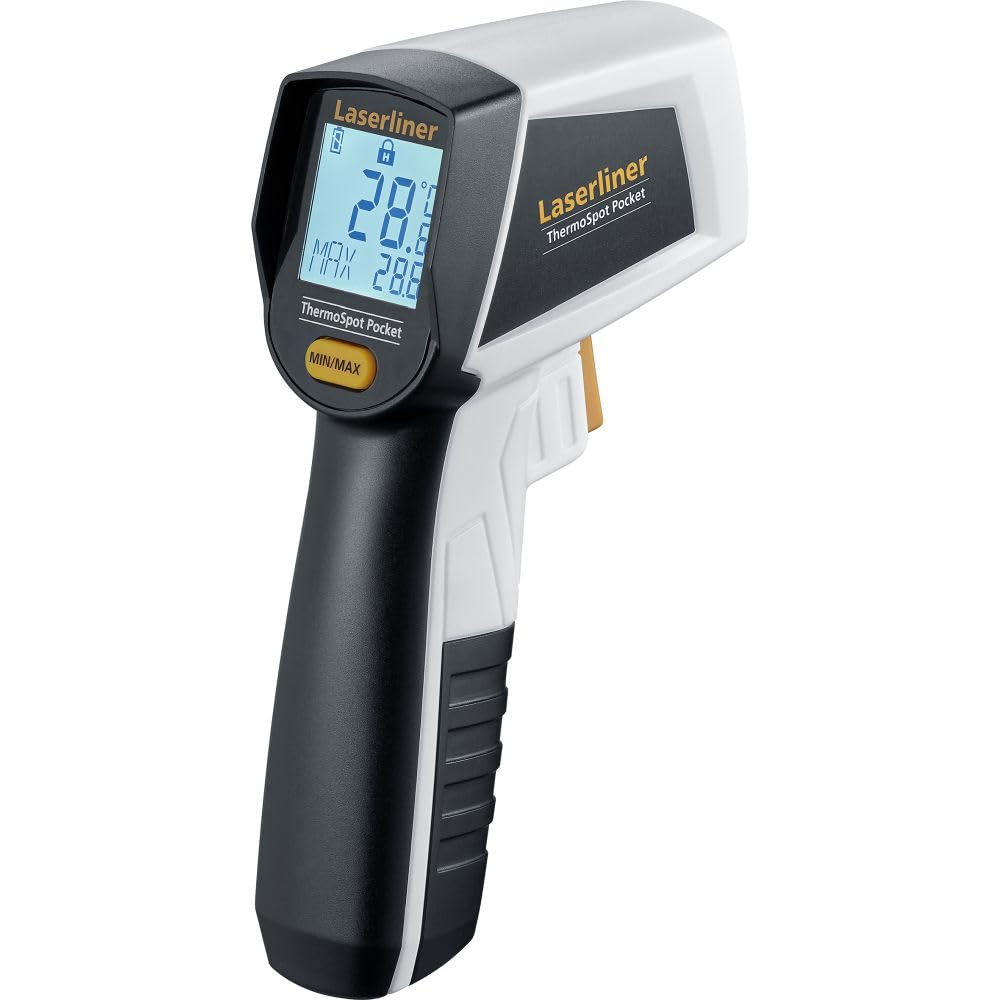
Image 1.1: The Laserliner ThermoSpot Pocket Infrared Thermometer, showing its ergonomic design and digital display. A 9V battery icon indicates its power source.
2. Awọn ilana aabo
- Lesa Ìtọjú: This device emits laser radiation. Do not stare directly into the laser beam. Avoid directing the laser beam at people or animals.
- Idaabobo Oju: Always use caution when operating the laser. Laser Class 2, < 1 mW, 650 nm.
- Aabo Batiri: Ensure correct battery polarity. Do not mix old and new batteries. Dispose of batteries responsibly.
- Awọn ipo Ayika: Do not expose the device to extreme temperatures, moisture, or direct sunlight. Avoid strong vibrations or impacts.
- Ninu: Nu ẹrọ naa pẹlu asọ ti o tutu, ti o gbẹ. Ma ṣe lo abrasive ose tabi epo.

Aworan 2.1: Ẹyin view of the thermometer, displaying CE marking, battery type (9V 6LR61), and laser warning labels. The laser warning indicates Class 2, <1mW, 650nm.
3. Ọja Ipariview
The ThermoSpot Pocket features a robust housing and an intuitive interface for ease of use.
- Sensọ infurarẹẹdi: Measures surface temperature without contact.
- Atọka lesa: Indicates the center of the measurement area for precise targeting.
- Ifihan Digital: Shows current temperature, MIN/MAX values, and battery status.
- Nfa: Ó ń mú ìwọ̀n àti lésà ṣiṣẹ́.
- MIN/MAX Button: Toggles between minimum and maximum temperature readings during a measurement session.

Image 3.1: A close-up of the thermometer's digital display, showing temperature readings (e.g., 386.4°C) and MIN/MAX values. The display is illuminated by a backlight for visibility.
4. Eto
4.1 Fifi sori batiri
- Locate the battery compartment on the handle of the device.
- Ṣii ideri iyẹwu batiri naa.
- Insert one 9V battery (type 6LR61) according to the polarity markings inside the compartment.
- Pa ideri batiri naa ni aabo.
Ẹrọ naa ti ṣetan fun lilo.
5. Awọn ilana Iṣiṣẹ
5.1 Gbigba Idiwon
- Point the infrared sensor towards the surface you wish to measure.
- Press and hold the trigger button. The laser pointer will activate, indicating the center of the measurement area.
- The current temperature will be displayed instantly on the screen.
- Release the trigger to hold the last measured value on the display.
5.2 Laser-Focus Technology
The integrated laser-focus technology projects a laser dot onto the target surface, precisely indicating the center of the area being measured. This ensures accurate targeting, especially for smaller objects or specific points.

Image 5.1: Graphic representation of the Laser-Focus feature, showing a red laser beam originating from the device.
5.3 Optics 12:1
The device features 12:1 optics, meaning that at a distance of 12 units, the measurement spot diameter is 1 unit. For example, at a distance of 12 cm, the measurement spot is 1 cm in diameter. This ratio is crucial for understanding the measurement area relative to the distance from the target.
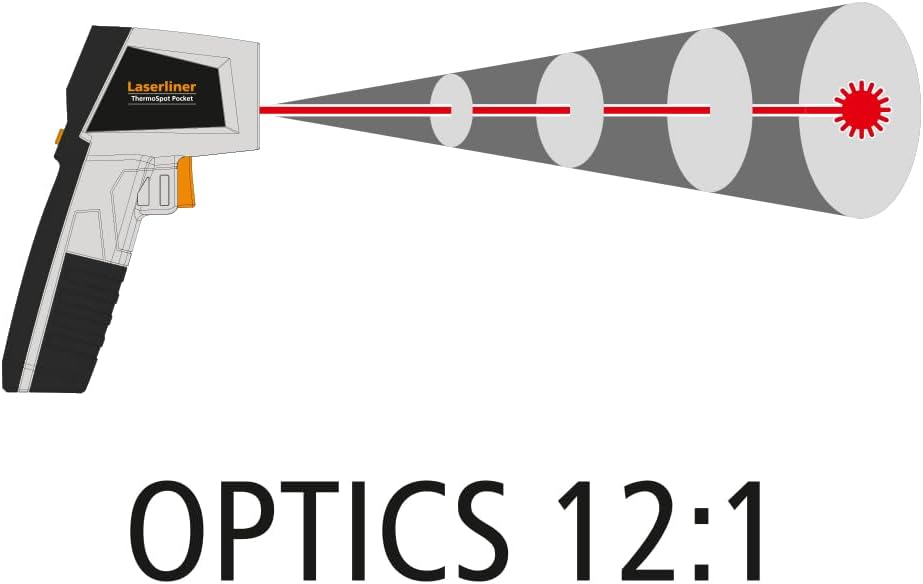
Image 5.2: Diagram illustrating the 12:1 optics ratio, showing how the measurement spot size increases with distance from the thermometer.
5.4 MIN / Max Išė
While holding the trigger, press the MIN/MAX button to cycle through the minimum and maximum temperatures recorded during the current measurement session. This is useful for identifying temperature fluctuations over an area.

Image 5.3: The thermometer being used to measure a ceiling vent, with the display showing both current and MIN/MAX temperature values.
5.5 Ohun elo Examples
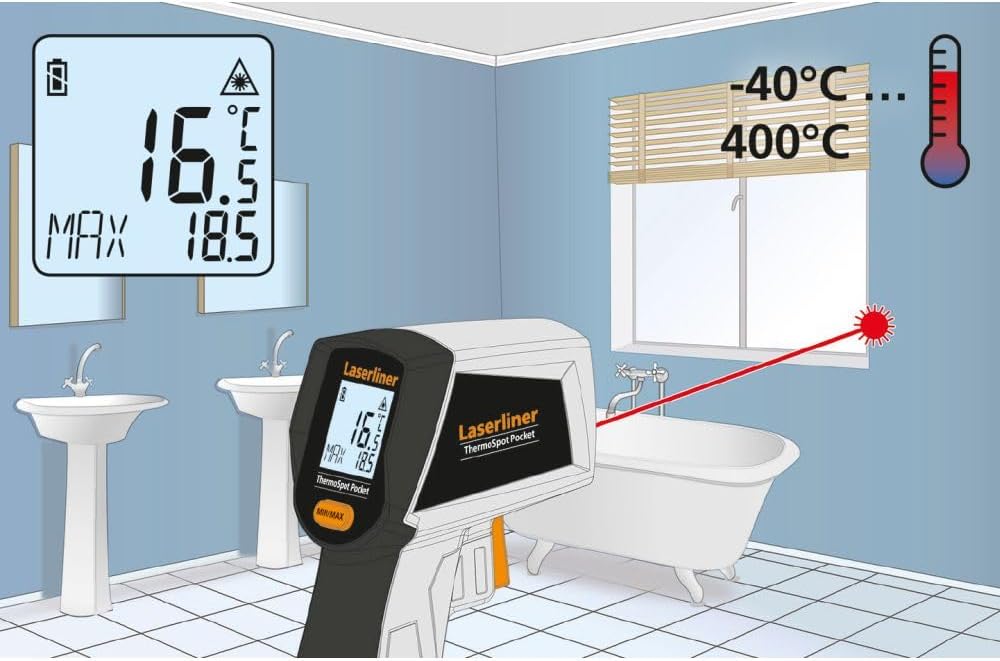
Image 5.4: The thermometer measuring the temperature of a window in a bathroom, demonstrating its use for checking insulation or surface temperatures in various environments. The display shows 16.5°C with a MAX of 18.5°C, and the temperature range of -40°C to 400°C is indicated.

Image 5.5: The thermometer measuring the temperature of a motorcycle engine, highlighting its utility for automotive diagnostics or checking hot surfaces. The display shows 120.6°C with a MAX of 124.2°C.
6. Itọju
- Ninu: Keep the lens and sensor clean for accurate readings. Use a soft, lint-free cloth. Do not use harsh chemicals or abrasive materials.
- Ibi ipamọ: When not in use, store the device in a dry, cool place, away from direct sunlight and extreme temperatures.
- Rirọpo Batiri: Rọpo batiri 9V nigbati aami batiri kekere ba han loju iboju.
- Gbogbogbo Itọju: Mu ẹrọ naa pẹlu iṣọra lati yago fun ibajẹ lati awọn sisọ tabi awọn ipa.
7. Laasigbotitusita
| Isoro | Owun to le Fa | Ojutu |
|---|---|---|
| No display/Device does not turn on | Batiri ti ku tabi ti ko tọ. | Ṣayẹwo polarity batiri tabi ropo batiri 9V. |
| Awọn kika ti ko pe | Dirty lens/sensor; object too far/too close; emissivity issue (not adjustable on this model, but general IR thermometer issue). | Clean the lens/sensor. Ensure proper distance based on 12:1 optics. Measure a known temperature source to verify. |
| Lesa ko han | Laser malfunction or very bright ambient light. | Check battery. Use in less bright conditions. If issue persists, contact support. |
8. Awọn pato
- Awoṣe: 082.440A
- Iwọn otutu: -40°C si 400°C
- Optics: 12:1
- Lesa: Class 2, < 1 mW, 650 nm
- Ibi ti ina elekitiriki ti nwa: 1 x 9V battery (6LR61)
- Ifihan: Digital, with backlight
- Awọn iwọn (L x H x P): 95mm x 132mm x 37mm
- Ìwúwo: 144 Grams (including battery)
- Awọn ẹya pataki: Compact design, Laser-Focus, MIN/MAX function
- Ohun elo: Ṣiṣu
9. Atilẹyin ọja ati Support
The Laserliner ThermoSpot Pocket comes with a 4-odun atilẹyin ọja, reflecting the manufacturer's commitment to quality and durability. For warranty claims, technical support, or service inquiries, please refer to the contact information provided with your purchase documentation or visit the official Laserliner webojula.
Ensure you retain your proof of purchase for warranty validation.