1. Ọja Ipariview
The Cosmic Byte Callisto Wireless Gamepad is designed for an immersive gaming experience on Windows PC. It features an ergonomic design for comfortable extended play, sensitive triggers for precise control, and customizable macro keys for personalized gameplay.

Image: Cosmic Byte Callisto Wireless Gamepad with its USB dongle.
Awọn ẹya pataki:
- Ergonomic Design and Textured Grip: Provides comfort and a secure hold during long gaming sessions.
- Sensitive Triggers and Accurate Analog Sticks: Ensures precise control and responsiveness in games.
- Customisable Macro Keys: Two programmable buttons (K1, K2) located on the back of the controller for personalized commands.
- Vibration Feature: Offers tactile feedback for enhanced immersion.
- Zero Lag Connection: Achieved via the included USB dongle for seamless wireless gameplay.
- Iwọn Alailowaya: Operates effectively within a 6-8 meter range.
- LED Backlit Buttons: Enhances visibility and aesthetic appeal.
2. Ohun ti o wa ninu Apoti
Upon opening your Cosmic Byte Callisto Wireless Gamepad package, you should find the following items:
- Cosmic Byte Callisto Wireless Gamepad
- USB Dongle
- Ngba agbara USB
- Afowoyi Olumulo (iwe-ipamọ yii)

Image: The gamepad, USB dongle, and charging cable as found in the box.
3. Eto Itọsọna
3.1 Gbigba agbara Gamepad
Before initial use, ensure your gamepad is fully charged.
- Connect the small end of the provided charging cable to the charging port on the front of the gamepad.
- Connect the larger USB end of the charging cable to a USB power source (e.g., PC USB port, USB wall adapter).
- The LED indicators on the gamepad will illuminate to show charging status. They will typically stop blinking or change color once fully charged.
3.2 Connecting to a Windows PC
The Callisto Wireless Gamepad connects to your PC via a dedicated USB dongle.
- Insert the USB dongle into an available USB port on your Windows PC.
- Press and hold the Home button (Cosmic Byte logo) on the gamepad to power it on.
- The gamepad will automatically attempt to connect to the USB dongle. The LED indicators will flash during pairing and become solid once a connection is established.
- Your Windows PC should automatically detect the gamepad and install any necessary drivers. This process may take a few moments.
- Once connected, the gamepad is ready for use in compatible games.
4. Awọn ilana Iṣiṣẹ
4.1 Ipilẹ idari
Familiarize yourself with the standard layout of the gamepad:
- Osi/Ọtun Analog Sticks: Fun gbigbe ati iṣakoso kamẹra.
- D-Pad: Fun titẹ sii itọsọna, nigbagbogbo lo ninu awọn akojọ aṣayan tabi fun awọn iṣe ere kan pato.
- Àwọn bọ́tìnì ìgbésẹ̀ (A, B, X, Y): For primary game actions.
- Awọn Bọtini ejika (L1, R1) & Awọn okunfa (L2, R2): For various in-game functions, with L2/R2 offering sensitive, analog input.
- Start/Back Buttons: For pausing games, accessing menus, or specific in-game commands.
- Bọtini Ile: Powers the gamepad on/off and can open system menus.

Aworan: Iwaju view of the gamepad highlighting the main buttons and analog sticks.
4.2 Programmable Macro Keys (K1, K2)
The Callisto Wireless Gamepad features two customizable macro keys (K1 and K2) on the back, allowing you to assign complex button sequences or single button functions for quick access.
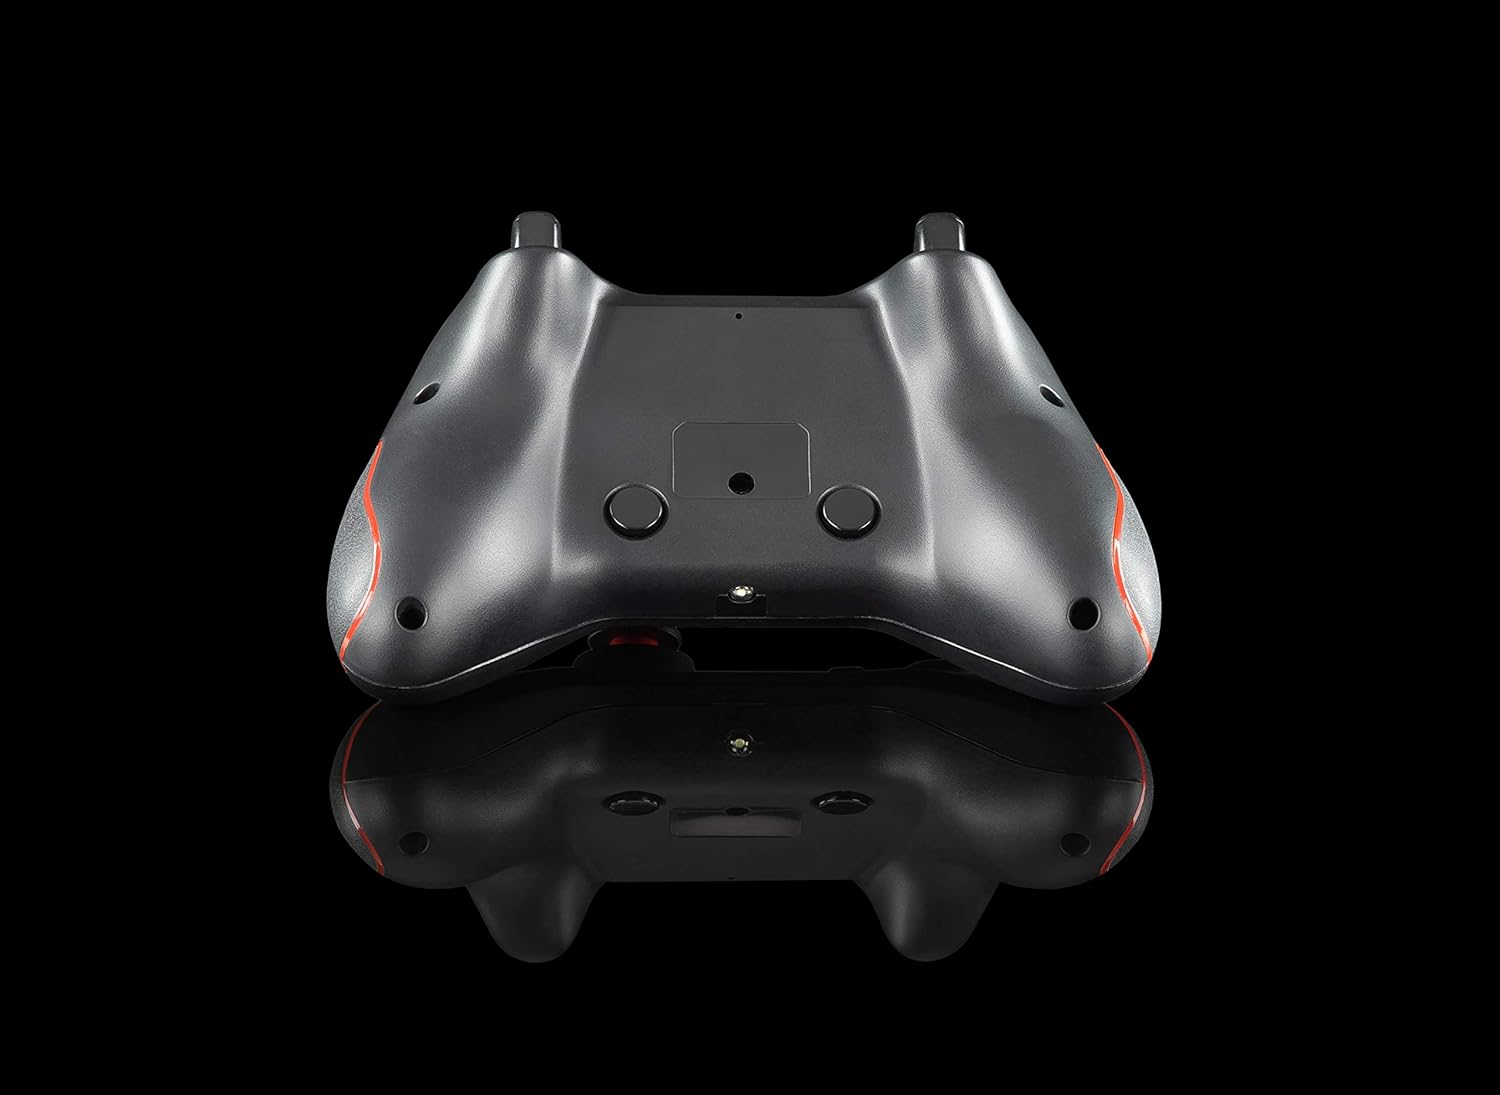
Aworan: Pada view of the gamepad, showing the K1 and K2 macro keys.
To program a macro key (specific instructions may vary slightly, refer to the physical manual for exact steps):
- Press and hold the 'Program' button (if available, or a specific combination like 'Turbo' + 'Macro Key').
- Press the macro key (K1 or K2) you wish to program.
- Input the desired button sequence or single button press.
- Press the 'Program' button again to save the macro.
4.3 Turbo Išė
The Turbo function allows for rapid, repeated pressing of a button with a single hold. To activate/deactivate:
- Mu ṣiṣẹ: Press and hold the 'Turbo' button, then press the desired action button (e.g., A, B, X, Y, L1, R1, L2, R2). The button will now rapidly repeat its action when held down.
- Muu ṣiṣẹ: Press and hold the 'Turbo' button again, then press the same action button. The Turbo function for that button will be turned off.
4.4 LED Backlighting
The action buttons feature LED backlighting. To toggle the LED lights on or off, press the 'Back' button and the 'A' button simultaneously.
5. Itọju
To ensure the longevity and optimal performance of your Cosmic Byte Callisto Wireless Gamepad, follow these maintenance guidelines:
- Ninu: Use a soft, dry cloth to wipe down the gamepad. Avoid using abrasive cleaners, solvents, or harsh chemicals, as these can damage the surface and internal components.
- Ibi ipamọ: Tọ́jú eré náà sí ibi tí ó tutù tí ó sì gbẹ, tí kò sí ìmọ́lẹ̀ oòrùn tààrà, ooru líle, àti ọ̀rinrin gíga.
- Itọju Batiri: Avoid completely draining the battery frequently. Charge the gamepad regularly, even if not in constant use, to maintain battery health. Do not attempt to replace the internal battery yourself.
- Mu pẹlu Itọju: Avoid dropping the gamepad or subjecting it to strong impacts, which can cause internal damage.
6. Laasigbotitusita
If you encounter issues with your gamepad, refer to the following common troubleshooting steps:
- Gamepad Not Connecting:
- Ensure the USB dongle is securely inserted into a working USB port on your PC.
- Check if the gamepad battery is charged. Connect it to the charging cable.
- Gbiyanju tun PC rẹ bẹrẹ.
- Test the USB dongle in a different USB port.
- Buttons Unresponsive or Laggy:
- Verify the gamepad is properly connected to the PC (solid LED indicator).
- Ensure there are no physical obstructions preventing button presses.
- Check game settings to ensure gamepad input is enabled and configured correctly.
- Vibration Feature Not Working:
- Jẹ́rìí sí i pé eré tí o ń ṣe ń ṣe àtìlẹ́yìn fún ìró ìgbóná.
- Ṣayẹwo awọn eto inu-ere lati rii daju pe gbigbọn ṣiṣẹ.
- Ensure the gamepad is fully charged and properly connected.
- Macro Keys Not Programming Correctly:
- Review the macro programming steps in Section 4.2 carefully.
- Note that some games or applications may not fully support custom macro inputs.
7. Awọn pato
| Ẹya ara ẹrọ | Ẹ̀kúnrẹ́rẹ́ |
|---|---|
| Brand | Baiti agba aye |
| Orukọ awoṣe | Callisto Wireless |
| Awọn ẹrọ ibaramu | PC (Windows) |
| Adarí Iru | Gamepad |
| Asopọmọra Technology | WiFi (via USB Dongle) |
| Ọja Awọn ẹya ara ẹrọ | Wireless, Programmable Buttons, Vibration, Ergonomic Design |
| Hardware Platform | Ojú-iṣẹ |
| Agbara Orisun Oriṣi | Wireless (Rechargeable Battery) |
| Iwọn Nkan | 220 giramu |
| Nkan Package opoiye | 1 |
| Awọn iwọn Nkan | 15.6 x 10.5 x 5.5 centimeters |
| Àwọ̀ | Dudu |
8. Awọn fidio ọja
8.1 Ọja Loriview
Fidio: Ọja kukuru ti pariview of the Cosmic Byte Callisto Wireless Gamepad, highlighting its main features and contents.
8.2 Tech Demo
Video: A technical demonstration of the Cosmic Byte Callisto Wireless Gamepad, showcasing its features like programmable buttons, sensitive triggers, and wireless connectivity.
9. Atilẹyin ọja ati Support
9.1 atilẹyin ọja Alaye
The Cosmic Byte Callisto Wireless Gamepad comes with a Atilẹyin ọdun 1 lodi si awọn abawọn iṣelọpọ lati ọjọ ti o ra. Jọwọ ṣe idaduro iwe rira rẹ fun awọn iṣeduro atilẹyin ọja.
9.2 Onibara Support
For any support, queries, or warranty claims, please contact Cosmic Byte customer service:
- Webojula: Visit the official Cosmic Byte webojula ni www.thecosmicbyte.com and navigate to their customer support portal.
- Imeeli: You can also directly email customer care at cc@thecosmicbyte.com.
Video: An animated guide on how to initiate a warranty claim with Cosmic Byte, detailing the steps to contact customer support and process a replacement.