
1. Ifihan
Thank you for choosing the Greisinger G111-UT-VAC Pressure Measurement Device. This manual provides essential information for the safe and efficient operation, setup, and maintenance of your device. Please read this manual thoroughly before using the device and keep it for future reference.
The G111-UT-VAC is designed for precise pressure measurements within the range of 0 to 1500 hPa, suitable for various applications requiring accurate pressure monitoring.
2. Alaye Aabo
- Always operate the device within its specified pressure range (0-1500 hPa) to prevent damage and ensure accurate readings.
- Ma ṣe fi ẹrọ naa han si awọn iwọn otutu to gaju, ọriniinitutu, tabi agbegbe ibajẹ.
- Yago fun sisọ silẹ tabi tẹriba ẹrọ si awọn ipa to lagbara.
- Ensure all connections to pressure sources are secure and leak-free before taking measurements.
- Má ṣe gbìyànjú láti ṣí tàbí ṣe àtúnṣe sí ẹ̀rọ náà. Tọ́ka gbogbo iṣẹ́ ìtọ́jú náà sí àwọn òṣìṣẹ́ tó mọ̀ nípa rẹ̀.
- Jeki ẹrọ naa kuro ni awọn aaye oofa ti o lagbara.
3. Ọja Ipariview
The Greisinger G111-UT-VAC is a compact and robust pressure measurement device. It features a clear digital display for easy reading of pressure values.
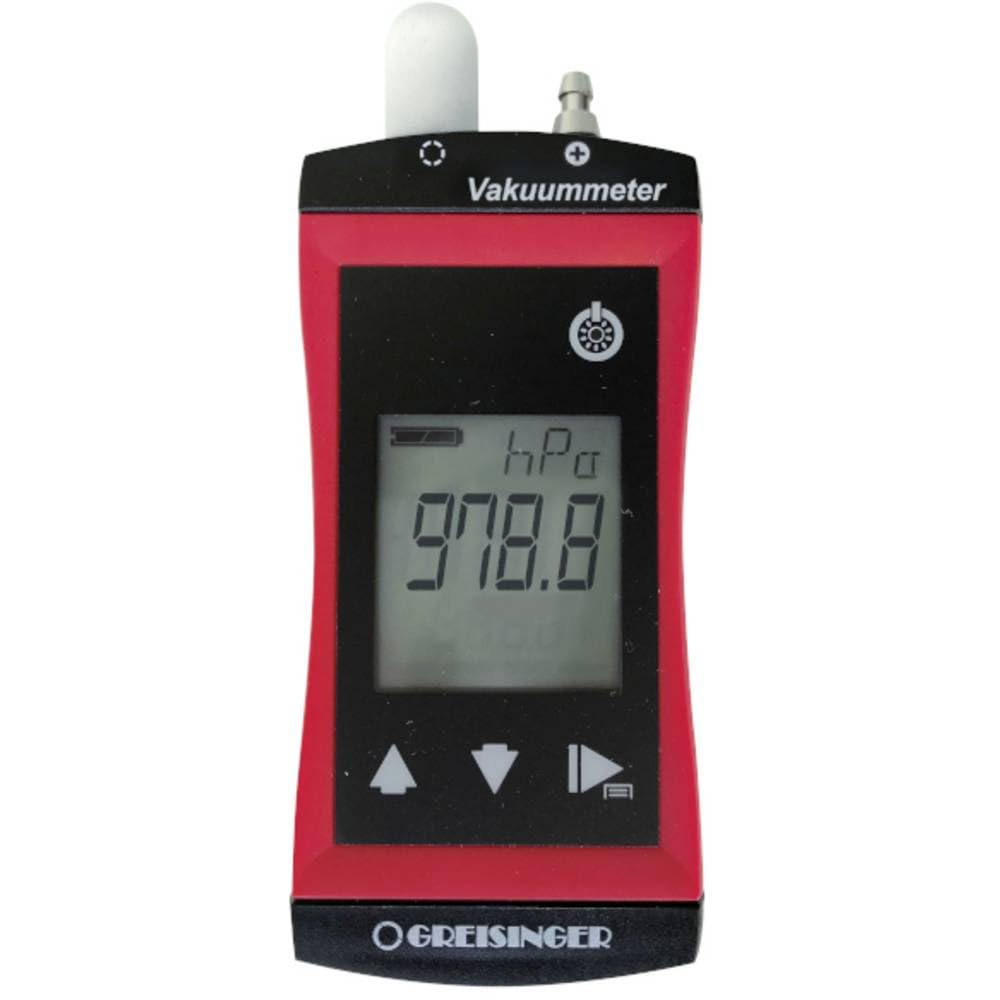
Aworan: Iwaju view of the Greisinger G111-UT-VAC pressure measurement device, showing its digital display and compact design.
Awọn ẹya pataki:
- Digital display for clear pressure readings.
- Measurement range: 0 to 1500 hPa.
- Iwapọ ati ki o lightweight oniru.
4. Eto
4.1. Fifi sori batiri
The Greisinger G111-UT-VAC requires batteries for operation (batteries are not included). Locate the battery compartment, typically on the rear of the device. Open the compartment cover, insert the required batteries (e.g., AAA or AA, check device markings for type and polarity), and close the cover securely.
4.2. Connecting to Pressure Source
Connect the pressure line from your system to the device's pressure inlet. Ensure the connection is tight and free of leaks to guarantee accurate measurements. Do not overtighten connections.
5. Awọn ilana Iṣiṣẹ
5.1. Agbara lori / Paa
Tẹ awọn TAN/PA button to power on the device. The display will illuminate and show the current pressure reading. To power off, press and hold the TAN/PA bọtini titi ti ifihan yoo wa ni pipa.
5.2. Ṣiṣe Awọn wiwọn
Once powered on and connected to a pressure source, the device will continuously display the current pressure. Allow a few seconds for the reading to stabilize. The unit of measurement (hPa) will be indicated on the display.
5.3. Zero Adjustment (if applicable)
If your device features a zero adjustment function, ensure the pressure inlet is open to atmospheric pressure (or a known zero-pressure reference) and press the ZERO button (if present) to calibrate the display to zero. Refer to specific device markings for this function.
6. Itọju
6.1. Ninu
Nu awọn ẹrọ ká ode pẹlu asọ, damp cloth. Do not use abrasive cleaners or solvents. Ensure no liquid enters the device's openings.
6.2. Ibi ipamọ
When not in use, store the device in a dry, cool place, away from direct sunlight and extreme temperatures. If storing for extended periods, remove the batteries to prevent leakage.
7. Laasigbotitusita
- Ẹrọ ko ni agbara lori: Ṣayẹwo fifi sori batiri ati rii daju pe awọn batiri ko dinku. Rọpo ti o ba wulo.
- Awọn kika ti ko pe: Ensure pressure connections are secure and leak-free. Verify the device is within its operating temperature range. Perform a zero adjustment if available.
- Display shows "Err" or similar: This may indicate an over-range condition or an internal error. Disconnect from pressure source and restart the device. If the error persists, contact support.
8. Awọn pato
| Ẹya ara ẹrọ | Sipesifikesonu |
|---|---|
| Awoṣe | G111-UT-VAC (Part No. 481685) |
| Iwọn Iwọn | 0 - 1500 hPa |
| Awọn iwọn (L x W x H) | 2.8 x 5.4 x 10.8 cm |
| Iwọn | 140 giramu |
| Orisun agbara | Awọn batiri (ko si) |
| Olupese | Greisinger |
| ASIN | B08JCPN8CG |
| First Available on Amazon.fr | Oṣu Kẹwa Ọjọ 14, Ọdun 2020 |
9. Atilẹyin ọja ati Support
Greisinger products are manufactured to high-quality standards. For information regarding warranty coverage, technical support, or spare parts availability, please refer to the official Greisinger website or contact your local distributor. Please have your model number (481685) and purchase date available when contacting support.