1. Ifihan
This manual provides detailed instructions for the installation, operation, and maintenance of your Phonocar VM494 9.7" Full HD Mirror Dash Cam. This device integrates a front-facing camera, a rear camera, and a full HD display into a rearview mirror, offering enhanced safety and recording capabilities for your vehicle. Please read this manual thoroughly before using the product to ensure proper function and longevity.
2. Package Awọn akoonu
Jẹrisi pe gbogbo awọn nkan wọnyi wa ninu package rẹ:
- 1 x Phonocar VM494 Mirror Dash Cam
- 1 x Rear Camera with 15-meter cable
- 1 x 12V Power Adapter (for cigarette lighter socket)
- 2 x Rubber Supports for fixing
- 1 x Ilana itọnisọna (iwe yii)
3. Ọja Ipariview
The Phonocar VM494 is a multifunctional rearview mirror with an integrated front camera and a separate rear camera. It features a 9.7-inch Full HD touchscreen display for intuitive control and clear viewing.
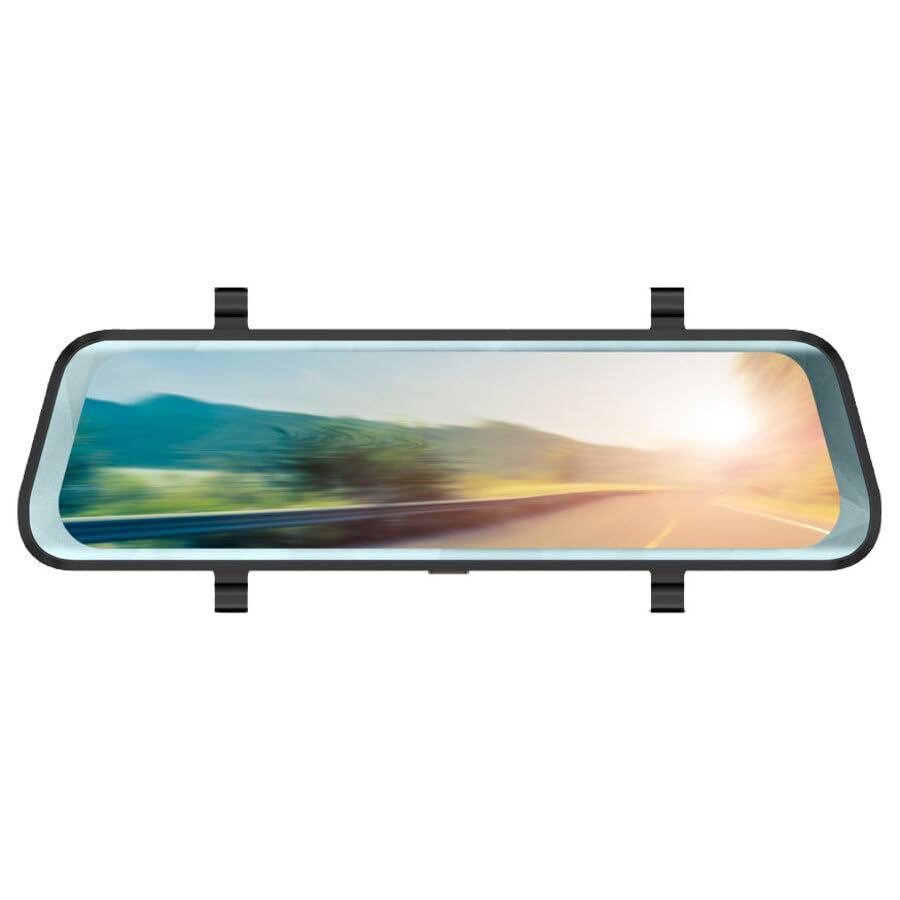
Nọmba 1: Phonocar VM494 Mirror Dash Cam. This image illustrates the main unit, highlighting the 9.7-inch Full HD display, the integrated front camera, and the rear camera connection. Key features such as Full HD recording, cycle recording, G-Sensor, emergency lock, touchscreen, and 144-degree wide angle are also indicated.
Awọn eroja pataki:
- 9.7" Full HD Touchscreen Display: Pese kan ko o view of recordings and real-time camera feeds, with touch control for settings.
- Integrated Front Camera: Adjustable in width, records in Full HD 1080P with a 144° wide-angle view.
- Iṣawọle Kamẹra Tẹhin: Connects the included external rear camera for simultaneous recording and parking assistance.
- Agbọrọsọ: Integrated 1 Watt mono loudspeaker.
- Gbohungbohun: Standard full-direction microphone for audio recording.
- Power/Stand-by Button: Located on the unit for power control.
4. fifi sori
The VM494 is designed for universal compatibility with 12V vehicles. Follow these steps for proper installation:
- Mounting the Mirror Dash Cam:
Attach the VM494 mirror dash cam over your vehicle's original rearview mirror using the provided rubber supports. Ensure it is securely fastened and does not obstruct your view.
- Nsopọ Ipese Agbara:
Connect the 12V power adapter cable to the dash cam and plug the other end into your vehicle's cigarette lighter socket. Route the cable neatly to avoid interference with driving controls.
- Installing the Rear Camera:
So kamẹra ẹhin si ẹhin ọkọ ayọkẹlẹ rẹ, nigbagbogbo loke awo aṣẹ tabi inu ferese ẹhin, rii daju pe o han gbangba view. Connect the 15-meter cable from the rear camera to the designated input on the VM494 mirror dash cam. Route the cable carefully through the vehicle's interior trim.
- Ṣíṣe àtúnṣe kámẹ́rà iwájú:
Adjust the integrated front camera's position to ensure it captures the desired field of view through your windshield.
5. Isẹ
5.1 Power On/Off and Stand-by
- To power on the device, press the Power/Stand-by button.
- To put the device in stand-by mode or turn it off, press and hold the Power/Stand-by button.
5.2 DVR and G-Sensor Function
Once powered on, the device automatically begins recording with the front camera. It records in Full HD (1080P) with both the front and rear cameras simultaneously. The recording is continuous, utilizing a cycle recording feature with options for 1, 3, or 5-minute segments.
- Gbigbasilẹ Yiyipo: The dash cam records video in continuous loops, overwriting the oldest footage nigbati kaadi iranti ti kun.
- G-Sensọ: In the event of a sudden impact or collision, the built-in G-Sensor automatically detects the event and locks the current video file, preventing it from being overwritten during cycle recording. This ensures critical incident footage ti wa ni ipamọ.
- Titiipa Pajawiri: Manually lock a recording by pressing the emergency lock button (if available, or via touchscreen menu) to protect it from being overwritten.
5.3 Automatic Rear Camera Display
When you engage reverse gear, the VM494 automatically displays the rear camera feed on the 9.7-inch screen, providing a clear view for safe parking and maneuvering.
5.4 Automatic Screen Off (Traditional Mirror Mode)
The screen will automatically turn off after 1 minute of inactivity. This allows the device to function as a traditional rearview mirror while the DVR recording functions (front and rear cameras) continue to operate in the background. The mirror features anti-glare blue glass when the screen is off.
5.5 Touchscreen Iṣakoso
Navigate through the device's settings and functions using the intuitive 9.7-inch touchscreen display.
6. Imọ ni pato
- Iwọn iboju: 9.7 inches
- Ipinnu iboju: 1280x480 awọn piksẹli
- Kamẹra iwaju: Adjustable in width
- Viewigun Angle: 144° (wide angle, also during recording)
- O ga Gbigbasilẹ fidio: HD ni kikun 1080P
- Ọna fidio: 1080P, MOV 30 FPS
- Cycle Recording Options: 1, 3, 5 iṣẹju
- Fọtò kika: JPG/TIFF/PNG
- Irú Digi: Anti-glare blue glass (when screen is off)
- Ṣiṣẹ́ Kámẹ́rà Ẹ̀yìn: Automatic upon engaging reverse gear
- Agbọrọsọ: 1 Watt mono
- Gbohungbohun: Standard full-direction
- Awọn iwọn: 7 x 25.5 cm
- Ibi ti ina elekitiriki ti nwa: 12V
- Awọn ẹya pataki: G-Sensor, Touch Control
7. Laasigbotitusita
If you encounter issues with your Phonocar VM494, please refer to the following common solutions:
- Ẹrọ ko ni agbara lori: Ensure the 12V power adapter is securely connected to both the dash cam and the vehicle's cigarette lighter socket. Check the vehicle's fuse for the cigarette lighter.
- Awọn iṣoro igbasilẹ: Verify that a compatible memory card is inserted and properly formatted. Check if the memory card is full; if so, it may need to be formatted or replaced. Ensure cycle recording is enabled.
- Kamẹra ẹhin ko han: Check the connection of the rear camera cable to the main unit. Ensure the rear camera is properly installed and powered.
- Screen is black/off: The screen may be in automatic screen-off mode. Tap the screen to reactivate it. Ensure the device is powered on.
- Iboju ifọwọkan ko dahun: Gbìyànjú láti tún ẹ̀rọ náà bẹ̀rẹ̀. Tí ìṣòro náà bá ń bá a lọ, rí i dájú pé ibojú náà mọ́ tónítóní, kò sì ní ìdọ̀tí kankan.
8. Itọju
To ensure optimal performance and longevity of your VM494:
- Ninu: Use a soft, dry cloth to clean the screen and lens. Avoid abrasive cleaners or solvents.
- Iwọn otutu: Yẹra fún fífi ẹ̀rọ náà sí ojú otútù tó le koko, oòrùn tààrà fún ìgbà pípẹ́, tàbí ọriniinitutu gíga.
- Kaadi Iranti: Periodically format the memory card (e.g., once a month) to maintain optimal recording performance and prevent data corruption. Back up any important recordings before formatting.
- Awọn Isopọ USB: Rii daju pe gbogbo awọn kebulu ti sopọ ni aabo ati pe wọn ko pin tabi bajẹ.
9. Atilẹyin ọja ati Support
For technical assistance, warranty information, or service inquiries, please contact Phonocar customer support. Refer to the contact details below:
Phonocar SpANipasẹ F.lli Cervi, 167/C
42124 Reggio Emilia (Italy)
Foonu: +39 0522 941621
Faksi: +39 0522 1602093
Imeeli: info@phonocar.it
Webojula: www.phonocar.com
Jọwọ ṣe idaduro ẹri rira rẹ fun awọn iṣeduro atilẹyin ọja.