
Ọrọ Iṣaaju
This manual provides detailed instructions for the installation, operation, and maintenance of your AXAGON ADSA-ST USB 3.0 Docking Station. This device is designed to connect 2.5" and 3.5" SATA SSDs and HDDs to your computer via a USB 3.0 interface, offering fast data transfer speeds.
Jọwọ ka iwe afọwọkọ yii daradara ṣaaju lilo ọja lati rii daju iṣẹ ṣiṣe to dara ati lati yago fun ibajẹ.
Package Awọn akoonu
Jẹrisi pe gbogbo awọn paati wa ninu package:
- AXAGON ADSA-ST Docking Station
- USB 3.0 Type-A to Micro-B cable
- Adapter agbara
- Afowoyi Olumulo (iwe-ipamọ yii)

Image: The AXAGON ADSA-ST Docking Station shown alongside its retail packaging, illustrating the product and its box.
Key Awọn ẹya ara ẹrọ
- Supports 2.5" and 3.5" SATA I/II/III SSDs and HDDs.
- USB 3.0 (USB 3.2 Gen 1) interface with up to 5 Gbps transfer speed.
- SATA 6G (SATA III) support.
- UASP (USB Attached SCSI Protocol) support for enhanced performance.
- TRIM support for SSDs.
- HDD Auto Spindown function.
- LED indication for power and activity.
- Compact design with aluminum body.

Aworan: A view of the AXAGON ADSA-ST Docking Station highlighting its 5 Gbps USB 3.2 Gen 1 speed and compact size.
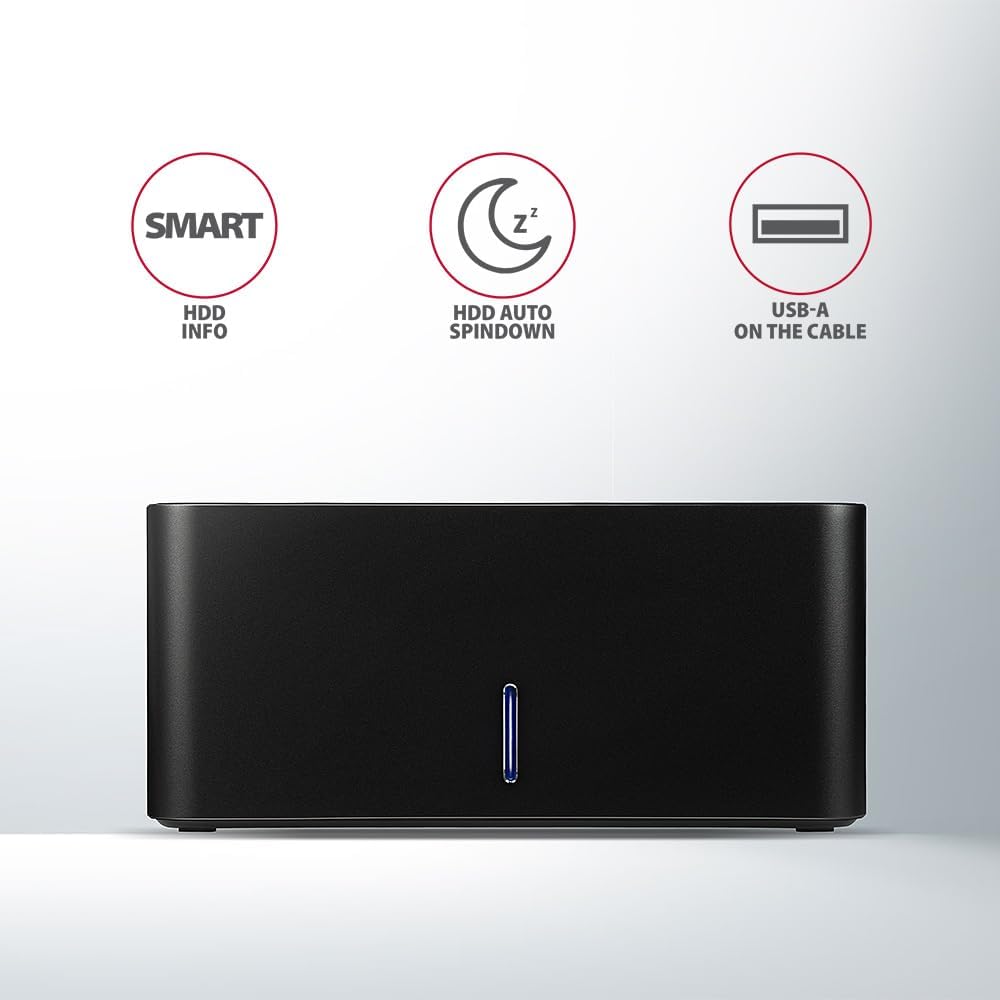
Image: The docking station from the front, indicating features like SMART HDD info, automatic HDD spindown, and USB-A connectivity.
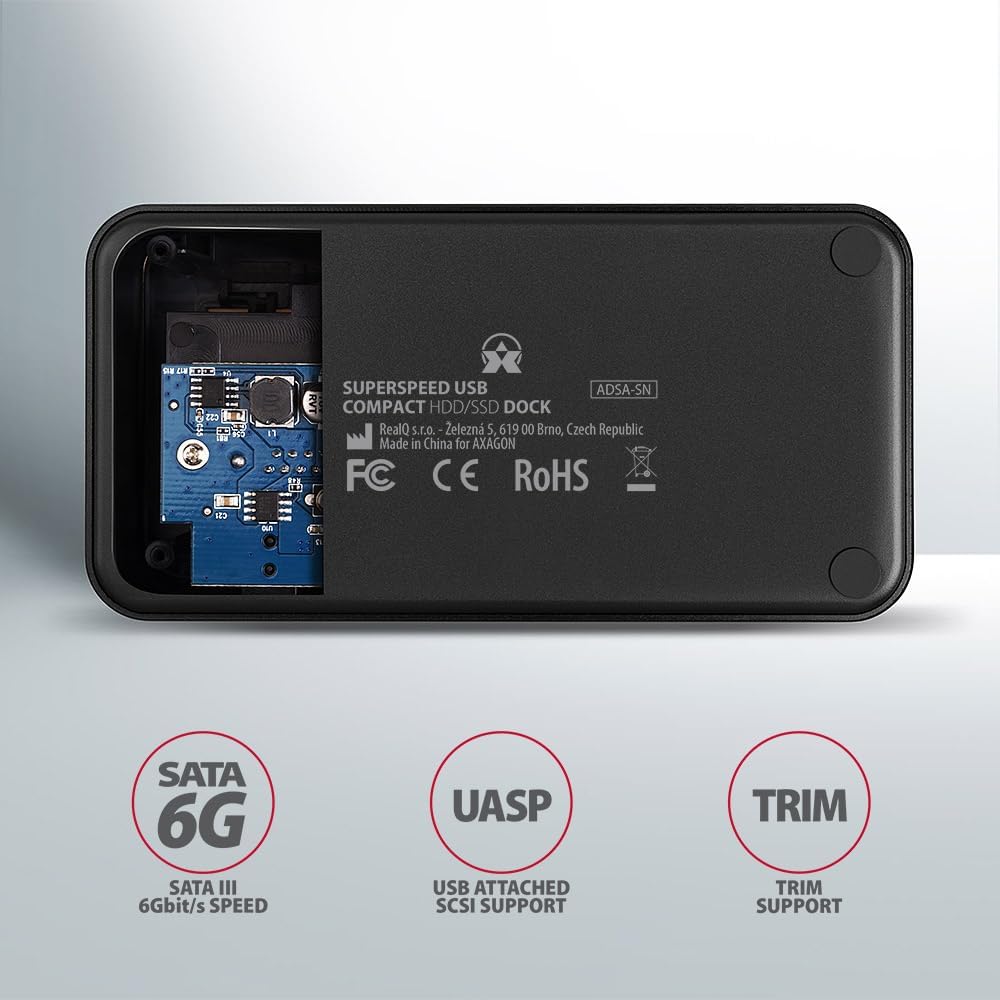
Image: The underside of the docking station, showing internal components and highlighting SATA 6G, UASP, and TRIM support.
Awọn ilana iṣeto
- Sopọ Adapter Agbara: Plug the included power adapter into the DC IN port on the back of the docking station and then into a power outlet.
- Sopọ si Kọmputa: Connect the USB 3.0 cable from the docking station's Micro-B port to an available USB 3.0 (or higher) port on your computer.
- Insert HDD/SSD:
- For 2.5" SSD/HDD: Gently slide the 2.5" drive into the slot until it connects firmly with the SATA connector.
- For 3.5" HDD: Gently slide the 3.5" drive into the slot until it connects firmly with the SATA connector.
Ensure the drive is inserted correctly with the SATA connector facing the correct direction. Do not force the drive.

Image: A 2.5-inch SSD being inserted into the docking station, demonstrating compatibility with smaller drives.
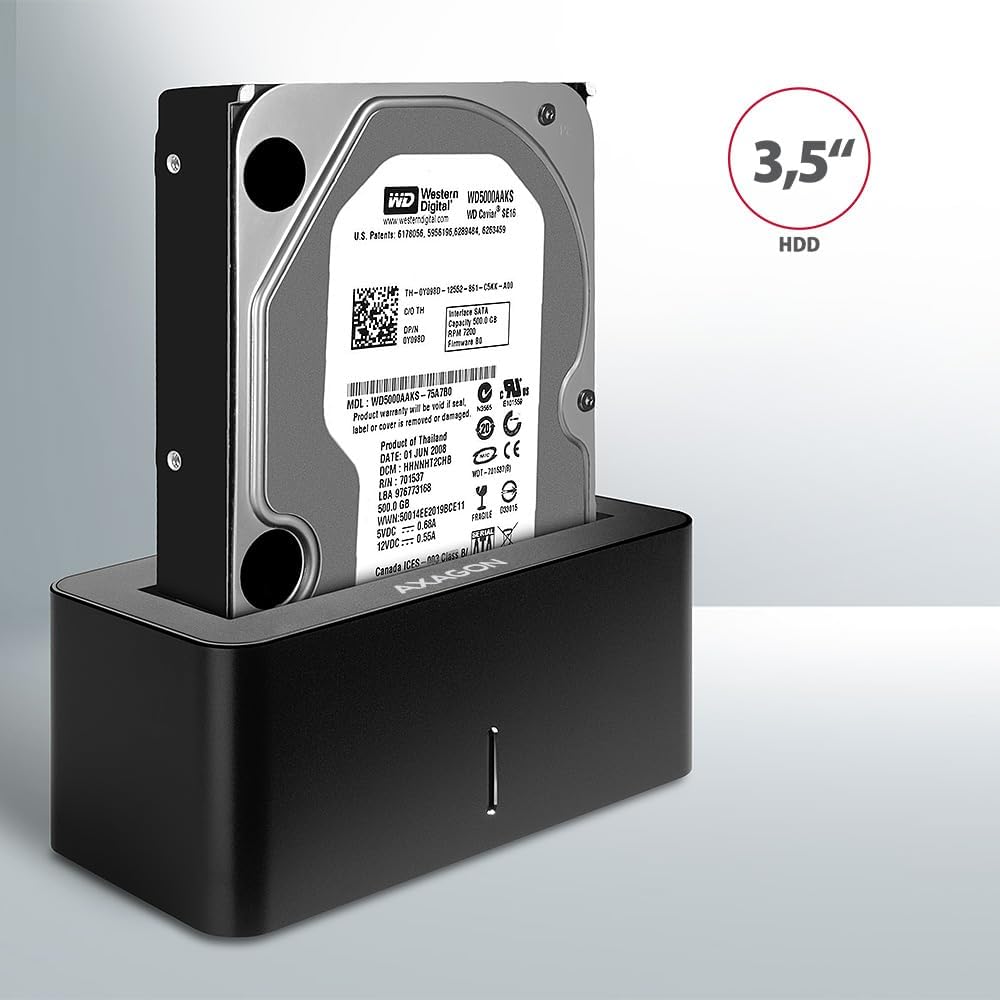
Image: A 3.5-inch HDD being inserted into the docking station, demonstrating compatibility with larger drives.
- Agbara Tan: Press the power button located on the back of the docking station. The LED indicator on the front will illuminate.
Image: The rear panel of the docking station, showing the power button, USB Micro-B port, and power input for connection.
Awọn ilana Iṣiṣẹ
Drive Recognition
Once powered on and connected, your operating system should automatically detect the inserted drive. If it's a new drive, you may need to initialize and format it through Disk Management (Windows) or Disk Utility (macOS) before it appears in File Explorer/Finder.
LED Atọka
The LED indicator on the front of the docking station provides status information:
- Ri to Blue: Power on, drive idle.
- Buluu didan: Drive activity (reading or writing data).
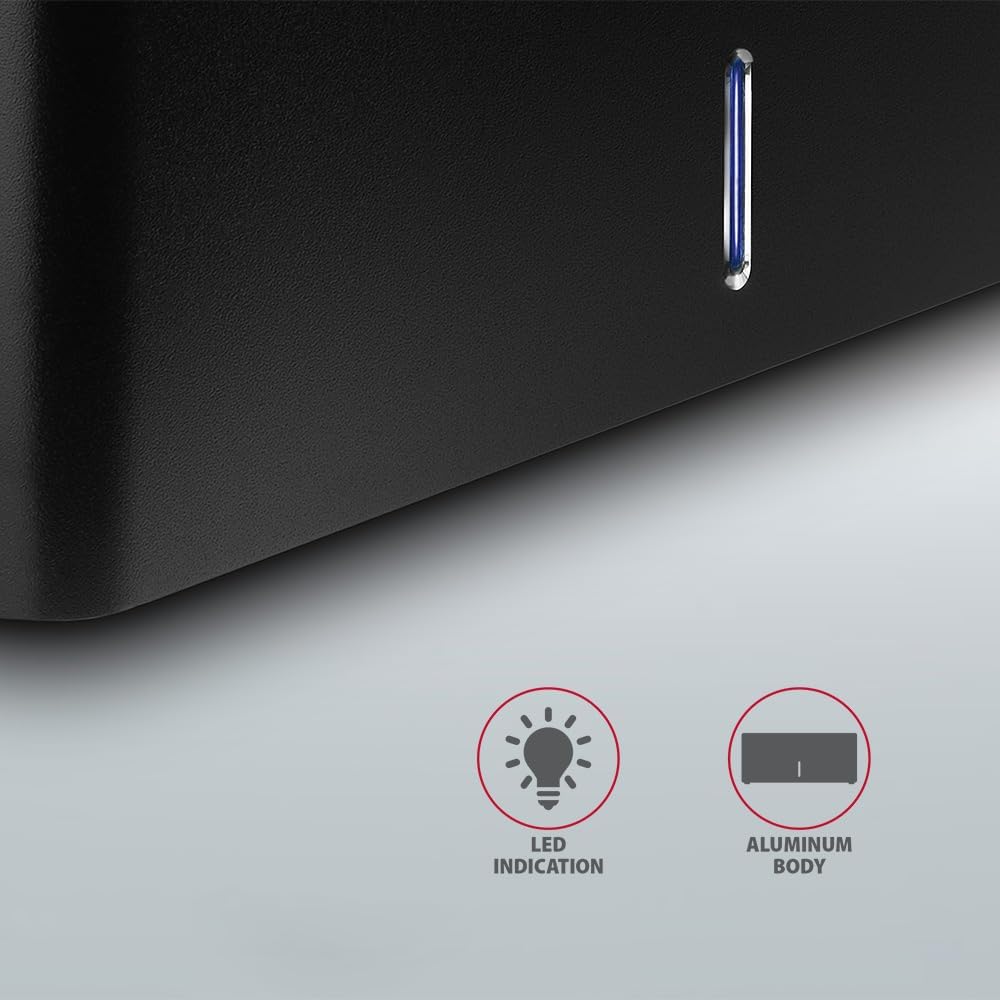
Aworan: A sunmọ-soke view of the docking station's front panel, highlighting the LED indicator light.
Removing a Drive
Before removing a drive, always safely eject it from your operating system to prevent data corruption. After ejection, gently pull the drive straight out of the docking station slot.
HDD laifọwọyi Spindown
The docking station supports automatic spindown of the HDD when it is idle for a certain period, conserving power and extending drive lifespan. This feature is managed by the operating system or the drive itself.
Itoju
- Jeki ibudo ibi iduro mọ ati ofe kuro ninu eruku. Lo asọ asọ ti o gbẹ fun mimọ.
- Yago fun ṣiṣafihan ẹrọ naa si awọn iwọn otutu to gaju, ọriniinitutu, tabi oorun taara.
- Ma ṣe gbiyanju lati tunto tabi tun ẹrọ naa funrararẹ. Tọkasi awọn oṣiṣẹ iṣẹ ti o peye.
- Ensure proper ventilation around the docking station during operation.
Laasigbotitusita
- Awakọ ko ri:
- Ensure the power adapter is securely connected and the docking station is powered on.
- Verify the USB cable is properly connected to both the docking station and the computer.
- Gbiyanju ibudo USB ti o yatọ lori kọnputa rẹ.
- Ensure the HDD/SSD is fully seated in the docking station's slot.
- Check Disk Management (Windows) or Disk Utility (macOS) to see if the drive is recognized but uninitialized/unformatted.
- Test with a different HDD/SSD to rule out a drive issue.
- Awọn iyara gbigbe lọra:
- Ensure the docking station is connected to a USB 3.0 (or higher) port on your computer. USB 2.0 ports will limit speeds.
- Rii daju pe eto iṣẹ rẹ ati awọn awakọ rẹ wa ni imudojuiwọn.
- The actual speed depends on the drive's performance and your computer's USB controller.
- Drive disconnects randomly:
- Ṣayẹwo gbogbo awọn asopọ okun.
- Rí i dájú pé ohun tí a fi ń ṣe agbára náà ń fúnni ní agbára tó dúró ṣinṣin.
- Disable USB power saving features in your computer's operating system settings.
Imọ ni pato
| Ẹya ara ẹrọ | Ẹ̀kúnrẹ́rẹ́ |
|---|---|
| Brand | AXAGON |
| Nọmba awoṣe | ADSA-SN |
| Hardware Platform | PC |
| Awọn ẹrọ ibaramu | Kọ̀ǹpútà alágbèéká, Kọ̀ǹpútà Ojú-ìwé |
| Ibamu wakọ | 2.5" / 3.5" SATA I/II/III SSD/HDD |
| Ni wiwo | USB 3.0 (USB 3.2 Gen 1) |
| Data Gbigbe Oṣuwọn | Up to 5 Gbps (USB 3.0), 6 Gbps (SATA III) |
| Lapapọ Awọn ibudo USB | 1 (Micro-B) |
| Nọmba ti Drive Bays | 1 |
| Àwọ̀ | Dudu |
| Iwọn Nkan | 2.2 poun (isunmọ 1 kg) |
| Package Mefa | 3.94 x 0.79 x 0.39 inches (iwọn 10 x 2 x 1 cm) |
| Ọjọ Akọkọ Wa | Oṣu Kẹta Ọjọ 30, Ọdun 2021 |
Atilẹyin ọja ati Support
For warranty information and technical support, please refer to the official AXAGON webaaye tabi kan si olupin agbegbe rẹ. Jeki ẹri rira rẹ fun awọn iṣeduro atilẹyin ọja.