Ọrọ Iṣaaju
This manual provides detailed instructions for the proper setup, operation, and maintenance of your Eartec PSMOIL Proline Single Headset. Please read this manual thoroughly before using the product to ensure optimal performance and longevity.
Ọja Pariview
The Eartec PSMOIL Proline Single Headset is designed for clear communication, featuring a comfortable single-ear design, a flexible microphone, and an inline Push-to-Talk (PTT) button. It connects via a 2-pin plug, compatible with various communication devices.
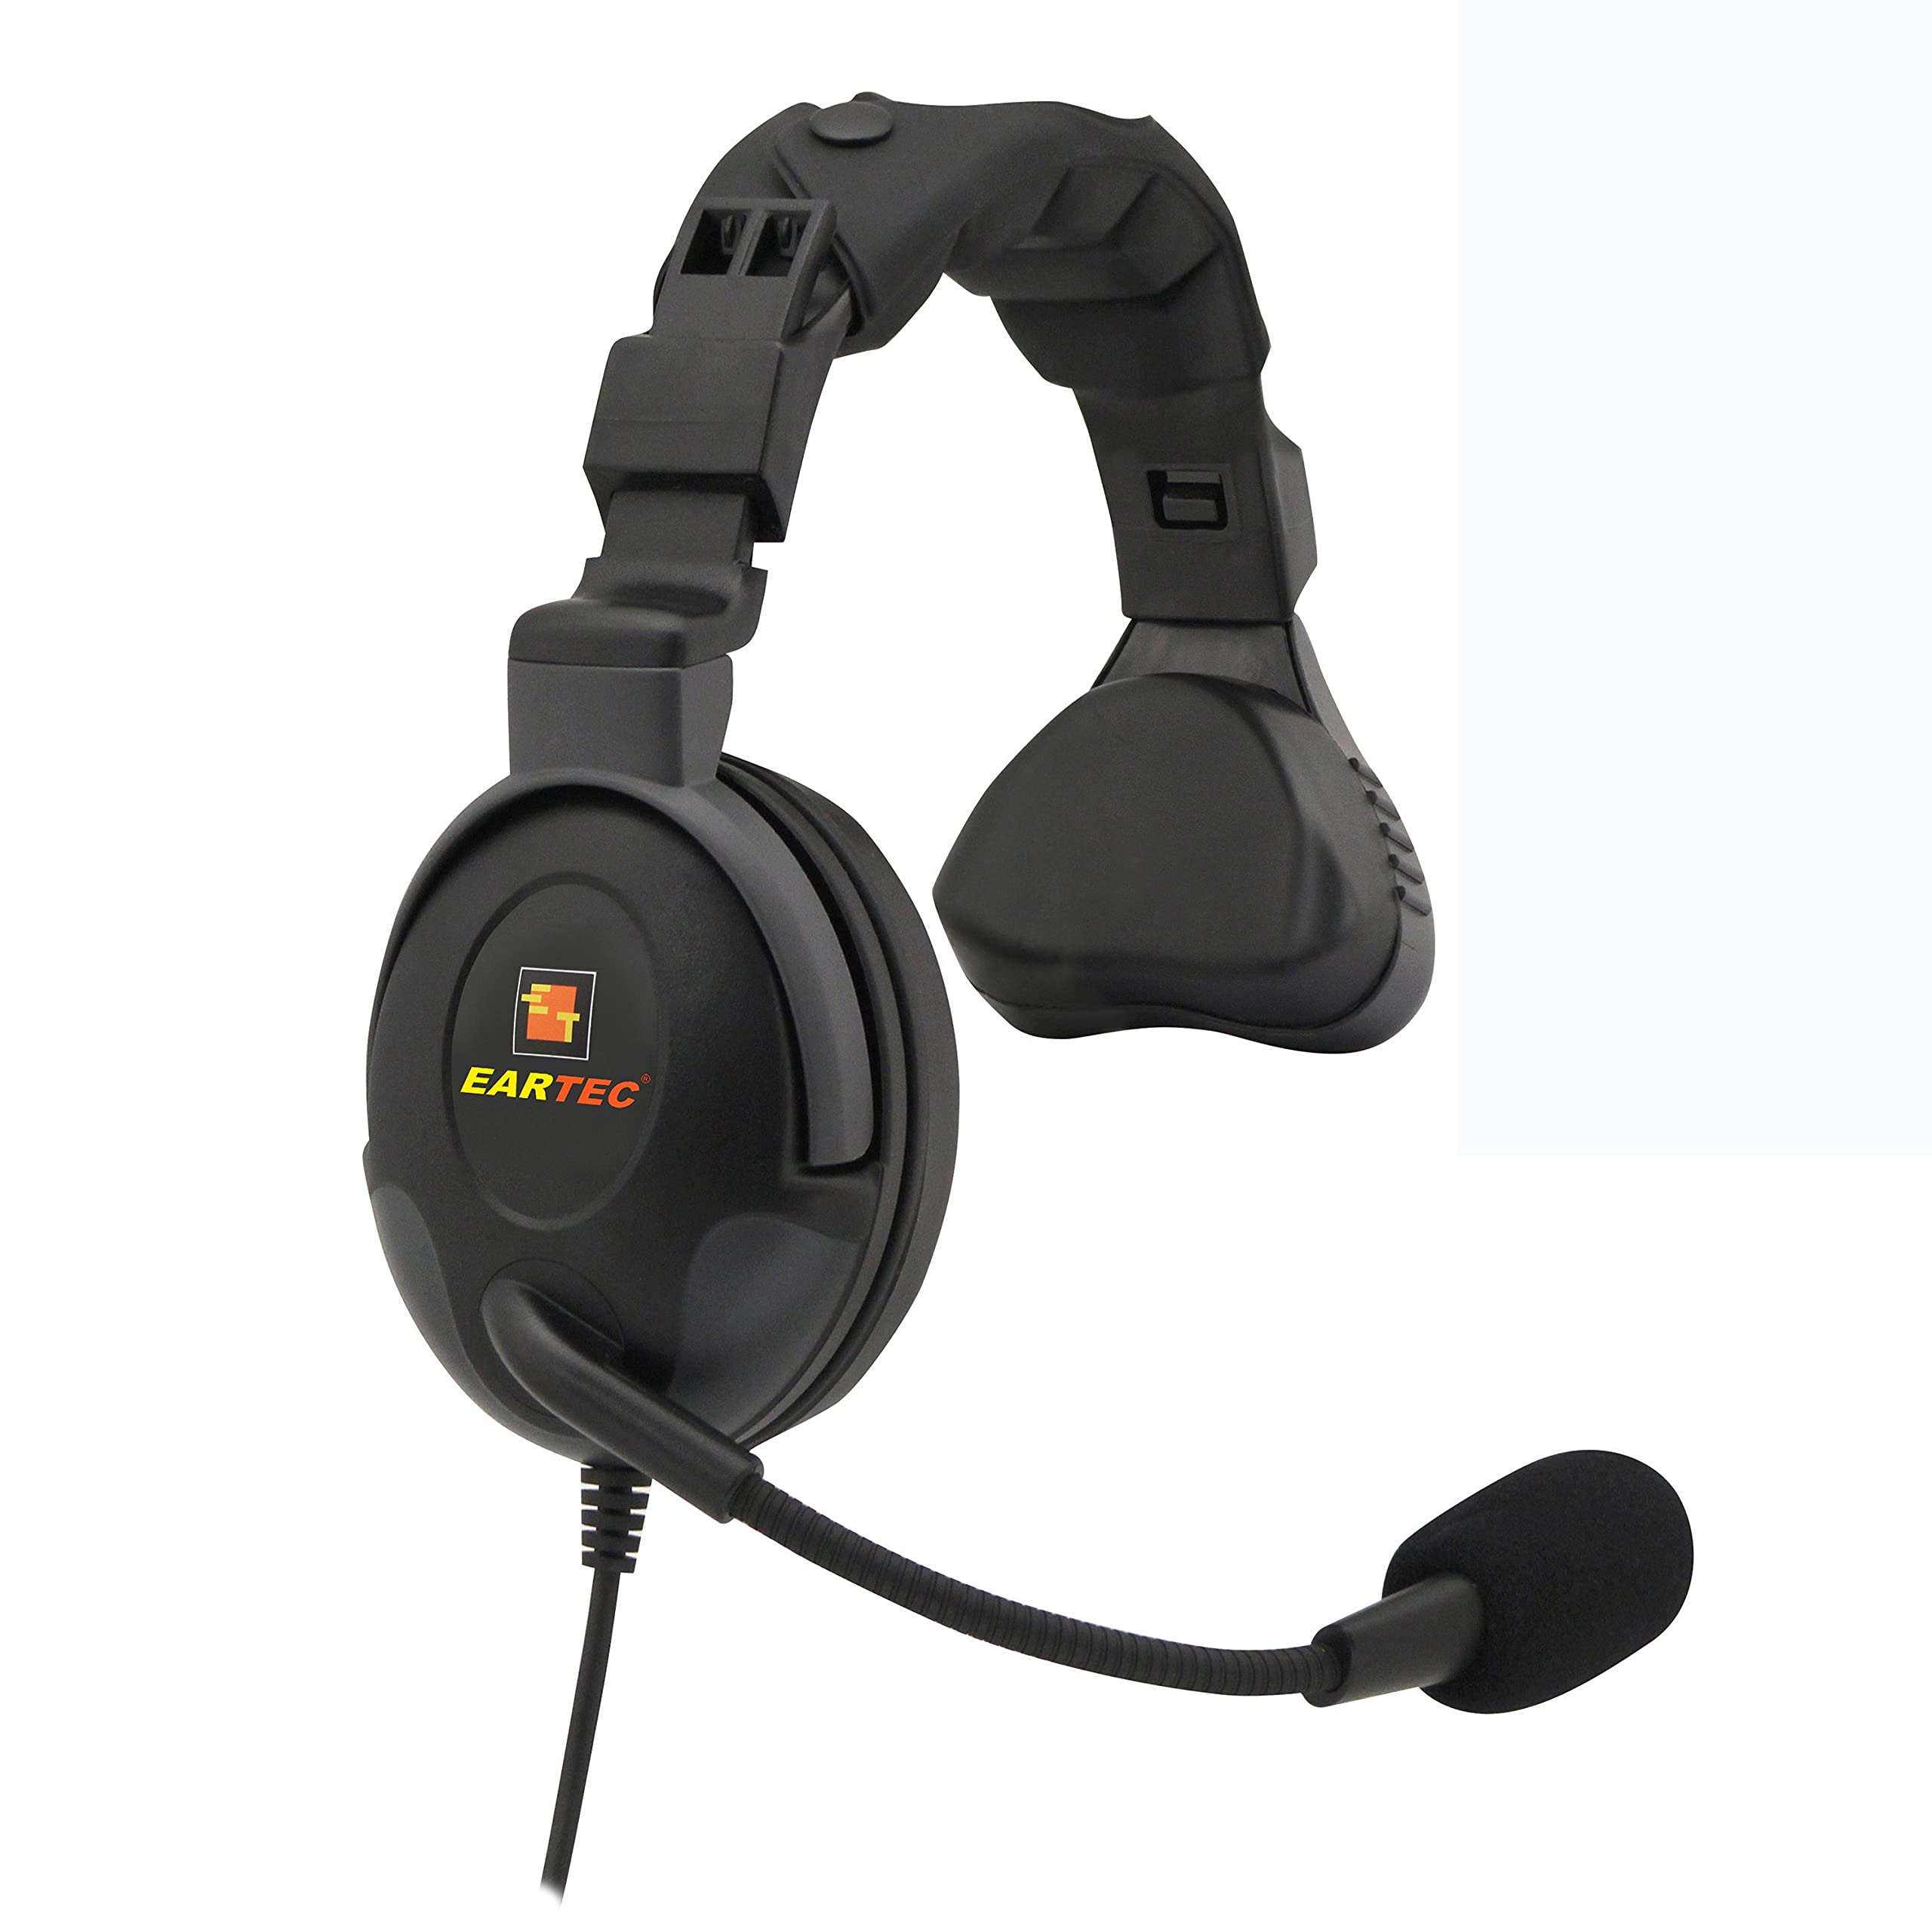
Image: Eartec PSMOIL Proline Single Headset. This image shows the single-ear headset with its microphone boom and the inline PTT module with the 2-pin connector.
Package Awọn akoonu
Jẹrisi pe gbogbo awọn ohun kan wa ninu package:
- Eartec PSMOIL Proline Single Headset
- Afowoyi Olumulo (iwe-ipamọ yii)
Ṣeto
- So Agbekọri pọ: Locate the 2-pin port on your compatible communication device. Align the 2-pin plug of the headset with the port and gently insert it until it clicks into place. Ensure a secure connection to prevent audio interruptions.
- Gbe Agbekọri naa si ipo: Place the earpiece comfortably over one ear. Adjust the headband for a snug fit.
- Adjust the Microphone: Position the microphone boom approximately 1-2 inches (2.5-5 cm) from your mouth. Ensure the microphone is not directly in front of your mouth to avoid breath noises, but close enough for clear voice pickup. The boom is flexible and can be adjusted.
Awọn ilana Iṣiṣẹ
Push-to-Talk (PTT) Functionality
The PSMOIL headset features an inline Push-to-Talk (PTT) button for transmitting your voice.
- Lati Gbe: Press and hold the PTT button located on the inline module. Speak clearly into the microphone.
- Lati Gba: Release the PTT button to listen for incoming transmissions.
Iṣakoso iwọn didun
Volume adjustments are typically managed directly on your connected communication device. Refer to your device's manual for specific volume control instructions.
Itoju
- Ninu: Use a soft, dry cloth to wipe down the headset and cable. For stubborn dirt, a slightly damp cloth with mild soap can be used, but ensure no moisture enters the earpiece or microphone. Do not use harsh chemicals or abrasive cleaners.
- Ibi ipamọ: When not in use, store the headset in a clean, dry place, away from extreme temperatures and direct sunlight. Avoid tangling the cable.
- Itọju USB: Do not pull on the cable to disconnect the headset. Always grasp the plug firmly. Avoid sharp bends or kinks in the cable, as this can damage internal wiring.
Laasigbotitusita
| Isoro | Owun to le Fa | Ojutu |
|---|---|---|
| Ko si ohun lati agbekari |
|
|
| Microphone not transmitting |
|
|
| Ohun afetigbọ |
|
|
Awọn pato
- Awoṣe: PSMOIL
- Iru: Single-ear headset
- Asopọmọra: 2-Pin Plug
- Ẹya ara ẹrọ: Inline Push-to-Talk (PTT)
- Ibamu: Designed for compatible communication devices (refer to your device's manual for 2-pin accessory compatibility).
- Ìwúwo: Ni isunmọ 2 poun
Alaye atilẹyin ọja
Eartec products are designed for durability and performance. For specific warranty terms and conditions, please refer to the warranty card included with your product or visit the official Eartec webojula. Jeki ẹri rira rẹ fun awọn iṣeduro atilẹyin ọja.
Atilẹyin
If you encounter issues not covered in the troubleshooting section or require further assistance, please contact Eartec customer support.
- Webojula: www.eartec.com/support
- Imeeli: support@eartec.com
- Foonu: Refer to the Eartec webAaye fun agbegbe awọn nọmba olubasọrọ.