
1. Ifihan
This manual provides detailed instructions for the installation, operation, and maintenance of your j5create USB-C Dual HDMI Docking Station (Model JCD542). This docking station is designed to expand the connectivity of your USB-C enabled laptop, offering dual display output, multiple USB ports, network connectivity, and power delivery.
Jọwọ ka iwe afọwọkọ yii daradara ṣaaju lilo ọja lati rii daju iṣẹ ṣiṣe to dara ati lati yago fun ibajẹ.
2. Ọja Ipariview
2.1 Package Awọn akoonu
- j5create USB-C Dual HDMI Docking Station (JCD542)
- Ilana itọnisọna
2.2 Ìṣètò Ẹ̀rọ àti Àwọn Ìbùdó Ìbánisọ̀rọ̀
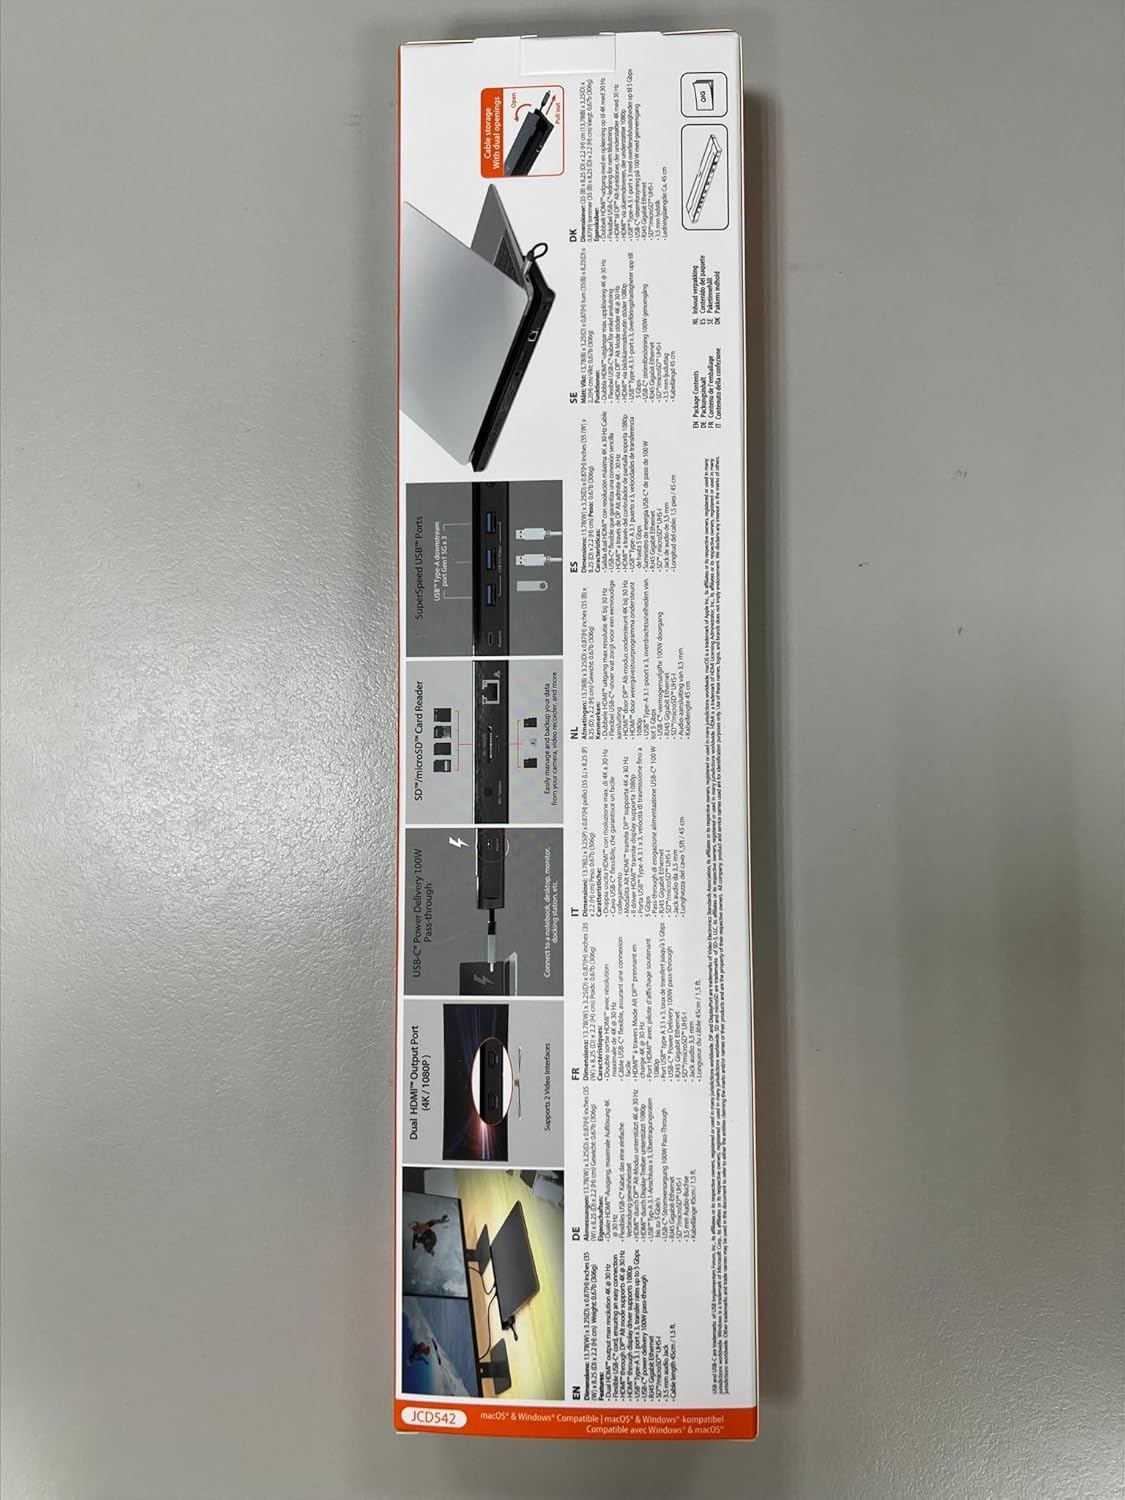
The JCD542 docking station features a comprehensive array of ports to enhance your workstation. Refer to the images below for a visual guide to the port layout.

Aworan 1: Oke-isalẹ view of the j5create JCD542 USB-C Dual HDMI Docking Station, showcasing awọn oniwe-aso oniru ati orisirisi ebute oko.

Image 2: Diagram illustrating the 10 available ports on the j5create JCD542 docking station, including USB-C Power In, USB 3.0, Mic/Speaker, SD/microSD, Gigabit Ethernet, 4K HDMI, HDMI, and Security Slot.
- USB-C Host Connector: Connects to your laptop's USB-C port.
- USB-C Power In (PD 3.0): Supports up to 100W Power Delivery for charging your laptop.
- HDMI 1 (4K): Connects to a display for up to 4K (3840 x 2160) resolution.
- HDMI2: Connects to a display for up to 2K (2048 x 1152) or 1080p resolution.
- USB 3.0 (5Gbps) x3: Connects to USB peripherals such as keyboards, mice, or external drives.
- RJ45 Gigabit Ethernet: Pese asopọ nẹtiwọọki onirin ti o duro ṣinṣin.
- Oluka kaadi SD: For reading standard SD memory cards.
- Oluka kaadi microSD: For reading microSD memory cards.
- Combo Audio Jack (Mic/Speaker): Connects to headphones or speakers with a microphone.
- Iho Titiipa Aabo: For attaching a security cable to prevent theft.
3. Eto
3.1 System Awọn ibeere
- Available USB-C port with DisplayPort Alternate Mode (Alt Mode) support.
- Windows 10 / 8.1 / 7 or macOS X 10.8 or later (macOS 11 & 12 supported).
- For Mac users, driver installation is required for display functionality. Please visit the j5create webojula fun awọn titun awakọ.
- For Power Delivery, your laptop must support USB-C Power Delivery.
3.2 Nsopọ Ibusọ Docking
- Connect the integrated USB-C host cable from the docking station to an available USB-C port on your laptop.
- If you wish to charge your laptop via the docking station, connect your laptop's USB-C power adapter to the USB-C Power In port on the docking station.
- Connect your external monitors to the HDMI ports on the docking station using HDMI cables.
- Connect any USB peripherals (keyboard, mouse, external hard drive) to the USB 3.0 ports.
- For a wired network connection, connect an Ethernet cable from your router/modem to the RJ45 Gigabit Ethernet port.
- Insert SD or microSD cards into the respective card reader slots if needed.
- Connect headphones or speakers to the Combo Audio Jack.

Image 3: A laptop connected to the j5create JCD542 docking station via its integrated USB-C cable, demonstrating a typical setup.

Image 4: Illustration showing compatibility with both Windows and Mac operating systems, highlighting the need for driver installation for Mac users.
4. Awọn ilana Iṣiṣẹ
4.1 Dual Display Configuration
The docking station supports extending your laptop's display to two external monitors. One HDMI port supports up to 4K (3840 x 2160) resolution, and the other supports up to 2K (2048 x 1152) or 1080p. You can also use your laptop screen for a total of three displays.

Image 5: A workstation demonstrating a dual-monitor setup connected via the j5create JCD542 docking station, enhancing productivity.
After connecting your monitors, you may need to configure display settings in your operating system (Windows Display Settings or macOS System Preferences > Displays) to extend or mirror your desktop.
4.2 Ifijiṣẹ agbara
The USB-C Power In port allows you to charge your laptop while using the docking station, supporting up to 100W Power Delivery. Ensure your laptop's original power adapter is connected to this port for charging.

Image 6: A USB-C power cable connected to the 'Power In' port of the j5create JCD542 docking station, indicating support for up to 100W Power Delivery to the connected laptop.
4.3 Data Transfer and Peripherals
The three USB 3.0 ports provide SuperSpeed 5Gbps data transfer rates for connecting various USB peripherals. The RJ45 Gigabit Ethernet port ensures a reliable and fast wired internet connection, while the SD and microSD card readers allow for convenient access to memory card data.

Aworan 7: Isunmọ view of the three SuperSpeed USB 3.0 ports on the j5create JCD542 docking station, with a USB device connected.

Aworan 8: Isunmọ view of the RJ45 Gigabit Ethernet port on the j5create JCD542 docking station, showing an Ethernet cable connected for a stable network connection.

Aworan 9: Isunmọ view of the SD and microSD card reader slots on the j5create JCD542 docking station, with a memory card being inserted.

Aworan 10: Isunmọ view of the combo audio jack (Mic/Speaker) on the j5create JCD542 docking station, with a 3.5mm audio plug inserted.
Aworan 11: Isunmọ view of the security lock slot on the j5create JCD542 docking station, showing a security cable being attached.
5. Itọju
Lati rii daju igbesi aye gigun ati iṣẹ to dara julọ ti ibudo docking rẹ, tẹle awọn itọnisọna itọju wọnyi:
- Jeki ẹrọ naa di mimọ nipa fifẹ rẹ pẹlu asọ ti o gbẹ. Yago fun lilo olomi ose tabi olomi.
- Ma ṣe fi ẹrọ naa han si awọn iwọn otutu to gaju, ọriniinitutu, tabi imọlẹ orun taara.
- Yago fun sisọ silẹ tabi tẹriba ẹrọ si awọn ipa to lagbara.
- Rii daju pe fentilesonu to dara ni ayika ibudo ibi iduro lati ṣe idiwọ igbona.
6. Laasigbotitusita
If you encounter issues with your j5create JCD542 docking station, refer to the following common problems and solutions:
- Ko si Abajade Ifihan:
- Rii daju pe ibudo USB-C kọǹpútà alágbèéká rẹ ṣe atilẹyin Ipo Alt DisplayPort.
- Verify that all HDMI cables are securely connected to both the docking station and the monitors.
- For Mac users, ensure the necessary display drivers are installed. Visit the j5create support webojula fun awakọ gbigba lati ayelujara.
- Check your operating system's display settings to ensure monitors are detected and configured correctly (extended or mirrored).
- Try disconnecting and reconnecting the docking station from your laptop.
- Kọǹpútà alágbèéká Ko Ngba agbara:
- Confirm that your laptop supports USB-C Power Delivery.
- Ensure your laptop's original USB-C power adapter is connected to the USB-C Power In port on the docking station.
- Verify the power adapter is functioning correctly and connected to a power outlet.
- Awọn ẹrọ USB ko ṣiṣẹ:
- Rii daju pe ibudo docking ti sopọ mọ kọǹpútà alágbèéká rẹ daradara.
- Try connecting the peripheral directly to your laptop to confirm it is functional.
- Test the peripheral in a different USB 3.0 port on the docking station.
- Ko si Asopọ Ayelujara nipasẹ Ethernet:
- Rii daju pe okun Ethernet ti sopọ ni aabo si mejeeji ibudo docking ati olulana/modẹmu rẹ.
- Check your network settings in your operating system.
- Rii daju pe olulana/modẹmu rẹ n ṣiṣẹ ni deede.
- Ibusọ Docking Ngba Gbona:
- It is normal for the docking station to generate some heat during operation, especially when multiple ports are in use or when charging a laptop. Ensure it has adequate ventilation and is not covered.
7. Awọn pato
| Nọmba awoṣe | JCD542 |
| Ọja Mefa | 13.78 x 3.25 x 0.86 inches (350 x 82.5 x 21.8 mm) |
| Iwọn Nkan | 14.3 iwon (405 giramu) |
| Olumulo Ọlọpọọmídíà | USB-C |
| Ijade fidio | 2 x HDMI (1x 4K, 1x 2K/1080p) |
| Awọn ibudo USB | 3 x USB 3.0 (5Gbps) |
| Àjọlò | RJ45 Gigabit àjọlò |
| Oluka kaadi | SD / microSD |
| Ohun | Combo Audio Jack (Mic/Speaker) |
| Ifijiṣẹ Agbara | Up to 100W via USB-C Power In port |
| Ibamu | Windows 10/8.1/7, macOS X 10.8 or later (macOS 11 & 12) |
8. Atilẹyin ọja ati Support
j5create products are designed and manufactured with quality in mind. For warranty information and technical support, please refer to the official j5create webojula tabi kan si wọn onibara iṣẹ.
Olupese: j5 ṣẹda
Ibi iwifunni:
Kaijet Technology International BV
Address: Zomerdroom 20, 3068 MZ Rotterdam, Netherlands
Phone Number: +31 (0)6-2880 2882
Imeeli: service@j5create.com
Jọwọ ṣe idaduro ẹri rira rẹ fun awọn iṣeduro atilẹyin ọja.