
Ọrọ Iṣaaju
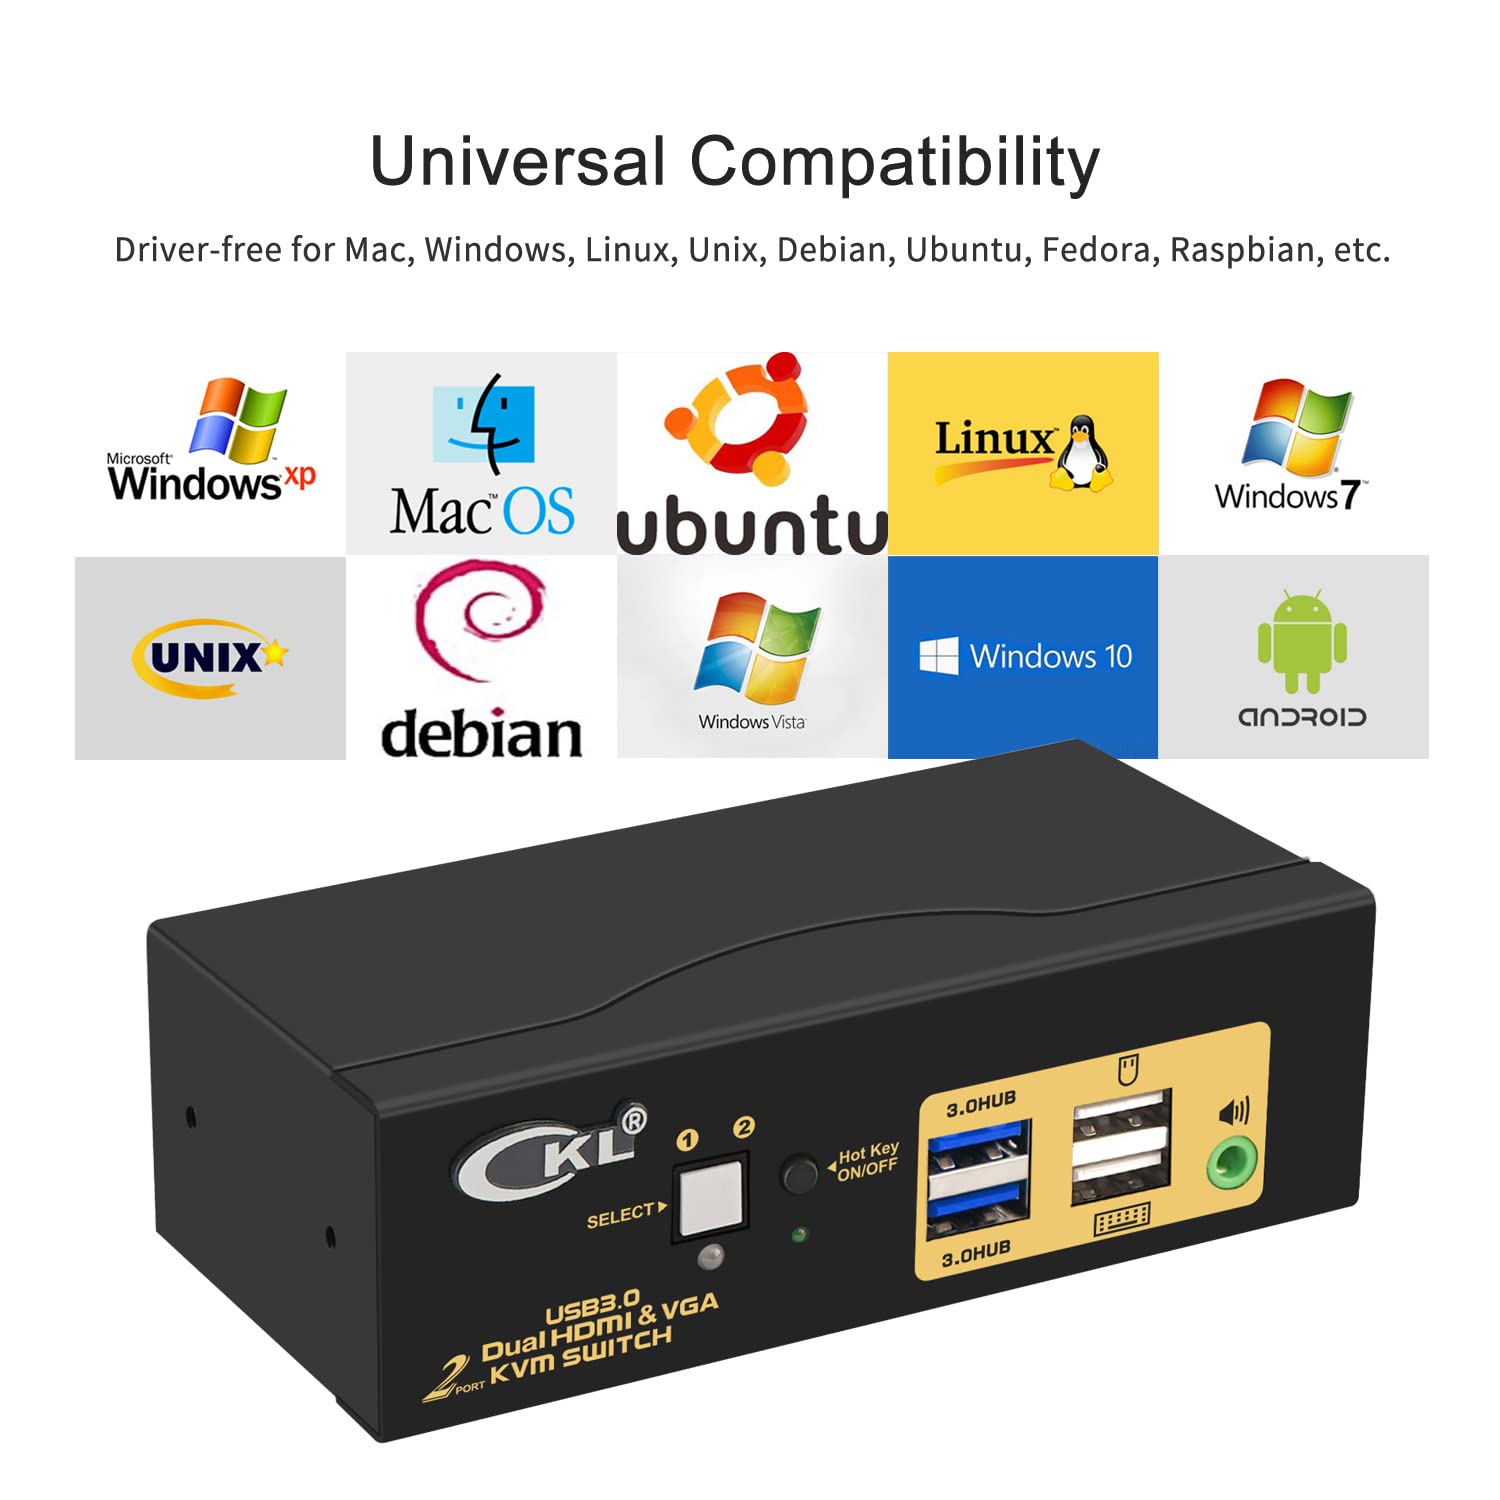
The CKL USB3.0 HDMI KVM Switch is designed to allow control of two computers or laptops using a single set of wired or wireless keyboard, mouse, and two extended or mirrored monitors. This device supports high resolutions up to 4K@60Hz for HDMI output and includes integrated USB 3.0 HUB ports for sharing additional USB peripherals. It is compatible with various operating systems including Windows, Linux, and Mac.
Package Awọn akoonu
Jọwọ rii daju pe gbogbo awọn nkan ti a ṣe akojọ rẹ si isalẹ wa ninu package rẹ:
- 1 x CKL USB3.0 HDMI KVM Switch (Model: CKL-922HV)
- 2 x HDMI Awọn okun
- 2 x USB 3.0 Awọn okun
- 1 x Iṣakoso latọna jijin ti firanṣẹ
- 1 x DC 5V Power Adapter
- 1 x Itọsọna olumulo

Ọja Pariview
Iwaju Panel
- Bọtini Yan: Used to manually switch between connected computers.
- Awọn LED afihan: Show which PC is currently active (PC1 or PC2).
- Hot Key ON/OFF Switch: Enables or disables keyboard hotkey switching.
- Ibudo Keyboard USB: Dedicated port for connecting your keyboard.
- Ibudo Asin USB: Dedicated port for connecting your mouse.
- 2 x USB 3.0 HUB Ports: For connecting additional USB peripherals such as printers, scanners, webcams, or USB drives.
- Ijade ohun: 3.5mm jack for connecting speakers or headphones.

Ru Panel
- PC1 IN (HDMI A, HDMI B, USB 3.0): Input ports for connecting the first computer.
- PC2 IN (HDMI A, HDMI B, USB 3.0): Input ports for connecting the second computer.
- OUT A (HDMI): Output port for connecting the first monitor.
- OUT B (HDMI): Output port for connecting the second monitor.
- DC 5V: Ibudo titẹ agbara.
- Latọna jijin: Port for connecting the wired remote control.
- ON/PA Yipada: Main power switch for the KVM device.

Awọn ilana iṣeto
Follow these steps to set up your CKL KVM Switch:
- Paa awọn ẹrọ: Ensure all computers and monitors are powered off before beginning the connection process.
- Connect PC1: Connect the HDMI A, HDMI B, and USB 3.0 cables from your first computer (e.g., Desktop PC) to the corresponding 'PC1 IN' ports on the rear of the KVM switch. If your computer uses DisplayPort or USB-C for video output, you may need appropriate adapters (e.g., DisplayPort to HDMI, USB-C to HDMI).
- Connect PC2: Connect the HDMI A, HDMI B, and USB 3.0 cables from your second computer (e.g., Mini PC) to the corresponding 'PC2 IN' ports on the rear of the KVM switch.
- Awọn diigi Sopọ: Connect your first monitor to the 'OUT A' HDMI port and your second monitor to the 'OUT B' HDMI port on the rear of the KVM switch.
- So Keyboard ati Asin pọ: Plug your keyboard into the dedicated USB Keyboard port and your mouse into the dedicated USB Mouse port on the front panel. For wireless keyboard/mouse sets with a single unifying dongle, plug the dongle into either the dedicated mouse port or one of the USB 3.0 HUB ports.
- So Audio (Aṣayan): If desired, connect your speakers or headphones to the 3.5mm Audio Output jack on the front panel.
- So asopọ latọna jijin onirin pọ (Aṣayan): Plug the wired remote control into its dedicated port on the rear panel.
- So agbara: Connect the DC 5V power adapter to the KVM switch and then to a power outlet.
- Agbara Tan: First, power on the KVM switch. Then, power on your monitors, and finally, power on your computers. The KVM switch should automatically detect the active computer.

Awọn ilana Iṣiṣẹ
Yipada Laarin Awọn kọmputa
The CKL KVM Switch offers multiple methods for switching between connected computers:
- Push Button Switching: Press the 'SELECT' button on the front panel of the KVM switch to cycle between PC1 and PC2.
- Keyboard Hotkey Switching: Ensure the 'Hot Key ON/OFF' switch on the front panel is in the 'ON' position. To switch, quickly press the Right Control (Ctrl) key twice, then the port number (1 for PC1, 2 for PC2), and finally press Enter.
- Mouse Switching: Double-click the scroll wheel of your mouse to switch between computers.
- Wired Remote Switching: Press the button on the wired remote control to switch between computers.

Awọn ipo ifihan
The KVM switch supports various display configurations for your dual monitors:
- Ifihan ti a gbooro sii: Each monitor displays a different part of the desktop, extending your workspace.
- Ifihan ti a fi awojiji han: Both monitors display the same content.
- Splicing Wall: Allows for advanced display configurations, often used for video walls.

Itoju
To ensure the longevity and optimal performance of your KVM switch, follow these general maintenance guidelines:
- Pa ẹrọ naa mọ si ibi gbigbẹ ati tutu, kuro ninu oorun taara ati ooru ti o pọ ju.
- Avoid exposing the device to liquids or excessive moisture.
- Mọ ode pẹlu asọ ti o gbẹ. Ma ṣe lo abrasive ose tabi epo.
- Rii daju pe fentilesonu to dara ni ayika ẹyọ naa lati ṣe idiwọ igbona.
- Máa ṣàyẹ̀wò àwọn ìsopọ̀ okùn déédéé láti rí i dájú pé wọ́n wà ní ààbò.
Laasigbotitusita
If you encounter issues with your CKL KVM Switch, please refer to the following common problems and solutions:
- No Display or Intermittent Display:
- Verify all HDMI and USB 3.0 cables are securely connected between the computers, KVM, and monitors.
- Ensure the correct PC input is selected on the KVM switch (check indicator LEDs).
- Confirm that your monitor resolution and refresh rate are supported by the KVM switch (up to 4K@60Hz for HDMI).
- Try power cycling the KVM switch and then the connected computers and monitors.
- Keyboard or Mouse Not Working:
- Ensure the keyboard and mouse are plugged into the dedicated keyboard and mouse ports on the front panel. For wireless sets, try plugging the unifying dongle into one of the USB 3.0 HUB ports if issues persist with the dedicated ports.
- If using special keyboards or mice, try disabling the hotkey function via the 'Hot Key ON/OFF' switch.
- Power cycle the KVM switch.
- Awọn ọrọ ohun:
- Ensure HDMI audio is set as the default output device in your computer's sound settings.
- Check the connection of your speakers or headphones to the KVM's audio output jack.
- Windows Rearranging/Resizing After Switching:
This behavior can occur with some KVM switches as the monitors are virtually disconnected and reconnected during the switch. This is often a characteristic of the operating system's display management rather than a KVM fault. Some operating systems or third-party utilities may offer solutions to manage window positions.
- KVM Needs Frequent Power Cycling:
If peripherals stop responding or the switch becomes unresponsive, power cycling the KVM (turning it off and on) can often resolve the issue. Ensure stable power supply to the unit.
Awọn pato
| Ẹya ara ẹrọ | Apejuwe |
|---|---|
| Nọmba awoṣe | CKL-922HV |
| Brand | CKL |
| Asopọmọra Iru | HDMI, USB, VGA (input support) |
| Ipo Isẹ | Push Button, Keyboard Hotkeys, Mouse Clicks, Wired Remote |
| Ipinnu HDMI ti o pọju | 3840x2160@60Hz (16:9), 4096x2160@60Hz (4:3) |
| Max VGA Resolution | 2048x1536@450MHz |
| Standard USB | USB 3.0 (up to 5Gbps data transfer rate) |
| Agbara Input | DC 5V |
| Awọn iwọn (L x W x H) | 5.12 x 2.95 x 1.65 inches |
| Ibamu | Windows, Linux, Mac, and more |
| Ohun elo | Irin |
Atilẹyin ọja ati Support
CKL products are designed for reliability and performance. For specific warranty details, please refer to the warranty card included with your product or visit the official CKL website. For technical support, troubleshooting assistance, or to explore other CKL products, please visit the CKL Store on Amazon.
A downloadable PDF version of this user manual is also available: Ilana olumulo (PDF).