ProForm 325 CSX
ProForm 325 CSX Exercise Bike User Manual
Model: 325 CSX
Ọrọ Iṣaaju
This manual provides essential information for the safe and effective use, assembly, operation, and maintenance of your ProForm 325 CSX Exercise Bike. Please read this manual thoroughly before using the equipment and retain it for future reference.

Image: The ProForm 325 CSX Exercise Bike, showcasing its full design including the console, seat, and pedals.
Eto ati Apejọ
Before assembly, ensure all parts are present and undamaged. Assembly typically requires two people. Refer to the included assembly guide for detailed, step-by-step instructions and diagrams.
Ṣiṣii ati Gbe:
- Ni ifarabalẹ yọ gbogbo awọn paati kuro ninu apoti.
- Place the exercise bike on a level surface with adequate clearance around it for safe operation and maintenance.
- Ensure the area is free from obstructions and has proper ventilation.
Initial Assembly Steps:
- So awọn ohun idaduro iwaju ati ẹhin mọ fireemu akọkọ.
- Secure the seat post and seat assembly.
- Install the console mast and handlebars.
- Attach the pedals, ensuring they are tightened securely (left pedal is reverse-threaded).
- Connect any necessary wiring for the console.
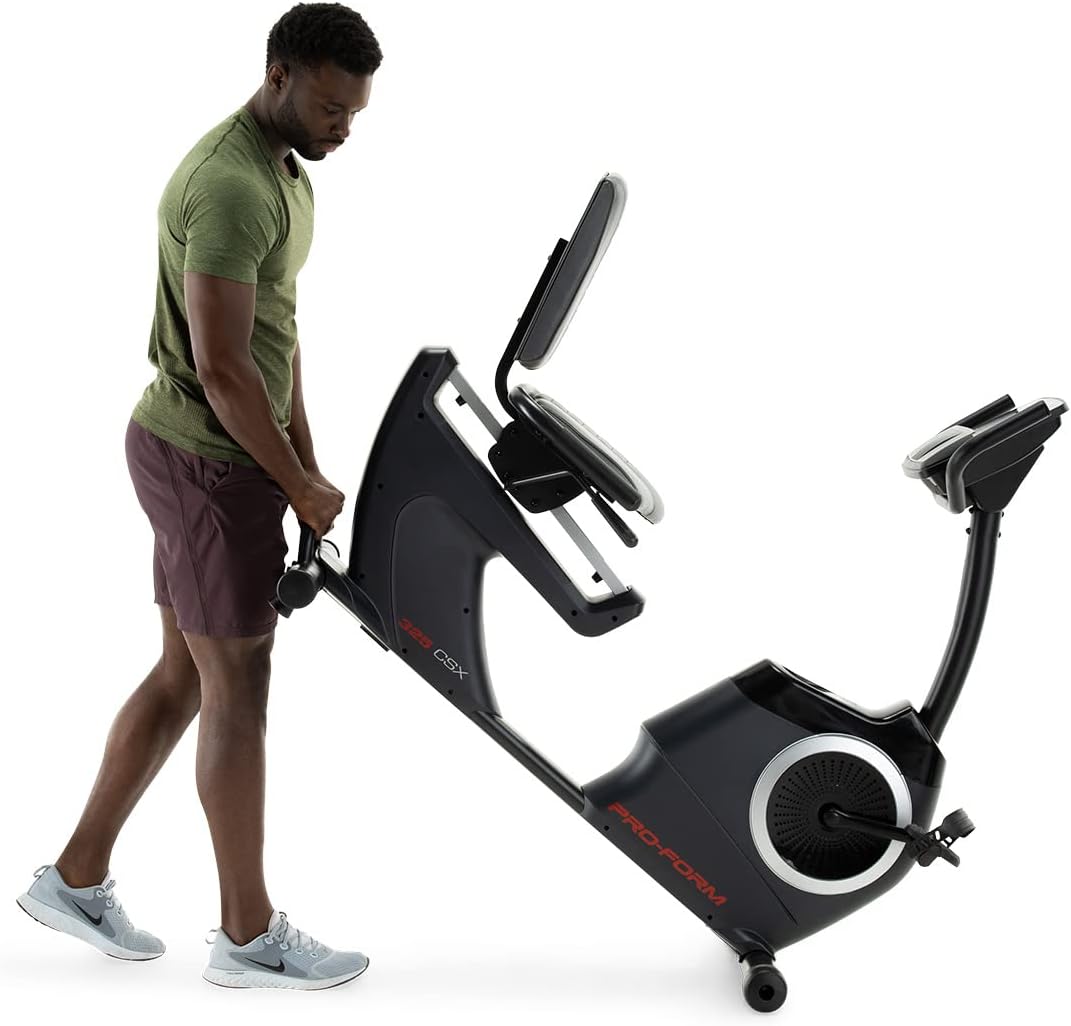
Image: Moving the exercise bike. The bike features transport wheels for easier relocation after assembly.
Awọn ilana Iṣiṣẹ
Ṣatunṣe ijoko naa:
The cushioned seat is adjustable to accommodate various user heights. To adjust, locate the adjustment lever beneath the seat. Pull the lever, slide the seat to the desired position, and release the lever to lock it in place. Ensure the seat is securely locked before use.

Image: A user demonstrating the correct riding position on the ProForm 325 CSX Exercise Bike, highlighting the adjustable seat.
Console Features and iFIT Connectivity:
The 5-inch high-contrast display provides real-time workout statistics. The bike features 22 digital resistance levels, allowing for precise intensity control. The console also supports iFIT connectivity for interactive workouts.
- Agbara Tan: Press any button on the console or begin pedaling to activate the display.
- Iṣatunṣe Resistance: Use the '+' and '-' buttons on the console to increase or decrease resistance. Quick resistance buttons (2, 4, 6, etc.) are also available.
- Awọn eto adaṣe: Select from 24 built-in workout programs. Refer to the console manual for navigation.
- iFIT Connection: Connect your own device (tablet/smartphone) via Bluetooth to access iFIT's global outdoor workouts and hands-free intensity adjustments. A 30-day iFIT membership is typically included with purchase.

Aworan: Alaye view of the console, showing the digital display, resistance controls, and integrated fan.

Image: A user engaging with the iFIT application on a tablet, demonstrating the bike's connectivity features.

Image: An illustration of the iFIT connection, highlighting how a personal device can enhance the workout experience.
Itoju
Itọju deedee n ṣe idaniloju pe gigun ati iṣẹ ṣiṣe to dara julọ ti keke adaṣe rẹ.
- Ninu: Pa kẹkẹ kuro lẹhin lilo kọọkan pẹlu ipolowoamp aṣọ láti mú òógùn àti eruku kúrò. Yẹra fún àwọn ohun ìfọmọ́ tí a fi ń pa ara.
- Awọn ayewo: Periodically check all bolts and nuts for tightness. Retighten as necessary.
- Awọn atẹsẹ: Ensure pedals are securely attached and spin freely.
- Lubrication: The internal magnetic resistance system and belt drive are generally maintenance-free and do not require lubrication.
Laasigbotitusita
| Isoro | Owun to le Fa | Ojutu |
|---|---|---|
| Konsoolu ko ṣe afihan data. | Loose wire connection; batteries low/dead (if applicable). | Check all console wire connections. Replace console batteries if battery-powered. |
| Resistance not changing. | Loose connection to resistance motor; console malfunction. | Ensure all connections are secure. If using iFIT, ensure the app is properly connected and controlling the bike. |
| Ariwo dani nigbati isẹ. | Loose hardware; component friction. | Inspect all bolts and nuts and tighten any loose ones. Ensure no parts are rubbing. |
| Pedals feel loose or wobbly. | Pedals not tightened sufficiently. | Retighten pedals. Remember the left pedal is reverse-threaded. |
Awọn pato
| Ẹya ara ẹrọ | Ẹ̀kúnrẹ́rẹ́ |
|---|---|
| Orukọ awoṣe | 325 CSX |
| Brand | ProForm |
| Àwọ̀ | Dudu |
| Resistance Mechanism | Oofa |
| Nọmba awọn ipele Resistance | 22 Digital Awọn ipele |
| wakọ System | Igbanu |
| O pọju User iwuwo | 300 Poun (iwọn 136 kg) |
| Iwọn Nkan | 50.8 kilogira (isunmọ 112 lbs) |
| Ohun elo | Alloy Irin |
| Orisun agbara | Pedal-powered (non-electric for main operation, console may use batteries) |
| Iṣeduro Lilo | Ninu ile |
| Ifihan console | 5-inch High-Contrast Display |
| Asopọmọra | iFIT (Bluetooth compatible) |
| UPC | 043619106961 |
| Olupese | iFIT Health & Fitness |
Atilẹyin ọja ati Support
ProForm products are manufactured with high-quality materials and craftsmanship. For specific warranty details, please refer to the warranty card included with your product or visit the official ProForm website. Warranty coverage typically includes the frame, parts, and labor for a specified period from the date of purchase.
For technical assistance, replacement parts, or customer service inquiries, please contact ProForm customer support. Have your model number (325 CSX) and serial number ready when contacting support.
You may also find helpful resources and FAQs on the Ile itaja ProForm lori Amazon tabi olupese ká osise webojula.
Ask a question about this manual
Ask about setup, troubleshooting, compatibility, parts, safety, or missing instructions. Manuals+ will review the question and use this page’s manual context to help answer it.