1. Ifihan
The ACT AC7049 Dual Monitor Docking Station transforms your laptop into a complete workstation. This versatile 11-in-1 docking station allows you to connect up to two Full HD displays (max. 2048 x 1152 resolution) to your laptop via HDMI, using a single USB-C/A cable. It expands your laptop's connectivity with a Gigabit LAN port, microphone and headphone jacks, and six additional USB ports. Featuring DisplayLink® technology, it ensures advanced screen display on both MacOS and Windows computers.
2. Key Awọn ẹya ara ẹrọ
- Atilẹyin Atẹle Meji: Connect up to two external displays with HDMI ports, supporting resolutions up to 2048x1152@60Hz.
- Ibamu Agbaye: Works with laptops featuring a USB-C or USB-A 3.2 Gen1 (USB 3.0) port, compatible with MacOS and Windows thanks to DisplayLink technology.
- Asopọmọra gbooro: Includes 2x HDMI, 1x Gigabit Ethernet, 3x USB-A 3.2 Gen 1 (one with fast charging), 4x USB-A 2.0, and 3.5mm audio jacks for microphone and headphones.
- Gbigbe Rọ: Designed for both vertical and horizontal placement to optimize desk space and port accessibility.
- Ibudo Gbigba agbara USB: Dedicated USB port for charging smartphones and tablets.
3. Package Awọn akoonu
Jọwọ ṣayẹwo package fun awọn nkan wọnyi:
- ACT AC7049 Docking Station
- USB-C/A 3.2 Gen1 Connection Cable (USB-A to USB-C)
- Adapter agbara
- Inaro Iduro
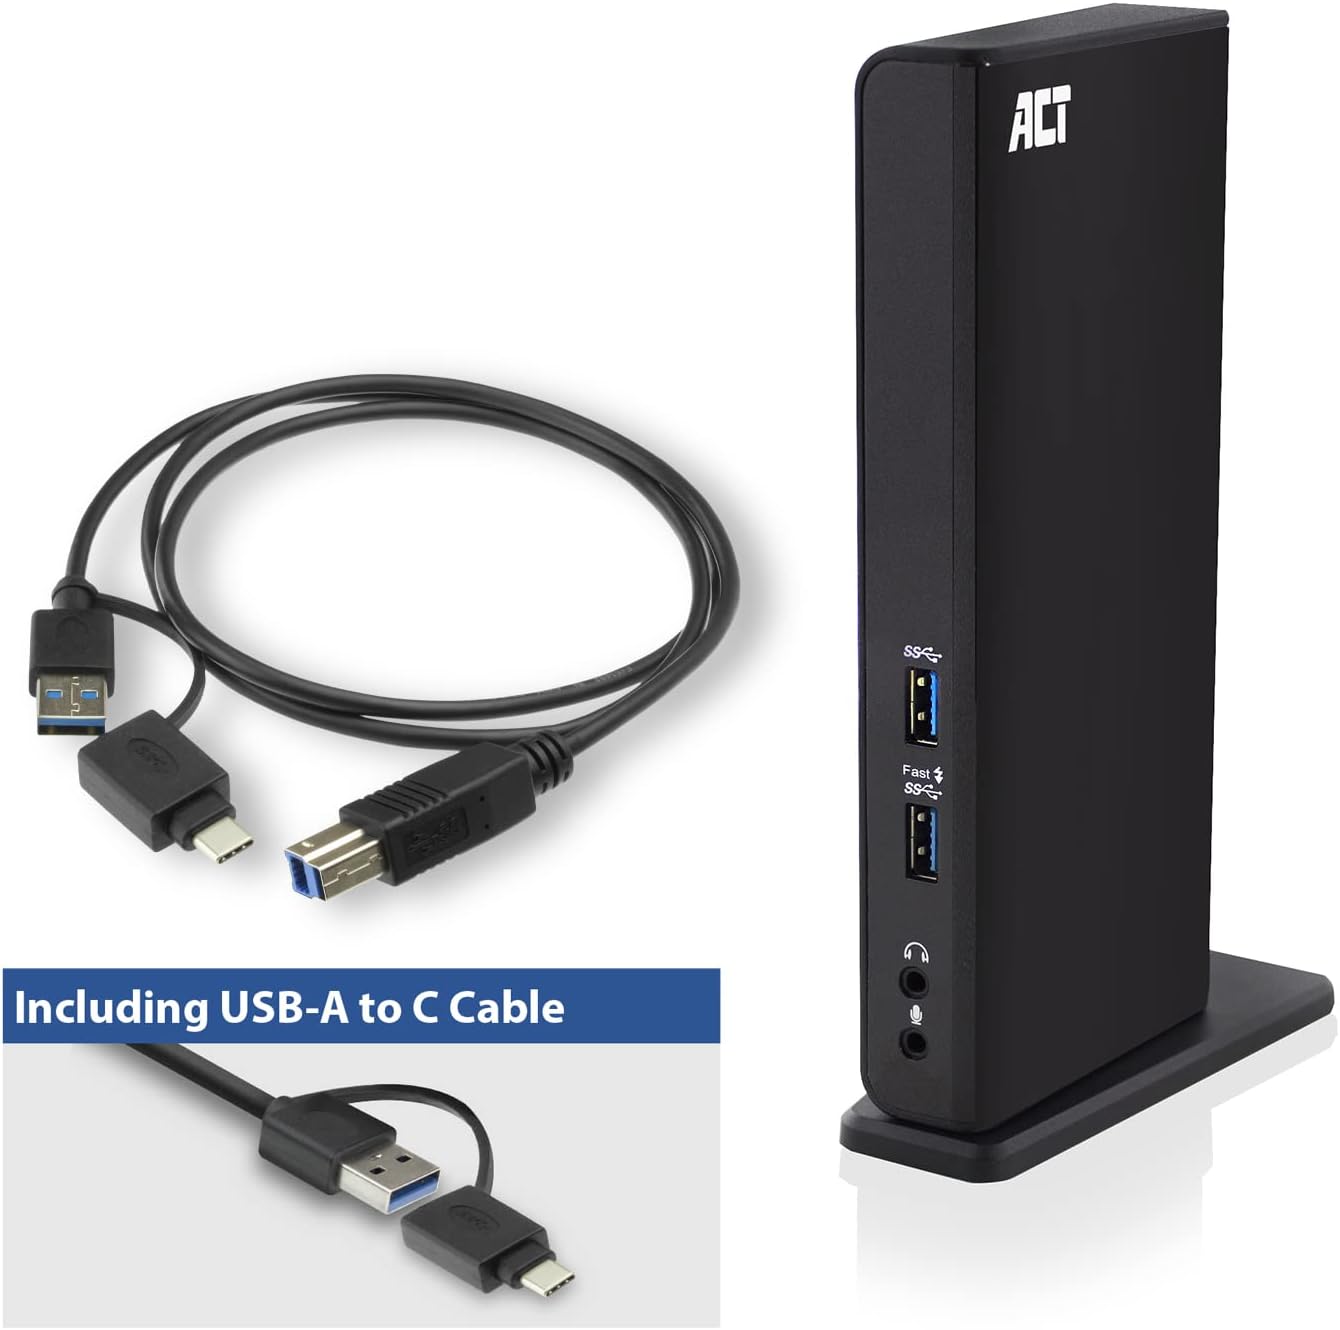
Image: The ACT AC7049 Docking Station shown with its included USB-A to USB-C connection cable and power adapter, highlighting the components provided in the package.
4. Eto Itọsọna
4.1. Nsopọ agbara Adapter
- Connect the power adapter to the DC 5V input port on the back of the AC7049 docking station.
- Plug the power adapter into a wall outlet. The docking station will power on.
4.2. Sísopọ̀ mọ́ Kọǹpútà alágbèéká rẹ
- Use the provided USB-C/A 3.2 Gen1 connection cable. Connect the USB-B end to the corresponding port on the docking station.
- Connect the other end (USB-A or USB-C, depending on your laptop's port) to an available USB 3.2 Gen1 (USB 3.0) or USB-C port on your laptop.
4.3. Driver Installation (DisplayLink)
The AC7049 utilizes DisplayLink technology for extended monitor functionality. Drivers are typically installed automatically on most operating systems. If not, please follow these steps:
- Ṣabẹwo si DisplayLink osise webAaye (www.displaylink.com/downloads) to download the latest drivers for your operating system (Windows or MacOS).
- Install the downloaded driver package and follow the on-screen instructions.
- Tun kọmputa rẹ bẹrẹ ti o ba ṣetan.

Image: The official DisplayLink 'Plug and Display' logo, indicating the technology used for multi-monitor support.
5. Awọn ilana Iṣiṣẹ
5.1. Connecting External Displays
- Connect your HDMI monitors to the two HDMI ports on the back of the docking station.
- Once connected, your operating system should detect the new displays. You can configure display settings (extend, mirror, primary display) through your computer's display settings.

Image: A visual representation of the docking station enabling both 'Mirror your content' and 'Extend your content' display modes across a laptop and two external monitors.
5.2. Nsopọ USB Peripherals
- Awọn ibudo USB iwaju: Two USB-A 3.2 Gen1 ports (one with fast charging capability) are located on the front for easy access to frequently used devices like USB drives, smartphones, or tablets.
- Rear USB Ports: Four USB-A 2.0 ports are located on the back for connecting peripherals such as keyboards, mice, printers, or other less frequently connected devices.
5.3. Asopọ nẹtiwọki
Connect an Ethernet cable from your router or network switch to the Gigabit Ethernet port on the docking station. Your laptop will automatically gain wired network access.
5.4. Awọn isopọ Audio
Connect your headphones and/or microphone to the dedicated 3.5mm audio jacks on the front of the docking station.

Image: An isometric diagram showcasing the comprehensive connectivity of the ACT AC7049, demonstrating how a laptop, two monitors, a keyboard, mouse, network cable, headphones, and a smartphone can all be connected simultaneously.
6. Placement Aw
The ACT AC7049 docking station offers flexible placement options to suit your workspace:
- Ibi inaro: Use the included stand to position the docking station vertically. This saves desk space and provides easy access to all ports.
- Ibi Iduro: The docking station can also be placed horizontally if preferred.

Image: The ACT AC7049 Docking Station positioned vertically on its stand, highlighting its compact design and accessible ports.
7. Itọju
To ensure optimal performance and longevity of your ACT AC7049 Docking Station, follow these maintenance guidelines:
- Ninu: Lo aṣọ rírọrùn tí ó gbẹ láti nu ìta ibùdó ìdúró ọkọ̀. Yẹra fún lílo àwọn ohun ìfọṣọ omi tàbí àwọn aerosol, nítorí wọ́n lè ba ẹ̀rọ náà jẹ́.
- Afẹfẹ: Rí i dájú pé ibùdó ìdúró ọkọ̀ náà wà ní ibi tí afẹ́fẹ́ ti ń fẹ́ kí ó má baà pọ̀ jù. Má ṣe dí àwọn ihò afẹ́fẹ́ kankan.
- Ibi ipamọ: Nigbati o ko ba wa ni lilo fun awọn akoko ti o gbooro sii, tọju ibudo docking ni itura, aye gbigbẹ kuro lati orun taara ati awọn iwọn otutu to gaju.
- Iṣakoso USB: Jeki awọn kebulu ṣeto ati ni ominira lati awọn kinks tabi atunse pupọ lati ṣe idiwọ ibajẹ si awọn kebulu ati awọn ebute oko oju omi.
8. Laasigbotitusita
If you encounter issues with your ACT AC7049 Docking Station, please refer to the following common troubleshooting steps:
- Ko si Abajade Ifihan:
- Ensure the docking station is powered on and correctly connected to your laptop.
- Rí i dájú pé àwọn okùn HDMI so pọ̀ mọ́ ibùdó ìdókòwò àti àwọn monitor láìléwu.
- Ṣàyẹ̀wò àwọn ètò ìfihàn kọ̀ǹpútà alágbèéká rẹ láti rí i dájú pé a rí àwọn monitor ìta àti pé a ṣe àtúnṣe rẹ̀ dáadáa (fún àpẹẹrẹ, a fẹ̀ sí i tàbí a fi àwòrán hàn).
- Reinstall or update the DisplayLink drivers from www.displaylink.com/downloads.
- Gbiyanju lati so iboju kan pọ ni akoko kan lati yan iṣoro naa.
- Awọn ẹrọ USB Ko Ṣiṣẹ:
- Ensure the docking station is properly connected to your laptop and powered.
- Try connecting the USB device directly to your laptop to confirm it is functional.
- Connect the USB device to a different USB port on the docking station.
- Tun kọǹpútà alágbèéká rẹ bẹrẹ.
- Ko si Isopọ Nẹtiwọọki:
- Verify the Ethernet cable is securely connected to both the docking station and your router/switch.
- Check your laptop's network settings to ensure the wired connection is enabled.
- Test the Ethernet cable with another device if possible.
- Audio Ko Ṣiṣẹ:
- Ensure headphones/microphone are fully plugged into the correct 3.5mm jacks.
- Check your laptop's sound settings to ensure the docking station's audio output/input is selected as the default device.
9. Awọn pato
| Ẹya ara ẹrọ | Sipesifikesonu |
|---|---|
| Nọmba awoṣe | AC7049 |
| Brand | ÌṢẸ |
| Àwọ̀ | Dudu |
| Asopọmọra Technology | USB-A, USB-C |
| Ijade fidio | 2 x HDMI (Max. 2048 x 1152 @ 60Hz) |
| Awọn ibudo USB | 3 x USB-A 3.2 Gen 1 (5Gbps, 1x Fast Charging), 4 x USB-A 2.0 (480Mbps) |
| Ibudo Nẹtiwọọki | 1 x Gigabit Ethernet (RJ45) |
| Awọn ibudo ohun | 1 x 3.5mm Headphone Jack, 1 x 3.5mm Microphone Jack |
| Awọn ẹrọ ibaramu | Laptop, Computer (with USB 3.2 Gen1 / USB 3.0 or USB-C port) |
| Awọn ọna System Support | Windows, MacOS (via DisplayLink) |
| Awọn iwọn (L x W x H) | 10.9 x 6 x 18.1 cm (isunmọ.) |
| Iwọn Nkan | 317 giramu |
10. Atilẹyin ọja ati Support
ACT products are designed for reliability and adhere to international standards and EU legislation. The ACT AC7049 Docking Station comes with a manufacturer's warranty, typically ranging from 2 to 5 years. For specific warranty details and support, please refer to the official ACT webojula tabi kan si alagbata rẹ.
For technical support or further inquiries, please visit the official ACT connectivity webojula: www.act-connectivity.com