
1. Ifihan
This manual provides detailed instructions for the setup, operation, and maintenance of your Odokee Digital Dual Alarm Clock, Model UE218-Wood-1. Please read this manual thoroughly before using the product to ensure proper function and longevity.

Figure 1: Odokee Digital Dual Alarm Clock (Model UE218-Wood-1)
2. Awọn ẹya Ọja
- Easy Setup & Dimmable Display: Intuitive controls with clearly labeled buttons. Large 1.6-inch white LED digits with 0-100% adjustable brightness via a dimmer dial.
- Customizable Dual Alarms: Set two independent alarms with 7-5-2 alarm modes (every day, weekdays, or weekends).
- 5 Alarm Sounds: Choose from Beep, Birds Chirping, Buzzer, Soft Music, or Siren. Alarm volume is adjustable from 30dB to 110dB.
- Easy Snooze: A large, accessible snooze button provides an additional 9 minutes of rest.
- Ibudo Gbigba agbara USB: Integrated USB port for charging mobile devices.
- Batiri Afẹyinti: Requires 3 AAA batteries (not included) to maintain time and alarm settings during power outages.
- Ifihan akoko: Supports both 12-hour and 24-hour time formats.
3. Eto
3.1 Asopọ agbara
- Connect the provided AC adapter to the DC 5V input port on the back of the alarm clock.
- So ohun tí a fi ń gbé AC sí inú ibi tí a lè rí ní ògiri. Ìfihàn náà yóò tàn yanranyanran.

Figure 2: Powering the Alarm Clock
3.2 Batiri Afẹyinti fifi sori
For battery backup functionality, install 3 AAA batteries (not included) into the battery compartment located on the bottom of the clock. This ensures time and alarm settings are retained during a power outage. Note that the display will not remain continuously lit and the USB charging port will not function when operating solely on battery backup.
4. Awọn ilana Iṣiṣẹ

Figure 3: Rear Controls Overview
4.1 Ṣiṣeto Aago naa
- Tẹ mọlẹ Akoko SET bọ́tìnì tó wà lẹ́yìn aago náà. Àwọn nọ́mbà wákàtí náà yóò bẹ̀rẹ̀ sí í tàn yanranyanran.
- Lo awọn WAKATI ati MIN buttons on the top of the clock to adjust the hour and minute respectively.
- Tẹ Akoko SET lẹẹkansi lati jẹrisi akoko.
- To set the day of the week, press the OJO OSE button repeatedly until the correct day is displayed.
4.2 12/24 Wakati kika
Tẹ awọn 12/24HR button on the back of the clock to switch between 12-hour (with AM/PM indicator) and 24-hour time formats.

Figure 4: 12-Hour vs. 24-Hour Display
4.3 Ṣíṣeto Awọn Itaniji (Alarm 1 & Itaniji 2)
The clock features two independent alarms. The setup process is identical for both.
- Tẹ mọlẹ Itaniji 1 SET or Itaniji 2 SET Bọ́tìnì náà. Àwọn nọ́mbà wákàtí ìkìlọ̀ náà yóò máa tàn yanranyanran.
- Lo awọn WAKATI ati MIN awọn bọtini lati ṣeto akoko itaniji ti o fẹ.
- Tẹ awọn ti o baamu ALAGBARA SET bọtini lẹẹkansi lati jẹrisi akoko naa.
- Next, the alarm mode will flash. Use the ALARM OHUN button to cycle through the 7-5-2 alarm modes:
- SAT-SUN: Weekend alarm (Saturday and Sunday only).
- Ọjọ́ Ajé sí Ọjọ́ Ẹtì: Weekday alarm (Monday to Friday only).
- MON-SUN: All 7 days alarm.
- Tẹ awọn ti o baamu ALAGBARA SET button again to confirm the alarm mode.
- To activate or deactivate an alarm, press the TAN/PA button located on the front side of the clock corresponding to Alarm 1 or Alarm 2. An alarm icon (1 or 2) will appear on the display when active.

Figure 5: Dual Alarms with 7-5-2 Modes

Figure 6: Alarm 1 and Alarm 2 Indicators
4.4 Selecting Alarm Sounds
After setting the alarm time and mode, you can select one of five alarm sounds:
- During alarm setting, after confirming the alarm mode, the current alarm sound will flash.
- Tẹ awọn ALARM OHUN button repeatedly to cycle through the available sounds: Beep, Birds Chirping, Buzzer, Soft Music, or Siren.
- Tẹ awọn ti o baamu ALAGBARA SET bọtini lati jẹrisi aṣayan rẹ.

Figure 7: Selectable Alarm Sounds
4.5 Ṣíṣe àtúnṣe iwọn didun itaniji
The alarm volume can be adjusted from 30dB (low) to 110dB (high) using the Iwọn didun dial located on the left side of the clock.
4.6 Iṣiṣẹ Snooze
Tí ìró ìró bá dún, tẹ ìró ńlá náà ṢEGBE button on the top of the clock to temporarily silence the alarm for 9 minutes. The alarm will sound again after 9 minutes.
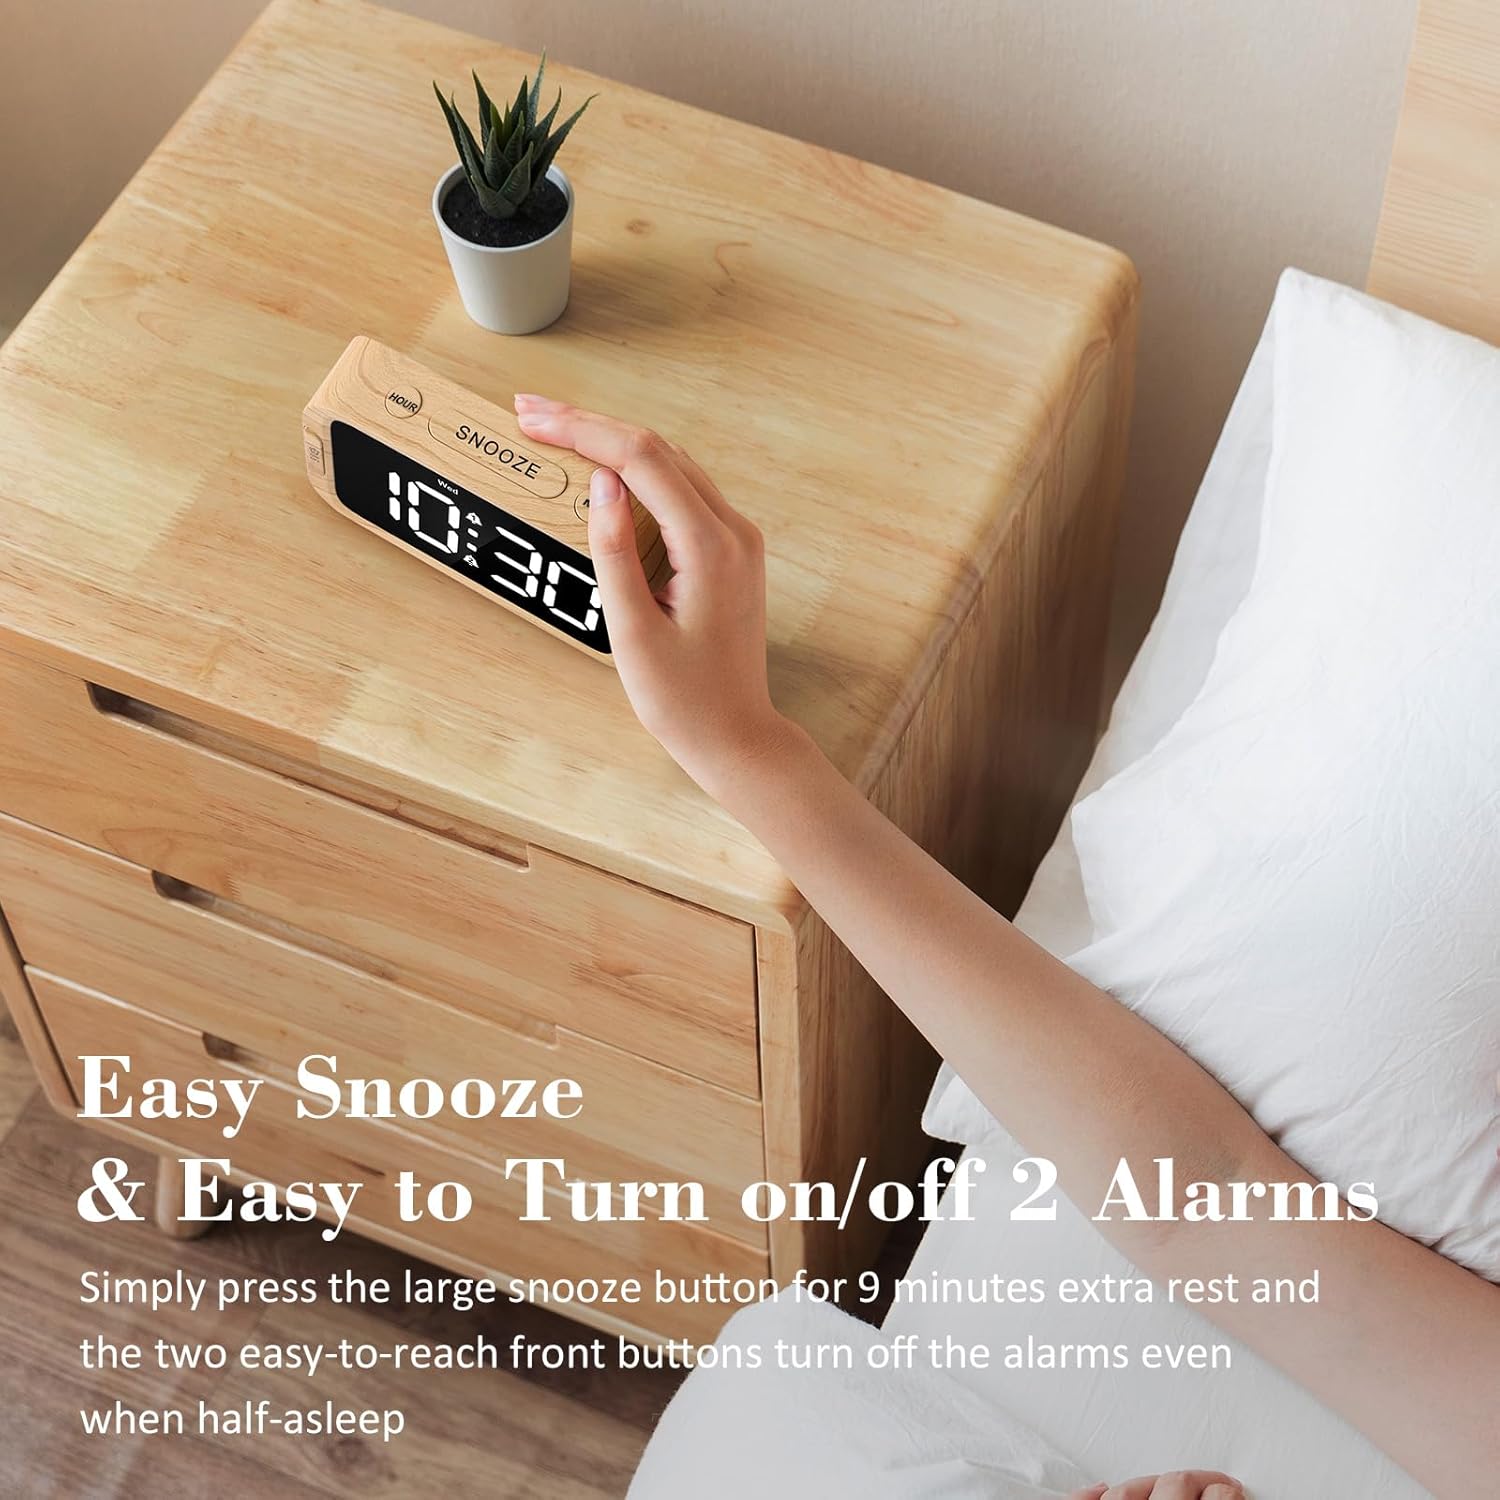
Figure 8: Using the Snooze Function
4.7 Adjusting Display Brightness (Dimmer)
The display brightness can be adjusted from 0% (fully dark) to 100% (very bright) using the DIMMER dial located on the right side of the clock.

Figure 9: Display Brightness Adjustment
4.8 Okun gbigba agbara USB
A USB charging port is located on the back of the clock. Connect your mobile device's USB cable to this port to charge it. This port is active only when the clock is powered by the AC adapter.

Àwòrán 10: Ibùdó Ìgbàgbára USB ti ń lò
5. Battery Backup Functionality
The battery backup feature requires 3 AAA batteries (not included). When AC power is interrupted, the batteries will preserve the time and alarm settings. The display will turn off to conserve battery power, but the internal clock will continue to run, and alarms will still activate at the set time. The USB charging port will not function during battery backup mode. It is recommended to use the battery backup only for power outage situations, as continuous use on batteries will drain them quickly.
6. Laasigbotitusita
| Isoro | Owun to le Fa | Ojutu |
|---|---|---|
| Ifihan ti ṣofo tabi ko tan ina. | Ko si agbara, agbaratage, or dimmer set to 0%. | Ensure AC adapter is securely plugged in. Check power outlet. Adjust the DIMMER dial. If on battery backup, press any button to briefly illuminate the display. |
| Itaniji ko dun. | Alarm not activated, volume too low, or incorrect alarm mode. | Ensure the alarm is activated (alarm icon visible). Adjust the VOLUME dial. Verify the alarm mode (7-5-2) is set correctly for the current day. |
| Akoko ko tọ. | Time not set correctly, or power interruption without battery backup. | Re-set the time using the TIME SET button. Install fresh AAA batteries for backup. |
| Gbigba agbara USB ko ṣiṣẹ. | Clock is on battery backup, or cable/device issue. | Ensure the clock is connected to AC power. Try a different USB cable or device to rule out external issues. |
7. Awọn pato
- Brand: Odokee
- Nọmba awoṣe: UE218-Wood-1
- Iru ifihan: Digital LED (White)
- Iwọn Ifihan: 1.6 inches (digit height)
- Awọn iwọn ọja: 5.3"W x 2.9"H x 1.95"D (approximate, based on image a7e9cdcf-2bbb-4f2d-b58e-081cedcaeaaa)
- Orisun Agbara: Corded Electric (AC adapter included), 3x AAA batteries for backup (not included)
- Awọn ohun itaniji: 5 selectable (Beep, Birds Chirping, Buzzer, Soft Music, Siren)
- Iwọn Itaniji: Adjustable (30dB-110dB)
- Ṣe afihan Imọlẹ: 0-100% adjustable dimmer
- Iye akoko didun lẹẹkọọkan: 9 iṣẹju
- Ilana akoko: 12/24 wakati yan
- Ohun elo: Ṣíṣípààkì (Acrylonitrile Butadiene Styrene)
- Ìwọ̀n Nkan: 6.3 iwon (178.6 Giramu)

olusin 11: Awọn iwọn Ọja
8. Atilẹyin ọja ati Support
Odokee products come with a hassle-free 18-month warranty. For any questions, issues, or warranty claims, please contact Odokee customer service. Odokee is dedicated to providing functional and stylish products and values customer feedback.
You can visit the official Odokee store for more information: Odokee Store on Amazon.