
1. Ifihan
Thank you for choosing the VGR V909 Hair Trimmer. This manual provides essential information for the safe and effective use, maintenance, and troubleshooting of your device. Please read it thoroughly before first use and keep it for future reference.
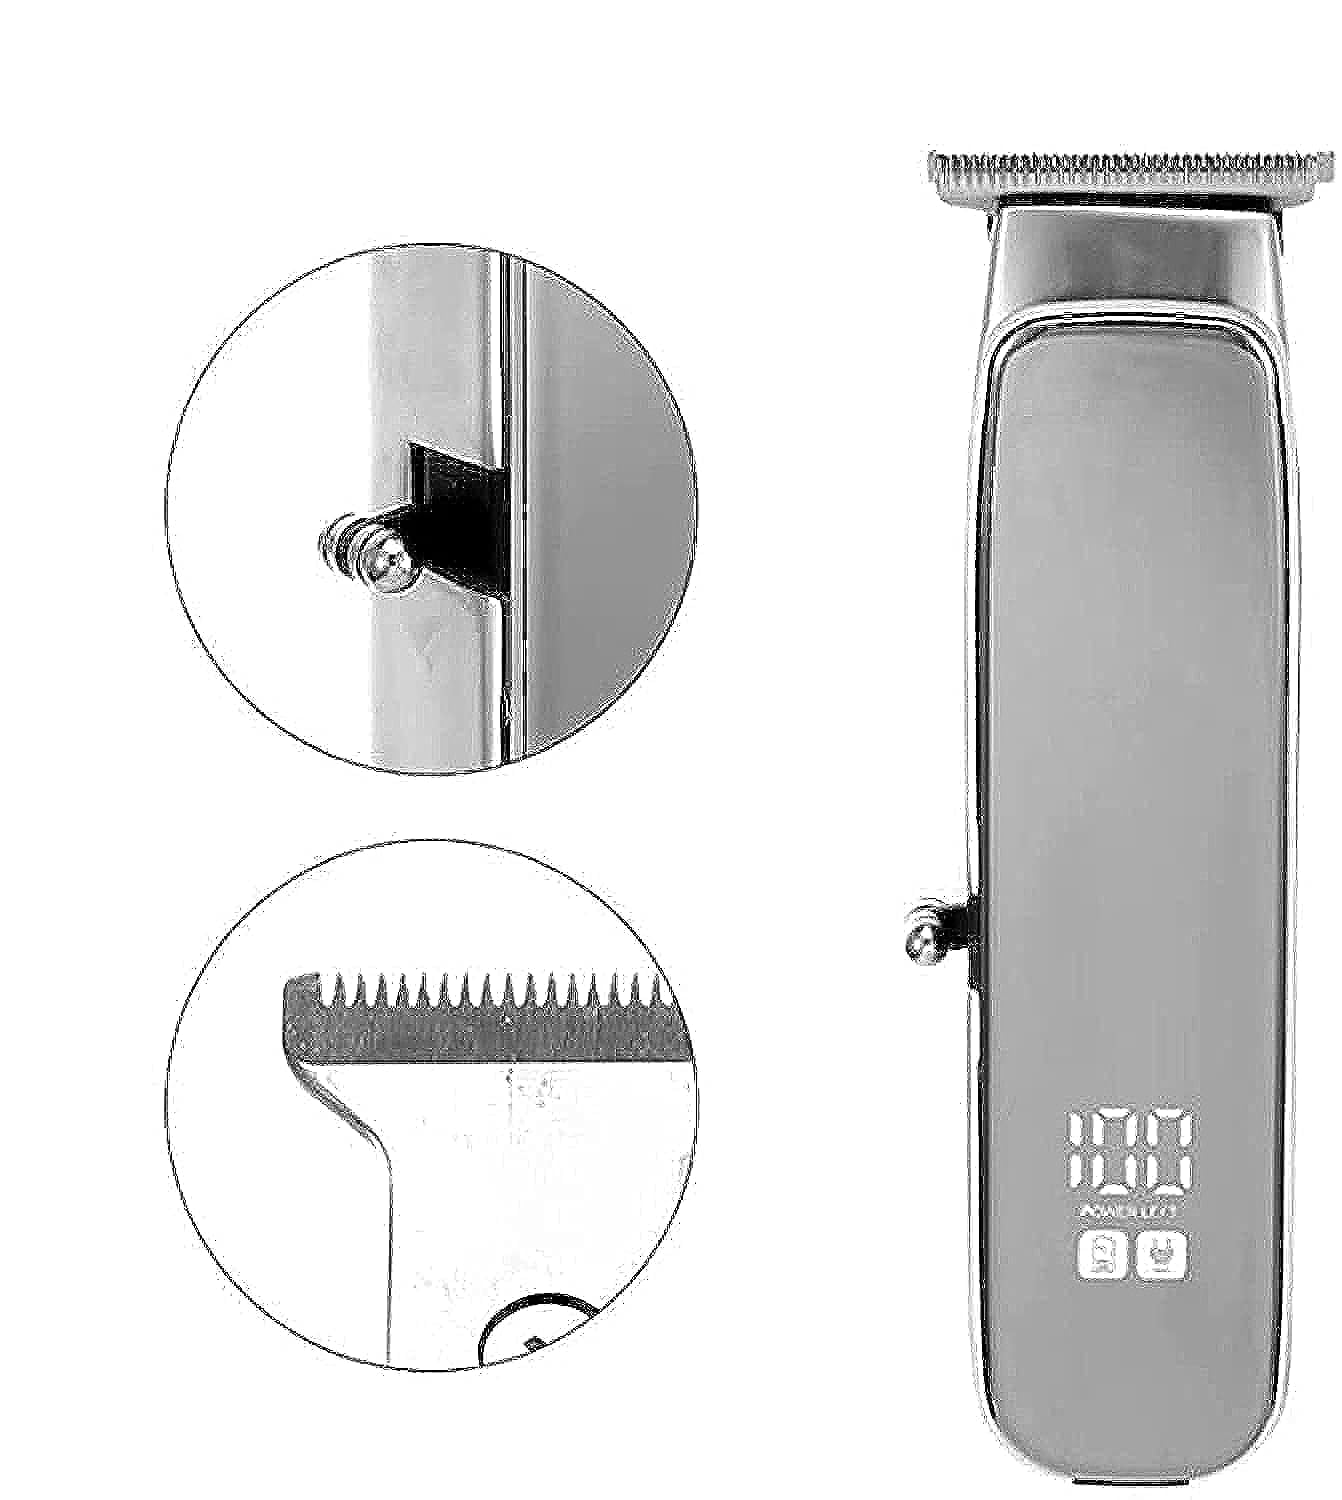
Image 1.1: The VGR V909 Hair Trimmer and its included accessories, showcasing the main unit, guide combs, and charging cable.
2. Awọn ilana aabo
To reduce the risk of electric shock, injury, or fire, always follow these basic safety precautions:
- Keep blades away from eyes and skin during operation.
- Do not use this appliance on infants.
- Keep the trimmer away from water sources. Do not use it near bathtubs, showers, basins, tabi awọn ohun elo miiran ti o ni omi.
- Always unplug the trimmer before cleaning or performing any maintenance.
- Use the trimmer with the cord only in a dry environment.
- Ohun elo yii jẹ ipinnu fun lilo ile nikan.
- Do not attempt to repair or disassemble the trimmer yourself. Contact qualified service personnel.
- Rii daju gbigba agbara voltage matches the specifications of your power outlet.
3. Package Awọn akoonu
Jẹrisi pe gbogbo awọn ohun kan wa ninu package:
- VGR V909 Hair Trimmer Unit
- Guide Combs (2 pieces)
- Fifọ Fẹlẹ
- Blade Oil Bottle
- Okun Ngba agbara USB
- Ilana itọnisọna
4. Ọja Ipariview
Familiarize yourself with the main components of your VGR V909 Hair Trimmer:
- Orí Abẹ́: Precision stainless steel blade with a titanium fixed blade for sharp and durable cutting.
- Bọtini agbara: Used to turn the trimmer ON/OFF.
- Atọka gbigba agbara: Light that indicates charging status.
- Ibudo gbigba agbara: Fun sisopọ okun gbigba agbara USB.
- Combs Itọsọna: Attachments for adjusting trimming length.
5. Eto ati gbigba agbara
5.1 Ni ibẹrẹ idiyele
Before using your trimmer for the first time, ensure it is fully charged.
- So okun gbigba agbara USB pọ si ibudo gbigba agbara trimmer.
- So opin keji okun USB sinu adapter agbara USB ti o baamu (ko si ninu rẹ) tabi ibudo USB lori kọmputa kan.
- Ìmọ́lẹ̀ àmì ìgbóná yóò tàn, èyí tí yóò fi hàn pé ẹ̀rọ ìgbóná náà ń gba agbára.
- Allow approximately 8 hours for a full charge. The indicator light may change or turn off once fully charged (refer to specific product behavior if different).
- A full charge provides up to 90 minutes of cordless operation.
5.2 Asomọ Itọsọna Combs
To achieve desired hair lengths, attach one of the provided guide combs:
- Ensure the trimmer is turned OFF.
- Align the guide comb with the trimmer blade head.
- Gently push the comb onto the blade head until it clicks securely into place.
- To remove, gently pull the comb away from the blade head.
6. Awọn ilana Iṣiṣẹ
6.1 Titan / Pa a
- To turn ON the trimmer, press the Power Button.
- To turn OFF the trimmer, press the Power Button again.
6.2 Gígé irun
Láti rí i dájú pé irun rẹ mọ́ tónítóní kí o tó gé e.
- So abẹ́rẹ́ ìtọ́sọ́nà tí o fẹ́ mọ́ fún gígùn irun tí o fẹ́.
- Tan trimmer.
- Hold the trimmer with the blades pointing upwards and flat against the skin.
- Gbé ẹ̀rọ ìtọ́jú náà lọ díẹ̀díẹ̀ sí ibi tí irun náà ti ń dàgbà.
- For detailing or precise lines, remove the guide comb and use the bare blade carefully.
- Lẹhin lilo, pa trimmer.
7. Itọju
Regular cleaning and oiling will ensure optimal performance and extend the life of your trimmer.
7.1 Ninu awọn Blades
- Ensure the trimmer is turned OFF and unplugged from any power source.
- Remove the guide comb.
- Use the provided cleaning brush to brush away any loose hairs from the blades and the trimmer body.
- For a more thorough clean, the blade head can often be detached (refer to specific product design for removal instructions if applicable).
- Do not rinse the entire trimmer under water unless explicitly stated as waterproof. Clean blades with a damp asọ ti o ba jẹ dandan, lẹhinna gbẹ daradara.
7.2 Oiling awọn Blades
After every few uses, or if the trimmer feels sluggish, oil the blades:
- Rí i dájú pé ẹ̀rọ ìtọ́jú náà mọ́ tónítóní, ó sì gbẹ.
- Apply 1-2 drops of the provided blade oil evenly across the top of the blades.
- Turn the trimmer ON for a few seconds to allow the oil to distribute.
- Pa epo ti o pọju kuro pẹlu asọ asọ.
7.3 Ibi ipamọ
Store the trimmer in a cool, dry place, away from direct sunlight and moisture. Keep it out of reach of children.
8. Laasigbotitusita
If you encounter issues with your VGR V909 Trimmer, refer to the following common problems and solutions:
| Isoro | Owun to le Fa | Ojutu |
|---|---|---|
| Trimmer ko ni tan. | Batiri ti dinku. | Gba agbara fun trimmer naa fun wakati mẹwa. |
| Ige iṣẹ ti ko dara tabi fifa irun. | Àwọn abẹ́ náà dọ̀tí tàbí wọn kò fi òróró pa wọ́n. | Clean and oil the blades as per maintenance instructions. |
| Trimmer duro lakoko lilo. | Batiri naa kere. | Saji trimmer. |
| Trimmer ṣe ariwo dani. | Blades may be misaligned or require oiling. | Check blade alignment and apply oil. If problem persists, contact support. |
9. Awọn pato
| Awoṣe | V-909 |
| Oṣuwọn Voltage | AC 220-240V 50-60Hz or AC 100-110V 60Hz (Optional) |
| Agbara | 3 Wattis |
| Blade elo | Stainless Steel with Titanium Fixed Blade |
| Ohun elo ara | Acrylonitrile Butadiene Styrene (ABS) |
| Orisun agbara | USB, Battery, Corded Electric |
| Akoko gbigba agbara | Awọn wakati 8 fun idiyele ni kikun |
| Akoko Iṣiṣẹ ti o pọju | Iṣẹ́jú 90 (láìsí okùn) |
| Pataki Awọn ẹya ara ẹrọ | Rechargeable, Portable |
| Awọn olugbo afojusun | Awọn ọkunrin |
| Iwọn Nkan | 500 giramu |
| Package Mefa | 20.3 x 9.8 x 6.9 cm |
10. Atilẹyin ọja ati Support
For warranty information and customer support, please refer to the warranty card included with your product or visit the official VGR webojula. Tọju iwe-ẹri rira rẹ bi ẹri rira.
If you have any questions or require assistance, please contact VGR customer service through the channels provided on their official webaaye tabi apoti ọja.