1. Ifihan
The KGUSS Topping A90 Discrete is a high-performance headphone amplifier ati ṣaajuamplifier designed for audio enthusiasts. It features fully discrete NFCA (Nested Feedback Composite Amplifier) modules, precise R2R relay volume control, and versatile output options including 6.35mm, 4.4mm balanced, and 4-Pin XLR headphone outputs. This manual provides detailed instructions for setting up, operating, and maintaining your A90 Discrete unit.
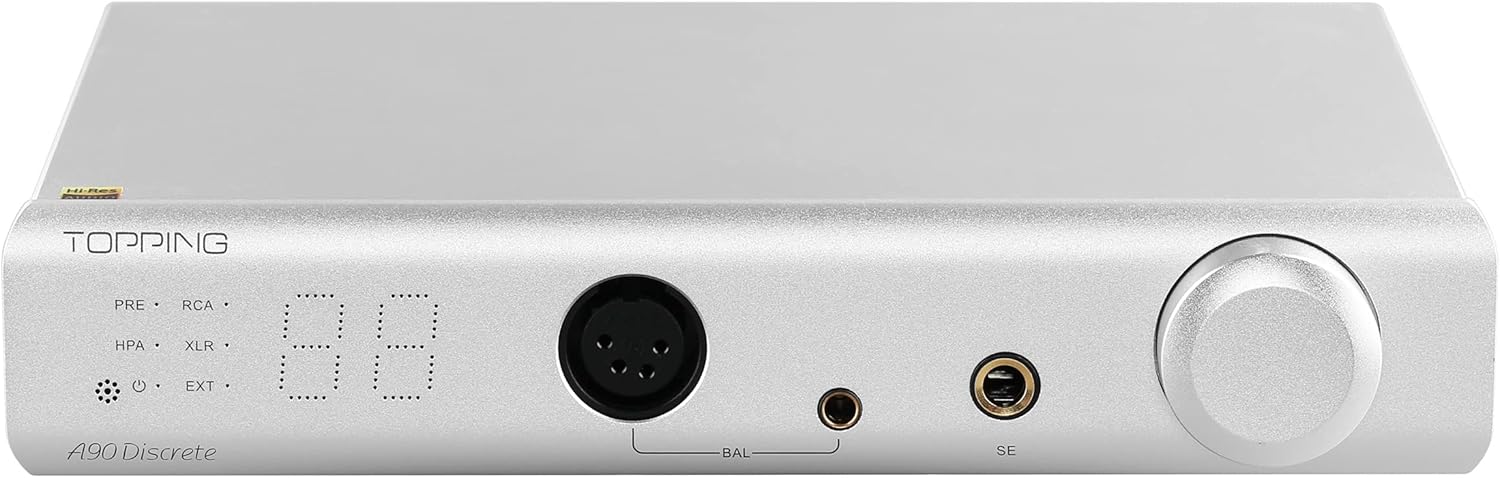
Figure 1.1: KGUSS Topping A90 Discrete Headphone Amplifier Preamplifier.
2. Ohun ti o wa ninu Apoti
Carefully unpack your A90 Discrete and ensure all components are present:
- A90 Discrete Unit
- Isakoṣo latọna jijin
- AC okun
- 6.35mm to 3.5mm ohun ti nmu badọgba
- Itọsọna olumulo

Figure 2.1: Package Contents of the A90 Discrete.
Video 2.1: Unboxing the TOPPING A90 Discrete headphone amplifier, showing all included accessories.
3. Ọja Ipariview
3.1 Igbimọ iwaju

Figure 3.1: Front Panel Layout and Controls.
- Output Channel Indicator: Displays the active output channel.
- Olugba Iṣakoso Latọna jijin: For receiving signals from the remote.
- Atọka Agbara: O fihan ipo agbara naa.
- Input Channel Indicator: Displays the active input channel.
- Iwọn didun: Digital volume display.
- 4-Pin-XLR Headphone Output Jack: Ìjáde agbekọri ti o wa ni iwọntunwọnsi.
- 4.4mm Balanced Headphone Output Jack: Ìjáde agbekọri ti o wa ni iwọntunwọnsi.
- 6.35mm Headphone Output Jack: Single-ended headphone output.
- Volume Knob/Multi-function Button: Controls volume and navigates menus.
3.2 ru Panel

Figure 3.2: Rear Panel Layout and Connections.
- Firmware Upgrade Interface: For updating device firmware.
- Extender Input Interface: For connecting external modules like Ext90.
- Iwontunwonsi XLR Input: For balanced audio input.
- Single-ended RCA Input: For single-ended audio input.
- Single-ended RCA Output: For single-ended audio output.
- Iwontunwonsi XLR Ijade: For balanced audio output.
- Ibaraẹnisọrọ okunfa: 12V trigger for synchronized power with other devices.
- Yipada Yipada Ilẹ: To eliminate ground loop noise.
- Power Input (AC 100-240V 50/60Hz): Asopọ agbara.
- Agbara Yi pada: Tan/pa a kuro.
3.3 Iṣakoso latọna jijin

Àwòrán 3.3: Àwọn Iṣẹ́ Ìṣàkóso Láàrin Ọ̀nà.
- Duro die: Agbara tan/pa.
- Iwọn didun Soke/Isalẹ: Ṣatunṣe iwọn didun.
- Switch to Previous/Next Input: Cycles through input channels.
- Output Channel Switching: Toggles between headphone amp ati ṣaajuamp awọn abajade.
- User Setting 1/2: Eto asefara.
- Agbekọri Amp Jèrè: Adjusts gain level.
- Pa ẹnu mọ́: Mu ohun jade silẹ.
- Bọtini O dara: Jẹrisi awọn aṣayan.
- Eto Imọlẹ: Ṣe atunṣe imọlẹ ifihan.
4. Eto
4.1 Asopọ agbara
- Rii daju pe iyipada agbara lori nronu ẹhin wa ni ipo PA.
- Connect the supplied AC cable to the power input on the rear panel of the A90 Discrete and then to a suitable power outlet.
4.2 Awọn isopọ Ohun
The A90 Discrete supports various input and output configurations:
- Awọn igbewọle: Balanced XLR, Single-ended RCA, Extender Input (for optional modules like Ext90).
- Awọn abajade: Balanced XLR, Single-ended RCA, 4-Pin-XLR Headphone, 4.4mm Balanced Headphone, 6.35mm Single-ended Headphone.
Connect your audio source (e.g., DAC) to the appropriate input on the A90 Discrete using high-quality cables. Connect your headphones to one of the front panel headphone output jacks or connect to a power amplifier via the rear panel RCA or XLR outputs.

Olusin 4.1: Example connection with a D90SE/D90LE DAC and Ext90.
Fidio 4.1: Pariview of the TOPPING A90 Discrete Headphone Amplifier, demonstrating various connections and features.
5. Awọn ilana Iṣiṣẹ
5.1 Agbara Tan / Pa
Flip the power switch on the rear panel to the ON position. The unit will power on. To power off, flip the switch to the OFF position.
5.2 Ìyípadà Ìṣípòpadà/Ìjáde
- Iyipada titẹ sii: Press the volume knob on the front panel to cycle through available input channels (XLR, RCA, EXT).
- Output Switching: Double-click the volume knob on the front panel to switch between headphone amplifier output (HPA), preamplifier output (PRE), or both (PRE+HPA).
5.3 Iṣakoso iwọn didun
Rotate the volume knob on the front panel to adjust the volume. The A90 Discrete uses an R2R volume control composed of relays and resistor networks for precise and matched channel balance.

Figure 5.1: R2R Relay Volume Control.
A safe volume can be set to avoid sudden loud sounds after power on or input switching.

Figure 5.2: Digital Volume Display.
5.4 Gain Settings
The A90 Discrete offers two gain options to accommodate various headphones:
- Èrè Kekere: Suitable for high-sensitivity IEMs (In-Ear Monitors).
- Ere giga: For driving full-sized over-ear headphones.
Adjust the gain using the remote control or the multi-function button on the front panel. The ultra-low noise of 0.2uVrms ensures sensitive IEMs do not suffer from noise.

Figure 5.3: Gain Settings for Balanced and Single-Ended Outputs.
5.5 .aajuamp Iṣẹ ṣiṣe
The A90 Discrete can function as a dedicated preamplifier. In preamp mode, it delivers the same high performance as the headphone amplifier mode. The 20ohm SE and 40ohm balanced output impedances are suitable for various power amplifiers. You can switch between headphone amp only, preamp only, or simultaneous output from both.

Figure 5.4: A90 Discrete in Preamp Ipo.
6. Key Awọn ẹya ara ẹrọ
6.1 Fully Discrete NFCA Modules
The A90 Discrete utilizes fully discrete components to redesign the NFCA (Nested Feedback Composite Amplifier) module. It incorporates four built-in NFCA-Discrete modules, each using 39 transistors to form a fully balanced structure. This optimized Voltage Current hybrid feedback architecture, combined with UHGF (Ultra High Gain Feedback) technology, ensures excellent DC and AC performance, resulting in unparalleled distortion and noise performance.

olusin 6.1: Ti abẹnu View of NFCA-Discrete Modules.
6.2 High Output Capability
The A90 Discrete delivers high output voltage, high current, and low output impedance, allowing it to drive a wide range of headphones effectively. High output voltage easily drives high impedance headphones, while high output current provides sufficient power for low-sensitivity headphones. The low output impedance prevents unwanted frequency response effects when driving low-impedance headphones.

Figure 6.2: Driving Various Headphones with A90 Discrete.
6.3 Ground Loop Noise Terminator
To address ground loop noise that may occur when multiple devices are connected, the A90 Discrete includes a GND/LIFT switch. Set it to GND for normal use. If ground loop noise is present, switch it to LIFT to eliminate the noise.

Figure 6.3: Ground Lift Switch.
6.4 12V Trigger Interface
The A90 Discrete is equipped with a 12V Trigger interface, which can be set to active control (Trigger out) or passive control (Trigger in). This allows for synchronized power on/off with other devices equipped with a 12V Trigger interface, simplifying system operation.

Figure 6.4: 12V Trigger Interface.
7. Laasigbotitusita
This section addresses common issues you might encounter with your A90 Discrete. For more detailed troubleshooting, refer to the video below.
Video 7.1: TOPPING A90 Discrete Troubleshooting Guide.
| Iṣẹlẹ | Ojutu |
|---|---|
| Can't be turned on |
|
| The volume too low |
|
| Ko si ohun |
|
| Sisisẹsẹhin alariwo |
|
| One channel with noise/no output |
|
| Channel imbalance |
|
| Isakoṣo latọna jijin ko dahun |
|
| Negative and positive voltage abnormal (-2/-3/-4) |
|
| Overload (-5) |
|
| Firmware related issues (-7, LARGE.TXT, ERRFW.TXT, UNKOWN.TXT, FAILED.TXT) |
|
8. Awọn pato
| Sipesifikesonu | Iye |
|---|---|
| Voltage | 240 Volts |
| O pọju Ipese Voltage | 240 Volt (AC) |
| Ipese ti o kere ju Voltage | 240 Volts |
| Iṣagbesori Iru | Oke Oke |
| Nọmba ti awọn ikanni | 4 |
| Agbara Ijade | 19600 Wattis |
| Ohun elo Iru | Silver, Metal |
| Pato sipesifikesonu | CE, Energy Star, FCC, RoHS |
| Awoṣe | A90 Discrete |
| Orukọ Brand | KGUSS |
| Iwọn Ẹka | 1.0 Iṣiro |

Figure 8.1: A90 Discrete Detailed Specifications.
9. Atilẹyin ọja ati Support
The A90 Discrete is sold by HIFI College. HIFI College offers a 30-day money-back guarantee for any reason and more than a 12-month warranty on all quality defects. They also support 30-day price matching.
For any questions or support, please contact HIFI College directly.
Contact Email: HIFICOLLEGE@gmail.com