BRUNNER 7202834N
Brunner 7202834N Induction Plate User Manual
Model: 7202834N | Brand: BRUNNER
Ọja Pariview
The Brunner 7202834N Induction Plate is a portable and efficient cooking appliance designed for versatile use, including outdoor and camping environments. It features a durable PP body and a high-strength glass ceramic cooking surface. This induction plate offers 9 power levels, ranging from 300W to 2000W, which can be precisely adjusted via a touch control switch and monitored on an LED display.

Image: The Brunner 7202834N Induction Plate, showcasing its sleek black glass ceramic surface and touch control panel. The power cord is visible at the top left.
Eto ati fifi sori
- Ṣii silẹ: Carefully remove the induction plate from its packaging. Retain all packaging materials for future storage or transport.
- Ibi: Place the induction plate on a flat, stable, and heat-resistant surface. Ensure there is adequate ventilation around the appliance. Do not place it near heat sources or on metallic surfaces that could interfere with induction.
- Asopọ agbara: Ṣaaju ki o to ṣafọ sinu, rii daju pe voltage of your power supply matches the specifications of the induction plate (230 Volts AC). Insert the power plug firmly into a grounded electrical outlet.
- Ìfọ̀mọ́ àkọ́kọ́: Before first use, wipe the glass ceramic surface with a soft, damp cloth. Ensure the surface is completely dry before plugging in and operating.

Image: The induction plate shown with its dimensions (28 cm x 35 cm) and icons indicating "Induction" and "Touch Control" features. The weight of 2.1 kg is also displayed.
Awọn ilana Iṣiṣẹ
Ibi iwaju alabujutoview

Aworan: A sunmọ-soke view of the induction plate's control panel, showing the LED display indicating "2000" watts, along with touch buttons for Lock, Timer, Mode, ON/OFF, and power adjustment (+/-).
- Titan/Apapa: Tẹ awọn TAN/PA button to turn the appliance on or off. The LED display will illuminate when powered on.
- Atunṣe agbara: Lo awọn + ati - buttons to adjust the power level. The plate offers 9 power levels, ranging from 300W to 2000W. The current power setting will be displayed on the LED screen.
- Aṣayan Ipo: Tẹ awọn Ipo button to cycle through different cooking modes or functions, if available. Refer to the display for the selected mode.
- Iṣẹ Aago: Tẹ awọn Aago button to set a cooking duration. Use the + ati - buttons to adjust the time. The plate will automatically switch off once the set time expires.
- Lock Function (Child Lock): Tẹ awọn Titiipa button to activate the child lock. This prevents accidental changes to settings during operation. Press it again to unlock.
- Awọn ohun elo idana ibaramu: This induction plate is compatible only with cookware that has a magnetic base. If the cookware is not suitable, an error message may appear, or the plate will not heat.
Awọn iṣọra Aabo Lakoko Iṣiṣẹ
- Ikilọ Ilẹ Gbona: The ceramic plate will be hot after cooking. Do not touch the hot surface immediately after use. Wait for at least 30 seconds before switching off the main power supply and handling the plate.
- Rii daju pe fentilesonu to dara nigba lilo.
- Do not place metallic objects (e.g., knives, forks, spoons, lids) on the induction plate as they can become hot.

Image: A close-up of the warning text printed on the induction plate's surface, stating: "Please don't touch the hot surface after cooking! Please wait for 30 seconds before switching off the main power supply."
Itọju ati Cleaning
- Ninu: Always ensure the induction plate is unplugged and completely cooled down before cleaning. Wipe the glass ceramic surface with a soft, damp asọ ati ìwọnba detergent. Fun awọn abawọn alagidi, lo ẹrọ mimọ ti kii ṣe abrasive ti a ṣe apẹrẹ fun awọn ibi idana seramiki.
- Maṣe Fi silẹ: Maṣe fi ohun elo naa bọ inu omi tabi omi miiran.
- Ibi ipamọ: Store the induction plate in a dry place, away from direct sunlight and moisture, when not in use. Ensure it is clean and dry before storing.
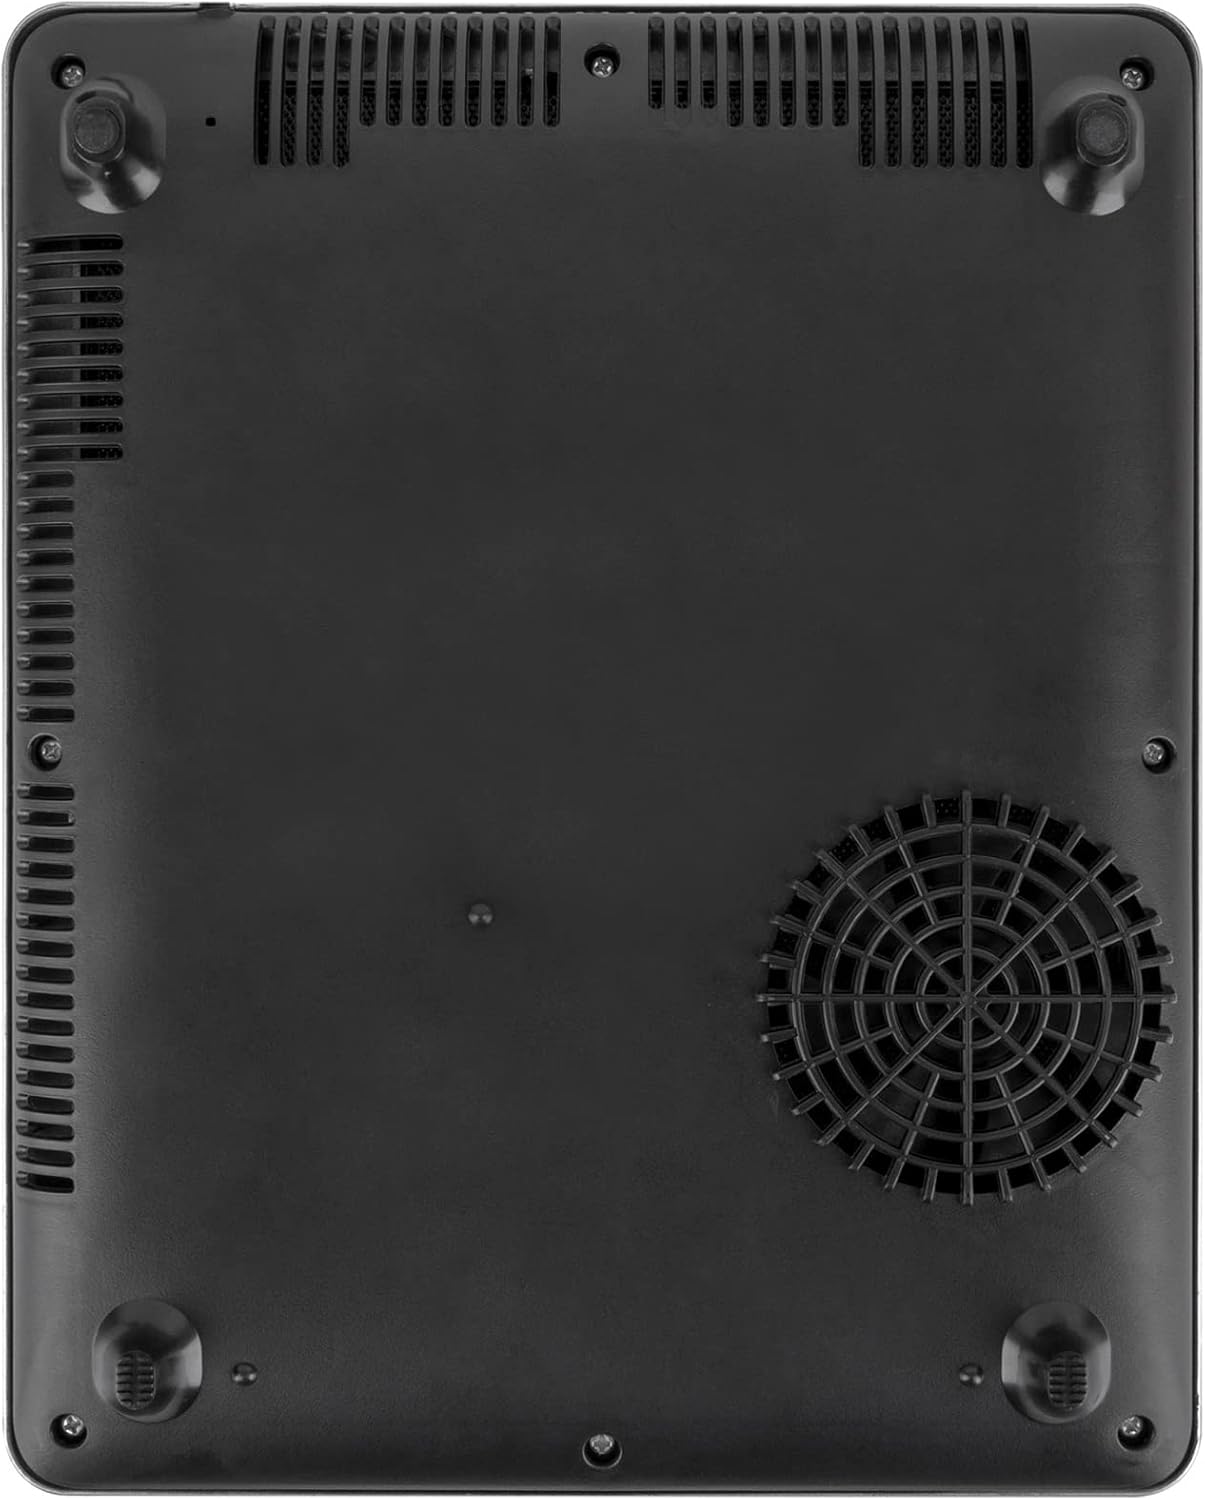
Image: The underside of the induction plate, showing the ventilation grilles and the cooling fan, which are crucial for proper operation and heat dissipation.
Laasigbotitusita
| Isoro | Owun to le Fa | Ojutu |
|---|---|---|
| Ohun elo ko tan. | Kò sí ìsopọ̀ mọ́; ìṣòro ìjáde agbára; kò sí ìtẹ̀ bọ́tìnì agbára. | Ensure the plug is securely inserted. Check the power outlet with another appliance. Press the ON/OFF button firmly. |
| No heating, but appliance is on. | Incompatible cookware; cookware not centered; child lock activated. | Use cookware with a magnetic base. Center the cookware on the cooking zone. Deactivate the child lock by pressing the Lock button. |
| Ariwo dani nigbati isẹ. | Deede àìpẹ isẹ; resonance lati cookware. | A slight humming sound from the cooling fan is normal. Some cookware may produce a faint buzzing sound due to induction. This is not a defect. |
| Koodu aṣiṣe han. | Specific internal issue or sensor error. | Unplug the appliance for 5 minutes, then plug it back in. If the error persists, contact customer support. |
Awọn pato
| Brand | BRUNNER |
| Nọmba awoṣe | 7202834N |
| Àwọ̀ | Standard |
| Ọja Mefa | 28 x 35 x 4.6 cm |
| Iwọn Nkan | 2.46 kg |
| Agbara / Wattage | 300-2000 watts (9 levels) |
| Voltage | 230 Volt (AC) |
| Ohun elo | PP body, Glass Ceramic surface |
| Pataki Awọn ẹya ara ẹrọ | Portable, Touch Control, LED Display, Child Lock |
| Alapapo eroja | 1 |
| Ọjọ Akọkọ Wa | Oṣu Kẹsan Ọjọ 25, Ọdun 2022 |

Image: Multiple side profile views of the induction plate, highlighting its slim 4.6 cm thickness and ventilation slots along the sides.
Atilẹyin ọja ati Support
Information regarding product warranty and specific customer support contact details is not available in the provided product data. Please refer to the product packaging or the manufacturer's official website for comprehensive warranty terms and support options.
Ask a question about this manual
Ask about setup, troubleshooting, compatibility, parts, safety, or missing instructions. Manuals+ will review the question and use this page’s manual context to help answer it.