1. Ifihan
This manual provides essential information for the safe and efficient operation of your Gearlux SP184 18 LED 10 Watt RGBW PAR Stage Light. Please read this manual thoroughly before installation and use, and retain it for future reference.
2. Alaye Aabo
- Rii daju pe ipese agbara voltage ibaamu awọn pàtó voltage lori ẹrọ.
- Always disconnect the power before cleaning or servicing the unit.
- Ma ṣe ṣiṣẹ ẹrọ ti okun agbara ba bajẹ.
- Yago fun ifihan oju taara si orisun ina.
- This device is for indoor use only. Protect it from moisture and extreme temperatures.
- Rii daju pe fentilesonu to peye ni ayika ẹyọ lati ṣe idiwọ igbona.
3. Ọja Ipariview
3.1 Key Awọn ẹya ara ẹrọ
- Quad-Color LEDs: Equipped with 18x10-watt RGBW (Red, Green, Blue, White) LEDs for versatile color mixing and high output.
- Itutu ti o munadoko: Features a quiet cooling fan for effective heat dissipation, contributing to a longer product lifespan.
- RDM Functionality: Supports RDM (Remote Device Management) via 8 DMX channels for simplified configuration and control.
- Iṣagbesori Rọ: Includes an adjustable metal handle/bracket for easy installation on walls, trusses, or for ground placement.
3.2 irinše
Familiarize yourself with the main components of the Gearlux SP184 PAR light:

Nọmba 1: Iwaju view of the Gearlux SP184 PAR Stage Light, showing the 18 RGBW LED lenses.

Nọmba 2: Ẹyìn view of the control panel, featuring DMX In/Out, Power In/Out, digital display, and control buttons.
- LED Array: 18 individual 10-watt RGBW LEDs on the front panel.
- Ibi iwaju alabujuto: Located on the rear, includes a digital display and four control buttons (MENU, UP, DOWN, ENTER).
- Awọn isopọ DMX: XLR 3-pin DMX In and DMX Out ports for linking with DMX controllers and other fixtures.
- Awọn isopọ Agbara: Power In and Power Out ports for daisy-chaining power to multiple units. Includes a fuse holder.
- Iṣagbesori Akọmọ: An adjustable metal bracket for secure positioning.
4. Eto ati fifi sori
4.1 Ṣiṣii silẹ
Carefully remove the fixture from its packaging. Inspect the unit for any signs of damage during transit. Retain the packaging for future transport or storage.
4.2 Iṣagbesori
The Gearlux SP184 can be mounted in various positions using its adjustable bracket:
- Oke Oke: Place the unit on a stable, level surface. Adjust the bracket to direct the light as desired.
- Odi Odi: Securely attach the bracket to a sturdy wall using appropriate hardware (not included). Ensure the mounting surface can support the weight of the fixture.
- Truss Mount: Attach the bracket to a lighting truss using a suitable clamp (not included). Always use a safety cable when mounting overhead.
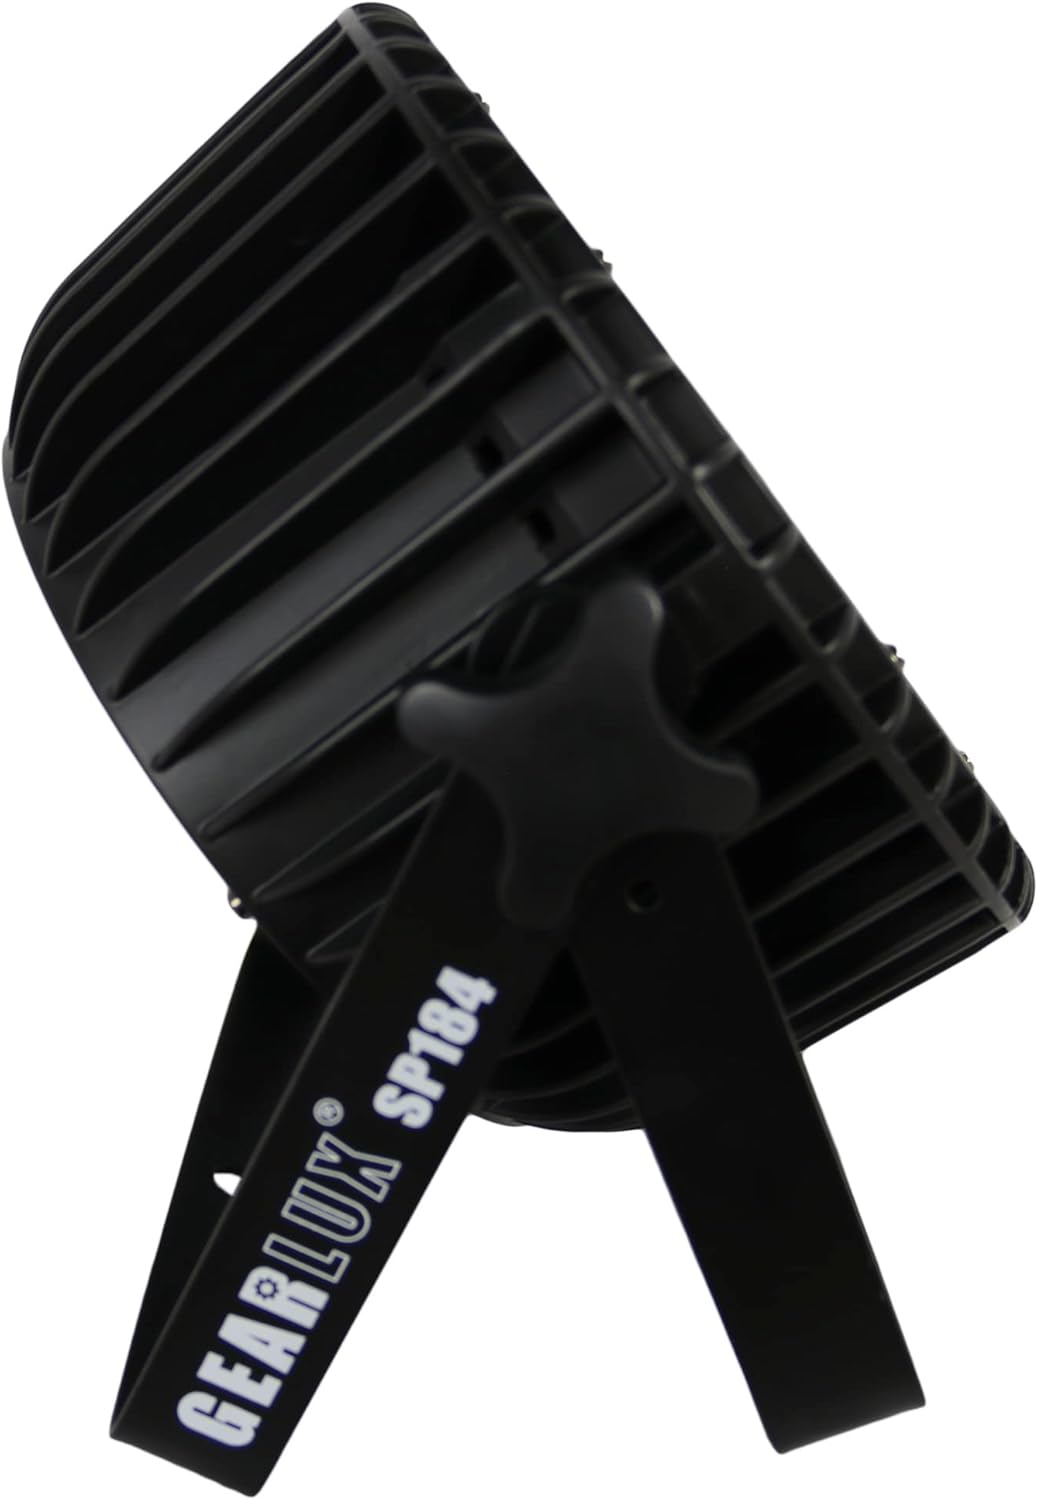
Nọmba 3: Apa view illustrating the adjustable mounting bracket and knob for angle adjustment.
4.3 Asopọ agbara
Connect the provided power cable to the "Power In" port on the rear of the unit and then to a suitable power outlet (AC 100-240V, 50/60Hz). Multiple units can be daisy-chained using the "Power Out" port, but ensure the total current draw does not exceed the circuit's capacity.

Nọmba 4: Detail of the Power In port with a connected power cable.
4.4 DMX Asopọ
For DMX control, connect a DMX cable from your DMX controller's output to the "DMX In" port of the first fixture. For multiple fixtures, connect the "DMX Out" of the first fixture to the "DMX In" of the next, and so on. Use a DMX terminator on the last fixture in the chain for optimal signal integrity.
5. Awọn ilana Iṣiṣẹ
5.1 Iṣakoso Panel Lilọ kiri
The digital display and four buttons on the rear panel allow you to navigate menus and select operating modes:
- Akojọ: Yiyipo nipasẹ awọn aṣayan akojọ aṣayan akọkọ.
- UP / isalẹ: Navigates through sub-menu options or adjusts parameter values.
- Tẹ: Jẹrisi yiyan tabi fi eto pamọ.
5.2 Awọn ọna ṣiṣe
The Gearlux SP184 typically offers several operating modes:
- Ipo DMX: Allows external control via a DMX controller. Set the DMX address for the fixture. The unit uses 8 DMX channels.
- Ipo Aifọwọyi: Imuduro naa nṣiṣẹ nipasẹ ina ti a ti ṣe tẹlẹ ti nfihan laifọwọyi.
- Ipo Nṣiṣẹ Ohun: The light reacts to sound detected by its built-in microphone.
- Ọga/Ipo Ẹrú: Link multiple units where one acts as the master (controlling) and others as slaves (following).
- Ipo Awọ Aimi: Select and display a single static color (Red, Green, Blue, White, or mixed colors).

Nọmba 5: The PAR light displaying a white output, demonstrating its RGBW capabilities.

Nọmba 6: The PAR light displaying a pink/magenta output, showcasing color mixing.

Nọmba 7: The PAR light displaying a green output.
5.3 RDM Function
The RDM (Remote Device Management) function allows for two-way communication between the DMX controller and the fixture. This enables remote setting of DMX addresses, mode changes, and monitoring of fixture status directly from an RDM-compatible DMX controller, simplifying setup and troubleshooting.
6. Itọju
6.1 Ninu
To maintain optimal light output and cooling efficiency, regularly clean the fixture's lenses and cooling vents. Use a soft, lint-free cloth and a mild glass cleaner for the lenses. Ensure the unit is powered off and disconnected before cleaning.
6.2 Fiusi Rirọpo
If the unit does not power on, check the fuse located near the power input. Disconnect power, unscrew the fuse holder, and replace the fuse with one of the same type and rating (e.g., T2A 250V). Never use a fuse with a higher rating.
6.3 Ibi ipamọ
When not in use, store the fixture in its original packaging or a suitable case in a dry, dust-free environment.
7. Laasigbotitusita
| Isoro | Owun to le Fa | Ojutu |
|---|---|---|
| Ohun èlò ìṣiṣẹ́ náà kò ṣiṣẹ́. | Kò sí ìpèsè agbára; Fúúsì tí ó fẹ́; Okùn agbára tí ó bàjẹ́. | Ṣàyẹ̀wò ìsopọ̀ agbára; Rọpò fíúsì; Ṣe àyẹ̀wò/rọ́pò okùn agbára. |
| Ko si iṣakoso DMX. | Incorrect DMX address; Faulty DMX cable; No DMX signal; Missing terminator. | Verify DMX address; Check DMX cables; Ensure DMX controller is active; Add DMX terminator. |
| Ijade ina jẹ baibai tabi aisedede. | Dirty lenses; Overheating; Incorrect mode/settings. | Clean lenses; Ensure proper ventilation; Check operating mode and dimmer settings. |
| Fixture is overheating. | Blocked ventilation; Insufficient airflow. | Clear all obstructions from vents; Ensure adequate space around the unit. |
8. Awọn pato
| Ẹya ara ẹrọ | Ẹ̀kúnrẹ́rẹ́ |
|---|---|
| Awoṣe | SP184 |
| Brand | Gearlux |
| Orisun Imọlẹ | 18 x 10 Watt RGBW LEDs |
| Orisun agbara | Okun Itanna |
| Iṣagbewọle Voltage | AC 100-240V, 50/60Hz |
| Wattage | 10 Watts (per LED) |
| Awọn ikanni DMX | 8 Awọn ikanni |
| Igun tan ina | Awọn iwọn 25 |
| Ohun elo | Irin (Aluminiomu) |
| Pari Iru | Aluminiomu, Irin |
| Iṣagbesori Iru | Odi Oke, Floor Mount |
| Ọja Mefa | 11.61"L x 6.1"W x 11.81"H |
| Iwọn Nkan | 7.67 iwon |
9. Atilẹyin ọja ati Support
For warranty information or technical support, please refer to the documentation provided at the time of purchase or contact your retailer. Keep your proof of purchase for any warranty claims.