
1. Ifihan
This manual provides detailed instructions for the installation, operation, and maintenance of your ANTEC AX Series AX90 Mid-Tower ATX Gaming Case. Please read this manual thoroughly before beginning assembly to ensure proper setup and optimal performance.

Figure 1: ANTEC AX90 Mid-Tower ATX Gaming Case. This image shows the overall design of the case, highlighting its mesh front panel and tempered glass side panel.
2. Key Awọn ẹya ara ẹrọ
- Unique Design & Powerful Heat Dissipation: Engineered for optimal airflow and cooling performance.
- Diamond-Shaped Mesh Front Panel: Provides excellent air intake and a distinctive aesthetic.
- Pre-Installed 4 x 120mm ARGB Fans: Includes three 120mm ARGB fans at the front and one 120mm ARGB fan at the rear for immediate cooling and lighting.
- Atilẹyin fun awọn afẹfẹfẹ gbooro: Accommodates up to 11 x 120mm fans simultaneously for maximum cooling potential.
- Ample Cable Management Space: Features 23mm of space behind the motherboard tray to ensure a neat and organized build.
- Panel Ẹgbẹ Gilasi ti o ni ibinu: Showcases your internal components with a clear, durable tempered glass panel.
- Atilẹyin radiator: Supports up to 360mm radiators for advanced liquid cooling solutions.
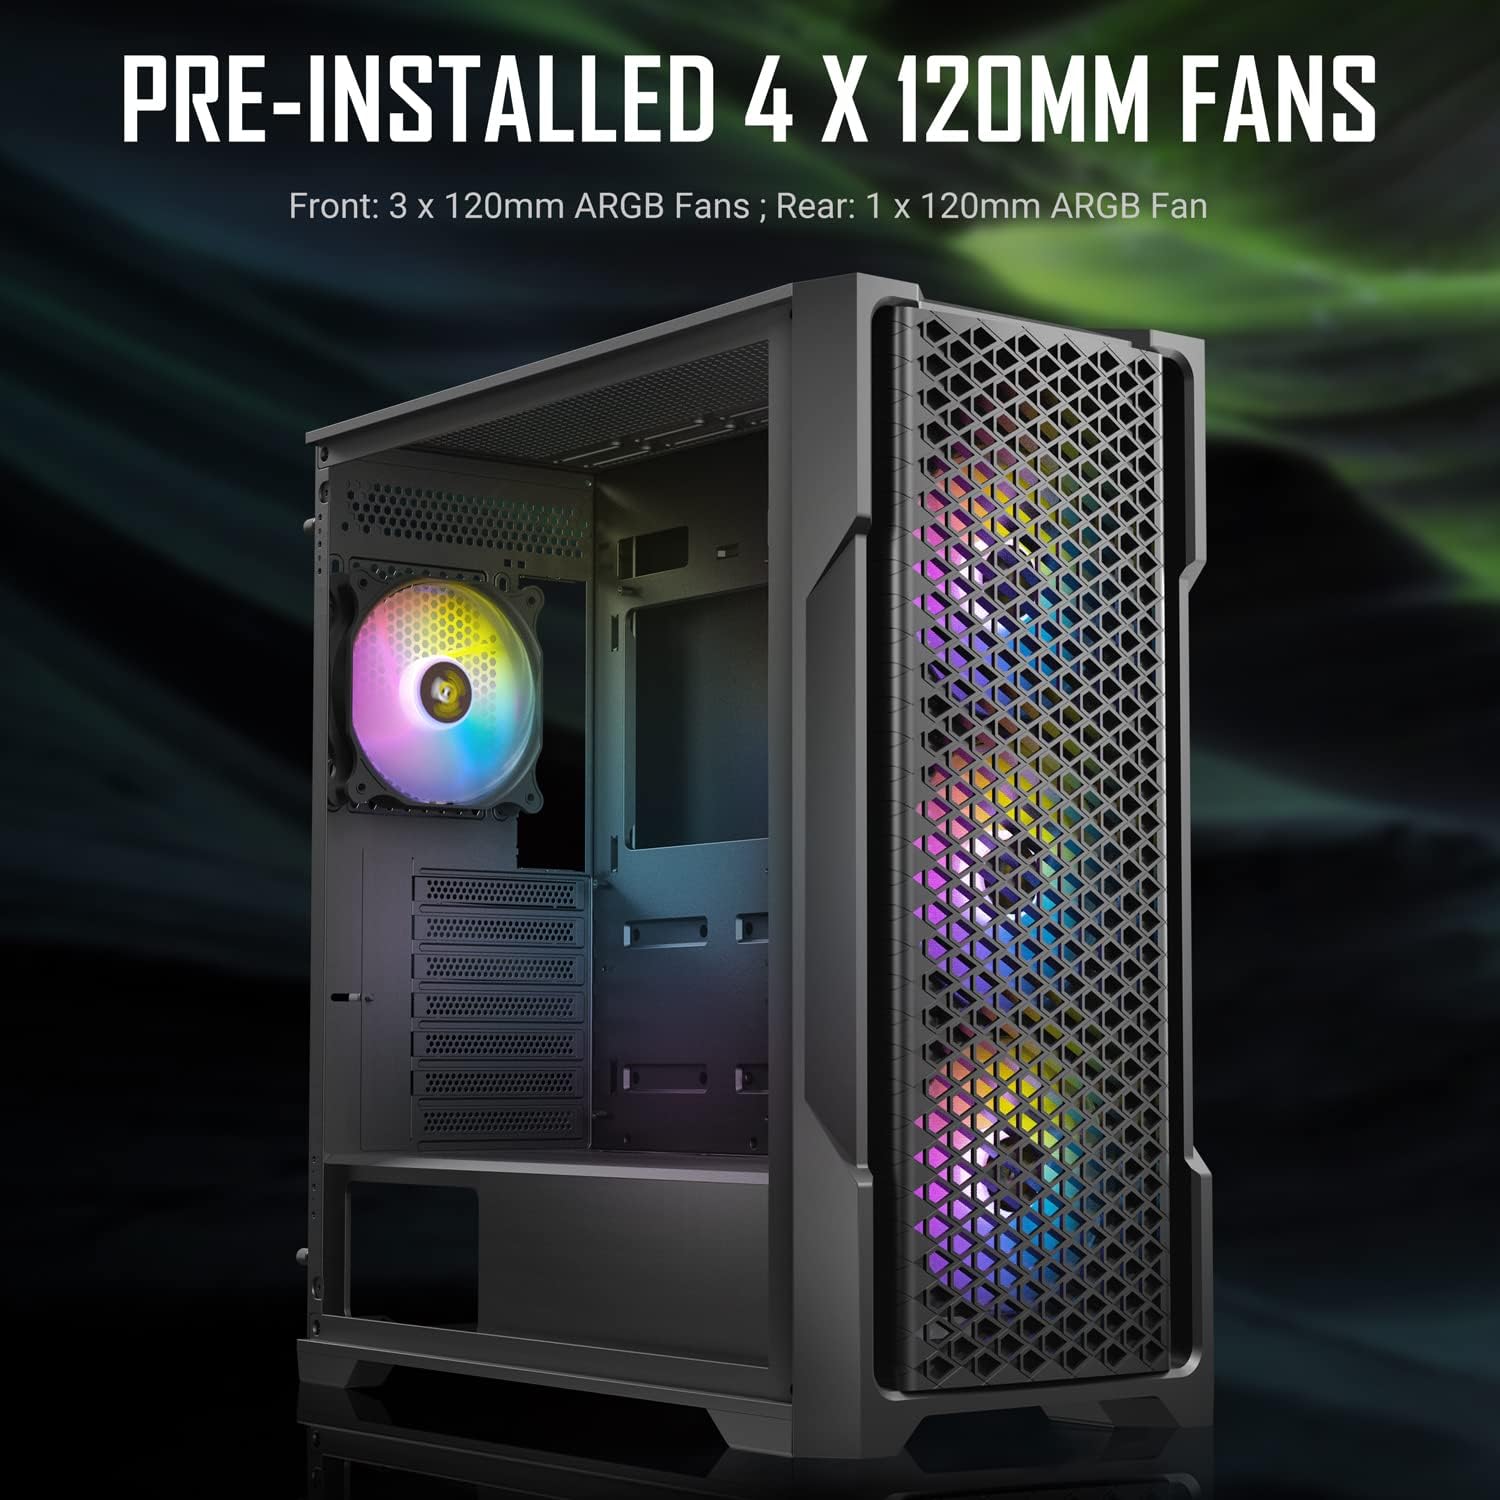
Figure 2: Pre-installed 120mm ARGB fans. This image illustrates the three front and one rear pre-installed ARGB fans, highlighting their lighting capabilities.
3. Awọn pato
| Ẹya ara ẹrọ | Ẹ̀kúnrẹ́rẹ́ |
|---|---|
| Orukọ awoṣe | AX90 |
| Iru Irú | Ile-iṣọ Mid |
| Awọn iwọn (L x W x H) | 47.3 x 21 x 48.6 cm |
| Iwọn | 7.2 kg |
| Modaboudu Ibamu | ATX, Micro-ATX, ITX |
| Imugboroosi Iho | 7 |
| Iwaju Awọn Ibudo I / O | 1 x USB 3.0, 2 x USB 2.0, HD Audio |
| Awọn onijakidijagan ti a ti fi sii tẹlẹ | 3 x 120mm ARGB (Front), 1 x 120mm ARGB (Rear) |
| Max GPU Ipari | 385mm |
| Max Sipiyu kula Iga | 160mm (estimated, common for mid-towers) |
| Radiator Support | Front: Up to 360mm, Top: Up to 360mm, Rear: 120mm |
| Wakọ Bays | 2 x 3.5" HDD, 2 x 2.5" SSD (or 4 x 2.5" SSD) |
| USB Management Space | 23mm |

olusin 3: Ẹyìn view of the ANTEC AX90 case, showing the expansion slots, rear fan mount, and power supply cutout.
4. Eto ati fifi sori
Follow these steps for proper installation of your components into the ANTEC AX90 case.
4.1 Ngbaradi Ọran naa
- Yọ Awọn Paneli ẹgbẹ kuro: Carefully remove the tempered glass side panel by unscrewing the thumb screws at the rear and gently pulling it away. Place it on a soft, flat surface to prevent scratches or damage. Remove the steel side panel similarly.
- Apoti Ẹya: Locate the accessory box inside the case, which contains screws, zip ties, and other installation hardware.

olusin 4: Apa view of the ANTEC AX90, illustrating the tempered glass panel. Exercise caution when handling the glass panel.
4.2 Fifi sori modaboudu
- Install the I/O shield into the motherboard cutout at the rear of the case.
- Align your ATX, Micro-ATX, or ITX motherboard with the standoffs inside the case. Ensure all standoffs align with the screw holes on your motherboard.
- Secure the motherboard using the appropriate screws from the accessory box.
4.3 Fifi sori ẹrọ Ipese Agbara
- Position your ATX power supply unit (PSU) into the PSU shroud at the bottom rear of the case.
- Secure the PSU from the rear of the case using the provided screws.
4.4 Ibi ipamọ wakọ sori
- Awọn HDD 3.5": Install 3.5" hard drives into the drive cage located under the PSU shroud. Slide the drives into the trays and secure them.
- 2.5" SSDs: Install 2.5" solid-state drives onto the dedicated mounting points behind the motherboard tray or on top of the PSU shroud. Secure with screws.
4.5 Graphics Card (GPU) fifi sori
- Remove the necessary expansion slot covers at the rear of the case.
- Fi kaadi eya rẹ sinu aaye PCIe ti o yẹ lori modaboudu.
- Secure the graphics card with screws. The case supports GPUs up to 385mm in length.

olusin 5: Ti abẹnu view demonstrating maximum GPU length compatibility. The case provides ample space for long graphics cards.
4.6 Cooling System Installation (Optional)
- Àwọn Afẹ́fẹ́ Àfikún: Install additional 120mm or 140mm fans as desired on the top, front, or side mounts.
- Liquid Cooling Radiators: The case supports radiators up to 360mm at the front and top. Install radiators and fans according to your liquid cooler's instructions.

Figure 6: Illustration of liquid cooling radiator support. This image shows a 240mm radiator installed, demonstrating the case's cooling capabilities.
4.7 USB Management
Utilize the 23mm space behind the motherboard tray and the numerous cable routing cutouts to organize your cables. Use zip ties (included in the accessory box) to secure cables for improved airflow and a cleaner aesthetic.

olusin 7: Ẹyìn view of the case highlighting the 23mm cable management space. Proper cable routing enhances airflow and aesthetics.
4.8 ik Apejọ
Once all components are installed and cables are managed, reattach the steel side panel and then the tempered glass side panel, securing them with the thumb screws.
5. Operating the ARGB Lighting
The ANTEC AX90 comes with pre-installed ARGB fans that can be controlled via the built-in hub or synchronized with your motherboard's ARGB software.
5.1 Using the Built-in ARGB Control Button
The case features a dedicated ARGB control button on the front I/O panel. Press this button to cycle through various pre-set lighting modes and effects. Hold the button down for a few seconds to turn the ARGB lighting on or off.
5.2 Ìmúṣiṣẹ́pọ̀ Modabọọdu
To synchronize the ARGB lighting with your motherboard's software (e.g., ASUS Aura Sync, MSI Mystic Light Sync, GIGABYTE RGB Fusion, ASRock Polychrome Sync), connect the ARGB cable from the case's fan hub to the 3-pin 5V ARGB header on your motherboard. Once connected, you can control the lighting effects directly through your motherboard's utility software.

Figure 8: Diagram illustrating ARGB lighting synchronization with a motherboard. This shows the connection from the fan controller to the motherboard's ARGB header.
6. Itọju
Regular maintenance helps ensure optimal performance and longevity of your ANTEC AX90 case.
- Awọn Ajọ Eruku: The case is equipped with removable dust filters (e.g., top, front, bottom). Periodically remove and clean these filters using compressed air or by washing them with water and mild soap. Ensure they are completely dry before reinstallation.
- Ninu inu: Use compressed air to blow out dust from inside the case, especially from fans, heatsinks, and hard-to-reach areas. For stubborn grime, use a soft, lint-free cloth slightly dampened pẹlu isopropyl oti.
- Ode Ninu: Mu ese ita ita pẹlu asọ, damp cloth. Avoid harsh chemicals or abrasive materials that could damage the finish or tempered glass.
- Gilasi ibinu: Clean the tempered glass panel with a glass cleaner and a microfiber cloth. Avoid excessive force or impact on the glass.
7. Laasigbotitusita
This section addresses common issues you might encounter with your ANTEC AX90 case.
7.1 Fans Not Spinning or ARGB Not Lighting Up
- Ṣayẹwo Awọn isopọ: Ensure all fan power cables (3-pin or 4-pin) are securely connected to the fan hub or motherboard fan headers. Verify ARGB cables are properly connected to the ARGB hub or motherboard's 5V ARGB header.
- Ibi ti ina elekitiriki ti nwa: Confirm the fan hub is receiving power from the PSU (usually via a SATA power connector).
- Sọfitiwia modaboudu: If using motherboard synchronization, ensure the correct software is installed and configured.
- Bọtini Iṣakoso: If using the built-in control, try pressing the ARGB button to cycle through modes or turn it on.
7.2 Poor Airflow or High Temperatures
- Awọn Ajọ Eruku: Clean all dust filters regularly. Clogged filters severely restrict airflow.
- Ìtọ́sọ́nà àwọn afẹ́fẹ́: Ensure fans are oriented correctly for optimal airflow (e.g., front fans as intake, rear/top fans as exhaust).
- Iṣakoso USB: Improve cable management to reduce obstructions to airflow inside the case.
- Ìyàsọ́tọ̀ Àwọn Ẹ̀yà Ara: Ensure large components (e.g., CPU cooler, GPU) are not blocking critical airflow paths.
7.3 Front I/O Ports Not Functioning
- Àwọn Àkọlé Modabọọdu: Verify that the front panel cables (USB 3.0, USB 2.0, HD Audio, Power SW, Reset SW, HDD LED, Power LED) are correctly connected to the corresponding headers on your motherboard. Refer to your motherboard manual for header locations.
- Fifi sori Awakọ: Ensure necessary USB drivers are installed for your operating system.
8. Atilẹyin ọja ati Support
Fun alaye atilẹyin ọja ati atilẹyin imọ-ẹrọ, jọwọ tọka si Antec osise webaaye tabi kan si iṣẹ alabara Antec taara. Jeki ẹri rira rẹ fun awọn iṣeduro atilẹyin ọja.
Antec Osise Webojula: www.antec.com
Please note that damage to the tempered glass panel due to mishandling is typically not covered under warranty. Handle with extreme care.