
Odokee UE218-Red
Odokee Digital Dual Alarm Clock User Manual
Model: UE218-Red
Ọrọ Iṣaaju
This user manual provides comprehensive instructions for the setup, operation, and maintenance of your Odokee Digital Dual Alarm Clock. Please read this manual thoroughly before using the product to ensure proper function and longevity.
Ọja Awọn ẹya ara ẹrọ
- Easy-to-set controls with clearly labeled buttons.
- Large 1.6-inch red LED display with 0-100% adjustable dimmer.
- Customizable dual alarms with 7-5-2 alarm modes (Every day, Weekdays, Weekend).
- 5 selectable alarm tones: Beep, Birds Chirping, Buzzer, Soft Music, Siren.
- Adjustable alarm volume from 30dB to 110dB.
- 9-minute snooze function.
- Integrated USB charging port for mobile devices.
- Battery backup (3 AAA batteries, not included) for time and settings retention during power outages.
- Compact and space-saving design (5.3"x2.9"x1.95").
- 12 or 24-hour time display option.
Package Awọn akoonu
- Odokee Digital Dual Alarm Clock
- Power Adapter (Cord Length: 4.92ft)
- Itọsọna olumulo
Ọja Pariview

Iwaju view of the Odokee Digital Dual Alarm Clock, displaying the time and day of the week. The large red LED digits are clearly visible.

Ẹyìn view of the alarm clock, highlighting the control buttons for alarm sound, 12/24HR format, day of week, time set, alarm 1 set, and alarm 2 set. Also visible are the dimmer and volume dials, USB port, and power input.
Ṣeto
1. Asopọ agbara
Connect the provided power adapter to the DC 5V input port on the back of the alarm clock and plug the adapter into a standard AC outlet. The clock display will light up.

The alarm clock connected to a power outlet via its adapter, illustrating the primary power source.
2. Fifi sori ẹrọ Afẹyinti Batiri (Aṣayan)
For battery backup functionality during power outages, insert 3 AAA batteries (not included) into the battery compartment on the bottom of the clock. This will preserve time and alarm settings, and allow alarms to function during a power interruption. Note: USB charging will not work on battery power.
3. Eto Aago Ibẹrẹ
- Tẹ mọlẹ Akoko SET bọ́tìnì tó wà lẹ́yìn aago náà. Àwọn nọ́mbà wákàtí náà yóò bẹ̀rẹ̀ sí í tàn yanranyanran.
- Lo awọn WAKATI ati MIN buttons on the top of the clock to adjust the hour and minute respectively.
- Tẹ Akoko SET lẹẹkansi lati jẹrisi akoko.
- Tẹ awọn 12/24HR bọtini lati yipada laarin awọn ọna kika wakati 12 (pẹlu itọkasi AM/PM) ati awọn ọna kika wakati 24.
- Tẹ awọn OJO OSE button to set the current day.
Awọn ilana Iṣiṣẹ
1. Ṣíṣeto Awọn Itaniji (Alarm 1 ati Itaniji 2)
The clock features two independent alarms (Alarm 1 and Alarm 2) that can be set for different times and modes.
- Tẹ mọlẹ Itaniji 1 SET or Itaniji 2 SET button on the back. The alarm hour digits will flash.
- Lo awọn WAKATI ati MIN buttons on the top to adjust the desired alarm time.
- Tẹ Itaniji 1 SET or Itaniji 2 SET again to select the alarm mode:
- LỌỌN-jimọọ (Weekdays)
- SAT-oorun (Weekends)
- ỌJỌỌ-ỌRUN (All 7 days)
- Tẹ Itaniji 1 SET or Itaniji 2 SET one more time to confirm the alarm setting. The corresponding alarm icon (1 or 2) will appear on the display.

Illustration of the dual alarm feature with different alarm modes for weekdays and weekends.
2. Selecting Alarm Sound
The clock offers 5 different alarm sounds.
- Tẹ awọn ALARM OHUN button on the back of the clock to cycle through the available sounds: Beep, Birds Chirping, Buzzer, Soft Music, Siren.
- The selected sound will play briefly for preview.

Visual representation of the five distinct alarm sounds available on the clock.
3. Adjusting Alarm Volume
Lo awọn Iwọn didun dial on the left side of the clock to adjust the alarm volume from 30dB (low) to 110dB (high).
4. Iṣẹ lẹẹkọọkan
Nigbati itaniji ba ndun, tẹ tobi ṢEGBE button on the top of the clock to temporarily silence the alarm for 9 minutes. The alarm will sound again after 9 minutes.
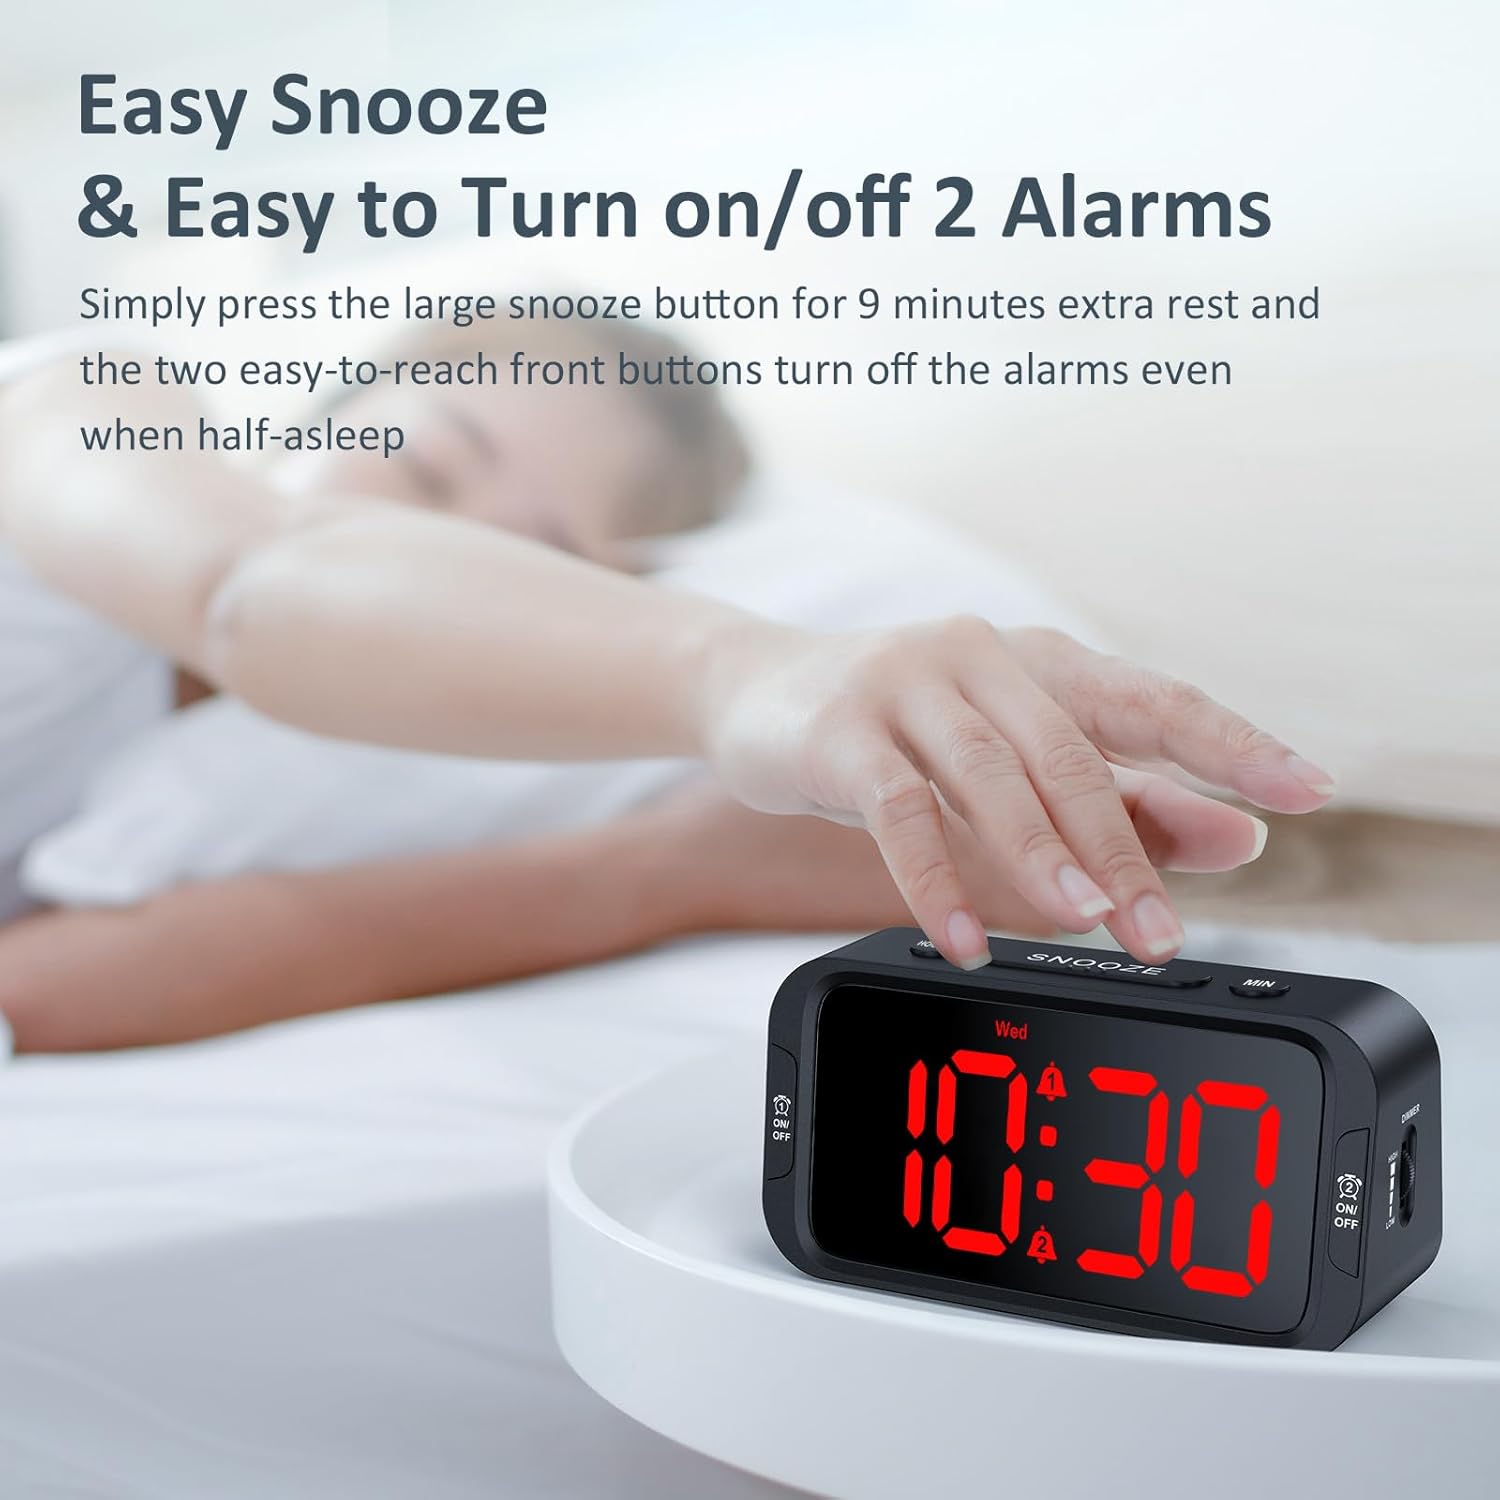
A user's hand activating the snooze function by pressing the prominent SNOOZE button.
5. Turning Alarms On/Off
Láti pa itaniji ohun kan, tẹ ohun tí ó báramu TAN/PA button located on the front sides of the clock (one for Alarm 1, one for Alarm 2). To disable an alarm completely, press the TAN/PA bọtini titi aami itaniji yoo parẹ lati ifihan.
6. Siṣàtúnṣe Ifihan Imọlẹ
Lo awọn DIMMER dial on the right side of the clock to adjust the display brightness from 0% (fully dark) to 100% (very bright).
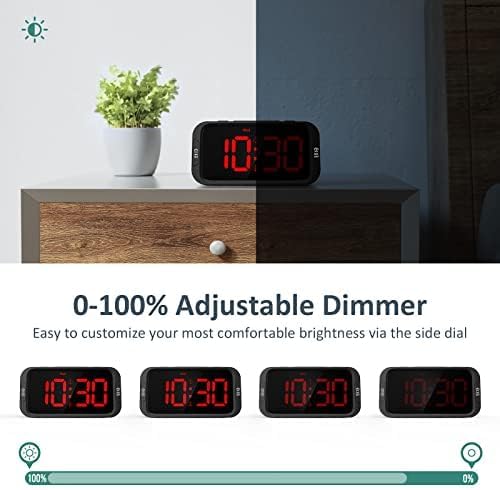
Demonstration of the 0-100% adjustable dimmer, showing the clock display from maximum brightness to completely off.
7. USB Ngba agbara Port
The USB port on the back of the clock can be used to charge your mobile devices. Simply connect your device's USB charging cable to the port. Note: This port is for charging only and does not transfer data. USB charging requires the clock to be powered by the AC adapter.
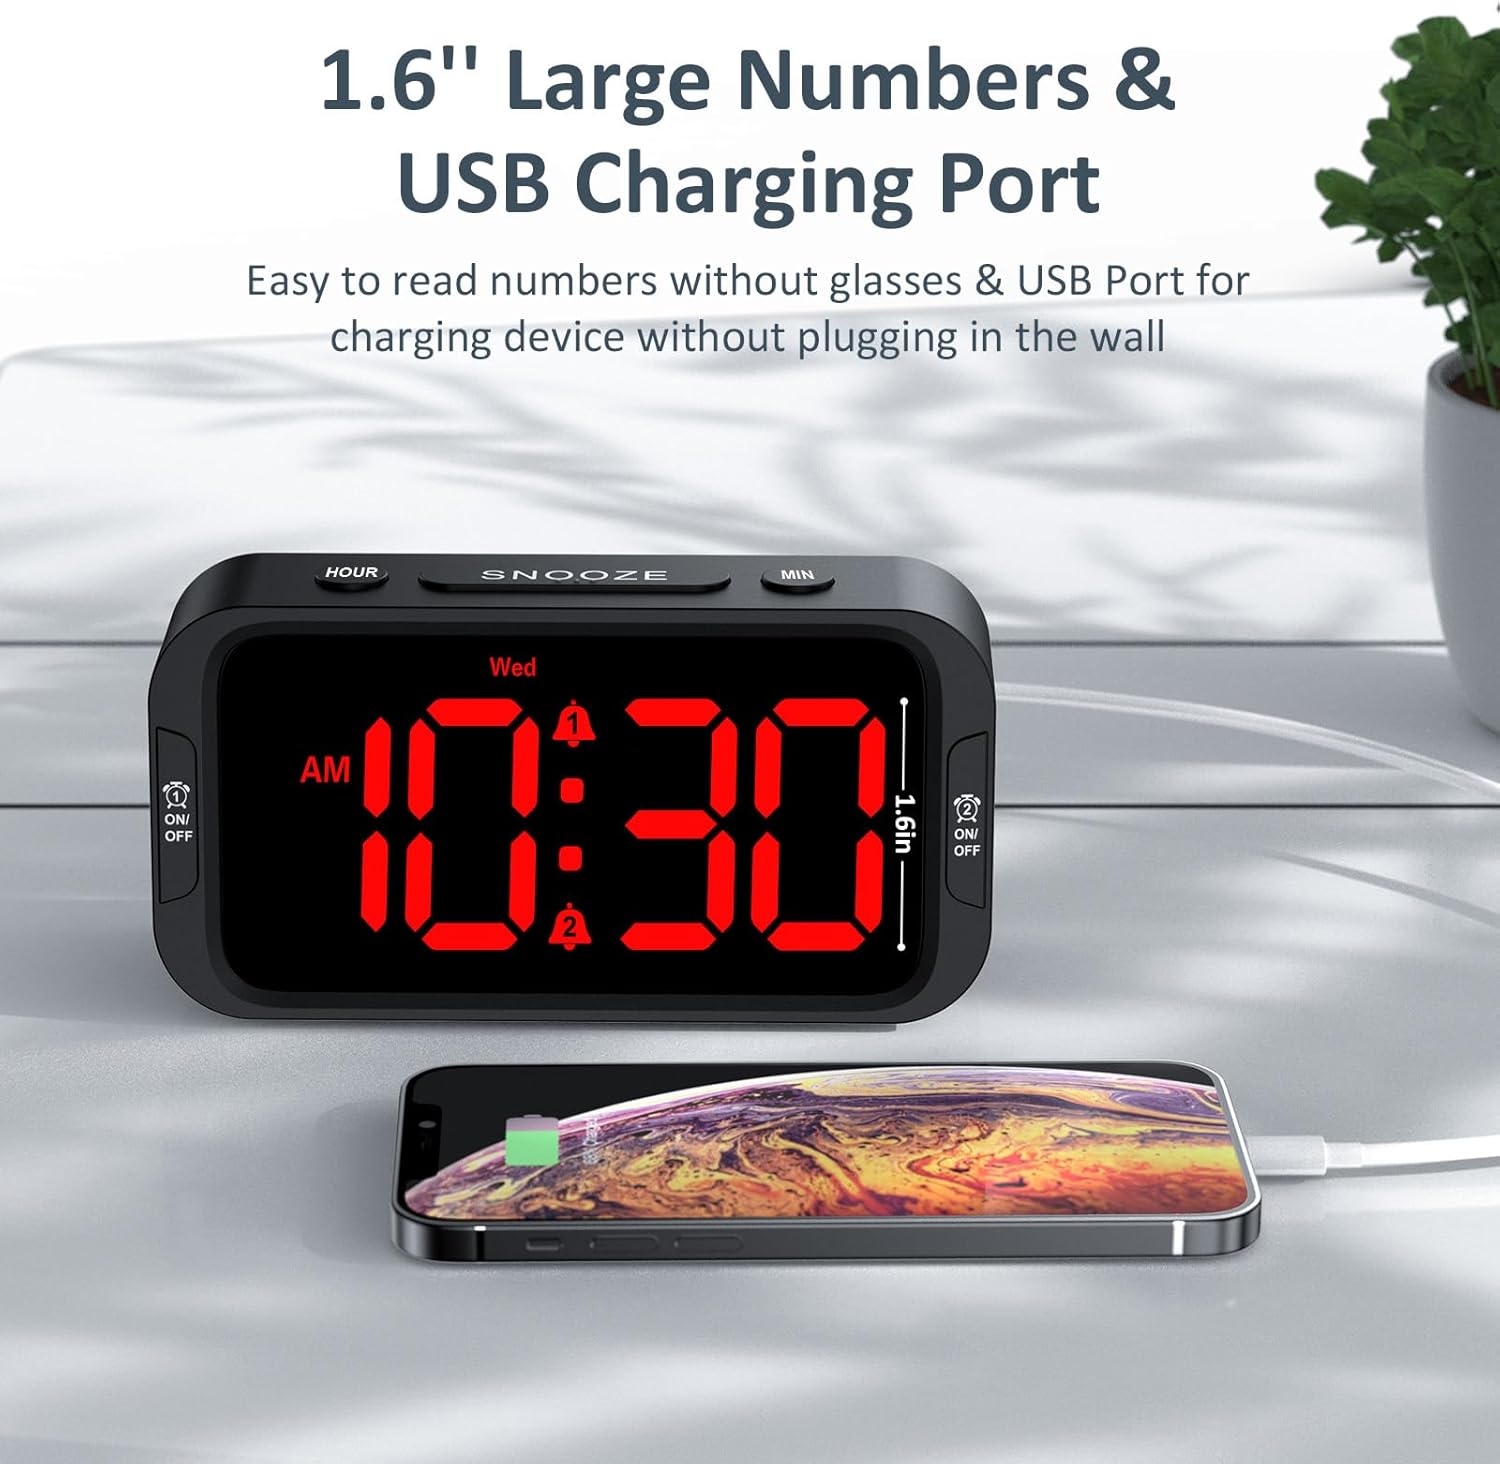
The alarm clock charging a smartphone via its integrated USB port.
Itoju
- Fi aṣọ rírọrùn tó gbẹ nu aago náà. Má ṣe lo àwọn ohun ìfọṣọ tàbí àwọn ohun èlò ìfọṣọ.
- Yẹra fún fífi aago sí ojú ọjọ́ tí ó le koko, oòrùn tààrà, tàbí ọ̀rinrin gíga.
- Do not disassemble the clock. This will void the warranty.
- If using battery backup, replace batteries annually or when the display shows signs of dimming during a power outage.
Laasigbotitusita
| Isoro | Owun to le Fa | Ojutu |
|---|---|---|
| Ifihan aago ti wa ni pipa. | Ko si asopọ agbara tabi asopọ agbara outage. | Ensure the power adapter is securely plugged into the clock and a working outlet. Check for power outages. If using battery backup, check battery level. |
| Itaniji ko dun. | A ko mu itaniji ṣiṣẹ, iwọn didun kere ju, tabi akoko/ipo itaniji ti ko tọ. | Ensure the alarm icon is visible on the display. Adjust alarm volume. Verify alarm time and mode settings. Check battery backup if on battery power. |
| Gbigba agbara USB ko ṣiṣẹ. | Clock not connected to AC power, or device cable issue. | Ensure the clock is plugged into an AC outlet. Verify the USB cable is functional and properly connected to both the clock and your device. |
| Ifihan ti o ni imọlẹ pupọ/diẹ pupọ. | Dimmer setting needs adjustment. | Ṣatunṣe awọn DIMMER dial on the right side of the clock to your preferred brightness level. |
Awọn pato
- Awoṣe: UE218-Red
- Iru ifihan: Digital LED (Red)
- Iwọn Ifihan: 1.6 inches (digit height)
- Awọn iwọn ọja: 5.3" (L) x 2.9" (W) x 1.95" (H)
- Orisun Agbara: Corded Electric (AC100-240V, 50/60Hz)
- Agbara titẹ sii: DC 5V, 1A
- Batiri Afẹyinti: Awọn batiri 3 x AAA (kii ṣe pẹlu)
- Alarm Volume Range: 30dB - 110dB
- Ohun elo: Àsíkílítì (Pásítíkì)
- Ìwọ̀n Nkan: 6.3 iwon (178.6 Giramu)
- UPC: 768461974727
Atilẹyin ọja ati Support
Odokee products come with a hassle-free 18-month warranty. For any product inquiries, technical support, or warranty claims, please contact Odokee customer service:
- Imeeli: odokeeshop@outlook.com
- Ile itaja ori ayelujara: Odokee Store on Amazon
Jọwọ pa ìwé ẹ̀rí ìrajà rẹ mọ́ fún ìfọwọ́sowọ́pọ̀ àtìlẹ́yìn.
Alaye Aabo
- Má ṣe fi ọjà náà sí omi tàbí ọrinrin tó pọ̀ jù.
- Jeki kuro ni arọwọto awọn ọmọde.
- Lo oluyipada agbara ti a pese nikan.
- Do not place near heat sources or in direct sunlight for extended periods.
Ask a question about this manual
Ask about setup, troubleshooting, compatibility, parts, safety, or missing instructions. Manuals+ will review the question and use this page’s manual context to help answer it.