
1. Ifihan
This manual provides essential information for the installation, operation, and maintenance of your new replacement trimmer line spools. These spools are designed to provide efficient and reliable performance for compatible MacAllister lawn trimmers. Please read this manual thoroughly before use to ensure proper handling and to maximize the lifespan of the product.
2. Awọn awoṣe ibaramu
These replacement spools are specifically designed for use with the following MacAllister lawn trimmer models:
- MacAllister MGT35025
- MacAllister MGT45028
- MacAllister MGT60030
Ensure your trimmer model matches one of the listed compatible models before attempting installation.
3. Awọn ẹya Ọja
The replacement trimmer line spools offer several key features designed for convenience and durability:
- Ikole Didara: Manufactured from durable materials for extended product life.
- Ifunni Laini Aifọwọyi: Designed to automatically adjust the cutting line length, ensuring optimal performance.
- Tool-Free Spool Change: Allows for quick and easy replacement of the spool without the need for additional tools.
- Flexible Cutting Line: The robust line is capable of reaching difficult-to-access areas in the garden.
- Iṣakojọpọ Rọrun: Each package contains two spools for your convenience.
4. Installation (Spool Replacement)
Follow these steps to replace the trimmer line spool:
- Aabo Lakọkọ: Always ensure the trimmer is unplugged or the battery is removed before performing any maintenance or part replacement. Wear appropriate safety gear, including gloves.
- Remove Trimmer Head Cap: Locate the trimmer head and gently press the tabs or twist the cap to remove it. Refer to your trimmer's original manual for specific instructions if needed.
- Yọ Spool Atijọ kuro: Carefully lift out the old, empty, or damaged spool from the trimmer head.
- Fi Spool Tuntun sii: Take a new replacement spool. Ensure the line is properly wound and secured in the spool's guides. Align the spool with the housing in the trimmer head and press it firmly into place. Make sure it sits securely and can rotate freely.
- Replace Trimmer Head Cap: Reattach the trimmer head cap, ensuring it clicks into place or is securely fastened.
- Ṣàyẹ̀wò Ìfàsẹ́yìn Ìlà: Briefly plug in or reinsert the battery and activate the trimmer to ensure the line extends properly.

olusin 4.1: A sunmọ-soke view of two orange replacement trimmer spools with blue line, ready for installation.

Figure 4.2: Two orange trimmer spools with blue line, shown from a slight angle, highlighting the wound line.
5. Awọn ilana Iṣiṣẹ
Once the replacement spool is installed, operate your lawn trimmer according to its original manufacturer's instructions. The automatic line feed feature of these spools will ensure that the cutting line is extended as needed during operation, maintaining an optimal cutting length. If the line does not feed automatically, gently tap the trimmer head on a hard surface while the trimmer is running (if your trimmer model supports this feature) to activate the automatic feed mechanism.
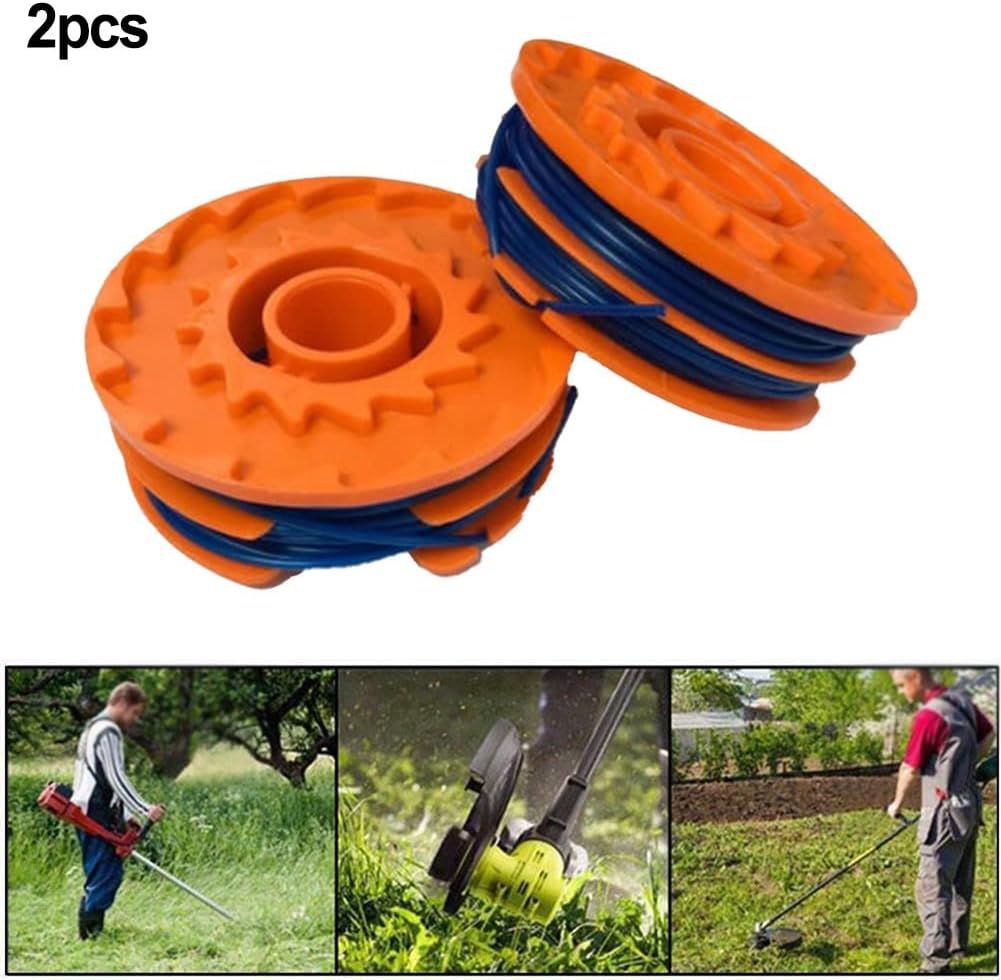
Figure 5.1: The replacement spools alongside illustrative images of a person using a string trimmer for lawn maintenance.
6. Itọju ati Itọju
To ensure the longevity and optimal performance of your replacement spools:
- Ibi ipamọ: Store unused spools in a cool, dry place away from direct sunlight and extreme temperatures. This helps preserve the integrity of the trimmer line.
- Ayewo: Before each use, inspect the installed spool and line for any signs of wear, fraying, or damage. Replace the spool if the line is severely worn or damaged.
- Ninu: Keep the trimmer head area clean from debris, grass clippings, and dirt. This prevents interference with the spool's rotation and line feed mechanism.

olusin 6.1: Top view of two orange trimmer spools, showing the gear-like teeth on their surface, which are part of the feeding mechanism.
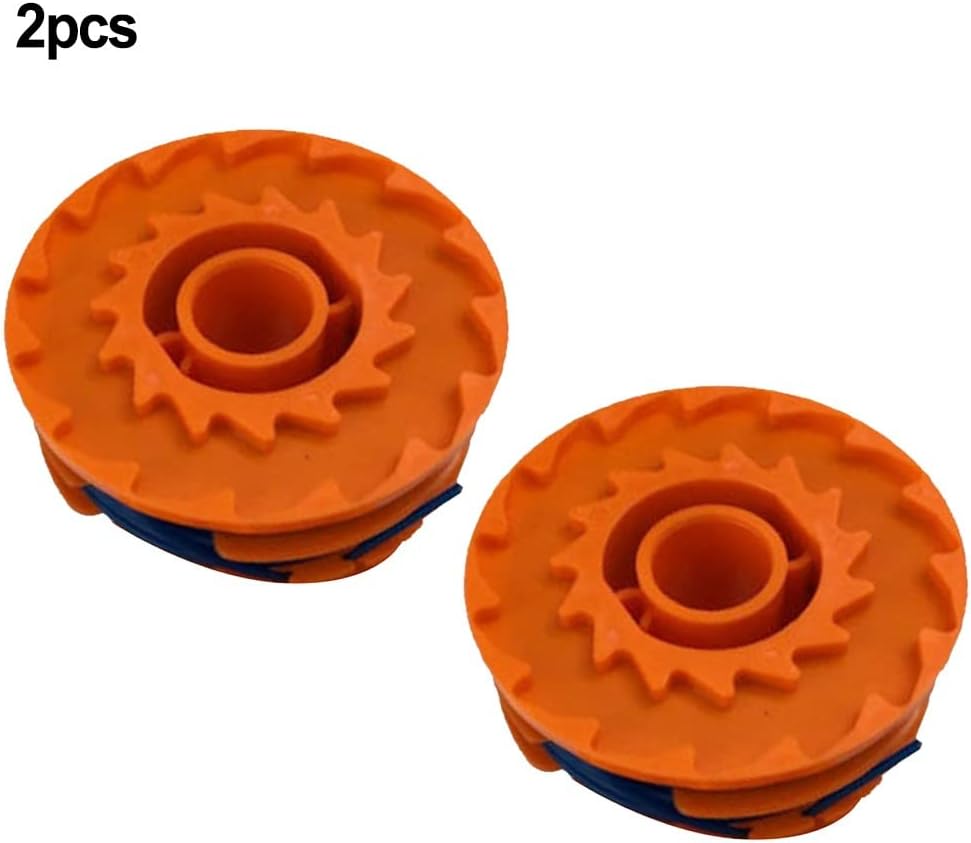
Figure 6.2: Another top view of two orange trimmer spools, emphasizing their design and the blue line.

Figure 6.3: A slightly different top view of two orange trimmer spools, showing their identical design.

Figure 6.4: A single orange trimmer spool, viewed from the top, detailing its structure.

Figure 6.5: Two orange trimmer spools, one positioned to show its top surface and the other its side profile.

olusin 6.6: An angled view of two orange trimmer spools, showcasing the blue line wound around them.
7. Laasigbotitusita
If you encounter issues with your replacement spool, consider the following common solutions:
- Line Not Feeding: Ensure the spool is correctly seated in the trimmer head. Check for any debris obstructing the line exit hole. If your trimmer has a bump-feed mechanism, try gently tapping the head on a hard surface while the trimmer is running.
- Line Breaking Frequently: This could indicate the line is old, damaged, or the trimmer is being used against very tough obstacles. Inspect the line for damage. Ensure you are using the trimmer appropriately for the task.
- Spool Not Fitting: Double-check that your trimmer model is listed under the compatible models in Section 2. Ensure the spool is oriented correctly during installation.
For persistent issues, consult your original trimmer's user manual or contact the trimmer manufacturer's support.
8. Awọn pato
| Iwa | Ẹ̀kúnrẹ́rẹ́ |
|---|---|
| Brand | CNANRNANC |
| Awọn awoṣe ibaramu | MacAllister MGT35025, MGT45028, MGT60030 |
| Awọn iwọn Ọja (L x W x H) | 10 x 5 x 3 cm (isunmọ 3.94 x 1.97 x 1.18 inches) |
| Iwọn Nkan | 90 giramu (isunmọ 0.2 lbs) |
| Àwọ̀ | As shown in images (Orange with Blue line) |
| Opoiye | 2 spools per package |
9. Atilẹyin ọja ati Support
Specific warranty information for this product is not provided in the available details. For any product-related inquiries or support, please refer to the seller from whom the product was purchased. For issues related to your MacAllister trimmer, please consult the original trimmer manufacturer's support channels.