
Ọrọ Iṣaaju
This manual provides detailed instructions for the installation, operation, and maintenance of your Mars Gaming MARSGAMING MCX ATX PC Gaming Case, Model MCF. Please read this manual thoroughly before beginning assembly to ensure proper setup and optimal performance.

Figure 1: Mars Gaming MARSGAMING MCX ATX PC Gaming Case (Model MCF)
Key Awọn ẹya ara ẹrọ
- Advanced Gaming Lighting: Features triple vented front and rear fans with ARGB lighting, complemented by a Metal-Mesh front design and tempered glass side window.
- Apẹrẹ Aerodynamic: Sophisticated look with pure geometric lines and premium finishes. The aerodynamically designed front panel enhances ventilation and airflow.
- Full ARGB Compatibility: ARGB lighting with multiple preset effects, controllable via an ARGB connector or motherboard for extensive aesthetic customization.
- O pọju Itutu agbaiye: Includes a triple front fan system and a 120mm rear fan. Supports up to 6 x 120mm fans, removable magnetic top and bottom filters, and dual chamber design. Full support for up to 360mm liquid cooling.
- Maximum Internal Capacity: Supports ATX, micro-ATX, and mini-ITX motherboards, up to 5 hard drives, and efficient internal cable management. Accommodates VGAs up to 305mm long (330mm without front fan) and 167mm wide, and heatsinks up to 177mm high.
Package Awọn akoonu
Daju pe gbogbo awọn paati wa ninu package ṣaaju ki o to tẹsiwaju pẹlu fifi sori ẹrọ.
- Mars Gaming MARSGAMING MCX ATX PC Gaming Case (Model MCF)
- Àwọn Fẹ́ẹ̀bù ARGB 4 x 120mm (tí a ti fi sori ẹrọ tẹ́lẹ̀)
- Accessory kit (screws, standoffs, cable ties)
- Afowoyi Olumulo (iwe-ipamọ yii)
Awọn ilana iṣeto
1. Ngbaradi Ọran naa
Place the case on a stable, flat surface. Remove the tempered glass side panel by unscrewing the thumb screws at the rear of the case and carefully sliding the panel off.
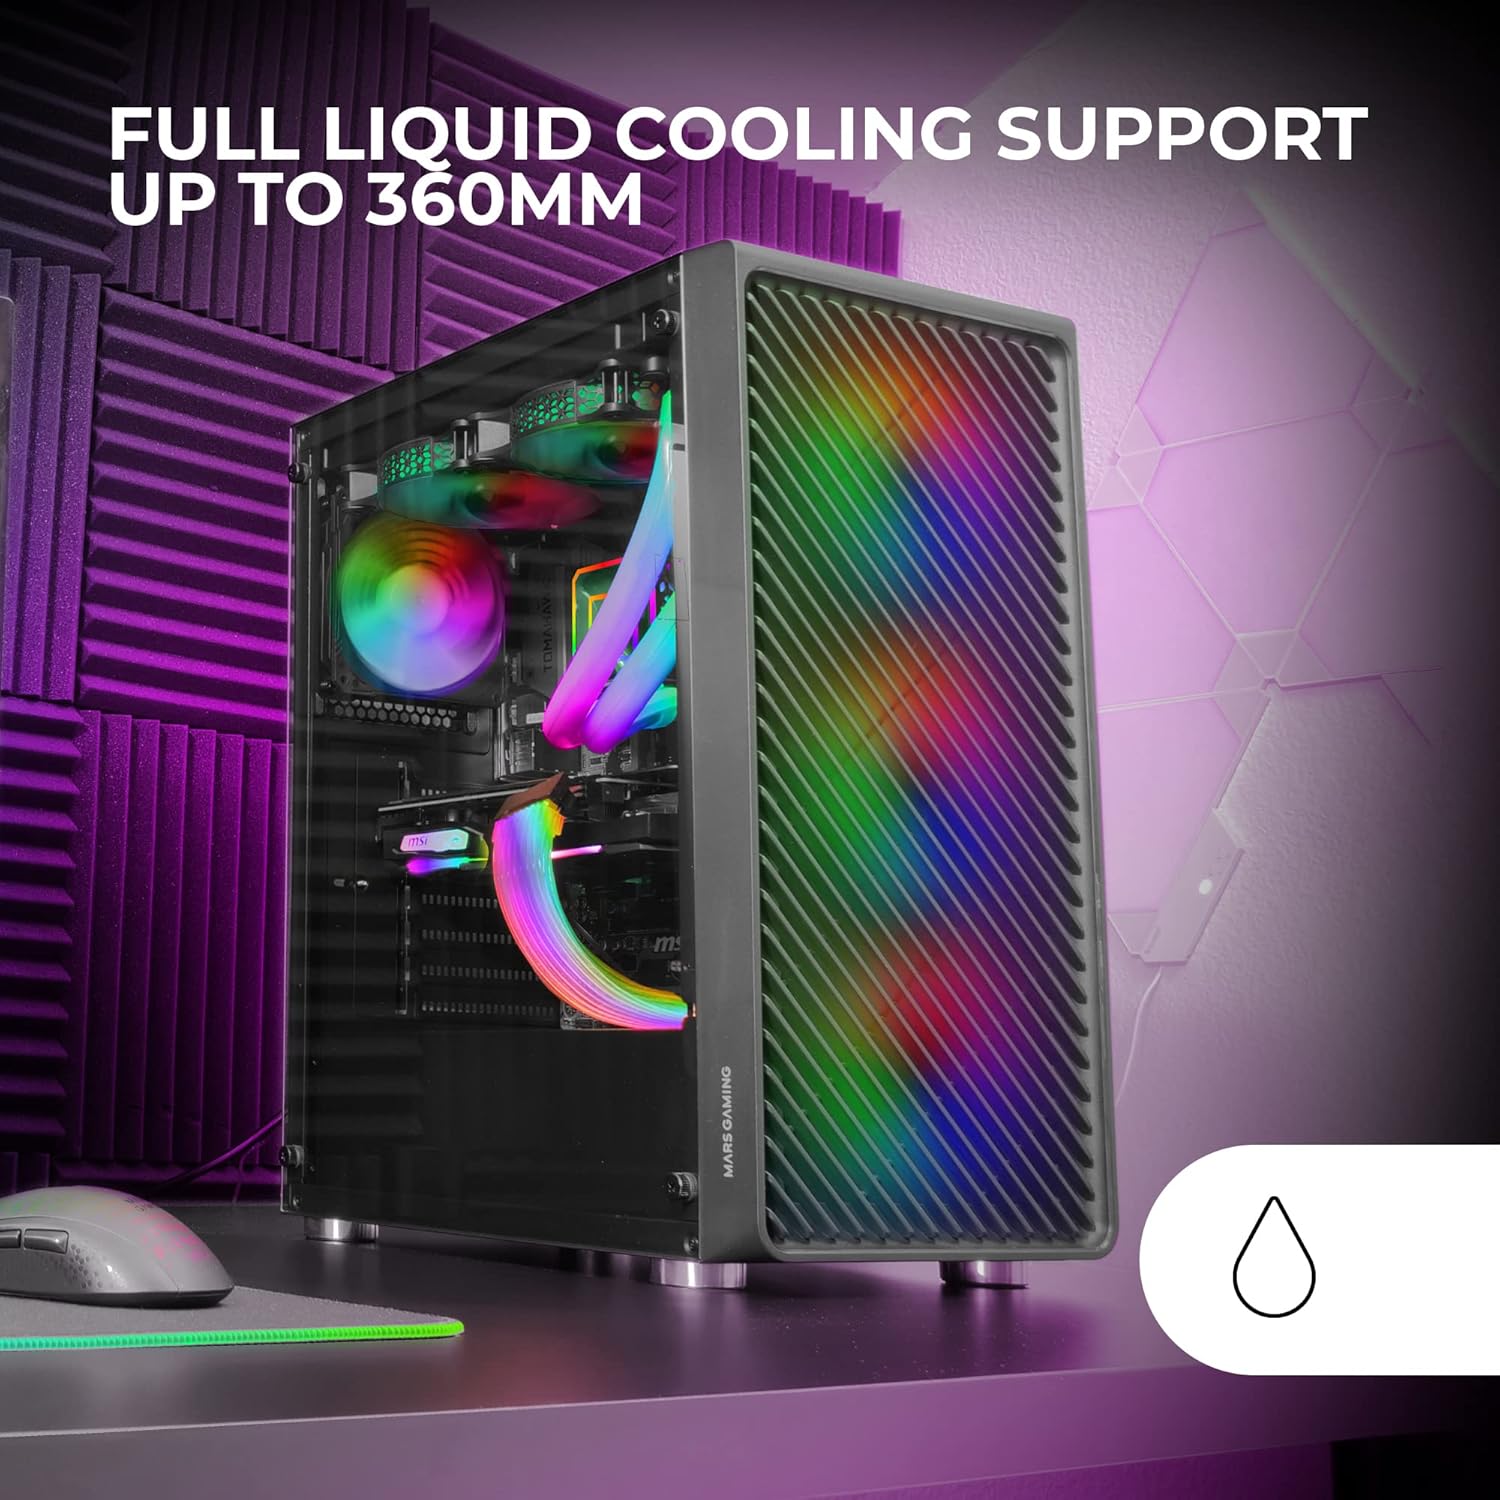
Figure 2: Tempered Glass Side Window
The front panel features a Metal-Mesh design for optimal airflow.

Figure 3: Metal-Mesh Front Panel
2. Modaboudu fifi sori
Install the appropriate standoffs for your ATX, Micro-ATX, or Mini-ITX motherboard. Carefully place the motherboard into the case, aligning it with the standoffs and the I/O shield opening. Secure the motherboard with screws from the accessory kit.
3. Agbara Ipese Unit (PSU) fifi sori
The case features a bottom-mount power supply design. Slide your PSU into its designated compartment at the bottom rear of the case and secure it with screws. Route the necessary cables through the cable management cutouts.
4. Fifi sori ẹrọ Awakọ Ibi ipamọ
Install your 3.5-inch hard drives and 2.5-inch solid-state drives into the available drive bays. The case supports up to 5 hard drives. Refer to the internal layout diagram for bay locations.
5. Graphics Card (VGA) Installation
Remove the necessary PCI-E slot covers. Insert your graphics card into the appropriate PCI-E slot on your motherboard and secure it with screws. The case supports VGAs up to 305mm long (330mm without a front fan) and 167mm wide.
6. Cooling System Installation (Fans & Liquid Cooling)
The case comes with four pre-installed 120mm ARGB fans (three front, one rear). Additional fans can be installed as follows:
- Oke: Up to 2 x 120mm or 2 x 140mm fans.
- Iwaju: Up to 3 x 120mm or 2 x 140mm fans (pre-installed).
- Ẹyìn: 1 x 120mm fan (pre-installed).
For liquid cooling, the case supports radiators up to 360mm.

Figure 4: Pre-installed 4x 120mm ARGB Fans

Figure 5: Internal Layout and Cooling Support
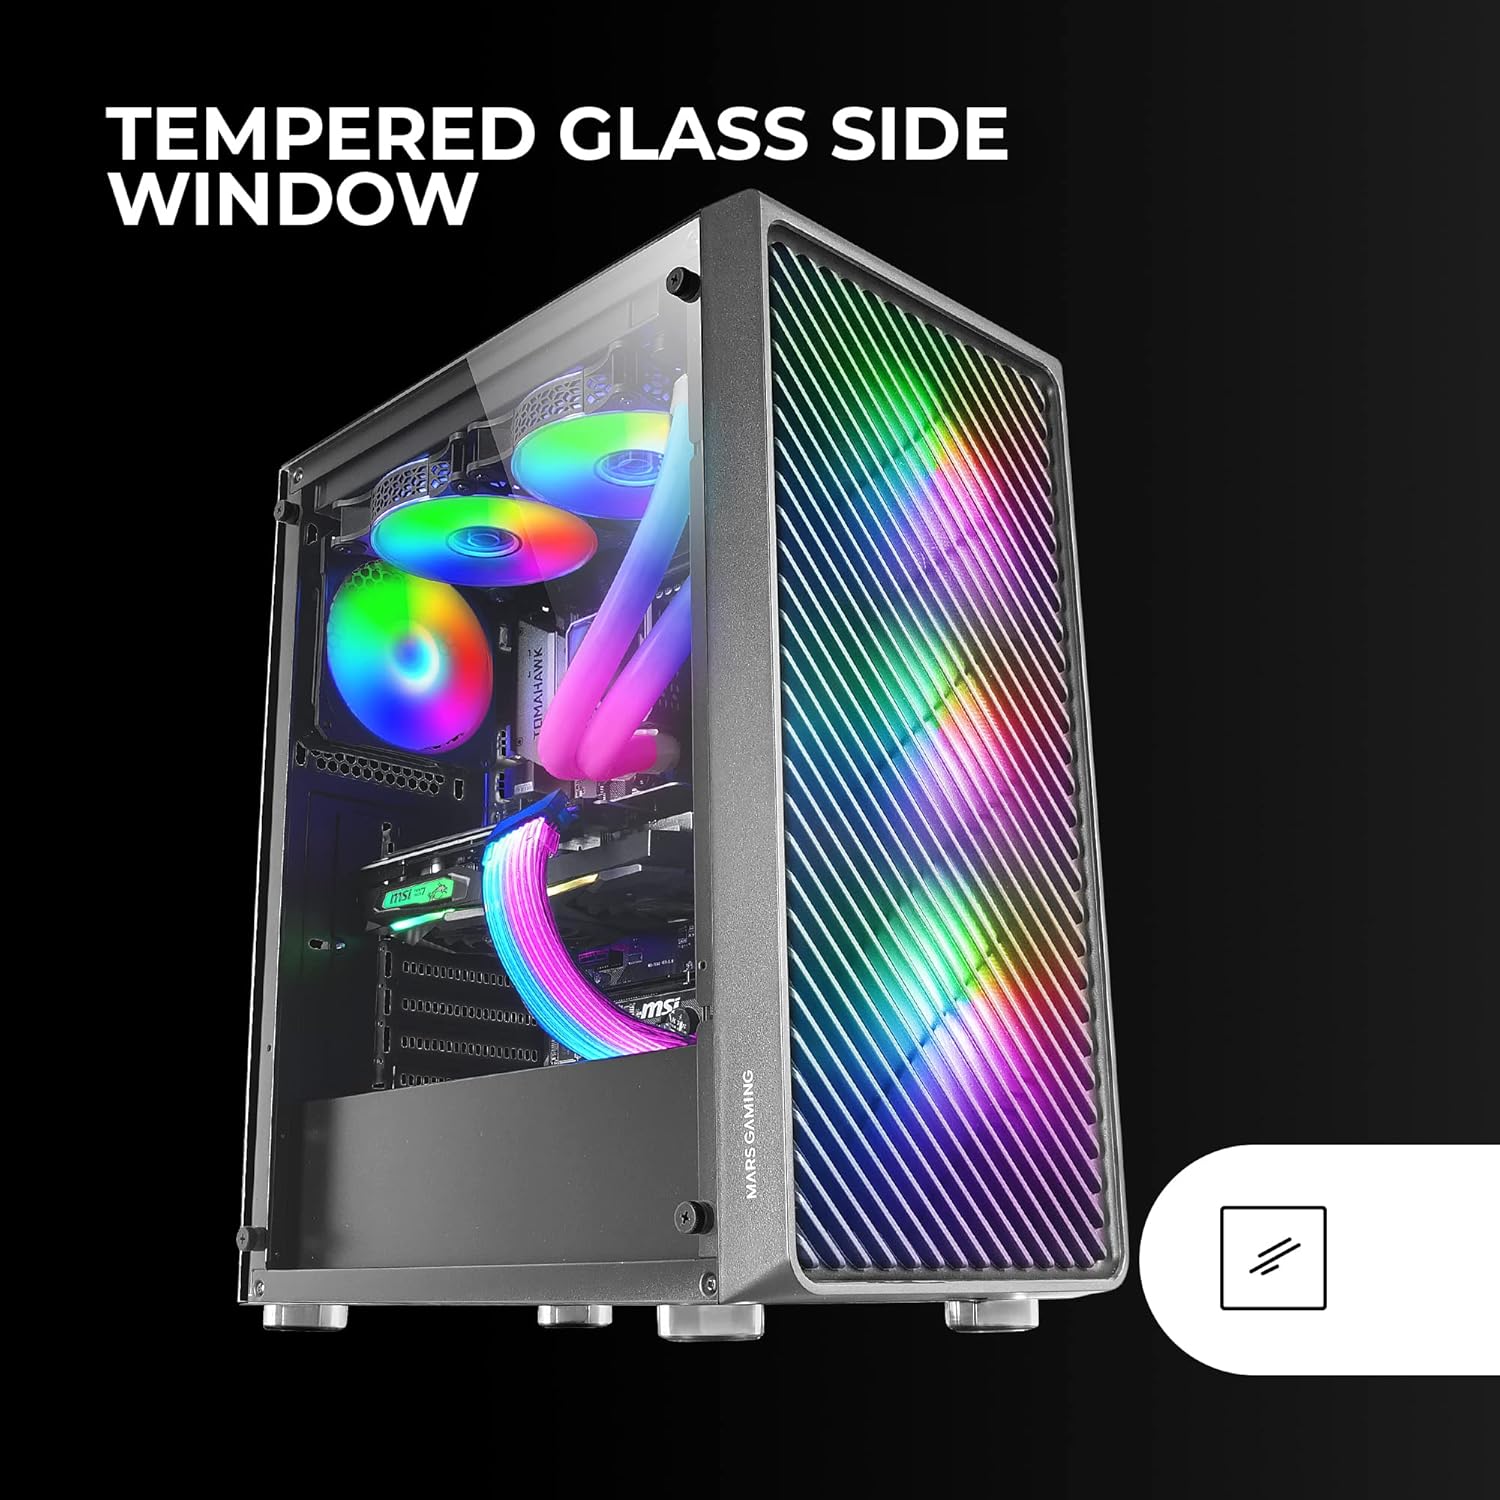
Figure 6: Liquid Cooling Support
7. Iṣakoso USB
Lo àwọn ohun èlò ìtọ́jú okùn àti àwọn ibi tí a ti so mọ́ ẹ̀yìn àwo módàbù láti fi àwọn okùn náà sí i kí o sì dáàbò bo. Èyí mú kí afẹ́fẹ́ àti ẹwà rẹ̀ sunwọ̀n sí i.
8. Apejọ ipari
Once all components are installed and cables are managed, reattach the tempered glass side panel and secure it with the thumb screws.
Awọn ilana Iṣiṣẹ
Agbara Lori
Connect your power supply to a wall outlet. Press the power button located on the top panel of the case to turn on your system.
ARGB ina Iṣakoso
The pre-installed ARGB fans can be controlled via your motherboard's ARGB software (if connected to an ARGB header) or through the integrated controller (if applicable). Refer to your motherboard manual for specific ARGB software instructions. The case offers multiple preset lighting effects.
Itoju
Ninu ọran naa
Máa fọ ìta àpótí náà déédéé pẹ̀lú aṣọ rírọ̀, damp cloth. Avoid abrasive cleaners. For interior cleaning, use compressed air to remove dust from components and fans.
Itọju Àlẹmọ eruku
The case features removable magnetic dust filters on the top and bottom. Periodically remove and clean these filters to maintain optimal airflow and prevent dust buildup inside the system. Wash with water and mild soap, then dry completely before reattaching.
Laasigbotitusita
Àwọn Fẹ́ẹ̀lì Kò Lè Yípo / RGB Kò Lílo
- Check all fan and ARGB connections to the motherboard or controller.
- Rii daju pe ipese agbara n pese agbara to peye.
- Verify that ARGB software or physical controls are correctly configured.
Ko dara Airflow / Overheating
- Clean all dust filters and fans.
- Ensure proper fan orientation for intake and exhaust.
- Verify that no cables are obstructing airflow.
- Consider adding additional fans if temperatures remain high.
Ètò kò ṣiṣẹ́
- Ṣayẹwo gbogbo awọn asopọ agbara lati PSU si modaboudu ati awọn paati.
- Rii daju pe okun bọtini agbara iwaju nronu ti sopọ mọ modaboudu.
- Verify the PSU is switched on.
Awọn pato
| Ẹya ara ẹrọ | Ẹ̀kúnrẹ́rẹ́ |
|---|---|
| Brand | Mars Awọn ere Awọn |
| Orukọ awoṣe | MCF |
| Iru Irú | Ile-iṣọ Mid |
| Modaboudu Ibamu | ATX, Micro ATX, Mini-ITX |
| Ohun elo | Irin |
| Àwọ̀ | Dudu |
| Awọn iwọn Nkan (D x W x H) | 14.96"D x 8.5"W x 18.11"H |
| Iwọn Nkan | 4.7 kilo |
| Internal Bays Quantity | 5 (for 3.5" Hard Disk Form Factor) |
| GPU Max Ipari | 305mm (330mm without front fan) |
| Sipiyu kula Max Iga | 177mm |
| Awọn onijakidijagan ti a ti fi sii tẹlẹ | 4 x 120mm ARGB egeb |
| Ọna Itutu | Afẹfẹ, omi |
| Aami Ifowopamọ Omi Liquid | Redita to 360mm |
| Agbara Ipese Iṣagbesori Iru | Isalẹ Oke |
| Lapapọ Awọn ibudo USB | 2 (USB 2.0) |
| Pataki Awọn ẹya ara ẹrọ | RGB Lighting, Tempered Glass Side Panel, Metal-Mesh Front Panel |
Atilẹyin ọja ati Support
For warranty information and technical support, please refer to the official Mars Gaming webojula tabi kan si wọn onibara iṣẹ Eka. Jeki ẹri rira rẹ fun awọn iṣeduro atilẹyin ọja.
Olupese: Mars Awọn ere Awọn