
Ọrọ Iṣaaju
This manual provides instructions for the VisionTek VT7100 Triple Display 4K USB-C Docking Station. The VT7100 is designed to expand the connectivity of your laptop or desktop, enabling multiple external displays, various USB peripherals, network access, and power delivery through a single USB-C connection. It supports Windows, macOS, and Thunderbolt 3 & 4 systems.

Image: The VisionTek VT7100 docking station shown with its included DisplayPort and HDMI cables.
Package Awọn akoonu
Daju pe gbogbo awọn nkan wa ninu apo rẹ:
- VisionTek VT7100 Triple Display 4K USB-C Docking Station
- Okùn USB-C sí USB-C (mita 1)
- Afowoyi Olumulo (iwe-ipamọ yii)
- DisplayPort to DisplayPort Cable (2 meters)
- 2x HDMI Cables (2 meters each)

Image: Visual representation of the VT7100 docking station and its bundled cables.
Ọja Pariview
The VT7100 docking station features a comprehensive array of ports to enhance your workstation. Familiarize yourself with the port layout:

Aworan: Iwaju ati ẹhin views of the VT7100 docking station, highlighting all available ports and their labels.
Awọn ibudo Iwaju Panel:
- Bọtini agbara: To power on/off the docking station.
- USB-A (QC 3.0): One USB 3.0 port with Quick Charge 3.0 support.
- USB-A (5Gbps): One USB 3.1 port for data transfer.
- USB-C (5Gbps): One USB 3.1 Type-C port for data transfer.
- Audio In / Mic Out (3.5mm Combo Jack): Fun sisopọ awọn agbekọri pẹlu gbohungbohun kan.
Awọn Ibudo Panel Tẹhin:
- USB-A (5Gbps): Three additional USB 3.1 ports for data transfer.
- HDMI (DisplayLink): Two HDMI ports powered by DisplayLink technology for external displays.
- DisplayPort (DP Alt Mode): One DisplayPort for an external display.
- Gigabit-Eternet: RJ45 port for wired network connectivity (10/100/1000 Mbps).
- USB-C Power In: For connecting the power adapter to the docking station.
- USB-C to Host: Connects the docking station to your laptop/desktop.
- Iho titiipa Kensington: For securing the docking station.
Awọn ilana iṣeto
- So agbara: Connect the power adapter (not included, but required for 100W Power Delivery) to the "USB-C Power In" port on the rear of the VT7100 docking station. Plug the power adapter into a wall outlet.
- Sopọ si Ẹrọ Gbalejo: Use the included USB-C to USB-C cable to connect the "USB-C to Host" port on the docking station to a USB-C or Thunderbolt port on your laptop or desktop.
- Sopọ Awọn ifihan:
- For HDMI displays: Use the included HDMI cables to connect your monitors to the "HDMI (DisplayLink)" ports on the rear of the docking station.
- For DisplayPort displays: Use the included DisplayPort cable to connect your monitor to the "DisplayPort (DP Alt Mode)" port on the rear of the docking station.
- Akiyesi: For DisplayLink-powered HDMI ports, ensure DisplayLink drivers are installed on your operating system if not automatically detected.
- Awọn Agbeegbe Sopọ: Connect your USB devices (keyboard, mouse, external drives, webcam) to the available USB-A and USB-C ports on the front and rear panels.
- So Nẹtiwọọki pọ: For wired internet access, connect an Ethernet cable from your router or modem to the "Gigabit Ethernet" port on the rear of the docking station.
- So Audio: If using a wired headset, connect it to the 3.5mm Audio Combo Jack on the front panel.
- Agbara Tan: Press the Power Button on the front panel of the docking station. Your host device should detect the connected displays and peripherals.
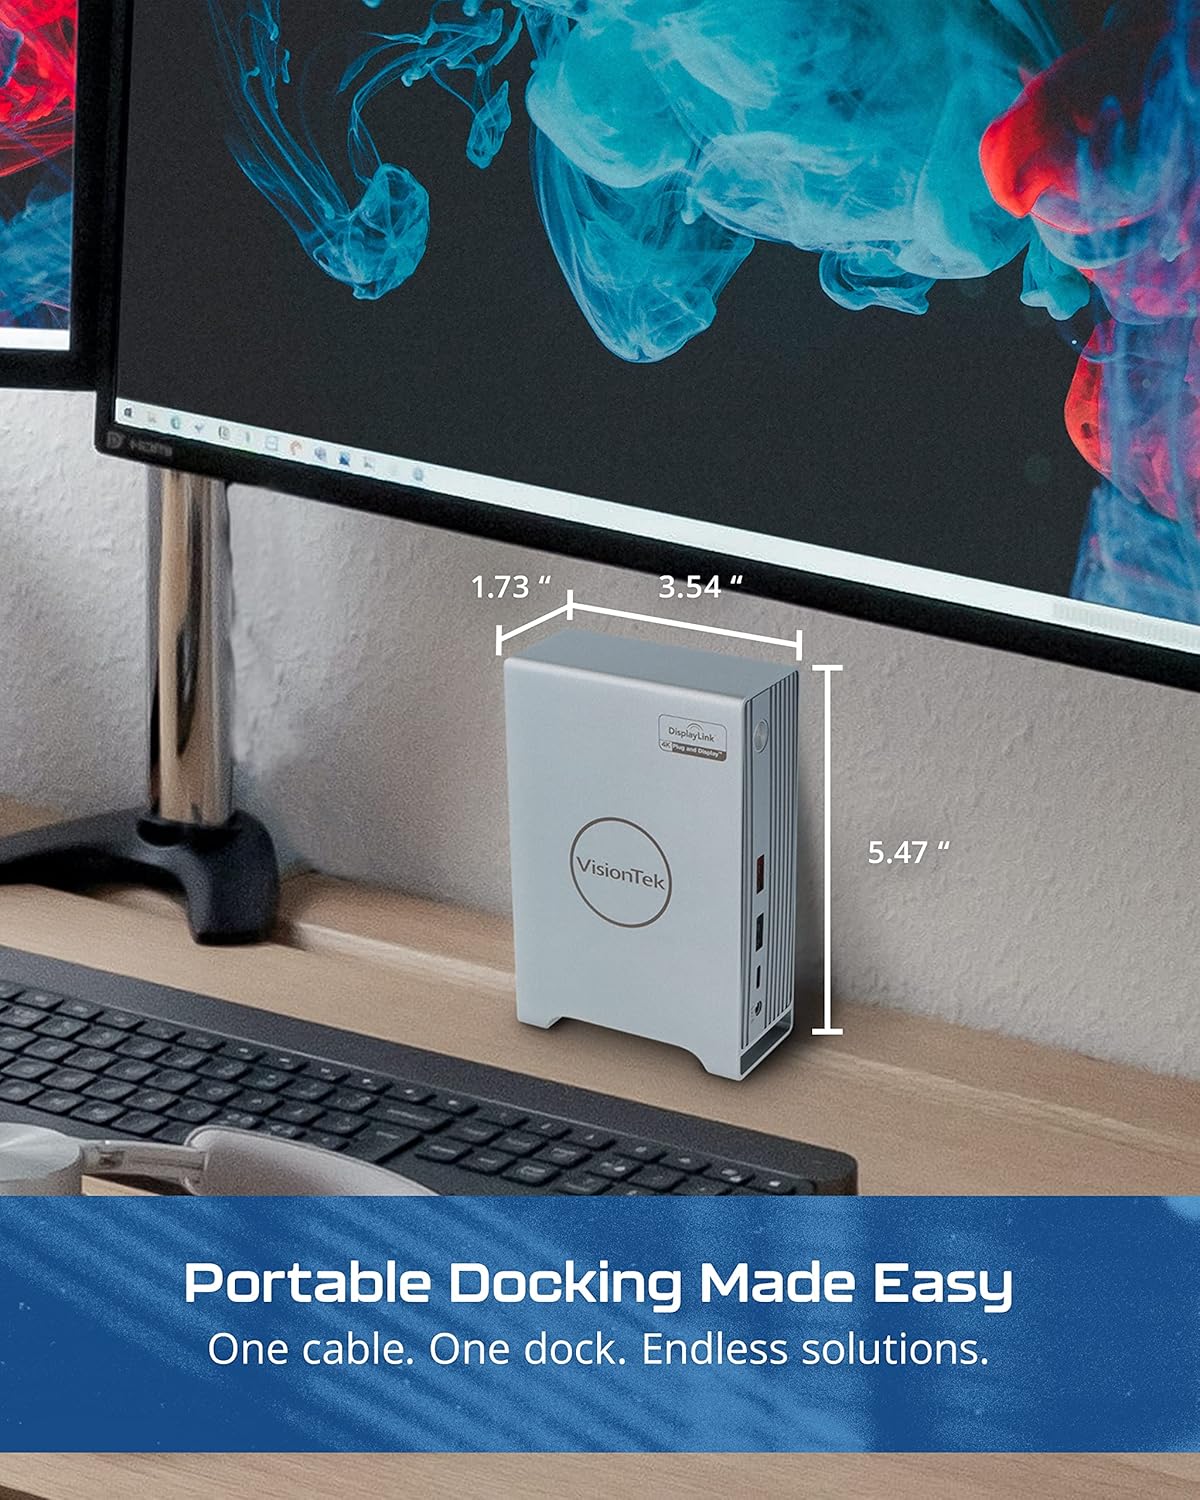
Image: A setup demonstrating the VT7100 docking station connected to a laptop and multiple external displays.
Awọn ilana Iṣiṣẹ
Iṣeto ni Ifihan:
Once connected, your operating system (Windows, macOS, ChromeOS) should automatically detect the external displays. You may need to adjust display settings:
- Extend Displays: To use multiple monitors as an extended desktop, navigate to your operating system's display settings and select "Extend these displays."
- Awọn ifihan Digi: To duplicate your primary screen on external monitors, select "Duplicate these displays" in your display settings.
- Resolution and Orientation: Adjust resolution, refresh rate, and screen orientation (portrait/landscape) as needed within your display settings. The VT7100 supports resolutions up to 4K Ultra HD.
Ifijiṣẹ Agbara:
The VT7100 provides up to 100W of Power Delivery to your connected laptop via the USB-C to Host cable, provided a compatible power adapter is connected to the dock's "USB-C Power In" port. This allows your laptop to charge while connected to the docking station.
Awọn Agbeegbe USB:
All connected USB devices will function as if directly connected to your host device. The USB 3.0 QC 3.0 port offers faster charging for compatible devices.
Asopọmọra nẹtiwọki:
The Gigabit Ethernet port provides a stable and fast wired network connection. Ensure your host device's network settings are configured for Ethernet if necessary.
Itoju
- Ninu: Lo asọ ti o tutu, ti o gbẹ lati nu ita ita ti ibudo docking. Yago fun awọn olutọpa omi tabi awọn ohun elo abrasive.
- Afẹfẹ: Ensure the docking station is placed in a well-ventilated area to prevent overheating. Do not block ventilation openings.
- Ibi ipamọ: When not in use for extended periods, store the docking station in a cool, dry place away from direct sunlight.
- Àwọn àtúnṣe Famuwia/Awakọ̀: Periodically check the VisionTek website for any available firmware updates for the docking station or updated DisplayLink drivers.
Laasigbotitusita
| Isoro | Owun to le Solusan |
|---|---|
| No display output from monitors. |
|
| Awọn ẹrọ USB ko mọ. |
|
| No network connection via Ethernet. |
|
| Kọǹpútà alágbèéká kii ṣe gbigba agbara. |
|
Awọn pato
| Ẹya ara ẹrọ | Ẹ̀kúnrẹ́rẹ́ |
|---|---|
| Awoṣe | VT7100 |
| Brand | VisionTek |
| Asopọ Gbalejo | USB-C (Thunderbolt 3 & 4 compatible) |
| Ijade fidio | 2x HDMI (DisplayLink), 1x DisplayPort (DP Alt Mode) |
| Ipinnu Max | 4K Ultra HD (per display, depending on configuration) |
| Awọn ibudo USB | 4x USB 3.0 (5Gbps), 1x USB 3.0 QC 3.0, 1x USB-C (5Gbps) |
| Àjọlò | Gigabit Ethernet (10/100/1000 Mbps) |
| Ohun | 3.5mm Audio Konbo Jack |
| Ifijiṣẹ Agbara | Up to 100W to host (via USB-C Power In) |
| Aabo | Kensington Titiipa Iho |
| OS ibaramu | Windows, macOS, ChromeOS |

Image: The VT7100 docking station with its dimensions labeled.
Atilẹyin ọja ati Support
Specific warranty information and detailed support contacts are not provided in this manual. For warranty details, technical support, or further assistance, please refer to the official VisionTek website or contact VisionTek customer service directly.
O le rii alaye atilẹyin nigbagbogbo lori olupese webojula: