
1. Ifihan
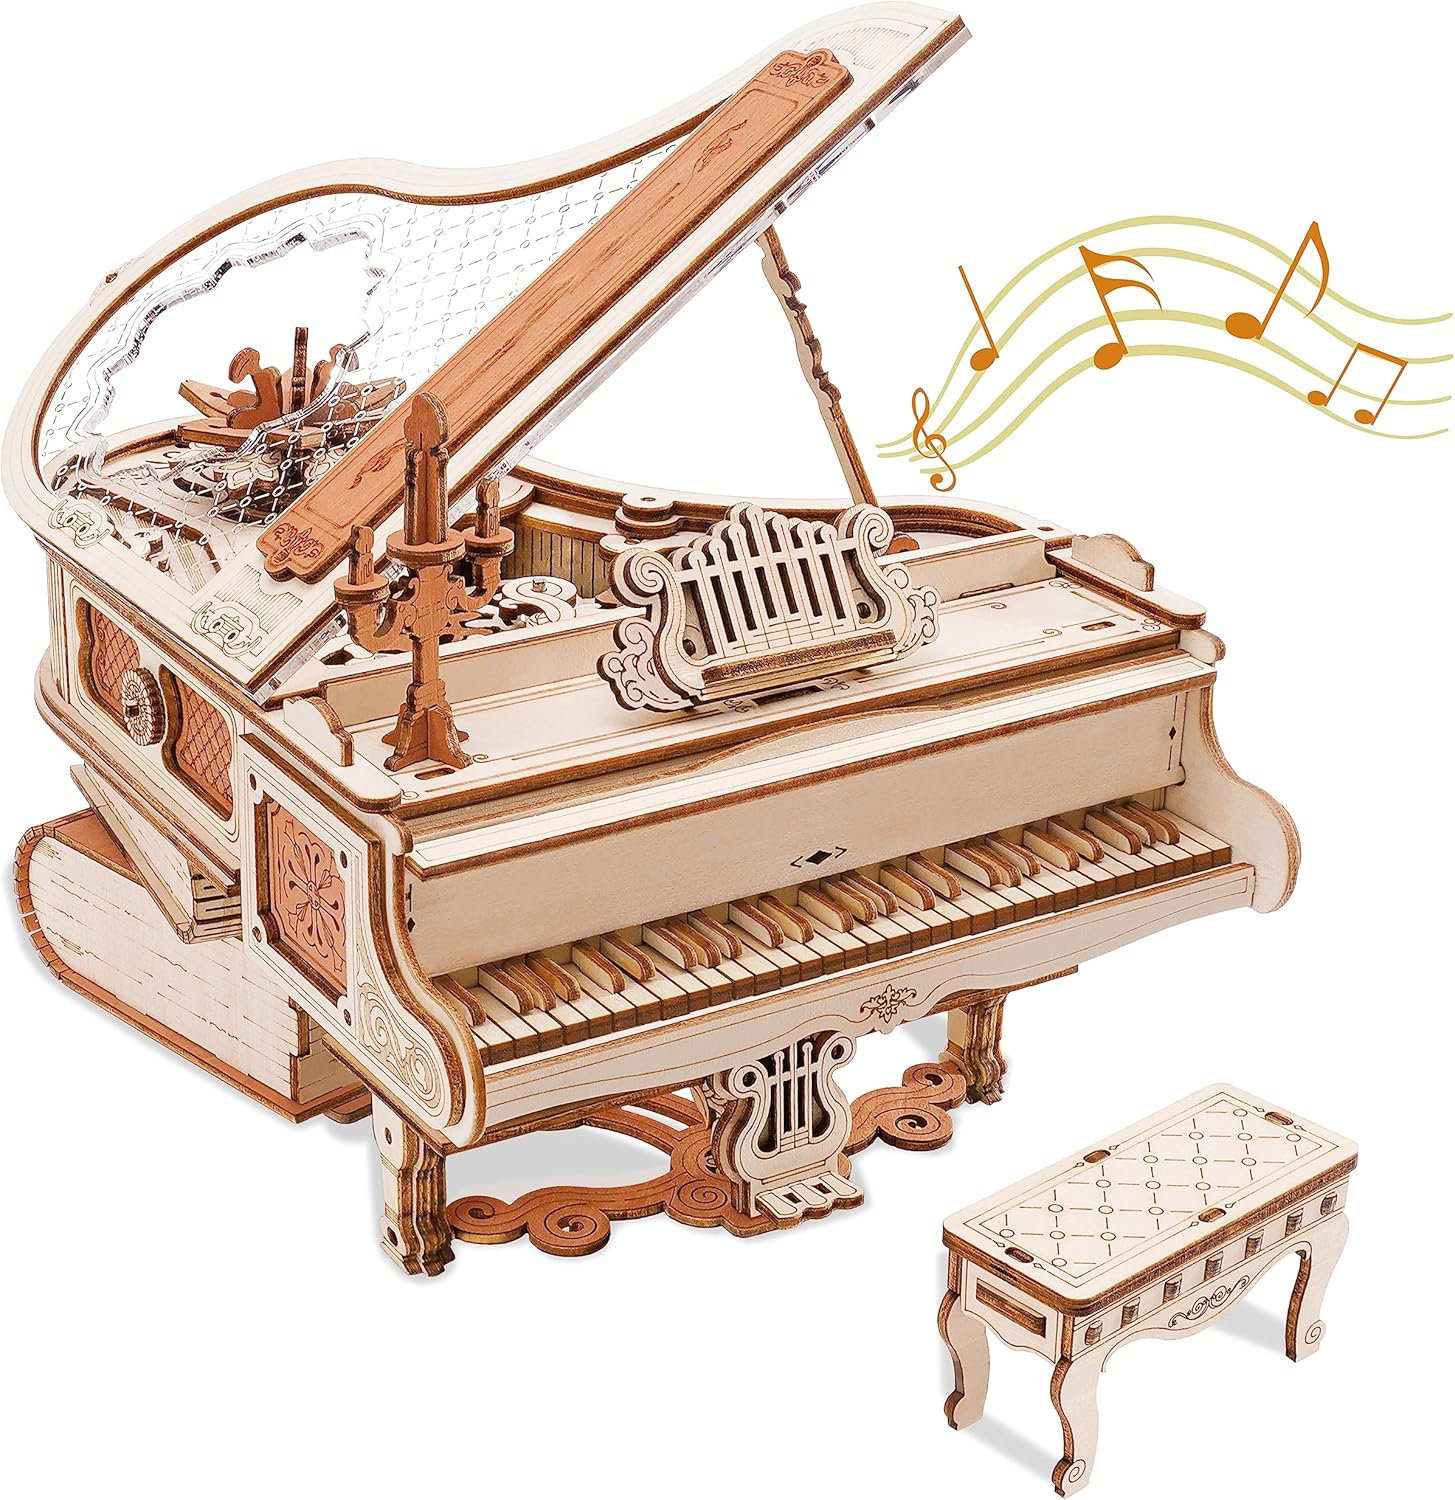
Thank you for choosing the ROBOTIME Magic Piano 3D Wooden Puzzle Music Box. This intricate model kit provides an engaging assembly experience, culminating in a functional music box with self-playing keys and visible gear mechanisms. This manual provides detailed instructions for assembly, operation, maintenance, and troubleshooting to ensure a successful and enjoyable experience.

Figure 1.1: The fully assembled ROBOTIME Magic Piano 3D Wooden Puzzle Music Box.
2. Alaye Aabo
- Ọjọ ori ti a ṣeduro: A ṣe iṣeduro ọja yii fun awọn eniyan kọọkan 14 ọdun ati agbalagba due to small parts and the complexity of assembly.
- Awọn Ẹya Kekere: The kit contains small parts that may pose a choking hazard. Keep out of reach of young children and pets.
- Awọn Ipari Din: Exercise caution when removing wooden pieces from the sheets, as some edges may be sharp. Use appropriate tools if necessary.
- Mu pẹlu Itọju: Wooden components can be delicate. Apply gentle pressure during assembly to prevent breakage.
3. Package Awọn akoonu
Before beginning assembly, verify that all components are present and undamaged. Refer to the included instruction booklet and the image below for a visual guide to the package contents.
Olusin 3.1: Pariview of the kit contents, including laser-cut wooden sheets, assembly tools, and the instruction manual.
Ohun elo naa ni igbagbogbo pẹlu:
- Laser-cut wooden sheets with 223 individual pieces.
- Music movement mechanism.
- Small hardware (screws, metal shafts).
- Wax stick for lubricating gears.
- Mini screwdriver and other basic assembly tools.
- Detailed instruction booklet.
4. Apejọ Awọn ilana
Assembly of the Magic Piano typically takes approximately 4.5 hours. Patience and careful attention to the instruction booklet are crucial for a successful build. No glue is required for the primary assembly.
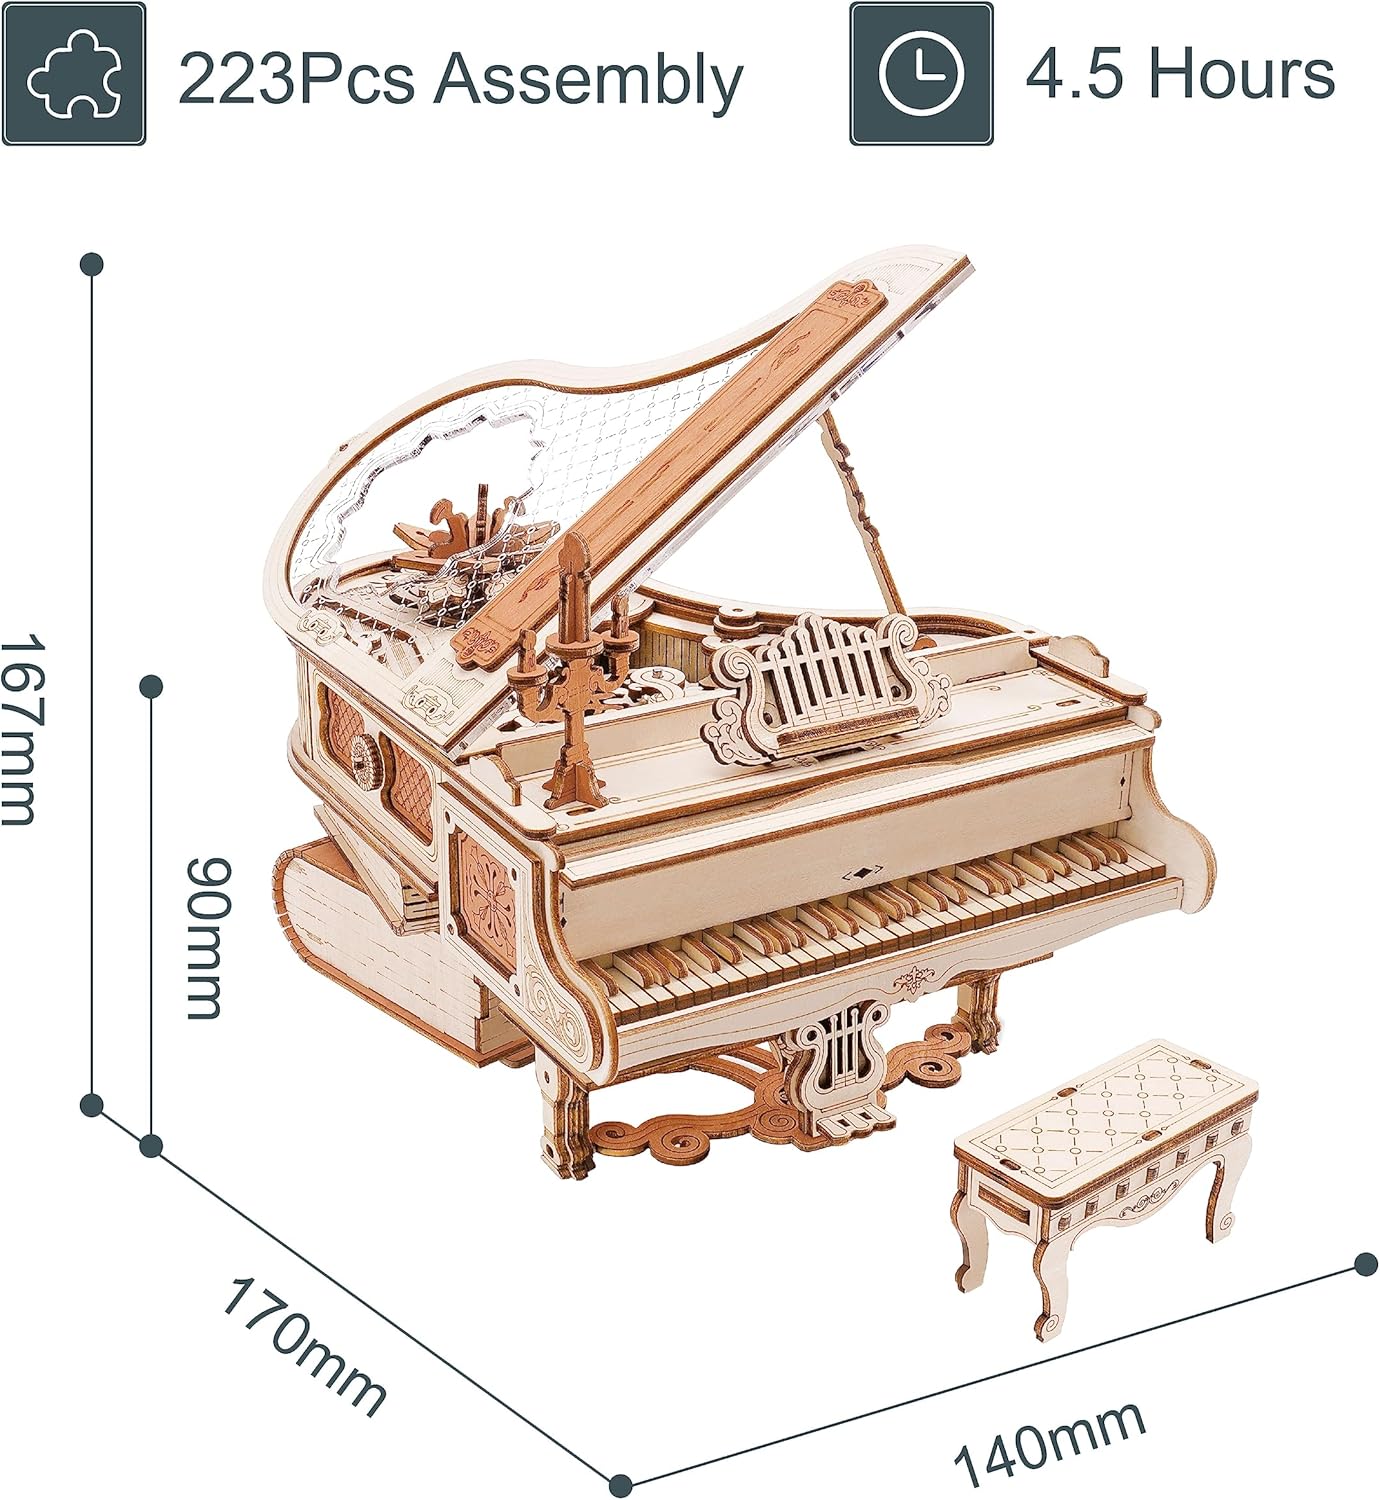
Figure 4.1: The assembled model with dimensions and estimated assembly time.
4.1 Gbogbogbo Apejọ Tips
- Ka Awọn ilana: Farabalẹ tunview the entire instruction booklet before starting.
- Ṣeto Awọn apakan: Punch out pieces gently and organize them by number or type to avoid confusion.
- Iyanrin: Lightly sand any rough edges or tabs on the wooden pieces for a smoother fit and operation, especially for moving parts.
- Waxing Gears: It is critical to apply the provided wax to all gears and moving parts ṣaaju ki o to assembly. This ensures smooth operation of the music box and piano keys.
- Titẹ pẹlẹbẹ: Pieces should fit snugly. Do not force them, as this can cause breakage. If a piece doesn't fit, double-check its orientation and part number.
4.2 Igbesẹ-nipasẹ-Igbese Apejọ
Follow the numbered steps in the included instruction booklet. Each step will guide you through connecting specific pieces. Pay close attention to the diagrams provided.
- Begin by assembling the base structure, ensuring all foundational pieces are securely interlocked.
- Integrate the music movement mechanism as instructed, making sure it is correctly oriented.
- Assemble the gear system, applying wax to each gear and axle point before connecting them. This is vital for the functionality of the self-playing keys.
- Construct the piano keys and their connecting mechanism. Ensure free movement after assembly.
- Attach the decorative elements and the transparent lid.

olusin 4.2: Apa view illustrating the intricate internal gear system and the self-playing piano keys.
5. Awọn ilana Iṣiṣẹ
Once fully assembled, your Magic Piano Music Box is ready to operate.
5.1 Winding the Music Box
- Locate the wind-up spring key, typically found on the side or bottom of the model.
- Gently turn the key clockwise until you feel a slight resistance. Do not over-wind, as this can damage the mechanism.
- Release the key, and the music box will begin to play, accompanied by the movement of the piano keys and internal gears.
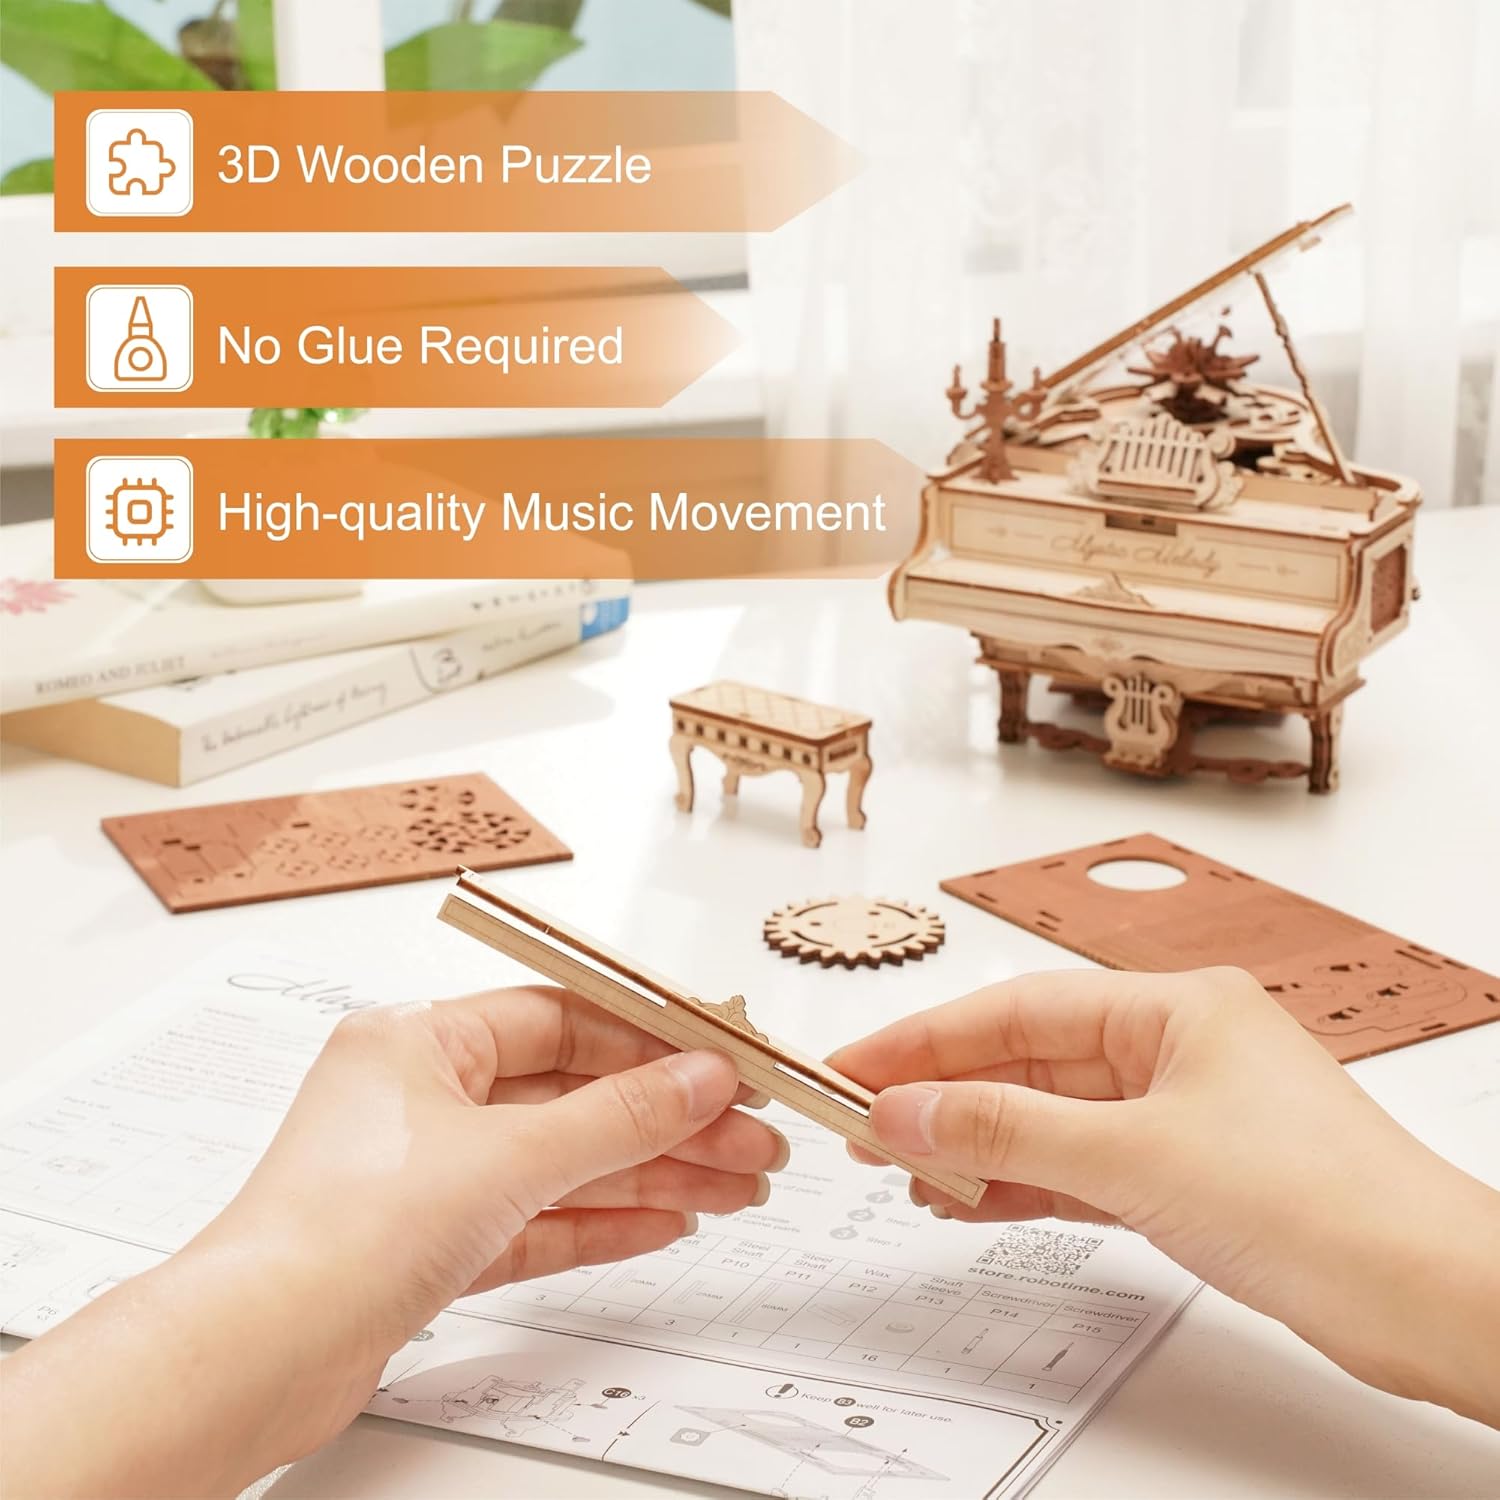
Figure 5.1: Detail of the wind-up spring key for activating the music box.
5.2 Observing the Mechanism
- The transparent lid allows for observation of the intricate gear transmission as the music plays.
- The piano keys will move in sync with the melody, simulating a playing piano.

Figure 5.2: The self-playing piano keys in action.
6. Itọju
To ensure the longevity and smooth operation of your ROBOTIME Magic Piano Music Box, follow these simple maintenance guidelines:
- Ninu: Dust the model regularly with a soft, dry cloth or a soft brush to prevent dust accumulation in the gears and moving parts. Avoid using liquid cleaners.
- Lubrication: If the gears or piano keys begin to move stiffly, reapply a small amount of the provided wax (or a similar non-toxic wax) to the contact points of the gears and axles.
- Ibi ipamọ: Store the model in a dry environment, away from direct sunlight and extreme temperature fluctuations, which can cause the wood to warp or crack.
7. Laasigbotitusita
If you encounter any issues with your Magic Piano Music Box, refer to the following common problems and solutions:
- Music Box Not Playing:
- Ensure the music box has been sufficiently wound.
- Check for any obstructions in the music movement mechanism.
- Verify that all gears connected to the music box are properly aligned and waxed.
- Piano Keys Not Moving Smoothly:
- Reapply wax to all moving parts of the key mechanism and associated gears.
- Check for any misaligned or stuck pieces that might be impeding movement.
- Ensure no excess pressure was applied during assembly that might have warped parts.
- Awọn nkan ti ko baamu:
- Double-check the part numbers and orientation against the instruction diagrams.
- Gently sand the edges of the piece or the slot if there is a tight fit.
- Do not force pieces together.
8. Awọn pato
| Nọmba awoṣe | ZQRT-AMK81 |
| Awọn iwọn (L x W x H) | 14 x 17 x 12.5 cm |
| Iwọn | 720 giramu |
| Nọmba ti Awọn nkan | 223 |
| Ohun elo | Igi |
| Niyanju Ọjọ ori | 14 ọdun ati si oke |
| Iye ẹkọ | Creative thinking, Pattern recognition |
9. Atilẹyin ọja ati Support
ROBOTIME is committed to providing high-quality products and customer satisfaction. We offer a quality guarantee for our wooden puzzle kits.
- Awọn Ẹya Iyipada Ọfẹ: In the event of damaged or missing parts, ROBOTIME provides free replacement parts. Please contact our customer support with details of the issue and the specific parts required.
- Atilẹyin Onibara: If you have any questions, suggestions, or require assistance with your 3D jigsaw puzzle, please do not hesitate to contact us through the retailer's platform or the official ROBOTIME webojula.