
Ọrọ Iṣaaju
The U-Turn Audio Orbit Plus (Gen 2) Turntable is designed to provide high-fidelity audio playback for your vinyl collection. Featuring an OA3 precision gimbal tonearm, a grooved acrylic platter, and an external belt drive, this turntable delivers accurate tracking, consistent speed, and detailed sound. This manual provides essential information for setting up, operating, and maintaining your turntable.

Figure 1: U-Turn Audio Orbit Plus (Gen 2) Turntable, Black No Preamp.
Package Awọn akoonu
Ṣaaju ki o to bẹrẹ, rii daju pe gbogbo awọn eroja wa:
- Orbit Plus Turntable
- AC Adapter
- Awọn kebulu RCA
- Ideri Eruku
- Fet Mat
Eto Itọsọna
Follow these steps to set up your Orbit Plus turntable:
- Ibi: Place the turntable on a stable, level surface away from direct sunlight, heat sources, and vibrations.
- Fifi sori ẹrọ awo: Carefully place the grooved acrylic platter onto the spindle.
- Fifi sori igbanu: The external belt drive uses a seamless silicone belt. Gently stretch the belt around the motor pulley and the outer rim of the platter. Ensure it is seated correctly.
- Tonearm Setup:
- The OA3 precision gimbal tonearm features a one-piece magnesium armtube.
- Install the Ortofon OM5E cartridge onto the tonearm if not pre-installed.
- Adjust the counterweight at the rear of the tonearm to achieve the recommended tracking force for your cartridge. Refer to the cartridge manufacturer's specifications for precise settings.
- The tonearm includes internal anti-skate, which is pre-calibrated for optimal performance.
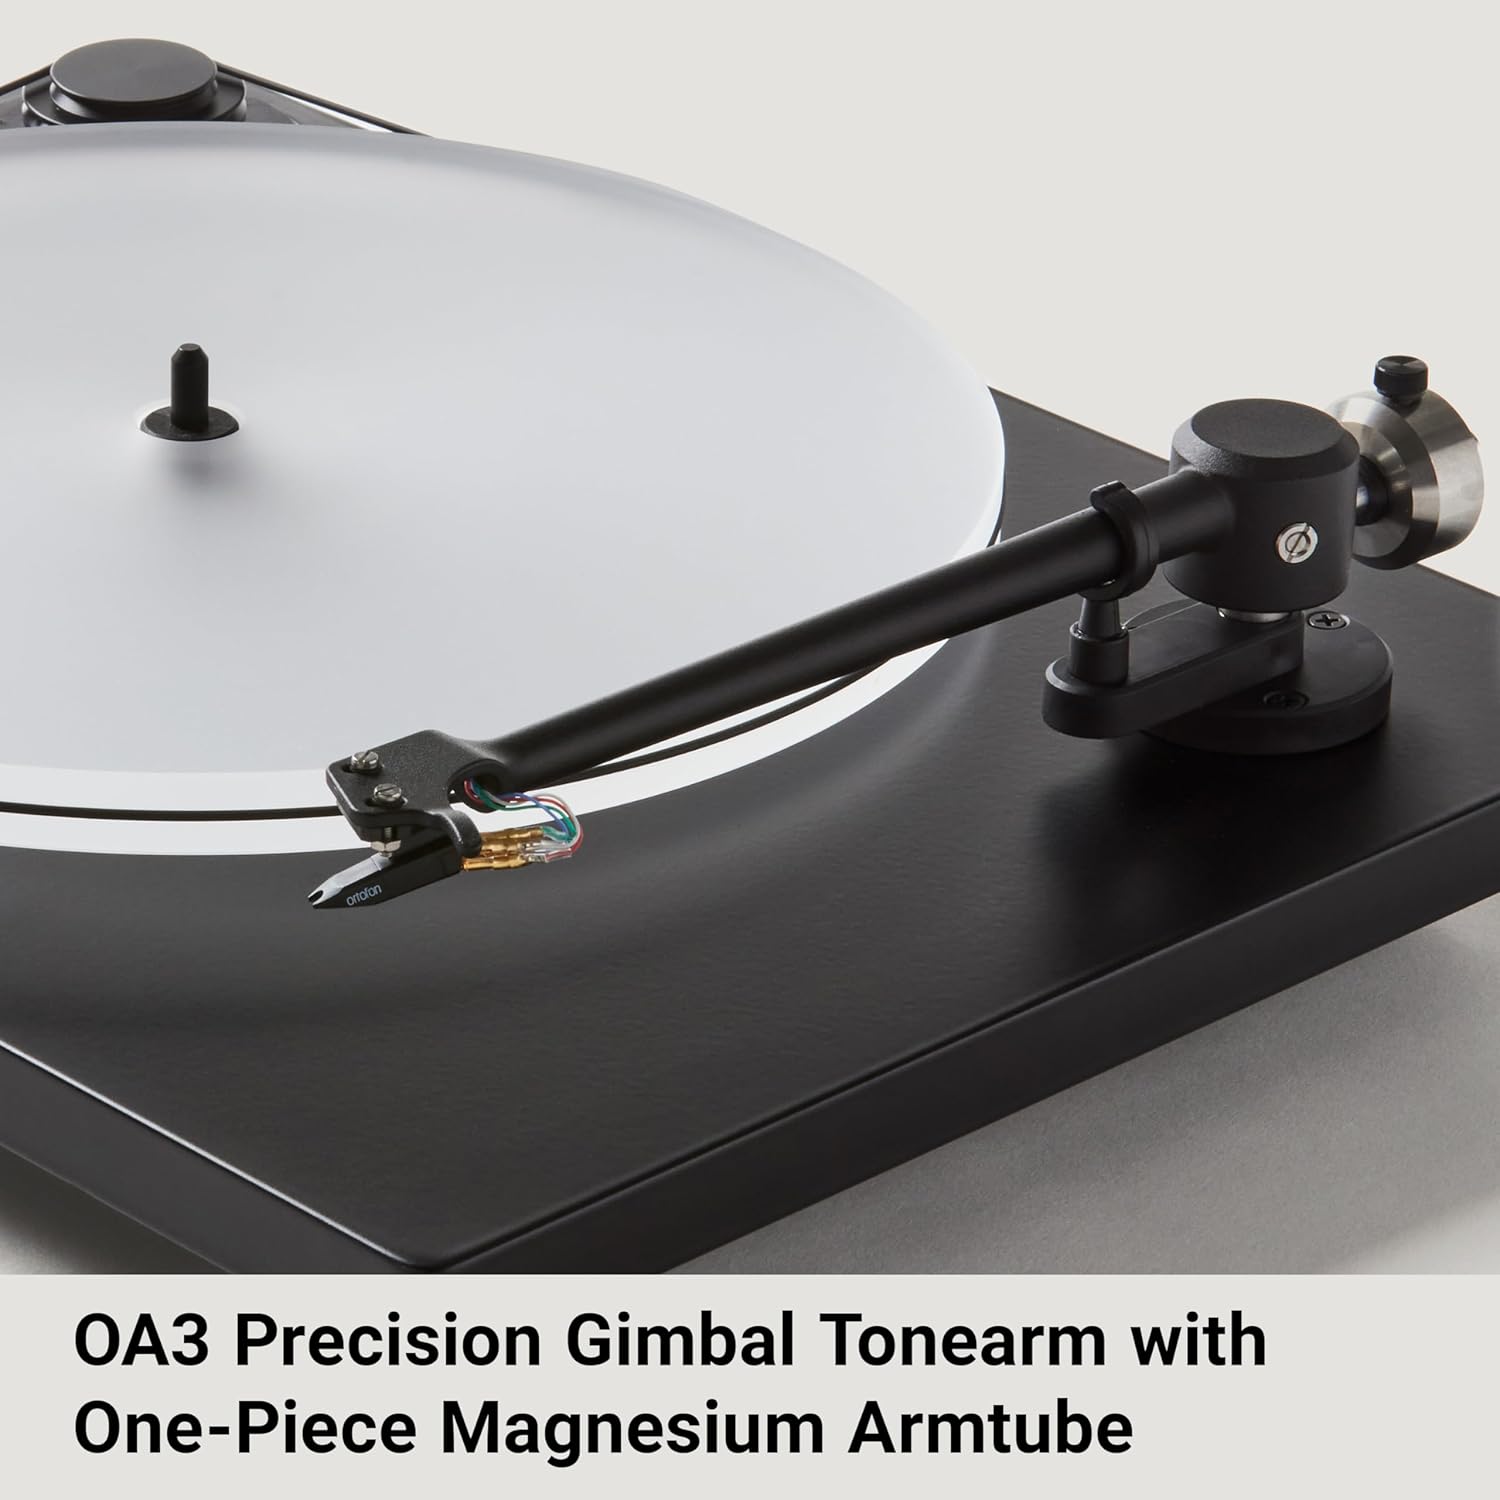
Figure 2: OA3 Precision Gimbal Tonearm with Ortofon OM5E Cartridge.
- Sopọ si Eto Olohun:
This turntable requires an external turntable preamp tabi ẹya amplifier with dedicated phono inputs. Connect the RCA cables from the turntable's output to the appropriate input on your preamp or amplifier. Connect the ground wire to the ground terminal on your audio equipment to minimize hum.
- Asopọ agbara: Connect the AC adapter to the turntable and then to a power outlet.
- Ideri Ekuru: Place the dust cover over the turntable to protect it when not in use.

Figure 3: U-Turn Audio turntables are Hand Assembled in the USA.
Awọn ilana Iṣiṣẹ
Operating your Orbit Plus turntable is straightforward:
- Titan/Apapa: Use the power switch located on the front left of the turntable to turn the unit on or off.
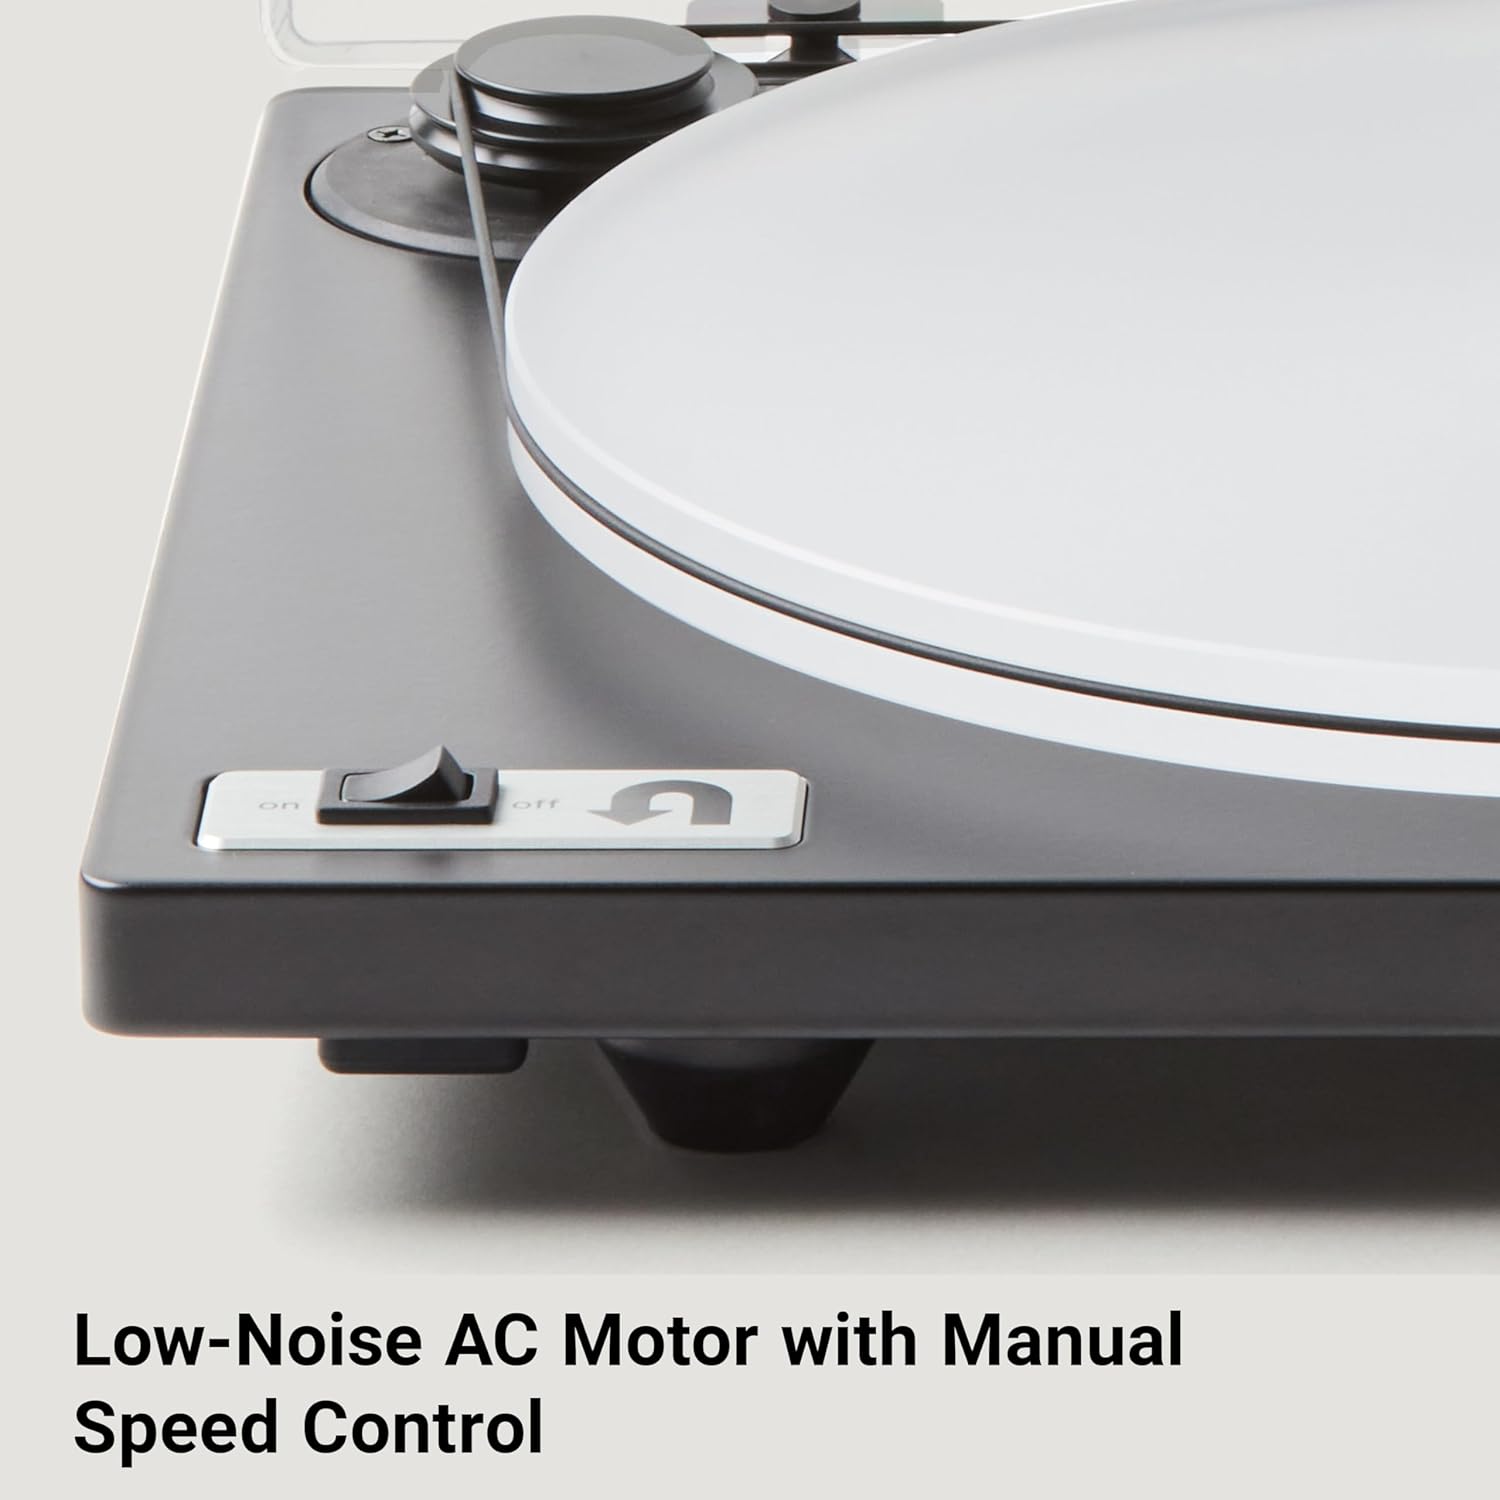
Figure 4: Power switch and U-Turn logo.
- Selecting Playback Speed: The Orbit Plus features manual speed control. To change between 33 ⅕ RPM and 45 RPM, you must manually move the silicone belt between the two grooves on the motor pulley.
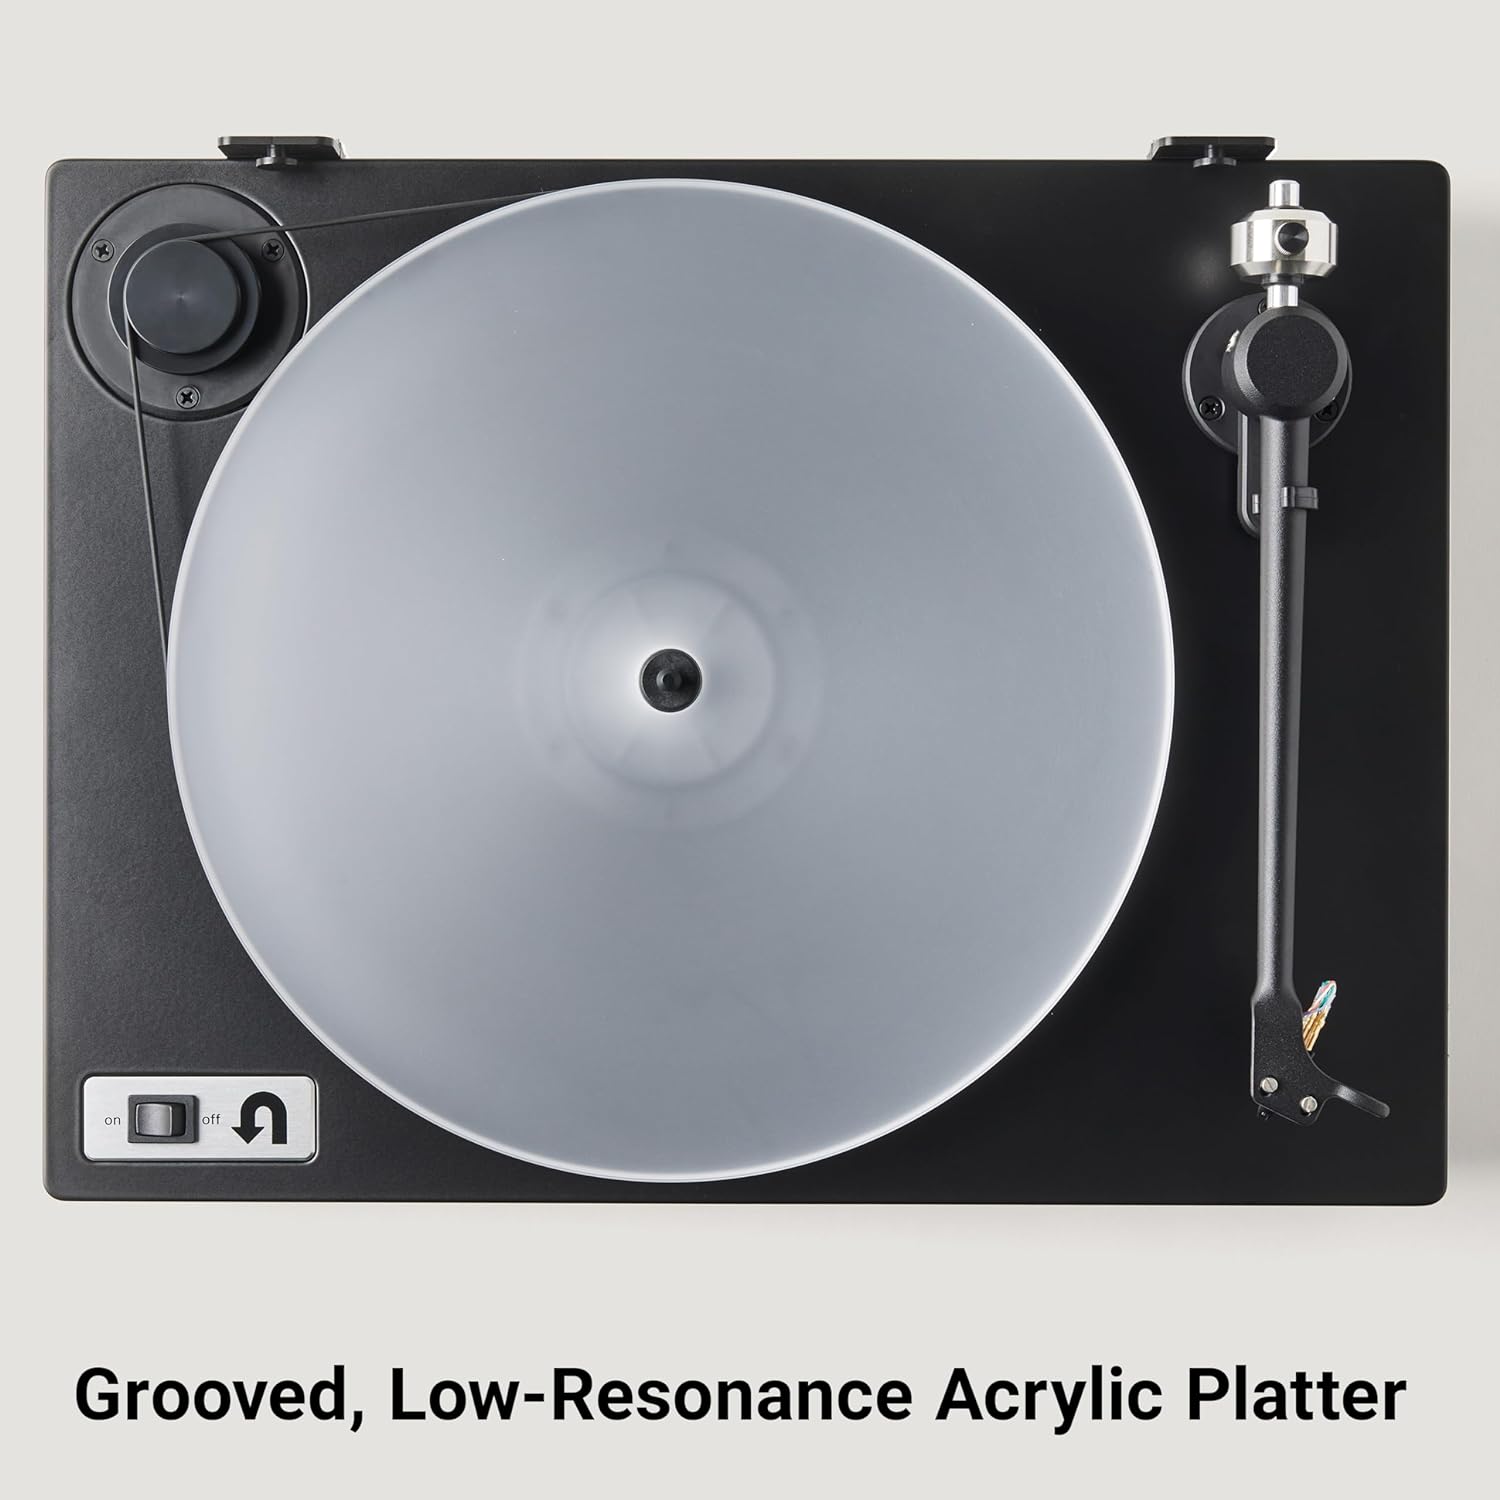
Figure 5: Grooved acrylic platter and external belt drive for speed selection.
- Ṣiṣe igbasilẹ kan:
- Fi àkọsílẹ̀ vinyl rẹ sí orí àwo náà.
- Carefully lift the tonearm using the tonearm lift lever (if present, or manually if not).
- Position the stylus over the lead-in groove of the record.
- Gently lower the tonearm onto the record. The music will begin to play.
- Idaduro Sisisẹsẹhin duro:
- Lift the tonearm from the record.
- Return the tonearm to its rest.
- Turn off the turntable using the power switch.

Figure 6: Ready to Play Out of the Box.
Itoju
Itọju to dara ṣe idaniloju igba pipẹ ati iṣẹ to dara julọ ti turntable rẹ:
- Ideri Ekuru: Always keep the dust cover closed when the turntable is not in use to prevent dust accumulation on the platter and stylus.
- Ninu:
- Use a soft, dry, lint-free cloth to clean the turntable's chassis and dust cover.
- For the acrylic platter, use a specialized acrylic cleaner and a soft cloth to avoid scratches.
- Regularly clean your records with a record brush to remove dust and static before playback.
- Use a dedicated stylus brush to gently clean the stylus, brushing from back to front.
- Itọju igbanu: Inspect the silicone belt periodically for any signs of wear or stretching. Replace if necessary to maintain accurate speed.
Laasigbotitusita
If you encounter issues with your turntable, refer to the following common solutions:
| Isoro | Owun to le Fa | Ojutu |
|---|---|---|
| Ko si Ohun tabi Iwọn didun Kekere |
|
|
| Distorted Sound / Skipping |
|
|
| Incorrect Playback Speed |
|
|
| Ariwo Humming |
|
|
Awọn pato
| Ẹya ara ẹrọ | Ẹ̀kúnrẹ́rẹ́ |
|---|---|
| Ọja Mefa | 12.5 x 16.75 x 4.25 inches |
| Iwọn Nkan | 15.23 iwon |
| Nọmba awoṣe | 400BKALMRSOR5 |
| Brand | U-Tan Audio |
| Asopọmọra Technology | Ti firanṣẹ |
| Awọn irinše to wa | AC Adapter, Dust Cover, Felt Mat, Orbit Plus, RCA Cables |
| Ohun elo | Acrylic, Magnesium, Wood |
| Ara | No Preamp |
| Àwọ̀ | Dudu |
| Awọn ẹrọ ibaramu | Headphone (requires appropriate preamp/adapter) |
| Motor Iru | AC mọto |
| Ilana ifihan agbara | Analog |
| Orisun agbara | Okun Itanna |
Atilẹyin ọja ati Support
For warranty information and customer support, please refer to the official U-Turn Audio website or contact their customer service directly. Extended protection plans may be available for purchase to provide additional coverage beyond the standard manufacturer's warranty.
- Awọn Eto Idaabobo: Options such as 2-Year and 3-Year Protection Plans are available.
- Atilẹyin Ayelujara: Ṣabẹwo si U-Turn Audio Store on Amazon fun alaye siwaju sii ati oro.