Ọrọ Iṣaaju
This manual provides essential information for the proper installation, operation, and maintenance of your First Alert BRK SMICO110 10-Year Battery Combination Smoke & Carbon Monoxide Alarm. This device is designed to provide reliable 2-in-1 protection against both smoke and carbon monoxide, featuring a sealed 10-year battery that eliminates the need for battery replacements for the life of the alarm. Please read these instructions thoroughly before installation and retain this manual for future reference.
Key Awọn ẹya ara ẹrọ
- Precision Detection Technology: Advanced sensing technology complies with new industry standards to reduce nuisance alarms from cooking and provides early warning for home fire emergencies.
- 10-Year Sealed Battery: Eliminates battery replacements and low battery chirps for the entire life of the alarm, offering continuous protection.
- Ìkìlọ̀ Ìparí Ìgbésí Ayé: Alerts you when the alarm needs to be replaced, typically after 10 years of operation.
- Idaabobo Meji: Provides reliable 2-in-1 protection against both smoke and carbon monoxide.
- Idanwo/Bọtini ipalọlọ: Allows for efficient testing to ensure the alarm is functioning correctly and to silence nuisance alarms.
Eto ati fifi sori
The First Alert BRK SMICO110 alarm is designed for easy installation. It can replace existing hardwired alarms using compatible mounting bases or be installed as a new unit. Ensure power is off at the circuit breaker before beginning installation.
Ibi ti a ṣe iṣeduro
For optimal safety, install combination smoke and carbon monoxide alarms on every level of your home and in every bedroom. Refer to local codes for specific requirements.
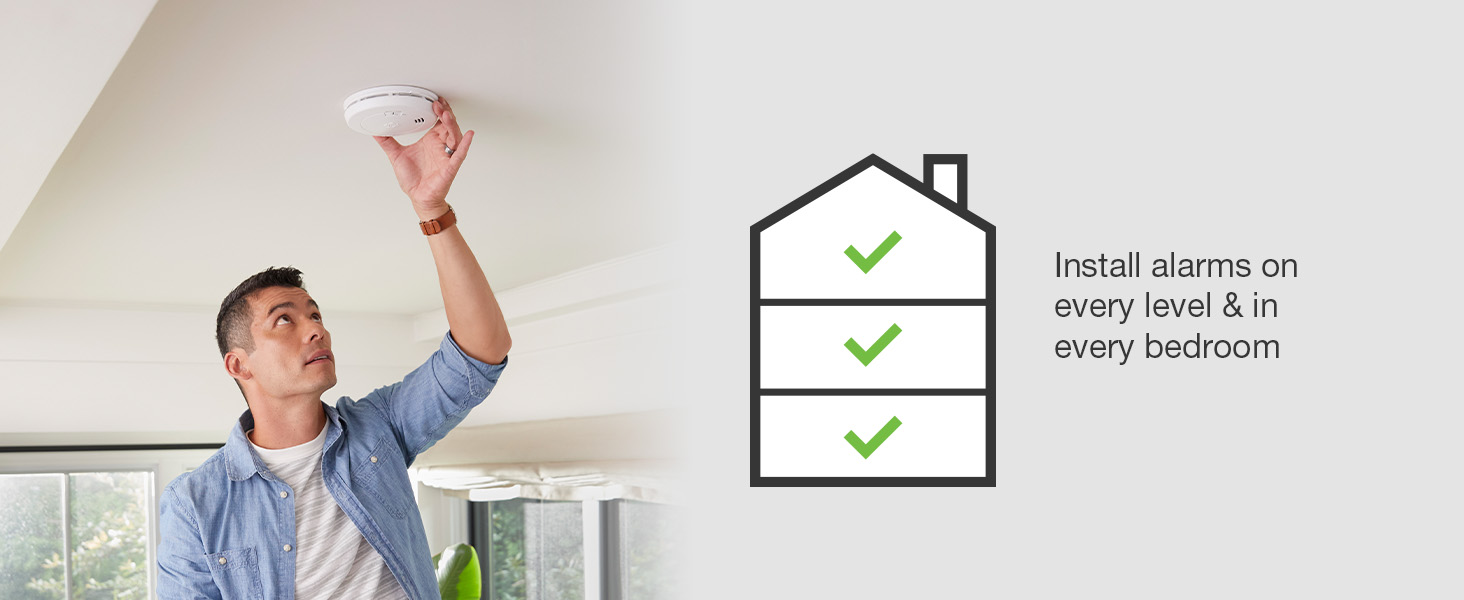
Image: Recommended placement of alarms throughout a home.
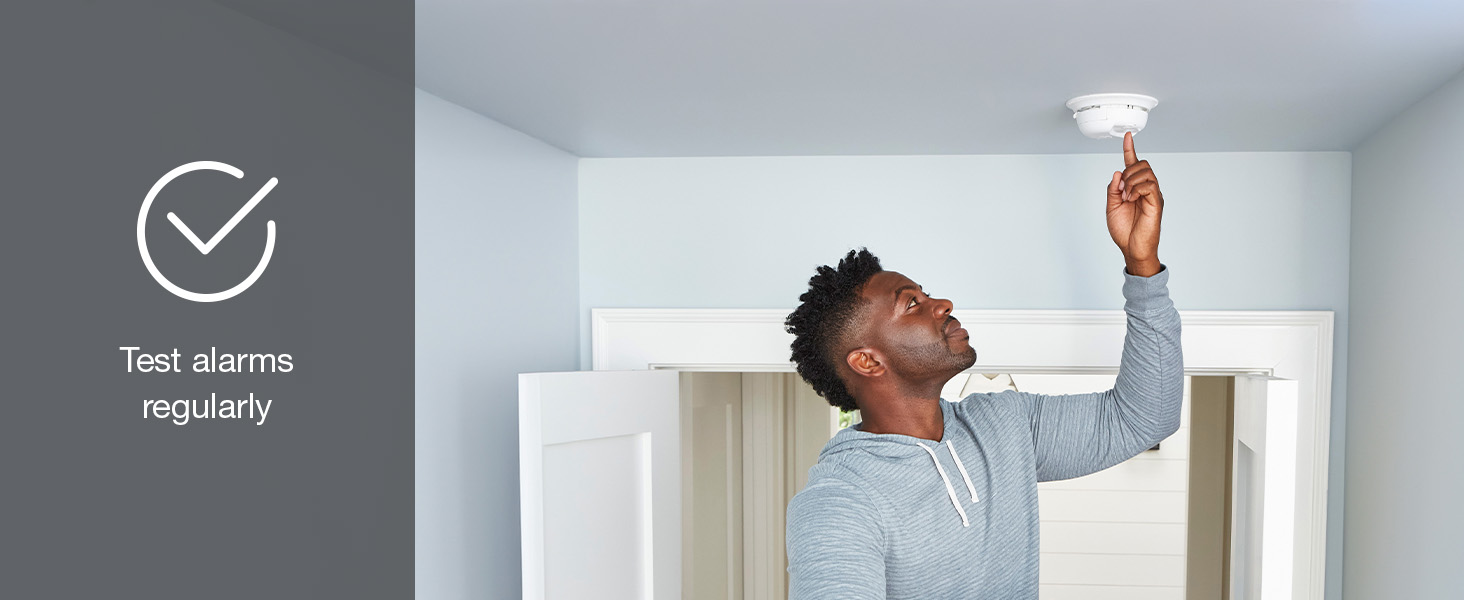
Image: Visual guide for installing alarms on every level and in every bedroom.
Awọn Igbesẹ fifi sori ẹrọ
- Prepare the Mounting Base: If replacing an old alarm, remove the old unit and its mounting base. The BRK SMICO110 often uses a universal mounting base that may be compatible with existing wiring and screw arrangements. If not, install the new mounting base provided.
- Connect Wiring (if hardwired): Connect the alarm's wiring harness to your home's electrical system. Match black to black, white to white, and orange to orange (or red for interconnect). Ensure all connections are secure.
- Mu Batiri ṣiṣẹ: Pull the yellow tab to activate the sealed 10-year battery. You may hear a chirp indicating activation.
- Mount the Alarm: Align the alarm with the mounting base and twist clockwise until it locks securely into place.
- Ṣe idanwo Itaniji naa: Press and hold the Test/Silence button until the alarm sounds. This confirms the unit is functioning correctly.

Image: Back of the alarm with mounting plate.

Aworan: Iwaju view ti itaniji.
Awọn ilana Iṣiṣẹ
Your First Alert BRK SMICO110 alarm operates continuously once activated. It monitors for both smoke and carbon monoxide.
- Ṣiṣawari eefin: When smoke is detected, the alarm will sound a loud, intermittent horn pattern (three long beeps, pause, three long beeps).
- Carbon Monoxide Detection: When carbon monoxide is detected, the alarm will sound a distinct four-beep pattern, pause, and repeat.
- Idanwo/Bọtini ipalọlọ: Press this button to test the alarm's functionality or to silence a nuisance alarm (e.g., from cooking smoke). The alarm will temporarily silence for several minutes before resetting.
- Ìkìlọ̀ Ìparí Ìgbésí Ayé: After approximately 10 years, the alarm will emit a specific end-of-life signal (e.g., two chirps every 30 seconds) to indicate it needs replacement.
Itoju
Regular maintenance ensures your alarm functions optimally.
- Idanwo Ọsẹ: Test your alarm weekly by pressing and holding the Test/Silence button until the alarm sounds.
- Ninu: Dust and debris can affect alarm performance. Gently vacuum the alarm's cover and vents monthly using a soft brush attachment. Do not paint the alarm.
- Rọpo: Replace the entire alarm unit at least every 10 years from the date of manufacture, or immediately if the end-of-life warning sounds.
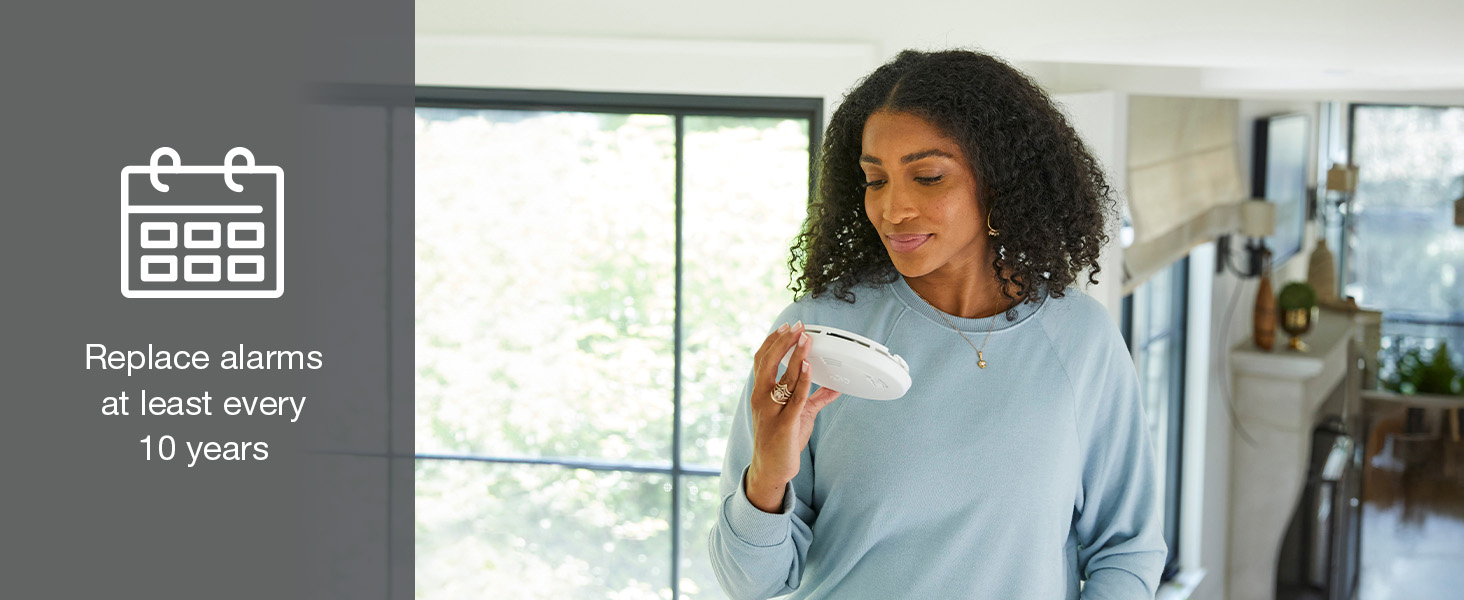
Image: Regular testing of the alarm.
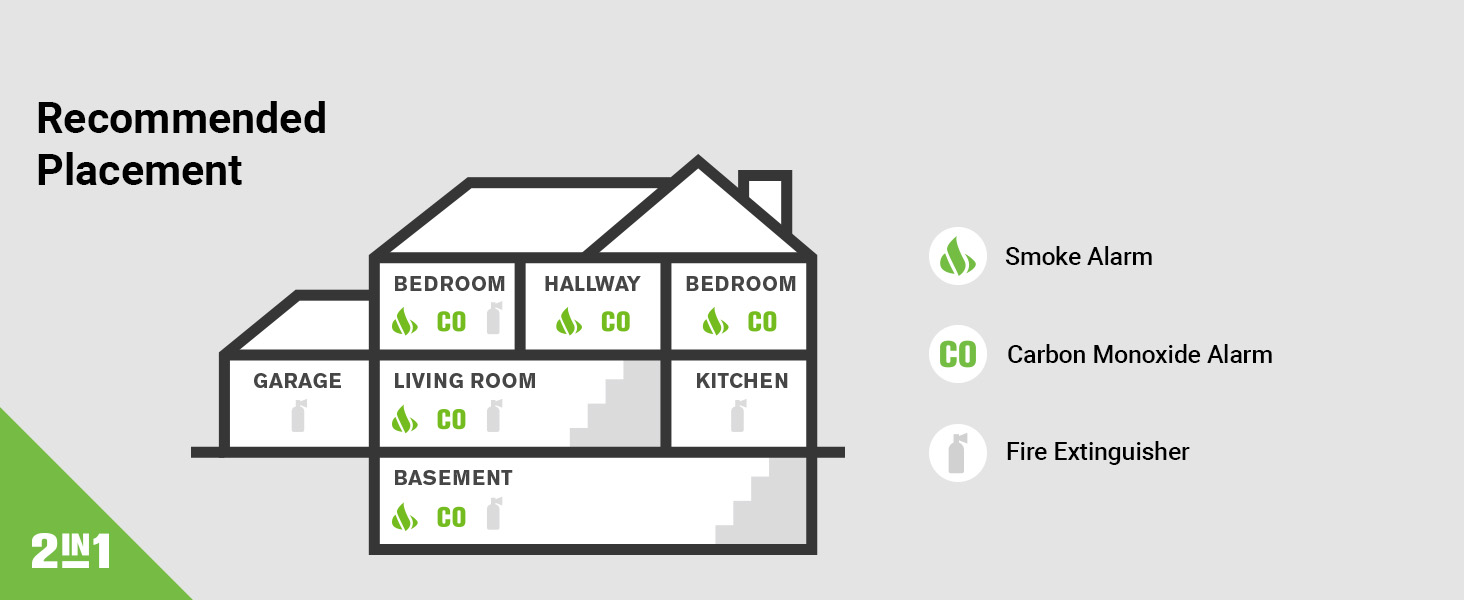
Image: Reminder to replace alarms every 10 years.
Laasigbotitusita
| Isoro | Owun to le Fa | Ojutu |
|---|---|---|
| Alarm sounds intermittently (chirping). | Ikilọ ipari-aye. | Replace the alarm unit immediately. |
| Nuisance alarms (e.g., during cooking). | Smoke from cooking or steam. | Press the Test/Silence button to temporarily silence the alarm. Ensure proper ventilation in cooking areas. Relocate the alarm if nuisance alarms persist. |
| Aago itaniji ko dun lakoko idanwo naa. | Battery not activated or unit malfunction. | Ensure the yellow battery activation tab has been pulled. If the issue persists, the unit may be faulty and require replacement. |
Awọn pato
| Ẹya ara ẹrọ | Ẹ̀kúnrẹ́rẹ́ |
|---|---|
| Brand | Itaniji akọkọ |
| Nọmba awoṣe | SMICO110 |
| Orisun agbara | Battery Powered (10-Year Sealed Battery) |
| Iru Itaniji | Combination Smoke & Carbon Monoxide |
| Sensọ Iru | Ionization (for smoke) |
| Ọja Mefa | 5.6"D x 5.6"W x 2"H |
| Igbesi aye batiri | ọdun meji 10 |
| Àwọ̀ | Funfun |
| Olupese | Ibugbe |
Atilẹyin ọja ati Support
The First Alert BRK SMICO110 alarm comes with a 10-Odun Limited olupese atilẹyin ọja. For warranty claims or technical support, please refer to the contact information provided in the packaging or visit the official First Alert website. Do not attempt to repair the unit yourself.