
Ọrọ Iṣaaju
This manual provides comprehensive instructions for the setup, operation, and maintenance of your Roxicosly Super Strong Vibrating Alarm Clock. Designed for heavy sleepers, individuals with hearing loss, or those who prefer a silent wake-up, this device offers adjustable vibration intensity and multiple alarm modes. Please read this manual thoroughly before use to ensure proper functionality and longevity of your device.
Package Awọn akoonu
- 1x Roxicosly Vibrating Alarm Clock
- 1x USB-C USB Ngba agbara
- 1x Okun Ọwọ
- 1x Itọsọna olumulo (iwe yii)

Image: The Roxicosly Vibrating Alarm Clock, its USB-C charging cable, and wrist strap, alongside its packaging.
Ọja Awọn ẹya ara ẹrọ
- Strong Vibrating Alarm: Designed to effectively wake heavy sleepers, hard sleepers, and individuals with hearing loss through powerful vibration.
- Multiple Alarm Modes: Choose from "Vibration Only", "Buzzer Only", or "Vibration + Buzzer" to suit personal preference.
- Adjustable Vibration Intensity: Three levels of vibration intensity (High, Medium, Low) are available.
- Iwọn didun Itaniji ti o le ṣatunṣe: Five levels of alarm volume for the buzzer mode.
- Iwapọ ati Apẹrẹ to gbe: Measuring approximately 3.35 x 3.35 x 1 inch and weighing 0.3 lbs (135g), its small, round, cordless design makes it ideal for travel and discreet use under a pillow.
- Batiri gbigba agbara USB-C: Equipped with a 3000mAh built-in rechargeable battery, offering extended usage (up to 160 days on lowest settings) on a single charge. Includes a battery indicator on the screen.
- Awọn itaniji Meji: Ṣeto awọn itaniji ominira meji fun awọn akoko ji-soke oriṣiriṣi.
- Weekday/Weekend Modes: Customize alarms for all 7 days, Monday-Friday, or Saturday-Sunday.
- Rọrun lati Ṣeto: Intuitive button layout with a prominent Snooze button for ease of use.
- Titiipa ọmọ: A sliding switch on the back prevents accidental button presses.
- Àkókò àti DST: Supports 12-hour and 24-hour time formats and Daylight Saving Time (DST) adjustment.

Image: Illustration of the three available alarm modes: Vibration Only, Buzzer Only, and a combination of Vibration + Buzzer.

Image: Depicts the three adjustable vibration intensity levels: Low, Medium, and High, along with the compact dimensions of the clock (3.35 inches wide, 0.98 inches thick).

Image: Shows the dual alarm functionality with options to set alarms for Mon-Sun, Mon-Fri, or Sat-Sun, allowing for customized weekly schedules.
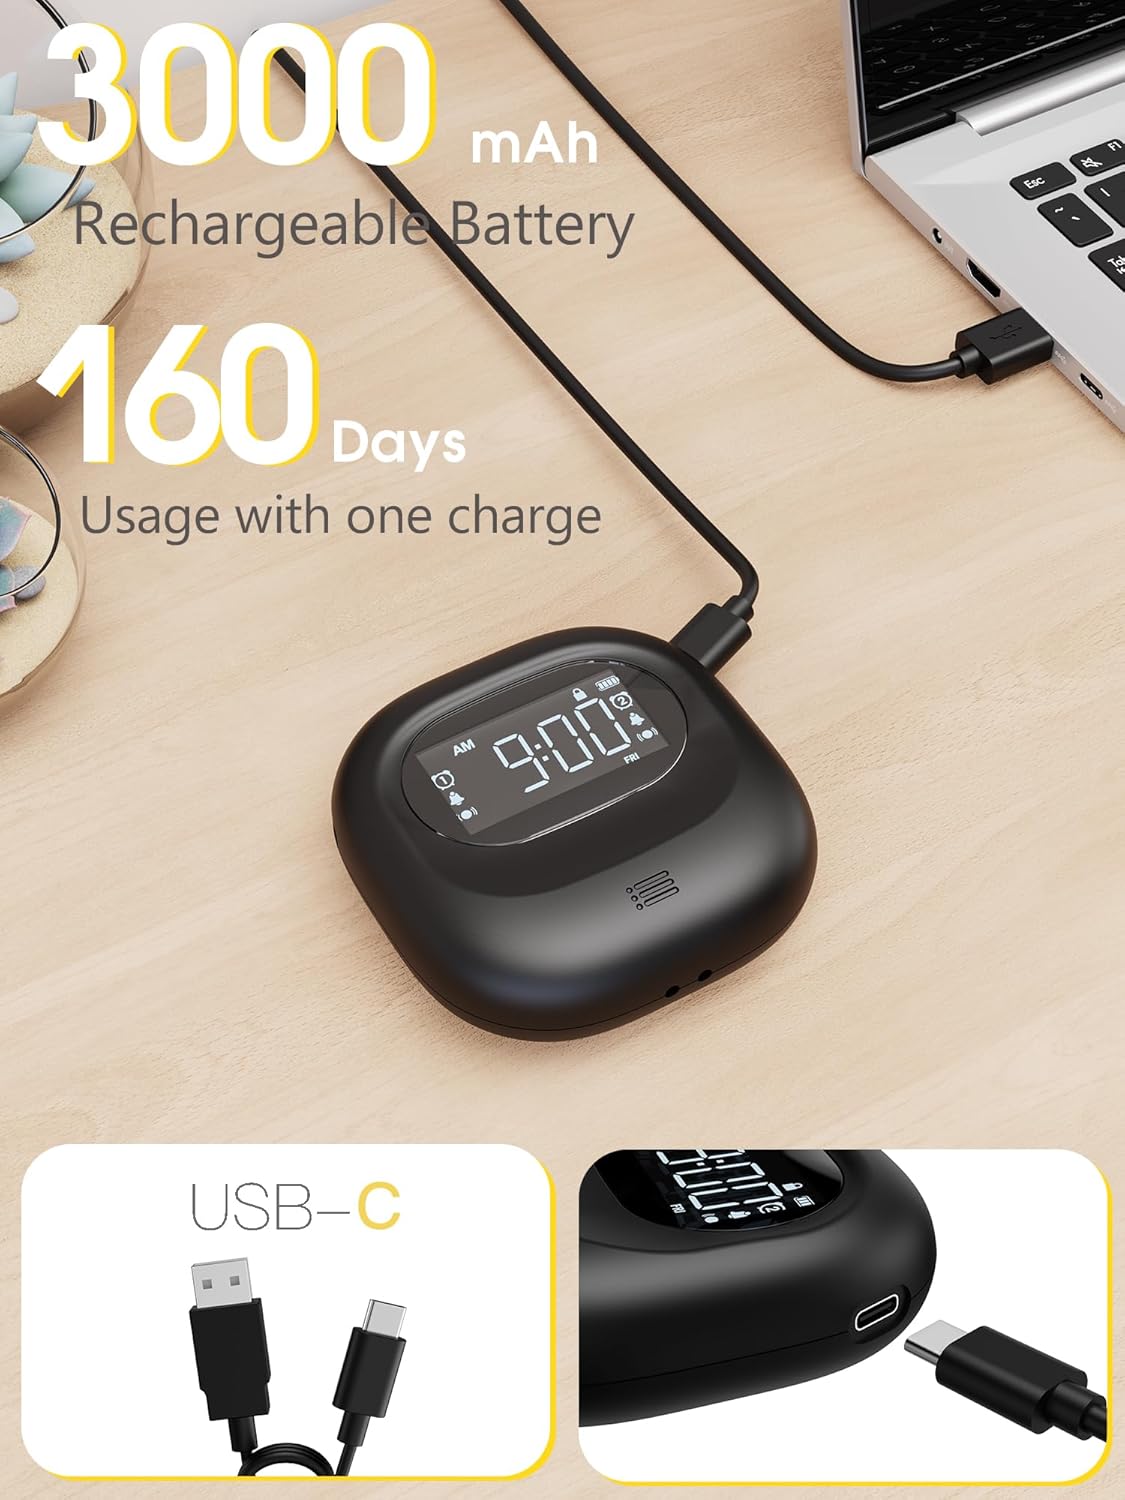
Image: Highlights the 3000mAh rechargeable battery and USB-C charging port, indicating up to 160 days of usage on a single charge.
Ṣeto
1. Gbigba agbara akọkọ
Before first use, fully charge the alarm clock using the provided USB-C cable. Connect the USB-C end to the clock and the USB-A end to a compatible power adapter (not included) or computer USB port. The battery indicator on the screen will show charging status.
2. Power On/Off & Lock Function
Locate the power switch on the back of the alarm clock. Slide the switch to the "ON" position to power on the device. To lock the device and prevent accidental changes, slide the lock switch to the "LOCK" position. This will disable button functionality while keeping the alarm active. To unlock, slide the switch back to the "OFF" position (which is the unlocked state, not actual power off).
3. Eto Akoko
- Tẹ mọlẹ TIME/SNOOZE button for 2 seconds to enter time setting mode. The "WEEK" icon will begin blinking.
- Lo awọn +" or -" buttons to select the desired day of the week. Press TIME/SNOOZE lẹẹkansi lati jẹrisi.
- The hour display will begin to blink. Use the +" or -" awọn bọtini lati ṣatunṣe awọn wakati. Tẹ TIME/SNOOZE lati jẹrisi.
- The minute display will begin to blink. Use the +" or -" awọn bọtini lati ṣatunṣe awọn iṣẹju. Tẹ TIME/SNOOZE again to complete the time setting process.
- Láti yípadà láàrín àwọn ọ̀nà ìgbà wákàtí méjìlá sí wákàtí mẹ́rìnlélógún, tẹ ẹ̀rọ kúkúrú náà +" button on the alarm clock. The AM/PM icon will appear for 12-hour format.
- To enable Daylight Saving Time (DST), press the +" button. The time will automatically advance by one hour, and the DST icon will light up on the screen. To disable DST, press the +" button again. The alarm clock will revert to the standard time by subtracting one hour, and the DST icon on the screen will disappear.
4. Eto Itaniji
- Tẹ awọn OOGUN 1 button to activate Alarm 1. To set Alarm 1, press the OOGUN 1 button again. The hour display will start blinking.
- Lo awọn +" or -" buttons to adjust the hour until you've selected the desired hour.
- Tẹ OOGUN 1 again to confirm your chosen hour, the minutes will begin to blink. Use the +" or -" awọn bọtini lati ṣatunṣe awọn iṣẹju. Tẹ OOGUN 1 to complete the alarm setting process.
- Tun awọn igbesẹ fun OOGUN 2 if a second alarm is desired.
- Alarm Day Selection: Use the sliding switch on the back of the alarm clock to select the desired alarm days:
- MON-SUN: Alarm active every day.
- Ọjọ́ Ajé sí Ọjọ́ Ẹtì: Alarm active on weekdays only.
- SAT-SUN: Alarm active on weekends only.
- Vibration Intensity Selection: Use the sliding switch on the back of the alarm clock to select the desired vibration intensity:
- L: Kekere
- M: Alabọde
- H: Ga
Awọn ilana Iṣiṣẹ
Išẹ lẹẹkọọkan
When the alarm activates, press the ṢEGBE button on the top of the alarm clock. The alarm will enter snooze mode, and the snooze icon will flash. Enjoy a snooze for 9 minutes, up to 9 times. Afterward, the alarm will automatically turn off and ring again 24 hours later.
Idaduro Itaniji
When the alarm activates, press the corresponding OOGUN 1 or OOGUN 2 button to turn off the alarm for the current day. The alarm will ring again 24 hours later. Note: If you don't operate the alarm, it will automatically stop after ringing for 3 minutes (or vibrating for 3 minutes), and ring again after 24 hours.
Cancelling the Alarm Permanently
If you want to cancel an alarm permanently, just long press the corresponding OOGUN 1 or OOGUN 2 button. The icon on the screen will disappear, indicating that the selected alarm has been turned off.
Išẹ Backlight
- Automatic Screen Power-Saving Mode: The alarm clock is designed to save power by automatically turning off the screen if there are no actions within 30 seconds.
- Activating the Backlight: To illuminate the screen, press any button on the alarm clock. Please note that it won't trigger any specific function at this stage.
Itoju
- Fi aṣọ gbígbẹ tó rọ, tó sì rọ̀ nu ẹ̀rọ náà. Yẹra fún lílo àwọn ohun ìfọṣọ tàbí àwọn ohun èlò ìfọṣọ.
- Jeki ẹrọ naa kuro ninu omi ati ọrinrin pupọ.
- Tọju ni itura, aye gbigbẹ nigbati o ko ba wa ni lilo fun awọn akoko gigun.
Laasigbotitusita
Tun Iho
If your alarm clock shows abnormal display or issues, you can insert a toothpick, needle, or similar object into the reset hole on the back of the device. Gently press the internal button to restore the factory settings, so that the machine can be used normally.
Awọn pato
| Brand | Roxicosly |
| Nọmba awoṣe | CR1027 |
| Àwọ̀ | Dudu |
| Ifihan Iru | LCD |
| Ọja Mefa | 3.35"W x 1.06"H |
| Iwọn Nkan | 0.3 Poun (4.8 iwon) |
| Orisun agbara | Battery Operated, Rechargeable Battery |
| Batiri Iru | 1 Batiri litiumu polima (pẹlu) |
| Agbara Batiri | 3000mAh |
| Pataki Awọn ẹya ara ẹrọ | Adjustable Volume, Cordless, Dual Alarms, Snooze, Travel, Vibration |
| Olupese | Wuhan Luekefang E-commerce Co., Ltd |
Atilẹyin ọja ati Support
The Roxicosly Super Strong Vibrating Alarm Clock comes with an 18-month warranty from the date of purchase. For any product inquiries, technical support, or warranty claims, please contact our expert support team:
- Imeeli: support@wismco.com
- Webojula: https://www.wismco.com
Please have your model number (CR1027) and purchase details ready when contacting support.