Ọrọ Iṣaaju
The Minolta MND65 Digital Camera is designed for capturing high-quality photos and videos in a compact, portable form. This manual provides essential information for setting up, operating, maintaining, and troubleshooting your camera. Please read this manual thoroughly before using your camera to ensure optimal performance and longevity.
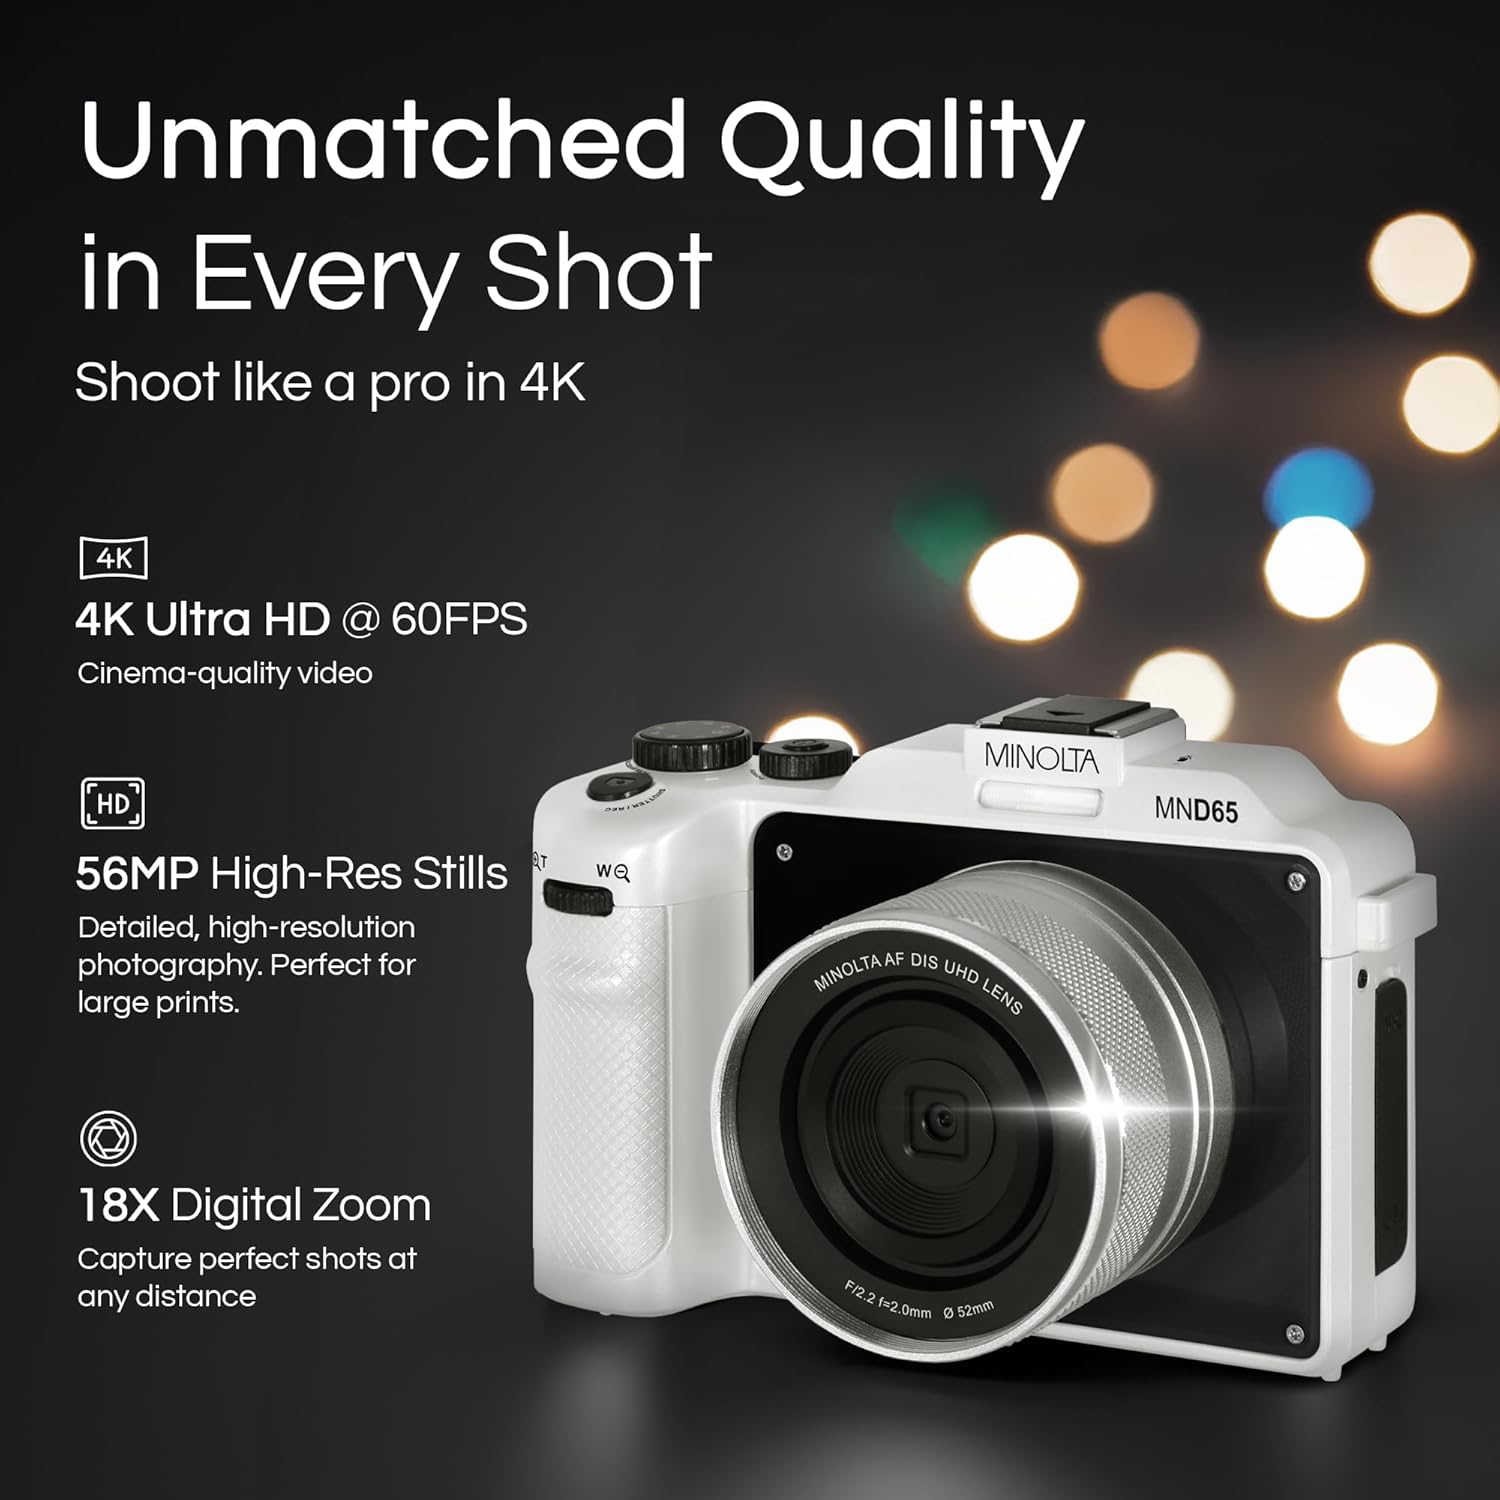
olusin 1: Iwaju view of the Minolta MND65 Digital Camera.
Ohun ti o wa ninu Apoti
Jẹrisi pe gbogbo awọn ohun kan wa ninu package:
- Minolta MND65 Digital Kamẹra
- Apo Aabo
- Okun USB
- Litiumu-Ion Batiri
- Okun Ọwọ
- Kaadi Iranti (16GB)
- AC Adapter
- Lens Cap & Keeper
- Screwdriver + Screws (for faceplates)
- 2 Replaceable Faceplates (Black and Teal)
Eto Itọsọna
1. Fifi sori batiri
- Wa ideri iyẹwu batiri ni isalẹ kamẹra.
- Gbe latch ideri lati ṣii yara naa.
- Insert the Lithium-Ion battery according to the polarity indicators (+/-).
- Pa ideri batiri naa ni aabo titi yoo fi tẹ si aaye.
2. Fifi sori kaadi iranti
- Open the memory card slot cover, usually located near the battery compartment or on the side.
- Insert the provided SD memory card with the metal contacts facing the front of the camera until it clicks.
- Pa ideri iho kaadi iranti pa.
- Akiyesi: Rí i dájú pé kámẹ́rà náà ti pa kí o tó fi tàbí yọ káàdì ìrántí náà kúrò.
3. Ngba agbara si Batiri naa
- Connect the USB cable to the camera's USB port.
- Connect the other end of the USB cable to the AC adaptor.
- Pulọọgi ohun ti nmu badọgba AC sinu iṣan agbara kan.
- Ina Atọka gbigba agbara yoo tan imọlẹ. Yoo paa tabi yi awọ pada nigbati gbigba agbara ba ti pari.
- Gbigba agbara ni kikun maa n gba to awọn wakati 2-3.
4. So okun ọwọ ọwọ
Thread the wrist strap through the strap lug on the side of the camera and secure it to prevent accidental drops.
5. Customizing Faceplates
Your camera comes with replaceable faceplates (Black and Teal) and a screwdriver kit for customization.
- Using the provided screwdriver, carefully remove the small screws securing the current faceplate.
- Gently detach the faceplate.
- Align the desired new faceplate and secure it with the screws. Do not overtighten.

Figure 2: Customizing your camera with replaceable faceplates.
Ṣiṣẹ Kamẹra rẹ
Àwọn Ìṣàkóso Kámẹ́rà Ti Paríview

olusin 3: Ẹyìn view of the camera showing LCD and control buttons.
- Bọtini agbara: Yipada kamẹra si titan/pa.
- Bọtini Yiyọ: Tẹ ni agbedemeji lati fojusi, ni kikun lati ya fọto kan tabi bẹrẹ/da gbigbasilẹ fidio duro.
- Bọ́tìnì ìpè/Bọ́tìnì: Selects shooting modes (e.g., Photo, Video, Playback).
- Bọtini Akojọ: Wọle si awọn eto kamẹra ati awọn aṣayan.
- Awọn bọtini lilọ kiri (Soke/isalẹ/osi/ọtun): Lilọ kiri awọn akojọ aṣayan ki o ṣatunṣe awọn eto.
- OK/Set Button: Jẹrisi awọn aṣayan.
- Lever Sisun: Controls the 18X digital zoom.
- Iboju LCD: 3.0" IPS display for framing shots, reviewawọn aworan, ati awọn akojọ aṣayan lilọ kiri.
Yiya Awọn fọto
- Tan kamẹra naa nipa lilo bọtini agbara.
- Select Photo mode using the Mode button/dial.
- Frame your shot using the 3.0" LCD screen.
- Press the Shutter button halfway to activate autofocus. The focus indicator will confirm focus.
- Press the Shutter button fully to capture the 56MP image.
- Images are saved in JPEG or RAW format, as selected in the settings.
Awọn fidio Gbigbasilẹ
- Tan kamẹra.
- Yan ipo fidio.
- Frame your scene.
- Press the Shutter button fully to start recording 4K 60FPS video. A recording indicator will appear on the screen.
- Press the Shutter button fully again to stop recording.
Using the Selfie Lens
The Minolta MND65 features a dedicated front-facing selfie lens for easy self-portraits and vlogging.
- Activate the selfie lens mode (refer to your camera's on-screen menu for specific activation steps, usually a dedicated button or menu option).
- The camera will switch to the front-facing lens, and the LCD screen will display your reflection.
- Frame your selfie or video.
- Press the Shutter button to capture.

Figure 4: The dedicated selfie lens for convenient self-portraits.
Wi-Fi Connectivity and File Gbigbe
The built-in Wi-Fi allows for wireless transfer of photos and videos to your smartphone or tablet.
- Download the official Minolta camera app to your mobile device (available on iOS and Android app stores).
- On the camera, navigate to the Wi-Fi settings in the menu and enable Wi-Fi.
- On your mobile device, connect to the camera's Wi-Fi network (SSID and password will be displayed on the camera screen).
- Open the Minolta app. You can now browse, transfer, and share your media wirelessly.
Itoju
Ninu Kamẹra
- Lo asọ rirọ, ti ko ni lint lati nu ara kamẹra mọ. Fun idoti alagidi, die-die dampen awọn asọ pẹlu omi.
- For the lens, use a lens brush to remove dust, then a lens cleaning cloth with a specialized lens cleaning solution if necessary. Avoid touching the lens surface with your fingers.
- Clean the LCD screen with a soft, dry microfiber cloth.
- Má ṣe lo àwọn ohun èlò ìfọ́mọ́ra onígbàlódé tàbí àwọn ohun èlò ìfọmọ́ra kẹ́míkà tó lágbára.
Itọju Batiri
- Tọju batiri naa ni itura, aye gbigbẹ nigbati ko si ni lilo.
- Yago fun gbigba agbara si batiri ni kikun nigbagbogbo lati fa gigun aye rẹ.
- Tí o bá ń tọ́jú rẹ̀ fún ìgbà pípẹ́, gba agbára bátìrì náà sí ìwọ̀n agbára tó tó 50%.
Ibi ipamọ
- When not in use, store the camera in its protective pouch to shield it from dust and scratches.
- Avoid storing the camera in areas with extreme temperatures, high humidity, or direct sunlight.
- Yọ batiri kuro ti kamẹra ko ba ni lo fun igba pipẹ.
Laasigbotitusita
| Isoro | Owun to le Fa | Ojutu |
|---|---|---|
| Kamẹra ko ṣiṣẹ. | Batiri ti dinku tabi fi sii lọna ti ko tọ. | Gba agbara si batiri ni kikun. Tun batiri fi sii daradara. |
| Kò le ya awọn fọto/gba awọn fidio silẹ. | Kaadi iranti ti kun, titiipa, tabi ko fi sii. | Paarẹ ti ko wulo files, unlock the memory card, or insert it correctly. |
| Awọn aworan jẹ blurry. | Gbigbọn kamẹra, idojukọ ti ko tọ, tabi awọn lẹnsi idọti. | Hold the camera steady. Ensure autofocus locks before shooting. Clean the lens. |
| Wi-Fi asopọ kuna. | Incorrect password, camera Wi-Fi not enabled, or app issue. | Verify Wi-Fi password. Ensure camera Wi-Fi is active. Restart camera and mobile app. |
| Green screen appears on LCD. | Software/hardware malfunction. | Power cycle the camera. If the issue persists, contact customer support. |
| Poor image/video quality (not 56MP/4K). | Eto ipinnu ti ko tọ. | Check camera settings to ensure 56MP for photos and 4K for video are selected. |
If you encounter issues not listed here or if the suggested solutions do not resolve the problem, please contact Minolta Customer Support.
Awọn pato
| Orukọ awoṣe | MND65-WK |
| Ipinnu sensọ Fọto | 56 MP |
| Ipinnu fidio | 4K (2160p) at 60 FPS |
| Digital Sisun | 18x |
| Iwon iboju | 3 Inches (IPS LCD) |
| Asopọmọra | Wi-Fi |
| Atilẹyin File Awọn ọna kika | JPEG, RAW (Images); MP4 (Video) |
| Iduroṣinṣin Aworan | Oni-nọmba |
| Fọto sensọ Technology | CMOS |
| Batiri Iru | Litiumu Iwon |
| Ipari Ifojusi Kere | 18 millimeters |
| O pọju Iho | 2.8 millimeters |
| Awọn ọna Filaṣi | Filaṣi aifọwọyi |
| Media Ibi ipamọ | SD Card (Class 10, U1 recommended) |
Alaye atilẹyin ọja
The Minolta MND65 Digital Camera comes with a Limited 1 Year Manufacturer Warranty. This warranty covers defects in materials and workmanship under normal use. It does not cover damage caused by misuse, accident, unauthorized modification, or external causes such as drops or liquid damage.
Please retain your proof of purchase for warranty claims. For detailed terms and conditions, refer to the warranty card included in your product packaging or visit the official Minolta webojula.
Onibara Support
For technical assistance, warranty service, or general inquiries regarding your Minolta MND65 Digital Camera, please contact Minolta Customer Support.
- Webojula: Visit the official Minolta webojú òpó wẹ́ẹ̀bù fún àwọn ìbéèrè tó ń fa ìbéèrè, àwọn àtúnṣe sí sọ́fítíwè, àti àwọn ohun èlò ìrànlọ́wọ́.
- Imeeli: Tọkasi apoti ọja rẹ tabi osise naa webojula fun onibara iṣẹ adirẹsi imeeli.
- Foonu: Tọkasi apoti ọja rẹ tabi osise naa webojula fun onibara iṣẹ awọn nọmba foonu.
When contacting support, please have your camera model number (MND65-WK) and proof of purchase available.