
1. Ifihan
This manual provides detailed instructions for setting up, operating, and maintaining your AVerMedia Live Gamer Ultra 2.1 (GC553G2) capture card. Please read this manual thoroughly before using the device to ensure optimal performance and longevity.

Figure 1: AVerMedia Live Gamer Ultra 2.1 (GC553G2) Capture Card
Awọn ẹya pataki:
- True 4K HDR10 Capture: Record and stream gameplay in 4K60 HDR10.
- HDMI 2.1 Pass-through: Supports 4K144 HDR10 for PC and 4K120 HDR10 for consoles, ensuring zero-lag performance.
- VRR Support: Variable Refresh Rate compatibility for smooth gameplay.
- Type-C Connectivity: Powered by USB 3.2 Gen 2 Type-C for fast setup and data transfer.
- Low Latency Performance: Designed for real-time streaming and competitive gaming.
- OBS Studio and Streamlabs Ready: Optimized for popular streaming software.
- Imọlẹ RGB ti a ṣe asefara: Personalize your setup via AVerMedia software or Windows Dynamic Lighting.
- 5.1 Audio Support: Capture immersive multi-channel audio.
2. Ohun ti o wa ninu Apoti
Jẹrisi pe gbogbo awọn ohun kan wa ninu package:
- LIVE GAMER ULTRA 2.1 (GC553G2) Capture Card
- HDMI 2.1 Okun
- USB 3.2 Gen 2 Type-C Cable
- 4-Polu 3.5mm Audio USB
- Quick Bẹrẹ Itọsọna

Nọmba 2: Awọn akoonu Package
3. Awọn pato
| Ẹya ara ẹrọ | Ẹ̀kúnrẹ́rẹ́ |
|---|---|
| Ni wiwo | USB 3.2 Gen 2 (10Gbps) Iru-C |
| Iṣagbewọle & Ijade (Ṣaṣe-nipasẹ) | HDMI 2.1 |
| Max Pass-through Resolution | 2160p144 HDR/VRR, 1440p144 HDR/VRR, 1080p240 HDR/VRR |
| Ipinnu Gbigbasilẹ to pọju | 2160p60 HDR |
| Awọn ipinnu atilẹyin | 2160p, 1440p, 1080p, 1080i, 720p, 576p, 576i, 480p, 480i |
| Gbigbasilẹ kika | MPEG 4 (H.264+AAC) or (H.265+AAC) |
| Input Audio & Ijade | 4-Pole 3.5mm Jack (Controller), 4-Pole 3.5mm Jack (Headset) |
| Awọn iwọn (W x D x H) | 120 x 75 x 27.6 mm (4.72 x 2.95 x 1.09 in) |
| Iwọn | 115 g (4.06 iwon) |
4. System Awọn ibeere
To ensure optimal performance, your system must meet the following requirements:
Awọn ọna ṣiṣe:
- Windows 10 x64 / 11 x64
- macOS 13/14 tabi nigbamii
- iPadOS 17 tabi nigbamii
Recommended PC Specifications (for 4K60 Capture / 4K144 HDR Pass-through):
- Sipiyu: Intel Core i5-6XXX tabi loke
- GPU: NVIDIA GeForce GTX 1060 tabi loke
- Ramu: 8 GB Dual-channel or above
- Atokun USB: USB 3.2 Gen 2 Iru-C (10Gbps)
Recommended Notebook Specifications (for 4K60 Capture / 4K144 HDR Pass-through):
- Sipiyu: Intel Core i7-7700HQ tabi loke
- GPU: NVIDIA GeForce GTX 1050 Ti tabi loke
- Ramu: 8 GB Dual-channel or above
- Atokun USB: USB 3.2 Gen 2 Iru-C (10Gbps)
Video 1: AVerMedia Live Gamer Ultra 2.1 - What you should know
5. Eto
5.1. Ti ara Asopọ
Follow these steps to connect your Live Gamer Ultra 2.1:
- Sopọ si PC: Use the provided USB 3.2 Gen 2 Type-C cable to connect the capture card to your PC's Type-C port.
- Connect Console (HDMI In): Use the provided HDMI 2.1 cable to connect your gaming console (e.g., PS5, Xbox Series X/S, Nintendo Switch 2) to the HDMI IN port on the capture card.
- Connect Monitor (HDMI Out): Use an additional HDMI 2.1 cable (not included, unless specified in package) to connect the HDMI OUT port on the capture card to your monitor. This enables pass-through for zero-latency gameplay.
- So Audio (Aṣayan): If using a headset or controller for audio, connect the 4-Pole 3.5mm Audio Cable as needed.

Àwòrán 3: Àwọn Ibudo Ẹ̀rọ

olusin 4: Asopọmọra aworan atọka
5.2. Software fifi sori
Download and install the AVerMedia Gaming Utility and any necessary drivers from the official AVerMedia website. For OBS Studio or Streamlabs, ensure you have the latest version installed.
6. Awọn ilana Iṣiṣẹ
6.1. Basic Capture and Streaming
Once connected and software installed, open your preferred streaming software (e.g., OBS Studio, Streamlabs). Add the Live Gamer Ultra 2.1 as a Video Capture Device source. Configure resolution, frame rate, and audio settings as desired.
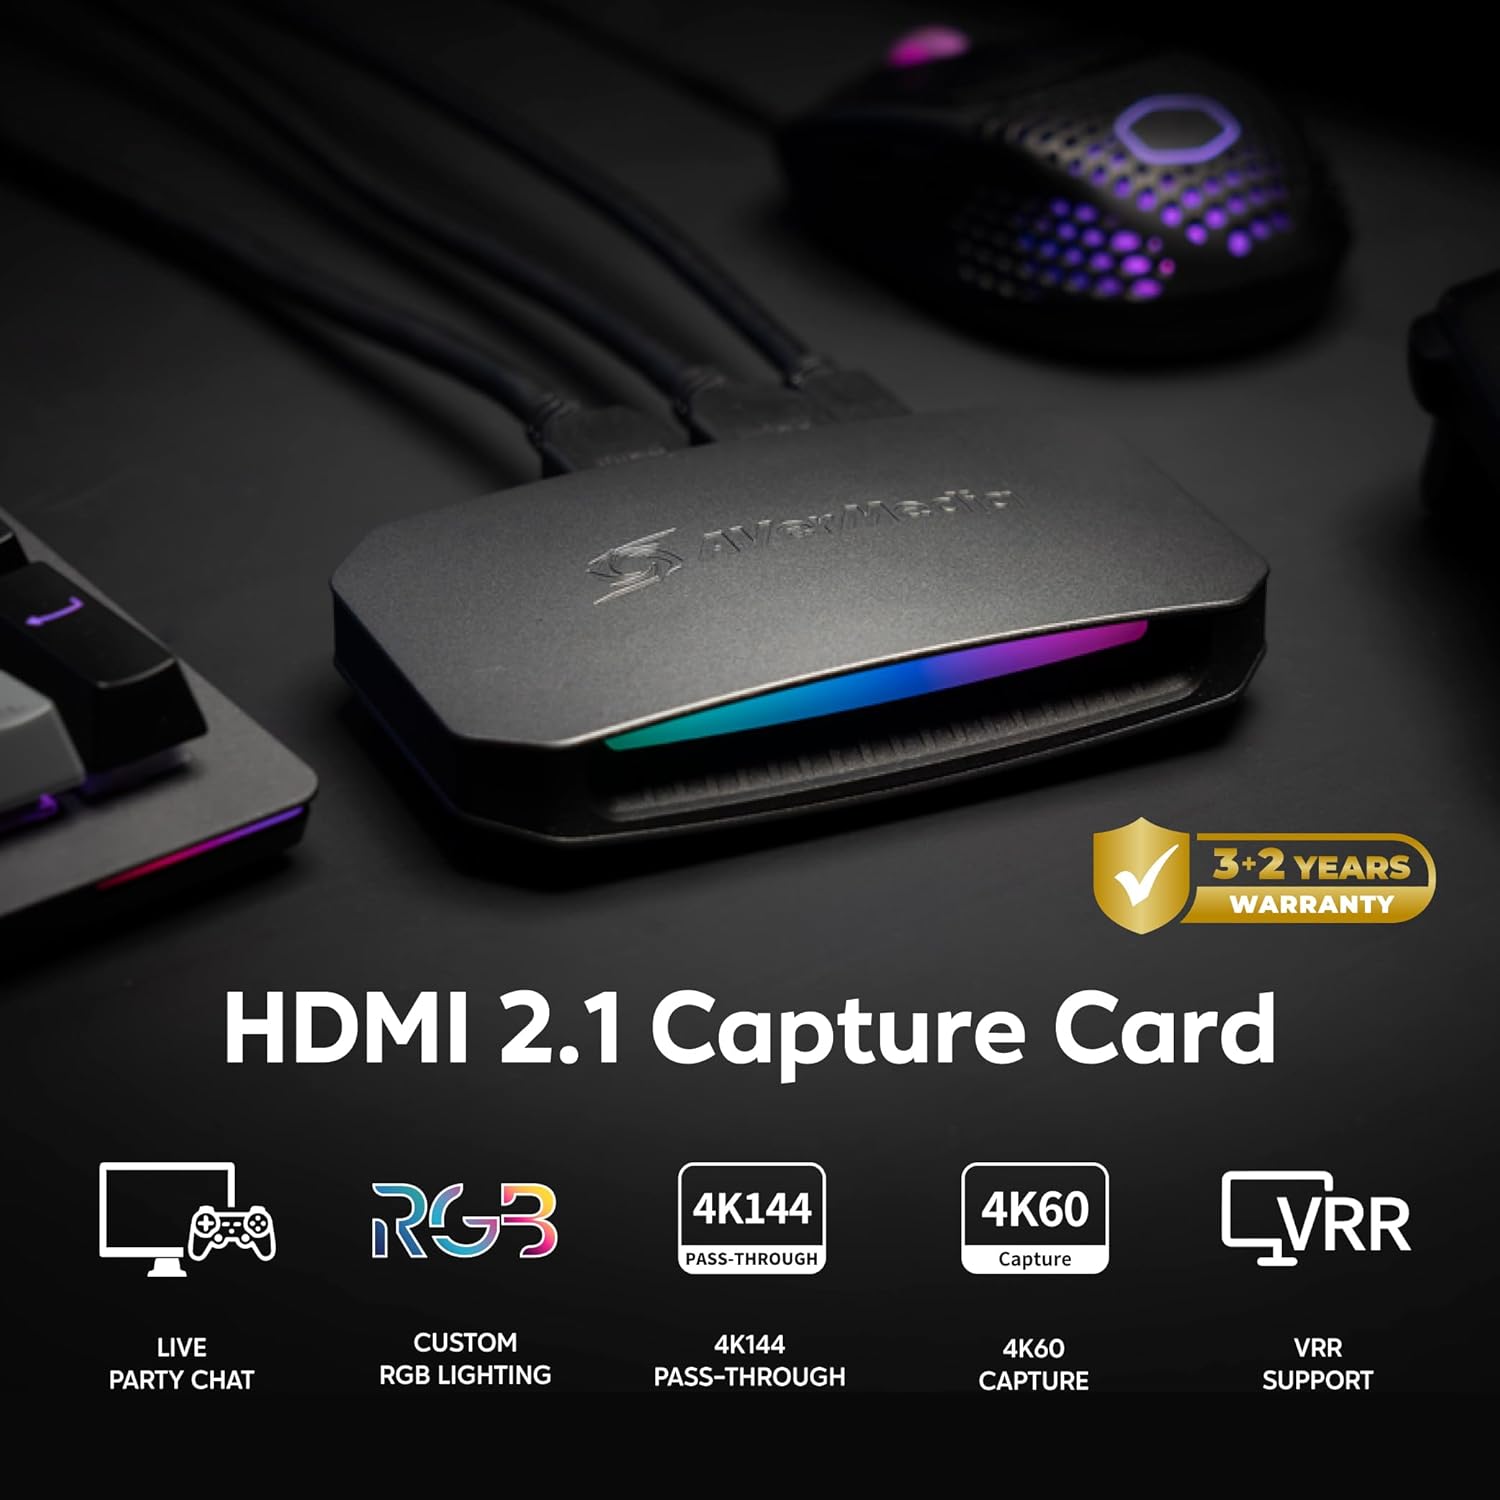
Figure 5: Typical Gaming and Streaming Setup
6.2. Setting up Party Chat
To capture party chat audio from your PS5 or Xbox, you may need a 4-pole 3.5mm audio cable. Connect one end to your controller's audio jack and the other to the capture card's controller port. For capture cards without a dedicated audio input, you might need to route the audio through your PC's line-in port.
Video 2: Set up Party Chat on PS5 and Xbox with AVerMedia GC553G2
6.3. RGB Control
The Live Gamer Ultra 2.1 features customizable RGB lighting. Use the AVerMedia Gaming Utility or compatible third-party lighting software (e.g., MSI Mystic Light, ASRock Polychrome Sync) to personalize the lighting effects and colors.
Video 3: Set up RGB Control in Gaming Utility with AVerMedia GC553G2
6.4. Multi-Channel Surround Sound Audio
To capture 5.1 multi-channel surround sound, ensure your console's audio output is set to a compatible format (e.g., Dolby Audio on PS5). In OBS Studio, install the AVerMedia Multichannel Audio plugin and configure the audio settings to 5.1 channels.
Video 4: How to setup 5.1 multi-channel surround sound audio (incl. OBS plugin)
6.5. HDR Recording and Multiple Scenes
For HDR recording, ensure your system meets the requirements and configure your streaming software (e.g., OBS) with the correct color format and color space settings (e.g., P010, Rec. 2100). You can also set up multiple scenes in OBS to switch between different layouts or content during your stream.
Video 5: Record HDR and Setup Multiple Scene with AVerMedia GC553G2
7. Itọju
- Keep the device in a clean, dry environment away from direct sunlight and extreme temperatures.
- Nu ẹrọ naa pẹlu asọ ti o tutu, ti o gbẹ. Yago fun lilo awọn kẹmika lile tabi awọn ohun elo abrasive.
- Rii daju pe fentilesonu to dara ni ayika ẹrọ lati ṣe idiwọ igbona.
- Regularly check for and install software and firmware updates for optimal performance and compatibility.
8. Laasigbotitusita
Tí o bá ní ìṣòro, ronú nípa àwọn nǹkan wọ̀nyí:
- Ko si ifihan agbara: Verify all HDMI and USB connections are secure. Check your console's video output settings and ensure HDCP is disabled if necessary (refer to Gaming Utility settings).
- Awọn ọrọ ohun: Confirm audio settings in both your console and streaming software. Ensure correct audio cables are used for party chat.
- Awọn Iṣoro Iṣe: Check your PC/Mac system requirements against the recommended specifications. Ensure your USB 3.2 Gen 2 Type-C port is functioning correctly.
- Awọn Rogbodiyan sọfitiwia: If using third-party RGB software, ensure it is properly configured or disabled if conflicts arise with the AVerMedia Gaming Utility.
For further assistance, the AVerMedia Gaming Utility includes a feedback function to record system logs and submit bug reports directly to customer service.
9. Atilẹyin ọja ati Support
9.1. atilẹyin ọja Information
The AVerMedia Live Gamer Ultra 2.1 (GC553G2) typically comes with a 3-year standard warranty, which can often be extended by an additional 2 years upon product registration, totaling a 5-year warranty period. Please refer to the warranty card included in your package or the official AVerMedia webojula fun pato ofin ati ipo.
9.2. Onibara Support
For technical support, driver downloads, firmware updates, and FAQs, please visit the official AVerMedia support website. You can also utilize the feedback feature within the AVerMedia Gaming Utility to report issues.


