
1. Ifihan
Welcome to the TRU Hydration Blender user manual. This portable, USB-rechargeable personal blender is designed for convenience, allowing you to create smoothies, shakes, and protein drinks anywhere. This manual provides essential information for safe and effective use, including setup, operation, maintenance, and troubleshooting.
2. Awọn Ilana Aabo pataki
Please read all instructions carefully before using the TRU Hydration Blender. Failure to follow these instructions may result in electric shock, fire, or serious injury.
- Always ensure the lid is securely fastened before operating the blender.
- Do not immerse the motor base in water or any other liquid. Clean with a damp aṣọ nikan.
- Keep hands and utensils out of the blending cup while blending to prevent injury.
- Do not blend hot liquids, as pressure buildup may cause the lid to eject and result in burns.
- Ohun elo yii kii ṣe ipinnu fun lilo nipasẹ awọn eniyan ti o dinku ti ara, imọlara, tabi awọn agbara ọpọlọ, tabi aini iriri ati imọ, ayafi ti wọn ba ti fun wọn ni abojuto tabi itọnisọna nipa lilo ohun elo nipasẹ eniyan ti o ni iduro fun aabo wọn.
- Unplug the blender from the charging source when not in use and before cleaning.
- Do not operate the blender with a damaged cord or plug, or after the appliance malfunctions or has been damaged in any manner.
- Lo awọn asomọ ati awọn ẹya ẹrọ ti a ṣeduro nipasẹ olupese.
- Jeki idapọmọra kuro ni arọwọto awọn ọmọde.
3. Awọn irinše
The TRU Hydration Blender consists of the following main parts:
- Blender Cup (10 oz capacity)
- Lid with Integrated Blade Assembly
- Okun Ngba agbara USB

Figure 3.1: The TRU Hydration Blender assembled, showing the main cup, lid, and base filled with orange segments.
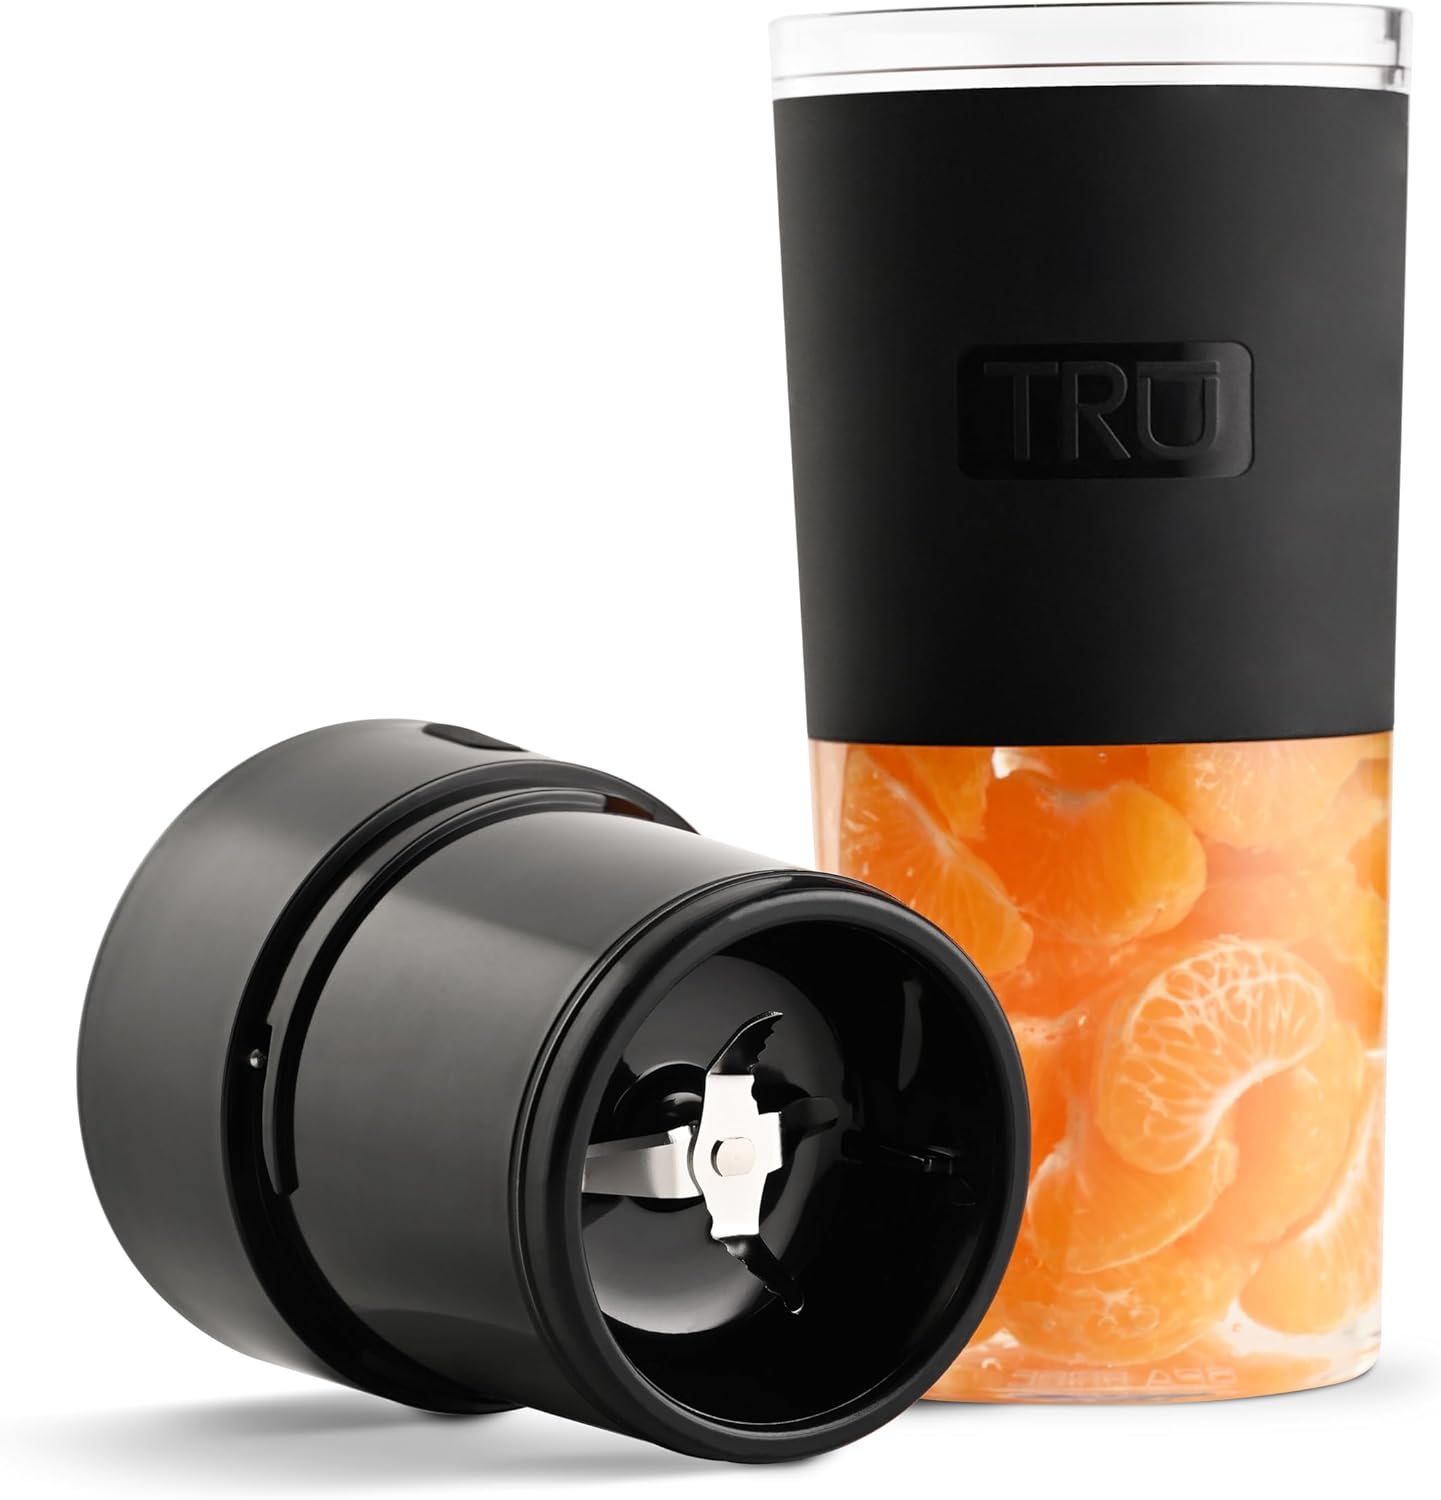
Figure 3.2: The TRU Hydration Blender with the lid detached, revealing the integrated blade assembly.
4. Eto ati First Lo
4.1 Charging the Blender
The blender is powered by a built-in rechargeable lithium-ion battery. Before first use, fully charge the blender for optimal performance.
- Locate the USB charging port on the side of the blender base.
- Connect the provided USB charging cord to the blender's port.
- Plug the other end of the USB cord into a compatible USB power source (e.g., wall adapter, computer, power bank).
- The indicator light on the lid will illuminate to show charging status. It will turn solid when fully charged.
olusin 4.1: Isunmọ view of the USB charging port located on the blender base, with the charging cable connected.
4.2 Apejọ
Before blending, ensure the components are correctly assembled.
- Ensure the blender cup is clean and dry.
- Add your desired ingredients to the blender cup. Do not overfill past the maximum fill line.
- Align the lid with the integrated blade assembly onto the blender cup.
- Twist the lid clockwise until it is securely tightened. The blender will not operate if the lid is not properly secured.
5. Isẹ
5.1 Blending Instructions
The TRU Hydration Blender features simple one-button operation.
- After assembling the blender with ingredients, ensure the lid is securely tightened.
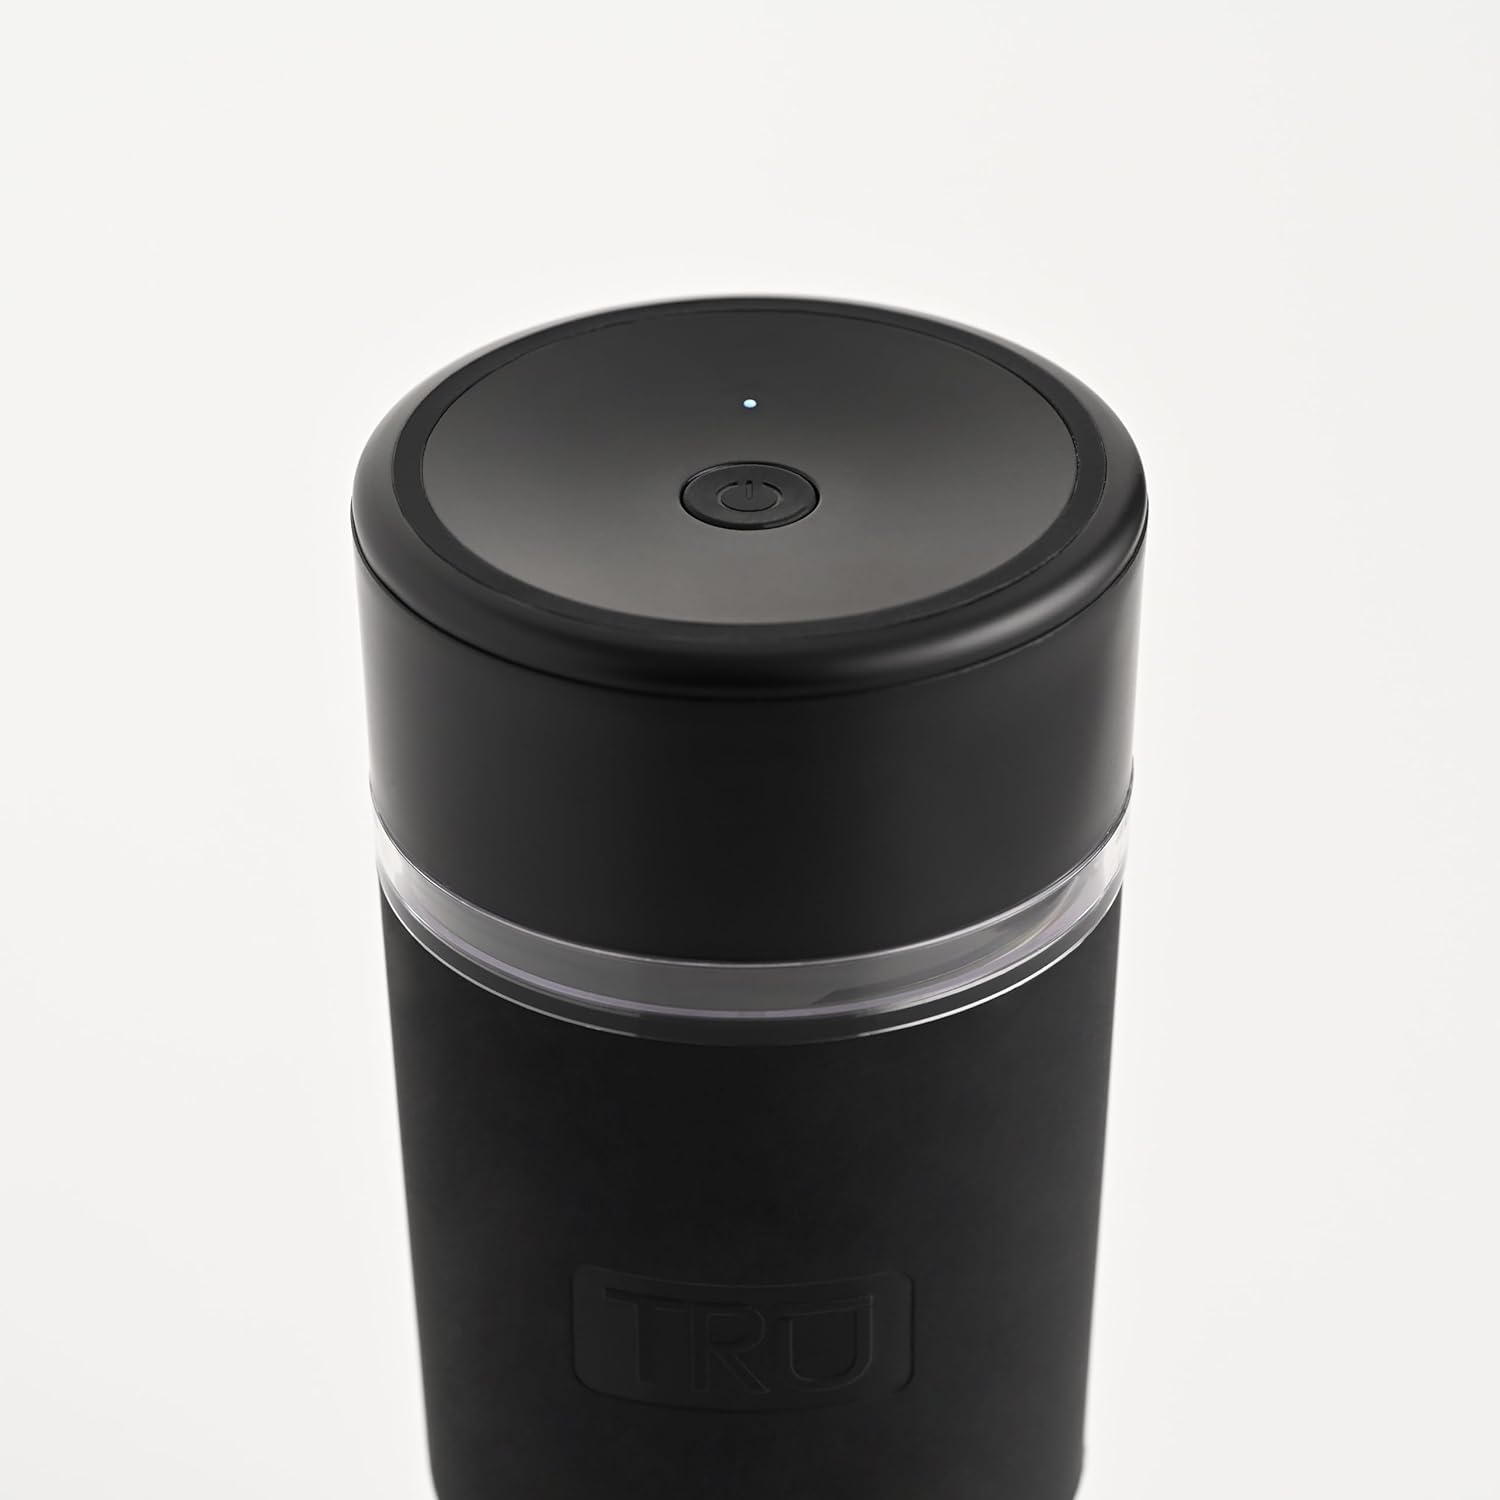
- Press the power button located on the top of the lid once to start blending. The indicator light will illuminate.
- Blend until desired consistency is achieved. For best results, shake the blender gently during operation to ensure all ingredients are processed.
- Press the power button again to stop blending.
- Carefully unscrew the lid and enjoy your freshly blended drink.

olusin 5.1: Top view of the blender lid, highlighting the single power button for operation.
5.2 Awọn imọran Lilo
- For optimal blending, cut fruits and vegetables into small pieces (approximately 1 inch or smaller).
- Always add liquid first, then soft ingredients, and finally harder ingredients or ice.
- Do not overload the blender. The 10-ounce capacity is designed for single servings.
- If the blender stops during operation, check for blockages or if the battery needs recharging.
- The blender is designed for portability and fits most standard car cup holders.

Figure 5.2: A person holding the TRU Hydration Blender filled with strawberries, demonstrating its portability.

Figure 5.3: The TRU Hydration Blender placed securely in a car's cup holder, illustrating its travel-friendly design.
6. Ninu ati Itọju
Proper cleaning and maintenance will extend the life of your TRU Hydration Blender.
6.1 Cleaning the Cup and Lid
- After each use, rinse the blender cup and lid immediately to prevent food from drying on the surfaces.
- Yọ ideri kuro ninu ago naa.
- Wash the cup and lid with warm, soapy water. A bottle brush may be helpful for thorough cleaning.
- Fi omi ṣan daradara pẹlu omi mimọ.
- Do not put the motor base (the part with the charging port and power button) in water. Wipe it clean with a damp asọ.
- Rii daju pe gbogbo awọn ẹya ti gbẹ patapata ṣaaju iṣakojọpọ tabi titoju.

olusin 6.1: Isunmọ view of the integrated blade assembly within the blender lid, showing the blades.
6.2 Storing the Blender
Store the blender in a clean, dry place when not in use. Ensure the lid is not tightly sealed if storing for extended periods to allow for air circulation.
7. Laasigbotitusita
If you encounter issues with your TRU Hydration Blender, refer to the table below for common problems and solutions.
| Isoro | Owun to le Fa | Ojutu |
|---|---|---|
| Blender ko ni tan-an. | Batiri naa kere tabi ti dinku. Lid is not securely fastened. | Charge the blender fully. Ensure the lid is twisted on tightly and correctly aligned. |
| Awọn eroja ko dapọ laisiyonu. | Omi díẹ̀ jù. Awọn eroja ti tobi ju tabi lile ju. Overloaded cup. | Fi omi bibajẹ diẹ sii. Cut ingredients into smaller pieces (1 inch or less). Dín iye awọn eroja ti o wa ninu ago naa ku. |
| Blender ma duro lakoko iṣẹ. | Overheating Idaabobo mu ṣiṣẹ. Batiri naa kere. Ingredients are jammed. | Turn off the blender, let it cool down for 15-20 minutes, then restart. Saji si batiri. Turn off, clear any obstructions, and restart. |
| Leakage from the lid. | Ideri ko daradara edidi. Ife ti o kun ju. | Ensure the lid is twisted on tightly and the silicone seal is correctly seated. Do not fill past the maximum fill line. |
8. Awọn pato
| Ẹya ara ẹrọ | Ẹ̀kúnrẹ́rẹ́ |
|---|---|
| Brand | Otitọ |
| Nọmba awoṣe | RC-150DMBK |
| Àwọ̀ | Dudu |
| Agbara | 10 omi iwon |
| Awọn iwọn Ọja (D x W x H) | 3.31"D x 3.31"W x 8.23"H |
| Orisun agbara | Agbara Batiri (Litiumu-ion gbigba agbara) |
| Voltage | 7.4 Volts |
| Nọmba ti Awọn iyara | 1 |
| Iwọn Nkan | 14.6 iwon |
| Awọn irinše to wa | Charging cord, Cup, Lid with integrated blade |
9. Atilẹyin ọja ati Support
Specific warranty details for the TRU Hydration Blender are not provided in this manual. For information regarding warranty coverage, product registration, or customer support, please visit the official Tru webojula tabi kan si wọn onibara iṣẹ Eka taara.
Jọwọ ṣe idaduro ẹri rira rẹ fun eyikeyi awọn ibeere atilẹyin ọja.