
1. Ifihan
This manual provides detailed instructions for the setup, operation, and maintenance of your TELLUR Shade Wireless Mouse (Model 491261). This mouse features multi-device connectivity, silent click buttons, RGB lighting, and adjustable DPI settings for enhanced productivity and comfort across various operating systems.
2. Package Awọn akoonu
Daju pe gbogbo awọn nkan wa ninu apo rẹ:
- 1 x TELLUR Shade Wireless Mouse
- 1 x Nano receiver (USB-A)
- 1 x Iru-C okun gbigba agbara
- 1 x Ìwé ìtọ́nisọ́nà olùlò (ìwé yìí)

Image: The TELLUR Shade Wireless Mouse, accompanied by its USB Nano receiver and Type-C charging cable, illustrating the complete package contents.
3. Ọja Ipariview
Familiarize yourself with the components of your TELLUR Shade Wireless Mouse:

Aworan: Oke-isalẹ view of the TELLUR Shade Wireless Mouse, highlighting the left and right silent click buttons, the main scroll wheel, DPI adjustment button, and the multi-device switch button.
- Bọtini Tẹ osi: Isẹ ipalọlọ.
- Ọtun Tẹ Bọtini: Isẹ ipalọlọ.
- Yi lọ Kẹkẹ (Akọkọ): Fun yi lọ inaro.
- Bọtini Atunse DPI: Cycles through DPI settings (800/1200/1600/2400/3200).
- Multi-Device Switch Button: Toggles between connected devices (1, 2, 3, 4).
- Bọtini Siwaju: Lilọ siwaju sinu web aṣàwákiri tabi file oluwadi.
- Bọtini sẹhin: Lilọ kiri sẹhin sinu web aṣàwákiri tabi file oluwadi.
- Horizontal Scroll Wheel: For horizontal scrolling.
- Windows Home Button: Minimizes all windows to show the desktop; pressing again restores them.
- Ibudo Ngba agbara USB-C: Located on the front for recharging the internal battery.
- Agbara Yi pada: On/Off switch on the bottom of the mouse.
- Nano Receiver Storage: Compartment on the bottom for storing the USB receiver.
4. Eto
4.1. Gbigba agbara si Asin
Before initial use, ensure the mouse is fully charged. Connect the provided Type-C charging cable to the USB-C port on the front of the mouse and the other end to a USB power source (e.g., computer USB port, USB wall adapter).

Aworan: Apa view of the TELLUR Shade Wireless Mouse, clearly showing the USB-C charging port located at the front for convenient recharging.
The RGB lighting may indicate charging status. A full charge typically provides approximately 20 days of average use.
4.2. Sísopọ̀ mọ́ ẹ̀rọ kan
The TELLUR Shade Wireless Mouse supports up to 4 devices simultaneously via Bluetooth and a 2.4GHz USB Nano receiver. Turn on the mouse using the power switch on the bottom.
4.2.1. 2.4GHz Wireless Connection (USB Nano Receiver)
- Locate the USB Nano receiver stored in the compartment on the bottom of the mouse.
- Plug the Nano receiver into an available USB-A port on your computer.
- Press the Multi-Device Switch Button on the mouse to select one of the 2.4GHz channels (usually indicated by a specific LED color or number).
- The mouse should automatically connect. If not, ensure the mouse is powered on and try replugging the receiver.
4.2.2. Asopọ Bluetooth (BT1, BT2, BT3)
- Press the Multi-Device Switch Button to select one of the Bluetooth channels (BT1, BT2, or BT3). The corresponding indicator light will flash.
- Press and hold the Multi-Device Switch Button for 3-5 seconds until the indicator light flashes rapidly. This puts the mouse into pairing mode.
- Lórí ẹ̀rọ rẹ (kọ̀ǹpútà, tábìlì, fóònù alágbéka), lọ sí àwọn ètò Bluetooth kí o sì wá àwọn ẹ̀rọ tuntun.
- Select "TELLUR Shade Mouse" or a similar name from the list of available devices.
- Once paired, the indicator light on the mouse will stop flashing and remain solid for a few seconds before turning off.
Repeat these steps for additional Bluetooth devices on BT2 and BT3 channels.
5. Awọn ilana Iṣiṣẹ
5.1. Yipada Laarin Awọn ẹrọ
To switch between connected devices, simply press the Multi-Device Switch Button. The mouse will cycle through the 2.4GHz channel and the three Bluetooth channels (BT1, BT2, BT3).
5.2. Ṣíṣe àtúnṣe Ìfàmọ́ra DPI
Press the DPI Adjustment Button to cycle through the available DPI settings: 800, 1200, 1600, 2400, and 3200 DPI. Each press will change the cursor speed, allowing you to find your preferred sensitivity.
5.3. RGB Lighting Iṣakoso
The mouse features customizable RGB lighting. To change the RGB lighting mode or turn it off, simultaneously press the Forward and Backward buttons located on the side of the mouse. Continue pressing to cycle through different lighting effects or to disable the lighting.

Aworan: Isunmọ view of the TELLUR Shade Wireless Mouse, highlighting the side buttons (Forward and Backward) and the integrated RGB lighting strip.
5.4. Using the Windows Home Button
The dedicated Windows Home Button (often located near the thumb rest) allows for quick desktop access. Pressing this button will minimize all open windows, revealing your desktop. Pressing it again will restore the previously open windows.
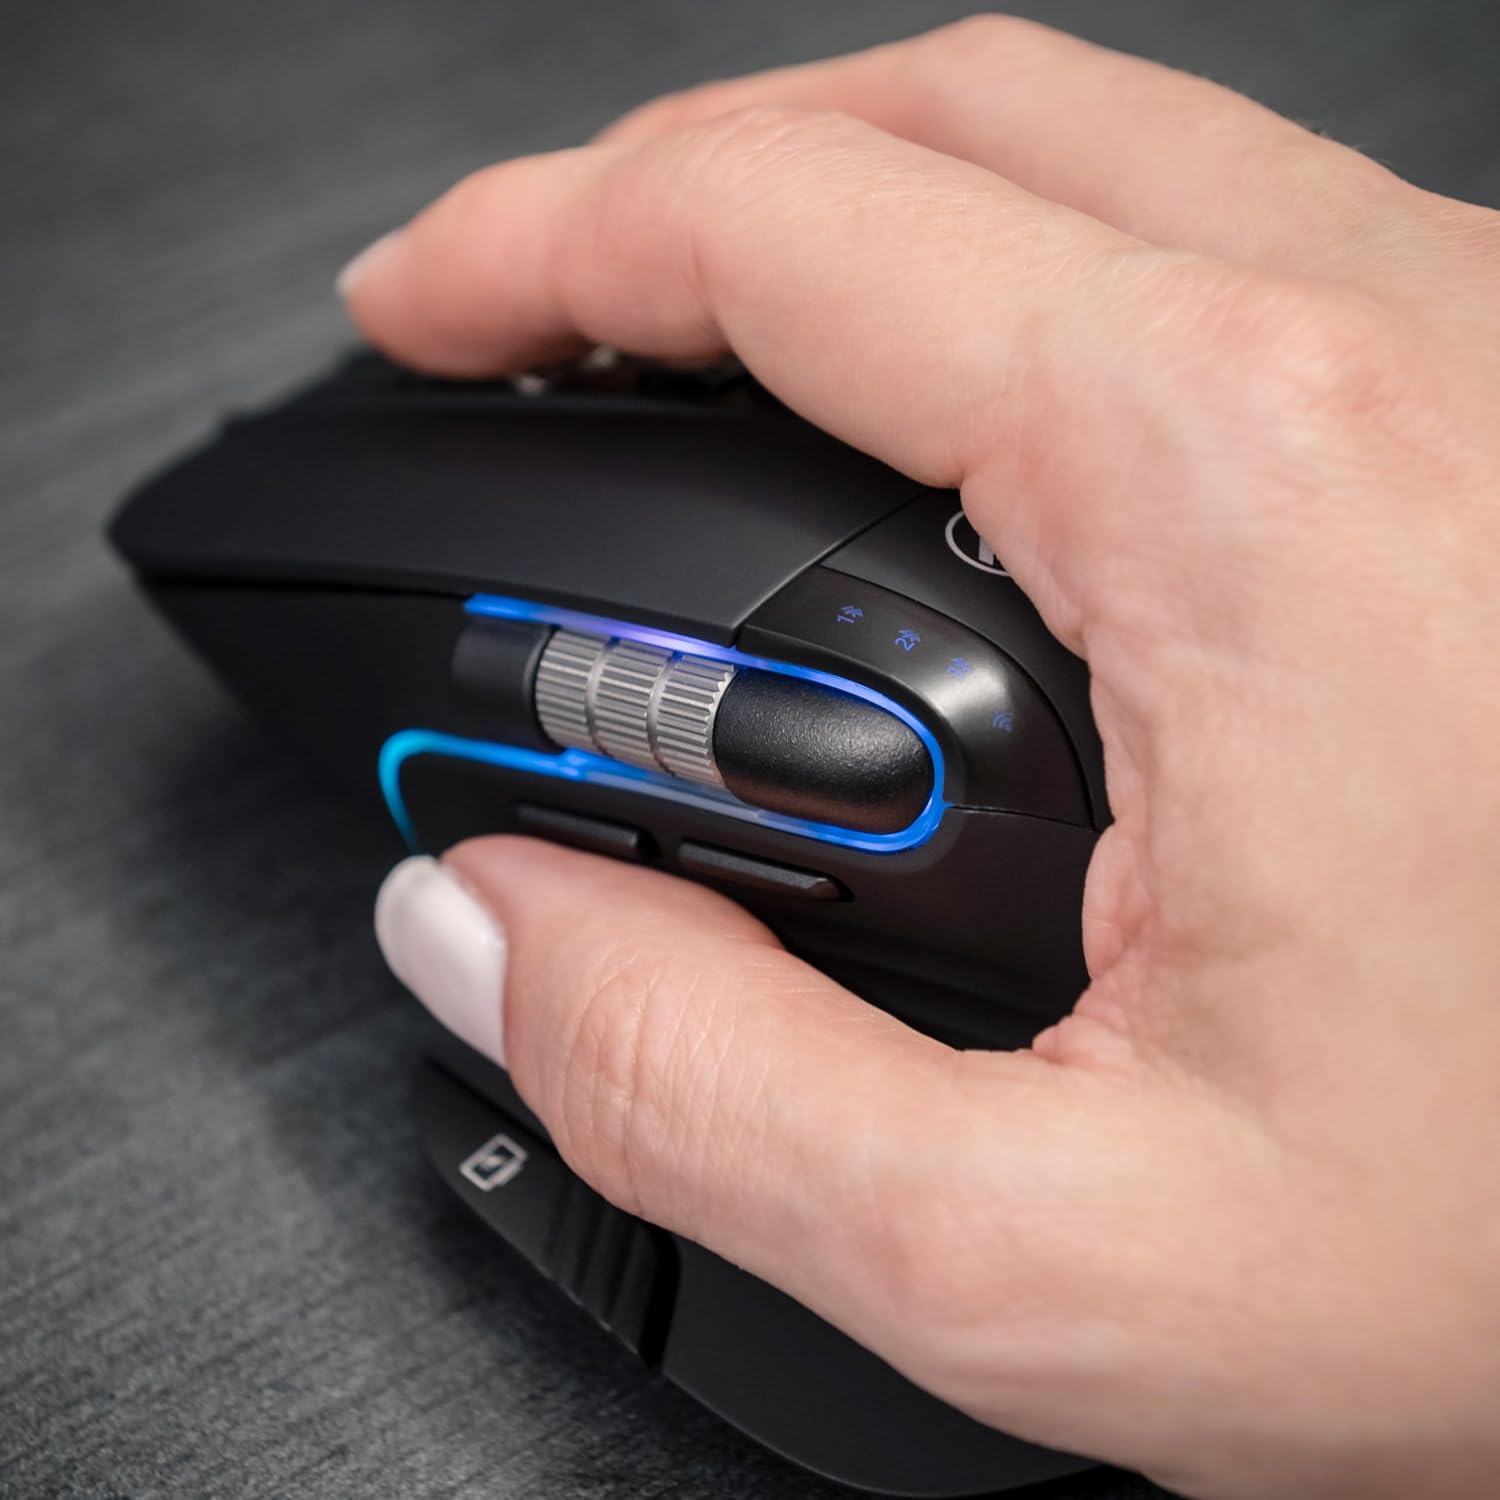
Image: A hand operating the TELLUR Shade Wireless Mouse, demonstrating the ergonomic grip and the placement of the Windows Home button accessible by the thumb.
6. Itọju
- Ninu: Lo asọ asọ ti o gbẹ lati nu asin naa. Fun idoti alagidi, die-die damp asọ le ṣee lo, ṣugbọn rii daju pe ko si ọrinrin ti o wọ inu ẹrọ naa.
- Ibi ipamọ: Tí o kò bá lò ó fún ìgbà pípẹ́, pa áákù náà láti pa bátírì mọ́. Tọ́jú rẹ̀ sí ibi tí ó tutù tí ó sì gbẹ.
- Itọju Batiri: Avoid fully discharging the battery frequently. Recharge when the battery indicator is low.
- Yago fun awọn ipo to gaju: Ma ṣe fi asin naa han si awọn iwọn otutu to gaju, oorun taara, tabi ọriniinitutu giga.
7. Laasigbotitusita
7.1. Asin Ko fesi
- Rii daju pe asin naa ti tan.
- Ṣayẹwo ipele batiri ki o gba agbara si Asin ti o ba jẹ dandan.
- Verify that the correct connection channel (2.4GHz, BT1, BT2, or BT3) is selected using the Multi-Device Switch Button.
- For 2.4GHz connection, ensure the Nano receiver is securely plugged into a working USB port. Try a different USB port.
- For Bluetooth connection, ensure Bluetooth is enabled on your device and try re-pairing the mouse.
- Tun kọmputa rẹ tabi ẹrọ bẹrẹ.
7.2. Ìsopọ̀ Lẹ́ẹ̀kan síi
- Rii daju pe Asin wa laarin iwọn to munadoko (to awọn mita 10).
- Din kikọlu silẹ lati awọn ẹrọ alailowaya miiran (fun apẹẹrẹ, awọn olulana Wi-Fi, awọn ẹrọ Bluetooth miiran).
- Yẹra fún lílo àsíìsì lórí àwọn ohun èlò irin, èyí tí ó lè dí àwọn àmì aláìlókùn lọ́wọ́.
7.3. Awọn ọrọ Iṣagbeka Kọsọ
- Nu sensọ opitika lori isalẹ ti Asin.
- Lo awọn Asin lori mimọ, dada ti kii ṣe afihan tabi paadi asin kan.
- Adjust the DPI setting using the DPI Adjustment Button.
7.4. Imọlẹ RGB Ko Ṣiṣẹ
- Rii daju pe asin naa ti tan.
- Press the Forward and Backward buttons simultaneously to cycle through lighting modes or to turn it on if it was previously off.
- Check battery level; low battery might disable RGB lighting to conserve power.
8. Awọn pato
| Brand | TELLUR |
| Orukọ awoṣe | TLL491261 |
| Nọmba awoṣe | 491261 |
| Asopọmọra Technology | Bluetooth, 2.4GHz Wireless (via Nano receiver) |
| Aṣayan Iṣipopada | Opitika |
| DPI ifamọ | 800/1200/1600/2400/3200 DPI |
| Nọmba ti Awọn bọtini | 8 (including silent click, DPI, multi-device switch, forward/backward, horizontal scroll, Windows Home) |
| Ọwọ Iṣalaye | Ambidextrous |
| Pataki Awọn ẹya ara ẹrọ | Silent Click, RGB Light, Multi-device (4 devices), Lightweight, Portable |
| Awọn ẹrọ ibaramu | Personal Computer, Laptop, Smartphones, Tablets |
| Awọn ọna System Support | Windows, Mac, iOS, Android, Linux |
| Alailowaya Ibiti | Ti o to awọn mita 10 |
| Orisun agbara | Agbara Batiri (Agba agbara nipasẹ USB-C) |
| Batiri Apapọ Life | O fẹrẹ to awọn ọjọ 20 |
| Ohun elo | Ṣiṣu |
| Iwọn Nkan | 0.29 kilo |
9. Atilẹyin ọja ati Support
For warranty information and technical support, please refer to the warranty card included with your product or visit the official TELLUR webojula. Tọju iwe-ẹri rira rẹ bi ẹri rira fun eyikeyi awọn ibeere atilẹyin ọja.
Alaye olubasọrọ fun atilẹyin ni a le rii nigbagbogbo lori ile-iṣẹ olupese webaaye tabi lori apoti ọja.