
Syncwire SW-EVP826
Syncwire 11 kW 3-Phase EV Charger (Model SW-EVP826) Instruction Manual
Your guide to safe and efficient electric vehicle charging.
1. Ifihan
Thank you for choosing the Syncwire 11 kW 3-Phase EV Charger. This portable charging cable is designed to provide efficient and reliable charging for your electric vehicle. This manual contains important information regarding the safe operation, installation, and maintenance of your charger. Please read it thoroughly before use and retain it for future reference.
2. Awọn Ilana Aabo pataki
Nigbagbogbo tẹle awọn iṣọra aabo ipilẹ nigba lilo awọn ọja itanna lati dinku eewu ina, mọnamọna, ati ipalara ti ara ẹni.
- Ka gbogbo awọn ilana: Familiarize yourself with the charger's functions and safety warnings.
- Fifi sori ẹrọ daradara: Ensure the 3-phase CEE industrial plug is connected to a compatible 400V industrial socket with appropriate grounding and circuit protection. Installation should be performed by a qualified electrician if you are unsure.
- Yago fun ifihan omi: While the charger box is IP66 rated and the EV plug is IP54 rated, avoid submerging the unit in water. Do not operate if the charger or cables are wet or damaged.
- Ṣayẹwo fun ibajẹ: Before each use, inspect the charger, cables, and connectors for any signs of damage. Do not use if any part is damaged.
- Awọn ọmọde ati awọn ohun ọsin: Keep the charger and cables out of reach of children and pets during operation and storage.
- Afẹfẹ: Ensure adequate ventilation around the charger during operation. Do not cover the unit.
- Iduro pajawiri: In case of an emergency, immediately disconnect the charger from the power source and the vehicle.
3. Package Awọn akoonu
Jẹrisi pe gbogbo awọn ohun kan wa ninu package:
- Syncwire 11 kW 3-Phase EV Charger with Type 2 connector and 3-Phase CEE Industrial Plug
- Dimu USB
- Apo ipamọ
- Afowoyi Olumulo (iwe-ipamọ yii)

Aworan 3.1: The Syncwire 11 kW 3-Phase EV Charger, including the main control box, Type 2 charging cable, 3-phase CEE industrial plug, cable holder, and storage bag.
4. Ọja Ipariview
The Syncwire 11 kW EV Charger features a robust control box with an LCD display, a Type 2 charging connector for your vehicle, and a 3-phase CEE industrial plug for the power source. The control box manages the charging process, displays real-time information, and allows for adjustable settings.

Aworan 4.1: A alaye view of the 3-phase CEE industrial plug (5-pin, 62mm diameter) required for 11 kW charging. The image also illustrates the significantly faster charging speed (3X) compared to a standard 3 kW charger.
5. Eto
5.1 Asopọ agbara
- Ensure your electrical installation has a compatible 400V, 3-phase industrial socket (CEE 5-pin) with adequate circuit protection (e.g., 16A or higher).
- Plug the 3-phase CEE industrial plug of the charger securely into the industrial socket.
- The charger's LCD display should illuminate, indicating it is powered on.
5.2 Cable Holder Installation (Optional)
The included cable holder can be mounted on a wall near your charging location to keep the cable organized and prevent tripping hazards.
- Yan ibi tó yẹ lórí ògiri tó lágbára.
- Use appropriate screws and wall anchors (not included) to secure the cable holder.
- Hang the Type 2 connector and coil the cable neatly around the holder when not in use.

Aworan 5.1: An teleample of an organized charging setup using the cable holder (left) compared to a disorganized setup without it (right).
6. Awọn ilana Iṣiṣẹ
6.1 Initiating Charging
- Rii daju pe ṣaja ti sopọ daradara si orisun agbara.
- Open the charging port cover on your electric vehicle.
- Insert the Type 2 connector firmly into your vehicle's charging port. A click sound usually indicates a secure connection.
- The charger will perform a self-check, and charging should begin automatically. The LCD display will show charging status, current, and energy delivered.
6.2 Ṣíṣe àtúnṣe sí ìṣàn agbára gbigba agbára
You can adjust the charging current to suit your needs or the capacity of your electrical system. The available current settings are 6A, 8A, 10A, 13A, and 16A.
- Before connecting to the vehicle, or during charging if your vehicle supports it, press the 'Current Adjustment' button on the control box.
- Cycle through the available current options (6A, 8A, 10A, 13A, 16A) until your desired setting is displayed on the LCD.
- The charger will automatically adjust to the selected current.
6.3 Scheduled Charging (Timer Function)
The charger allows you to set a delayed start time for charging, from 0 to 5 hours.
- With the charger connected to the power source but not yet to the vehicle, or before charging starts, press the 'Timer' button on the control box.
- Each press will increase the delay by one hour, up to a maximum of 5 hours.
- Once the desired delay is set, connect the charger to your vehicle. Charging will commence after the set delay.

Aworan 6.1: The charger's LCD display illustrating the options for adjustable current (6A-16A) and scheduled charging (0-5 hours delay).
6.4 Lílóye Ìfihàn LCD
The LCD display provides real-time information about the charging process:
- Agbara gbigba agbara: Displays the current power in kW.
- Energy Delivered: Shows the total energy transferred in kWh.
- Akoko gbigba agbara: Indicates the elapsed charging duration.
- Eto lọwọlọwọ: Shows the selected charging current (e.g., 16A).
- Awọn Atọka Ipo Icons for power, connection, and error messages.
6.5 Ending Charging
- Stop the charging process via your vehicle's interface or by pressing the stop button on the charger (if available).
- Disconnect the Type 2 connector from your vehicle's charging port.
- Disconnect the 3-phase CEE industrial plug from the power source.
- Store the cable neatly using the cable holder and in the provided storage bag.
7. Itọju
7.1 Ninu
Regular cleaning helps maintain the charger's performance and longevity.
- Always disconnect the charger from both the power source and the vehicle before cleaning.
- Wipe the control box and cables with a soft, damp asọ. Ma ṣe lo awọn kẹmika lile, awọn nkanmimu, tabi awọn afọmọ abrasive.
- Ensure connectors are free of dust and debris. Use protective caps when not in use.
7.2 Ibi ipamọ
When not in use, store the charger in a dry, clean, and temperate environment.
- Coil the cable neatly and use the provided storage bag for protection.
- Yago fun titoju ni taara imọlẹ orun tabi awọn iwọn otutu to gaju.

Aworan 7.1: The Syncwire EV charger neatly stored in its compact, waterproof PU fabric storage bag, suitable for transport in a car trunk.
8. Laasigbotitusita
If you encounter issues with your Syncwire EV Charger, refer to the following common problems and solutions:
| Isoro | Owun to le Fa | Ojutu |
|---|---|---|
| Ṣaja ko ṣiṣẹ lori | No power from the industrial socket; loose connection. | Check the industrial socket for power; ensure the CEE plug is fully inserted. |
| Gbigba agbara ko bẹrẹ | Type 2 connector not fully inserted; vehicle not ready to charge; scheduled charging delay active. | Ensure Type 2 connector is secure; check vehicle's charging status; verify scheduled charging settings. |
| Gbigba agbara duro lairotẹlẹ | Overcurrent/overheating protection activated; vehicle fault; power interruption. | Disconnect and reconnect; check for error codes on LCD; ensure adequate ventilation; consult vehicle manual. |
| Ifiranṣẹ aṣiṣe lori LCD | Internal fault; connection issue; specific error condition. | Note the error code and refer to the Syncwire support for assistance. Try disconnecting and reconnecting. |
If the problem persists after attempting these solutions, please contact Syncwire customer support.
9. Awọn pato
| Ẹya ara ẹrọ | Ẹ̀kúnrẹ́rẹ́ |
|---|---|
| Nọmba awoṣe | SW-EVP826 |
| Gbigba agbara agbara | Up to 11 kW (3-Phase) |
| Iṣagbewọle Voltage | 400 Volt (AC) |
| O wujade Voltage | 400 Volt (AC) |
| Ti isiyi Rating | Adjustable: 6A, 8A, 10A, 13A, 16A |
| USB Ipari | 5.5 mita |
| EV Connector Type | Iru 2 |
| Power Plug Iru | 3-Phase CEE Industrial Plug |
| IP Rating (Control Box) | IP66 (Mabomire & Ko eruku) |
| IP Rating (EV Plug) | IP54 |
| Iwọn Nkan | 3.91 kilo |
| Awọn iwọn otutu ti nṣiṣẹ | Refer to product packaging for specific range. |
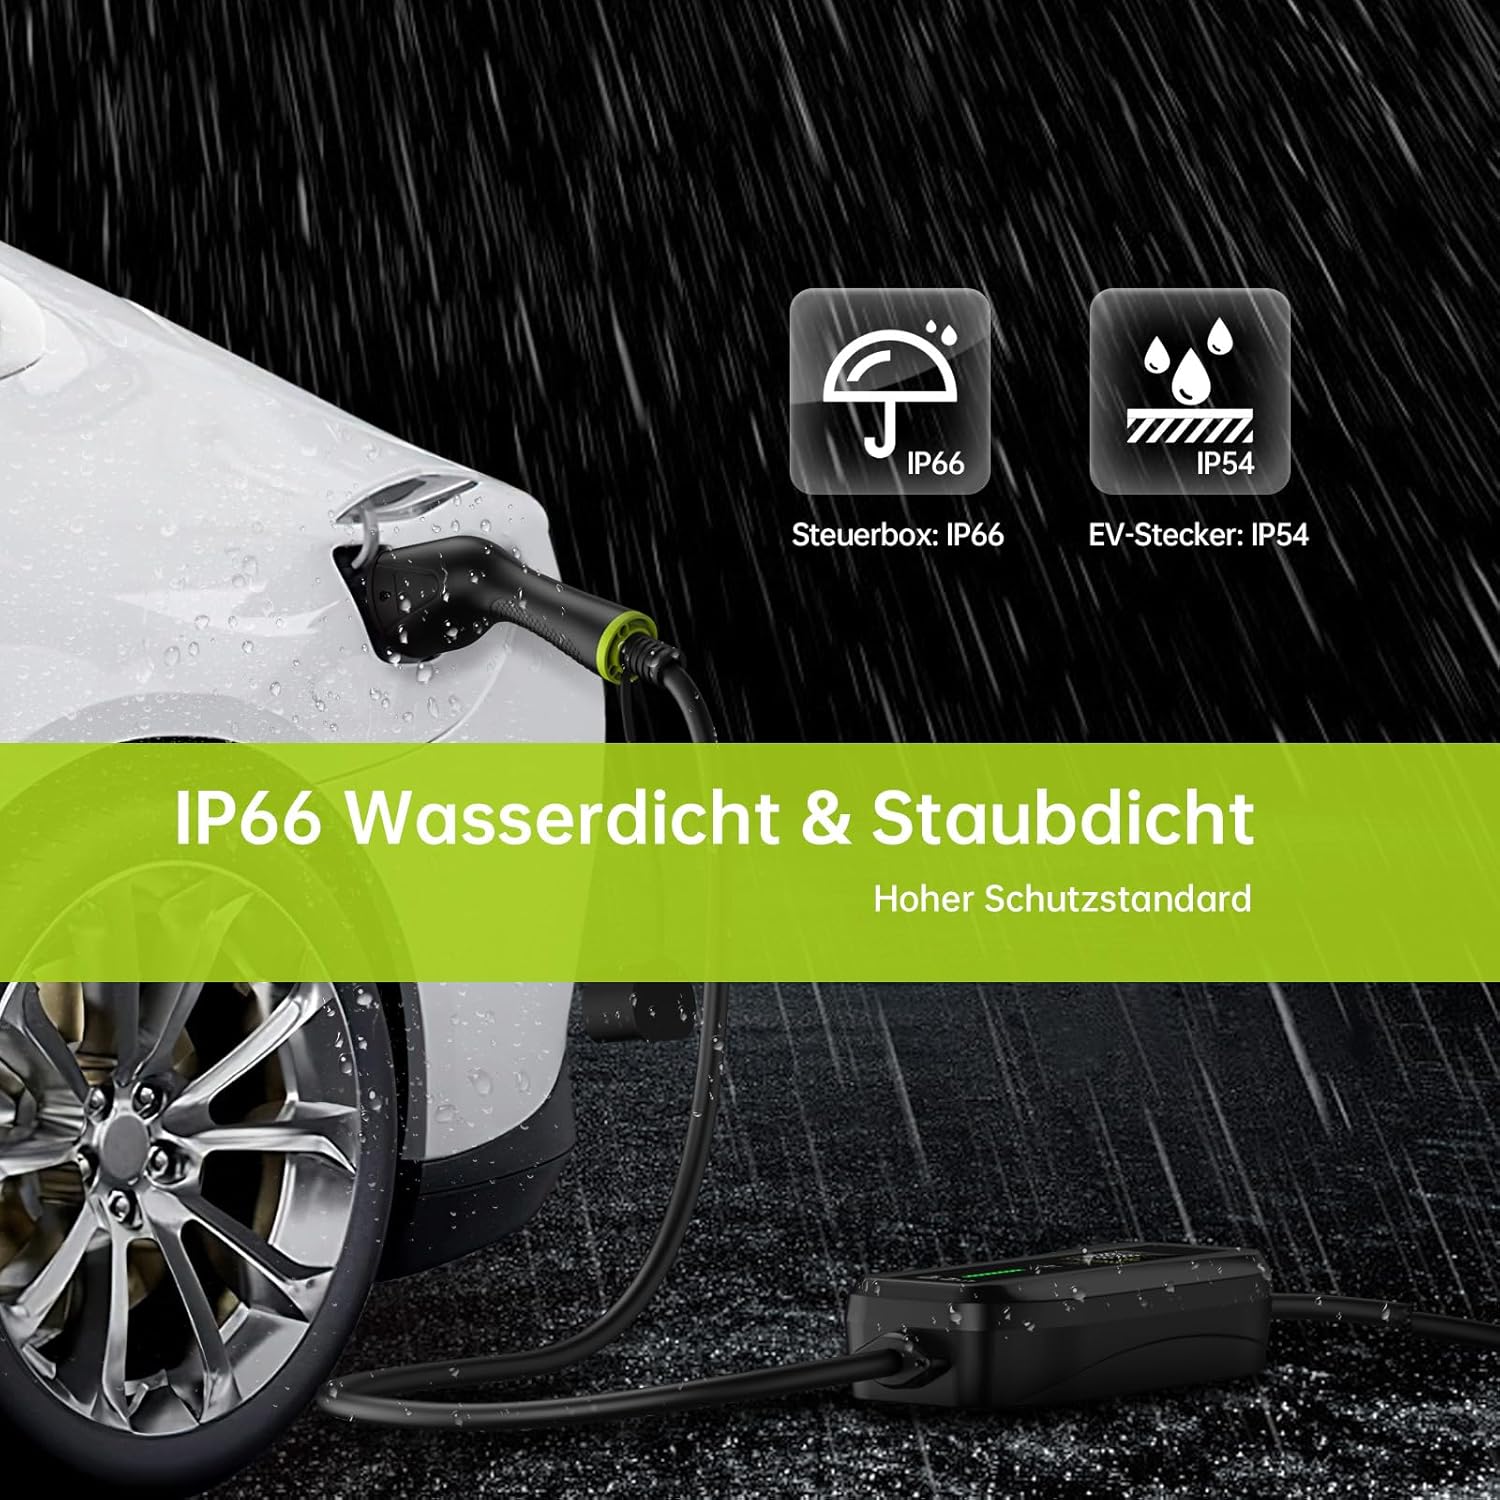
Aworan 9.1: The Syncwire EV charger demonstrating its IP66 waterproof and dustproof rating for the control box and IP54 rating for the EV plug, suitable for outdoor use.
10. Ibamu Ọkọ
The Syncwire 11 kW 3-Phase EV Charger with a Type 2 connector is compatible with a wide range of electric vehicles. Below is a list of commonly compatible brands and models:

Aworan 10.1: A visual representation of various electric vehicle brands and models compatible with the Type 2 EV charger, including Tesla, Volkswagen, Renault, Hyundai, Peugeot, Kia, BMW, Smart, Audi, Fiat, Nissan, Opel, Skoda, Mercedes-Benz, Mini, Dacia, MG, Polestar, Ford, Jaguar, and Porsche.
- Tesla: Model 3/Model Y/Model S/Model X
- Volkswagen: ID.3/ID.4/ID.5/e-UP!/e-Golf
- Renault: ZOE/Twingo/Megane E-Tech
- Hyundai: Kona/IONIQ 5/IONIQ
- Peugeot: e-208/e-2008/e-Expert
- Kia: Niro/Soul EV (39/64 KWH)/EV6
- BMW: i3/iX3/i4/i7/i8/X1
- Ọgbọn: EQ Fortwo/EQ Forfour
- Audi: e-Tron/Q4 e-Tron/e-Tron GT
- Fiat: 500e
- Nissan: Leaf/Ariya
- Opel: Corsa-E/Mokka-E
- Skoda: Enyaq/Citigo
- Mercedes-Benz: EQA/EQC/EQB/EQV/EQS
- Kekere: MINI Cooper SE
- Dacia: Orisun omi
- MG: Zs/Marvel R/5
- Polestar: 2
- Ford: Mustang Mach-E
- Jaguar: I-Pace
- Porsche: Taycan
Note: This list is not exhaustive. Always confirm your vehicle's charging port type (Type 2) before use.
11. Atilẹyin ọja ati Support
11.1 atilẹyin ọja Alaye
Syncwire products are manufactured to high-quality standards. For specific warranty details, including coverage period and terms, please refer to the warranty card included with your purchase or visit the official Syncwire webojula. Jeki ẹri rira rẹ fun awọn iṣeduro atilẹyin ọja.
11.2 Onibara Support
If you have any questions, require technical assistance, or need to report an issue with your Syncwire 11 kW 3-Phase EV Charger, please contact Syncwire customer support through the following channels:
- Webojula: Visit the official Syncwire webojú òpó wẹ́ẹ̀bù fún àwọn ìbéèrè tó ń fa ìbéèrè, àwọn ohun èlò ìrànlọ́wọ́, àti àwọn fọ́ọ̀mù ìbánisọ̀rọ̀.
- Imeeli: Refer to your product packaging or the Syncwire webAaye fun atilẹyin alabara adirẹsi imeeli.
- Purchase Platform: For issues related to your order, you may also contact the seller directly through the platform where you made your purchase.
Ask a question about this manual
Ask about setup, troubleshooting, compatibility, parts, safety, or missing instructions. Manuals+ will review the question and use this page’s manual context to help answer it.