Ọrọ Iṣaaju
The Yada ROADCAM AI PLUS is an advanced dashcam system designed to enhance road safety and provide comprehensive recording of your journeys. This system includes a TRUE 4K front dashcam and a 1080p rear camera, offering extensive coverage. It features AI driver assistance, G-sensor event recording, and integrated GPS for detailed journey tracking. This manual provides essential information for the proper installation, operation, and maintenance of your device.
Package Awọn akoonu
Jọwọ rii daju pe gbogbo awọn ohun ti a ṣe akojọ si isalẹ wa ninu apo rẹ:
- Yada ROADCAM AI PLUS Front Dashcam
- Rear Camera (1080p)
- Power Cable (USB connectivity)
- Front Camera Windshield Mount
- Rear Camera License Plate Mount
- Ru Kamẹra Asopọ USB
- Itọsọna olumulo
Alaye Aabo
Read all safety instructions before using the device to prevent injury or damage. Keep the device away from water and extreme temperatures. Do not attempt to disassemble or repair the device yourself. Ensure cables are routed safely and do not obstruct the driver's view tabi awọn iṣakoso ọkọ.
Ṣeto
1. Front Dashcam Installation
- Clean the windshield area where the dashcam will be mounted.
- Attach the windshield mount to the dashcam.
- Peel off the protective film from the adhesive pad on the mount.
- Tẹ oke naa ṣinṣin sori afẹfẹ afẹfẹ, ni idaniloju pe ko ṣe idiwọ rẹ view. Position it centrally, behind the rearview mirror if possible.
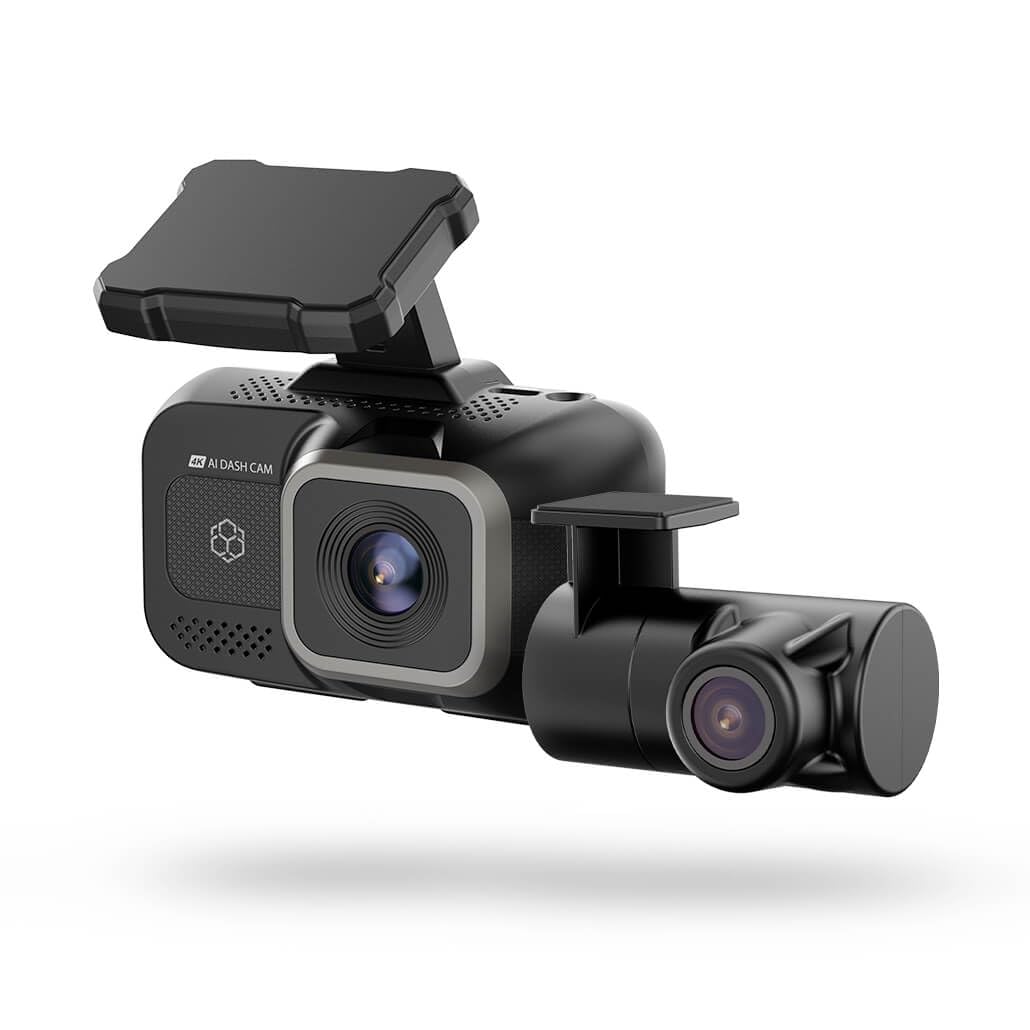
Image: The Yada ROADCAM AI PLUS Front Dashcam shown mounted on a car windshield, illustrating its compact design and placement.
2. Ru kamẹra fifi sori
- The rear camera is designed for license plate mounting. Securely attach the rear camera to your vehicle's license plate area using the provided mount and hardware.
- Route the rear camera connection cable from the rear of the vehicle to the front dashcam. Ensure the cable is tucked away neatly and does not interfere with vehicle operation or passenger movement.
- Connect the rear camera cable to the designated port on the front dashcam.
3. Asopọ agbara
- Insert a compatible microSD card (not included) into the dashcam's card slot.
- Connect the power cable to the dashcam's USB power input.
- So ìpẹ̀kun kejì okùn agbára náà mọ́ ibi tí agbára 12V ti ọkọ̀ rẹ wà (ibi tí iná sìgá ti ń jó).
- Start your vehicle. The dashcam should power on automatically.
4. Ni ibẹrẹ Oṣo
- Upon first power-on, the dashcam may prompt you to set the date, time, and language. Follow the on-screen instructions using the touch control interface.
- It is recommended to format the microSD card through the dashcam's settings menu before first use to ensure optimal performance.
Awọn ilana Iṣiṣẹ
1. Ipilẹ Gbigbasilẹ
- Gbigbasilẹ Aifọwọyi: The dashcam automatically begins recording when the vehicle's ignition is turned on.
- Gbigbasilẹ Loop: Footage is recorded in continuous loops. When the memory card is full, the oldest unlocked files ti wa ni kọ.
- Gbigbasilẹ pẹlu ọwọ: Press the designated button on the dashcam to manually start or stop recording, or to lock the current recording segment.
2. AI Driver Assistance Features
The AI driver assistance system provides audio alerts to enhance road safety. These features may include:
- Ikilọ Ilọkuro Lane: Alerts if the vehicle drifts out of its lane without signaling.
- Ikilọ Ija Siwaju: Alerts if the vehicle is approaching a preceding vehicle too quickly.
Refer to the dashcam's settings menu to enable or disable specific AI assistance features and adjust their sensitivity.
3. G-Sensor Functionality
The built-in G-sensor detects sudden impacts or rapid acceleration/deceleration. When such an event occurs, the dashcam automatically locks the current video segment, preventing it from being overwritten by loop recording. This ensures critical event footage ti wa ni ipamọ.
4. GPS and Map Features
The integrated GPS module records your vehicle's location, speed, and route data. This information can be viewed alongside your recorded video footage using the dedicated playback software or mobile application, providing a comprehensive review of your journey.
5. App Connectivity (Wireless)
The dashcam supports wireless connectivity, allowing you to connect it to a smartphone or tablet via a dedicated mobile application. Through the app, you can:
- View gbe footage lati mejeji awọn kamẹra.
- Sisisẹsẹhin ti o ti gbasilẹ fidio.
- Ṣe igbasilẹ fidio files si rẹ mobile ẹrọ.
- Adjust dashcam settings.
Download the official Yada Roadcam app from your device's app store and follow the in-app instructions to connect to your dashcam.
Itoju
1. Ninu
- Regularly clean the camera lenses with a soft, dry, lint-free cloth to ensure clear video quality.
- Wipe the dashcam body with a slightly damp cloth if necessary, avoiding direct contact with water or cleaning solutions.
2. Awọn imudojuiwọn famuwia
Periodically check the Yada website or the mobile application for available firmware updates. Keeping your dashcam's firmware up-to-date ensures optimal performance and access to new features.
3. Ibi ipamọ Management
To maintain optimal recording performance, it is recommended to format the microSD card once a month. This can be done through the dashcam's settings menu or via the mobile application. Back up any important files ṣaaju ki o to kika.
Laasigbotitusita
| Isoro | Owun to le Solusan |
|---|---|
| Dashcam ko ni agbara lori. | Ensure the power cable is securely connected to both the dashcam and the vehicle's 12V power outlet. Check if the vehicle's 12V outlet is functioning. |
| Gbigbasilẹ duro lairotẹlẹ. | Check if the microSD card is full or corrupted. Format the card or replace it with a new, compatible one. Ensure the card meets the required speed class. |
| Didara fidio ti ko dara. | Clean the camera lenses. Ensure the protective film has been removed from the lenses. Check video resolution settings. |
| GPS kii ṣe ipasẹ ipo. | Rii daju pe dashcam ni ko o view of the sky. It may take a few minutes for the GPS signal to be acquired, especially after initial setup or in areas with poor signal. |
| Kamẹra ẹhin ko han. | Verify that the rear camera cable is securely connected to both the rear camera and the front dashcam. Check for any damage to the cable. |
Awọn pato
- Orukọ awoṣe: BT533642-6/2
- Front Camera Video Capture Resolution: TRUE 4K
- Rear Camera Video Capture Resolution: 1080p
- Aaye Ti View: Awọn iwọn 150
- Awọn ẹya pataki: Built-In GPS, G-Sensor, AI Driver Assistance
- Imọ-ẹrọ Asopọmọra: USB, Alailowaya
- Iru fifi sori: Windshield Mount (Front), License Plate Mount (Rear)
- Ọna Iṣakoso: Fọwọkan
- Ìwọ̀n Nkan: 1.7 iwon
- Àwọ̀: Dudu
Alaye atilẹyin ọja
Yada products are covered by a limited warranty from the date of purchase. This warranty covers defects in materials and workmanship under normal use. It does not cover damage caused by misuse, accident, unauthorized modification, or external causes. Please retain your proof of purchase for warranty claims. For specific warranty terms and conditions, refer to the warranty card included with your product or visit the official Yada webojula.
Onibara Support
If you encounter any issues or have questions regarding your Yada ROADCAM AI PLUS, please contact our customer support team. You can find contact information, FAQs, and additional resources on the official Yada website. Please have your product model number (BT533642-6/2) and proof of purchase ready when contacting support.