
AOPICK 307C
AOPICK Digital Microscope
Model: 307C - User Manual
1. Alaye Aabo
Please read all instructions carefully before using the AOPICK 307C Digital Microscope. Retain this manual for future reference.
- Ma ṣe tuka tabi yi ẹrọ naa pada. Awọn iyipada laigba aṣẹ le sọ atilẹyin ọja di ofo ati awọn eewu ailewu.
- Jeki ẹrọ naa kuro ni omi, ọrinrin, ati awọn iwọn otutu giga.
- Lo okun gbigba agbara ti a pese nikan ati ohun ti nmu badọgba.
- Avoid direct exposure of the lens to strong light sources, as this may damage the sensor.
- Clean the lens and screen with a soft, lint-free cloth. Do not use abrasive cleaners.
- This device contains a rechargeable battery. Do not expose it to extreme heat or dispose of it in fire.
2. Package Awọn akoonu
Daju pe gbogbo awọn nkan wa ninu apo rẹ:
- AOPICK 307C Digital Microscope
- Microscope Iduro
- Okun Ngba agbara USB
- Itọsọna olumulo
3. Ọja Ipariview
The AOPICK 307C Digital Microscope is designed for detailed observation and analysis. It features a 4.3-inch IPS display, adjustable LED illumination, and PC compatibility.
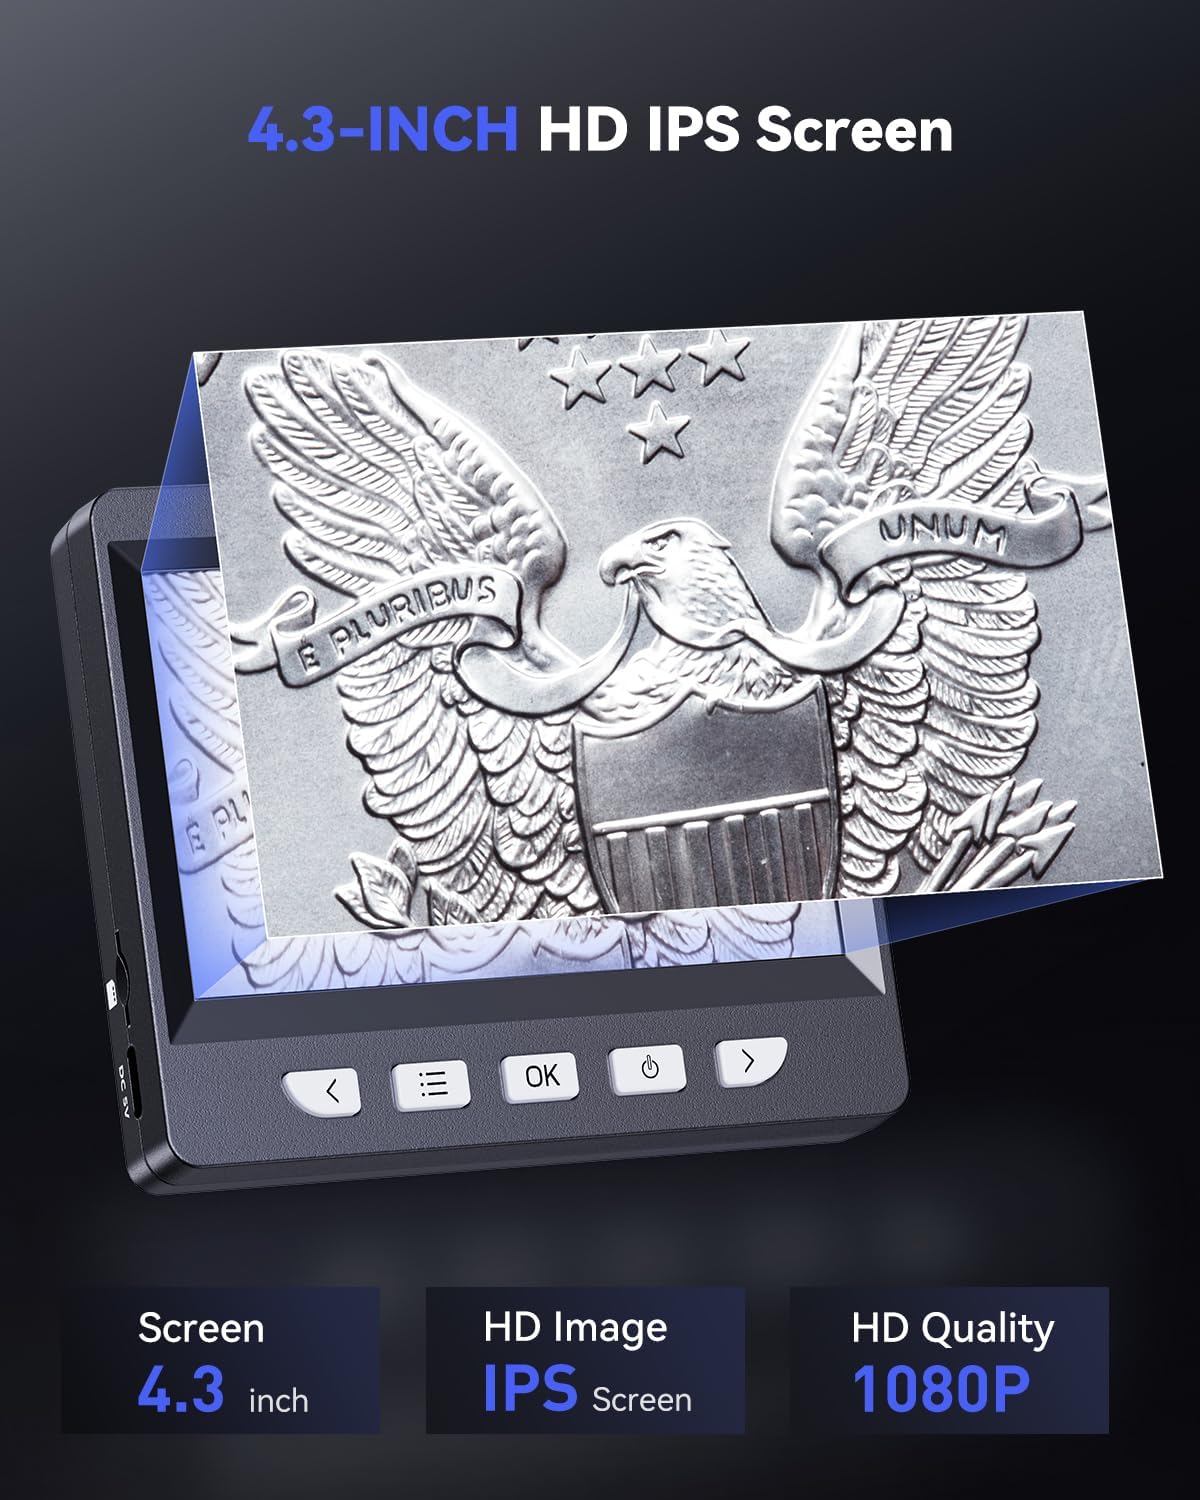
Figure 3.1: The AOPICK 307C Digital Microscope featuring its 4.3-inch HD IPS screen, displaying a magnified coin image. The screen offers 1080P HD quality for clear viewing.
Awọn ẹya pataki:
- 4.3-inch 1080P HD IPS Display: Experience clear real-time images and videos, ideal for education, coin inspection, and repair work.
- 50X to 1000X Magnification: Enlarge fine details of various objects such as coins, jewelry, stamps, and watches. Actual magnification varies based on screen size and object distance.
- MacOS & Windows Compatible: Connect to both MacOS and Windows computers for a larger viewing experience. Capture photos and videos of your observations (TF card not included).
- Àwọn ìmọ́lẹ̀ LED 8 tí a lè ṣàtúnṣe: Built-in LED lights ensure clear observation. Adjust brightness as needed to illuminate subjects with vivid detail.
- Gbigba agbara & Gbigbe: Powered by a rechargeable battery, offering up to 3 hours of operating time. Fully charges in approximately 2 hours, making it suitable for outdoor activities and on-the-go exploration.
- Versatile & Educational: Perfect for circuit board inspection, skin examination, textile industry, biological observation (not suitable for cells), QC inspection, and enhancing interactive learning.
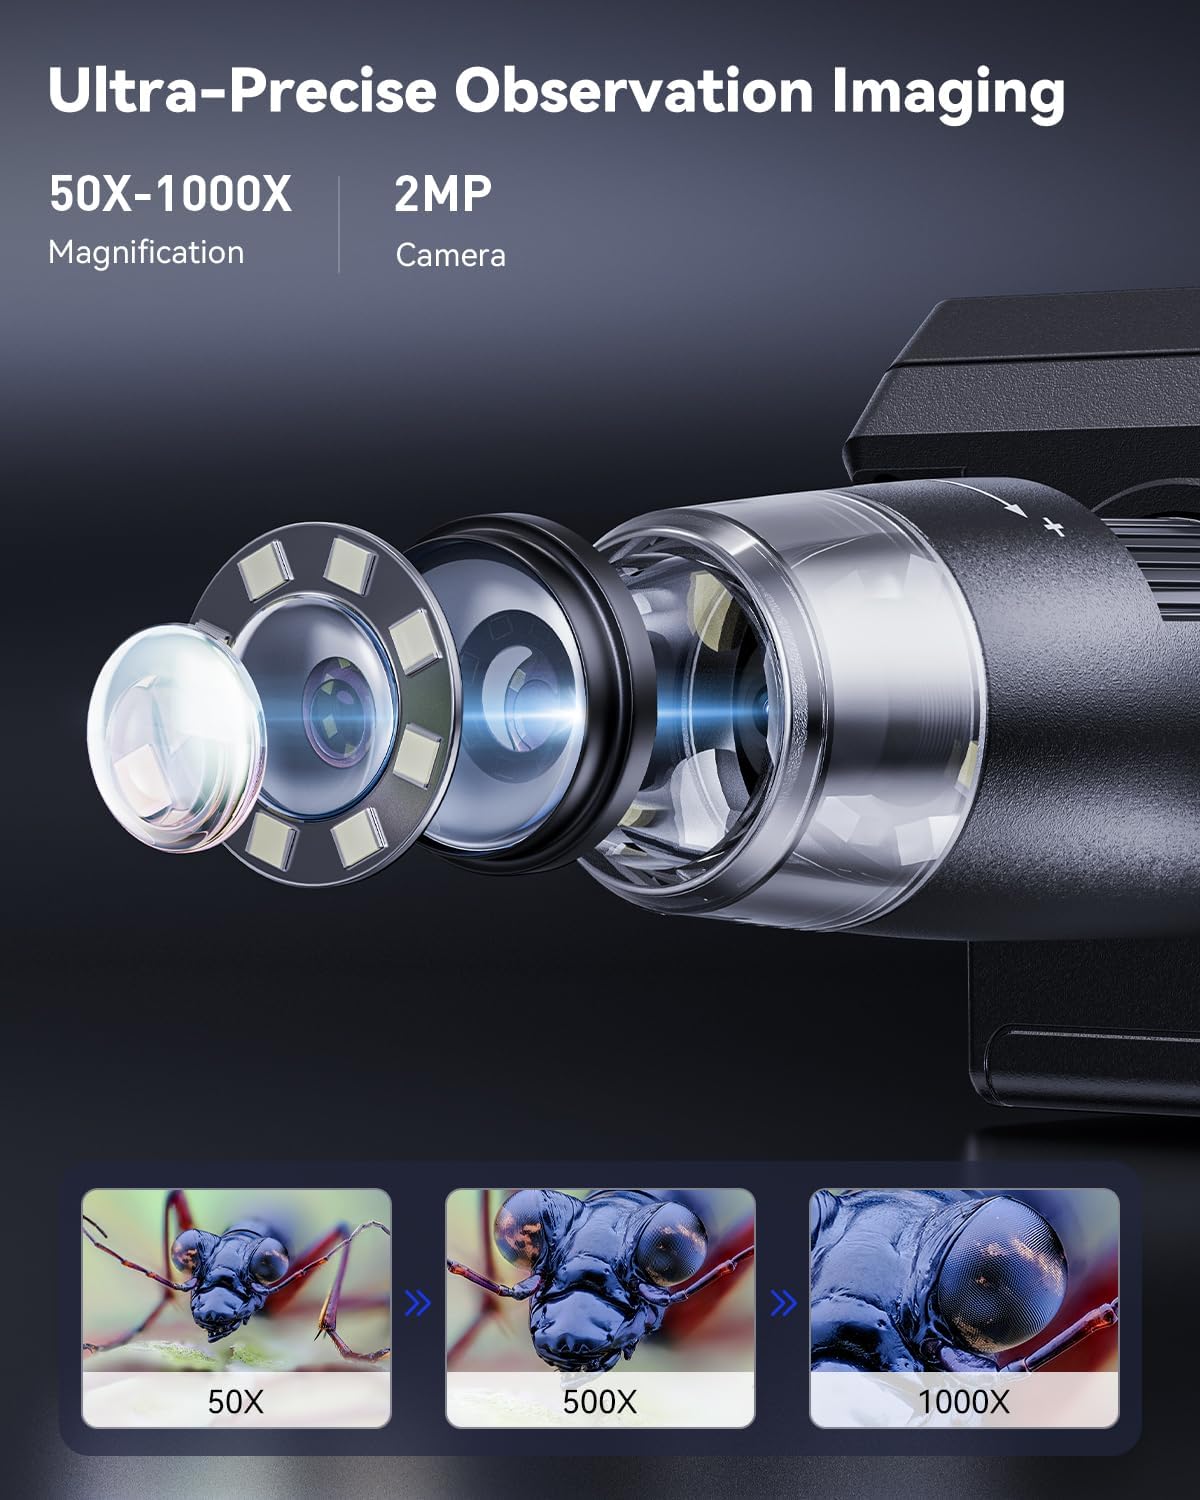
Figure 3.2: Illustration of the microscope's magnification capabilities, showing examples of 50X, 500X, and 1000X views of a small insect, highlighting the ultra-precise observation imaging.
Idanimọ eroja:

Figure 3.3: Detailed diagram illustrating the various button functions and adjustable parts of the AOPICK 307C Digital Microscope, including brightness adjustment, height adjustment, 8 LED lights, TF card slot, and multiplier adjustment.
- Atunse Imọlẹ: Control the intensity of the LED lights.
- Height Adjustment Knob: Adjust the distance between the lens and the object for focusing.
- Awọn imọlẹ LED 8: Provide illumination for clear viewing.
- TF Card Mounting Place: Slot for inserting a TF (MicroSD) card for photo and video storage (card not included).
- Multiplier Adjustment: Fine-tune the magnification level.
4. Eto
4.1 Assembling the Microscope Stand
- Attach the microscope unit to the adjustable arm of the stand. Ensure it is securely fastened.
- Place the assembled microscope on a stable, flat surface.
4.2 Gbigba agbara akọkọ
Before first use, fully charge the microscope's internal battery.
- Connect the USB charging cable to the microscope's charging port.
- So opin miiran ti okun USB pọ si 5V/1A ohun ti nmu badọgba agbara USB (ko si) tabi ibudo USB ti kọnputa kan.
- The charging indicator light will illuminate. Charging typically takes about 2 hours.
- Nígbà tí iná ìtọ́ka bá ti gba agbára tán, ó lè yí àwọ̀ padà tàbí kí ó pa. Gé okùn gbigba agbára náà kúrò.
4.3 Fifi Kaadi TF sii (Aṣayan)
To save photos and videos, a TF (MicroSD) card is required (not included).
- Locate the TF card slot on the microscope unit (refer to Figure 3.3).
- Gently insert the TF card into the slot with the metal contacts facing down until it clicks into place.
- Lati yọ kuro, Titari kaadi naa ni die-die titi yoo fi jade.
5. Awọn ilana Iṣiṣẹ
5.1 Titan / Pa a
- Lati Fi agbara: Press and hold the Power button (usually marked with a power symbol) for a few seconds until the screen illuminates.
- Lati Paarẹ: Tẹ bọtini agbara naa ki o si mu lẹẹkansi titi iboju yoo fi pa.
5.2 Ṣíṣe àtúnṣe Ìmúga àti Ìfojúsùn
- Place the object you wish to observe on the base plate of the stand.
- Use the Height Adjustment Knob on the stand to move the microscope unit up or down, bringing the object into approximate focus.
- Rotate the Multiplier Adjustment ring on the microscope lens to fine-tune the magnification.
- Adjust the focus further by slightly moving the microscope unit or rotating the focus ring on the lens until the image on the screen is clear.
5.3 Siṣàtúnṣe iwọn LED Imọlẹ

Figure 5.1: The microscope's ring fill lights are steplessly dimmable, controlled by a slider for brightness adjustment, allowing users to set minimum to maximum illumination.
Mọ́kírókíró náà ní àwọn ìmọ́lẹ̀ LED mẹ́jọ tí a lè ṣàtúnṣe láti tan ìmọ́lẹ̀ sí ohun tí o fẹ́.
- Locate the Brightness Adjustment control (often a slider or dial) on the microscope unit (refer to Figure 5.1).
- Slide or rotate the control to increase or decrease the LED brightness until optimal illumination is achieved for your observation.
5.4 Yiya Awọn fọto ati Gbigbasilẹ fidio

Figure 5.2: The AOPICK 307C Digital Microscope is capable of recording both pictures and videos, capturing every detail of observations like circuit boards and plant leaves.
Ensure a TF card is inserted before attempting to record.
- Lati Ya fọto: While observing, press the Photo button (usually marked with a camera icon). The screen may flash briefly to indicate a photo has been taken.
- To Record a Video: Press the Video button (usually marked with a video camera icon) to start recording. Press it again to stop recording. A recording indicator (e.g., a red dot or timer) will typically appear on the screen.
- Ti mu files are saved to the TF card.
5.5 Nsopọ mọ PC/Laptop

Figure 5.3: The AOPICK 307C Digital Microscope connected to a laptop, demonstrating its compatibility with both Mac and Windows operating systems for real-time and lag-free viewing.
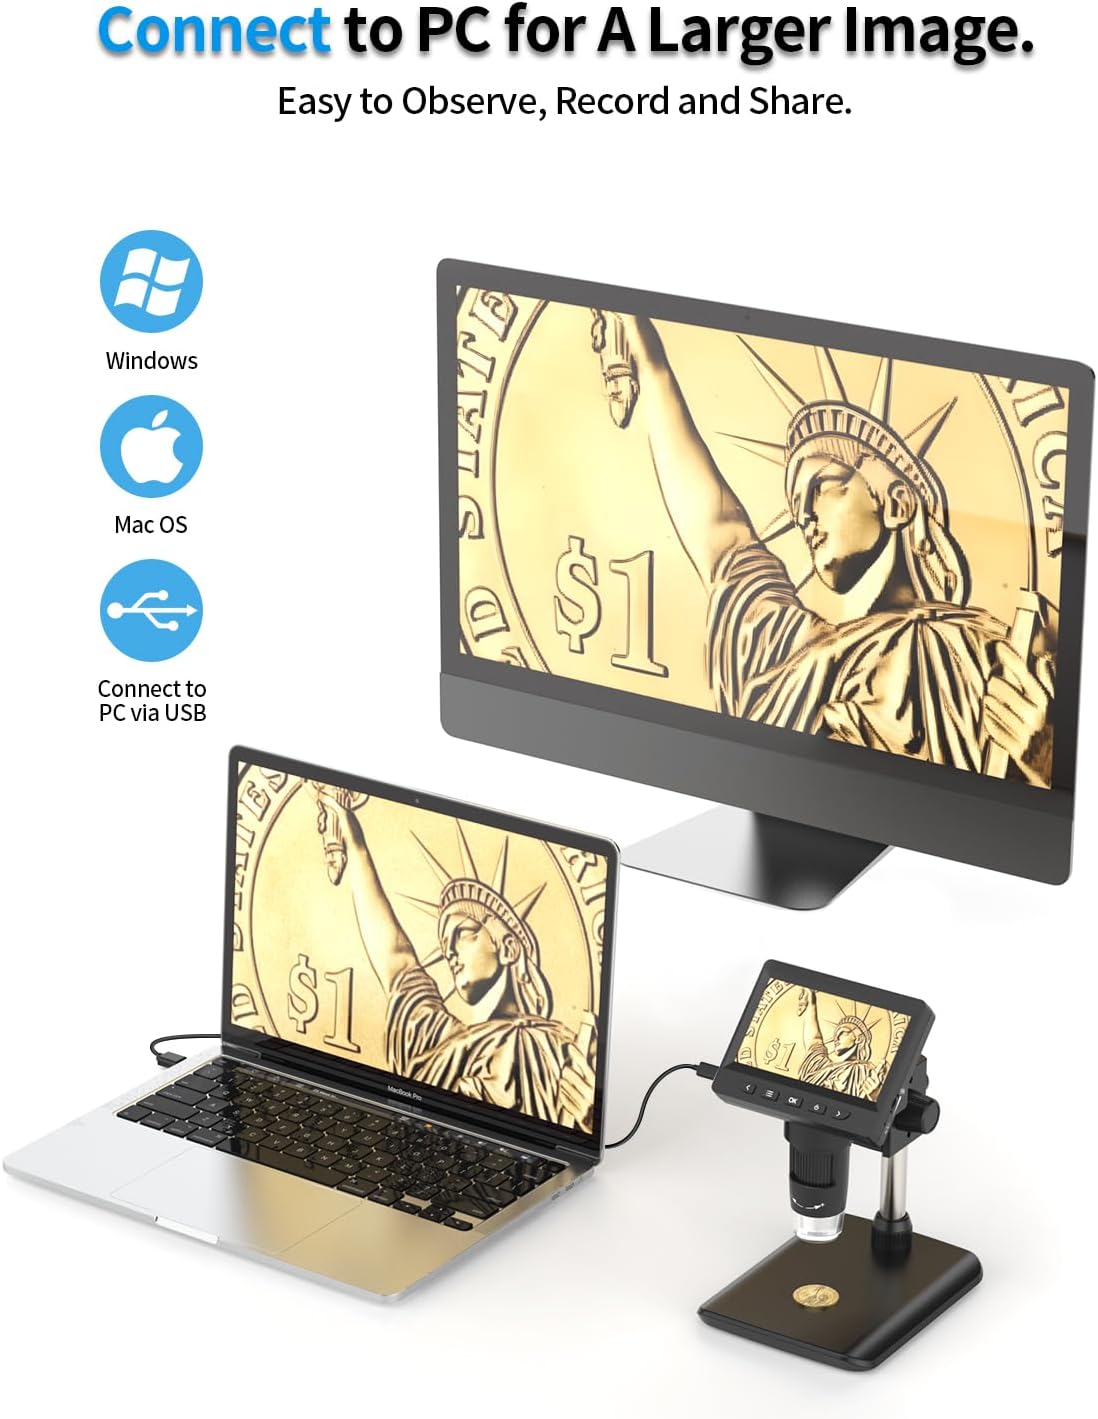
Figure 5.4: The microscope connected to both a PC monitor and a laptop, illustrating how to connect via USB for a larger image, making observation, recording, and sharing easier.
The microscope can be connected to a computer for a larger viewiriri iriri.
- Connect the microscope to your PC or Mac using the provided USB cable.
- The microscope should be recognized as a webcam or imaging device.
- Open a compatible camera application (e.g., Photo Booth on Mac, Camera app on Windows, or third-party microscope software) to view kikọ sii ifiwe.
- You can then use your computer's software to capture images or videos.
6. Itọju
6.1 Ninu ẹrọ naa
- Lẹnsi: Use a soft, clean, lint-free cloth (e.g., microfiber cloth) specifically designed for optical lenses. Gently wipe the lens to remove dust or smudges. For stubborn marks, a small amount of lens cleaning solution can be applied to the cloth, not directly to the lens.
- Iboju: Wipe the LCD screen with a soft, dry cloth. Avoid pressing too hard.
- Ara: Lo die-die damp cloth to wipe the body of the microscope. Ensure no liquid enters any openings.
6.2 batiri Itọju
- Lati pẹ aye batiri, yago fun gbigba agbara si batiri ni kikun nigbagbogbo.
- If storing the microscope for an extended period, charge it to about 50% every few months.
- Ma ṣe fi batiri han si awọn iwọn otutu to gaju.
6.3 Ibi ipamọ
- Store the microscope in a cool, dry place, away from direct sunlight and dust.
- Use the original packaging or a protective case to prevent damage.
7. Laasigbotitusita
| Isoro | Owun to le Fa | Ojutu |
|---|---|---|
| Maikirosikopu ko ni agbara lori. | Batiri ti wa ni idasilẹ. | Charge the microscope for at least 2 hours. |
| Aworan jẹ blurry. | Incorrect focus or magnification. | Adjust the Height Adjustment Knob and Multiplier Adjustment ring until the image is clear. Ensure the object is within the working distance. |
| Screen is too dark/bright. | LED brightness setting is incorrect. | Adjust the Brightness Adjustment control. |
| Ko le fi awọn fọto/fidio pamọ. | Kò sí káàdì TF tí a fi sínú rẹ̀ tàbí káàdì náà ti kún/bàjẹ́. | Insert a TF card. Check if the card has sufficient space or try formatting it (this will erase all data). |
| Ko le sopọ si PC. | Incorrect USB cable or port, or driver issue. | Ensure you are using the correct USB cable. Try a different USB port on your computer. Restart both the microscope and computer. Check your computer's device manager for driver issues. |
8. Awọn pato
| Ẹya ara ẹrọ | Ẹ̀kúnrẹ́rẹ́ |
|---|---|
| Orukọ awoṣe | 307C |
| Brand | AOPIC |
| Ifihan | 4.3-inch IPS LCD |
| Ipinnu | 1080P HD |
| Igbega | 50X - 1000X |
| Imọlẹ Orisun Orisun | LED (8 adjustable lights) |
| Ohun elo | Ṣiṣu |
| Àwọ̀ | Dudu |
| Actual Angle of View | 30 iwọn |
| Awọn ẹrọ ibaramu | PC (Windows, MacOS) |
| Objective Lens Description | Achromatic |
| Orisun agbara | Batiri Agbara (Agba agbara) |
| Awọn irinše to wa | Microscope Iduro |
9. Atilẹyin ọja ati Support
AOPICK products are designed and manufactured to the highest quality standards. For warranty information or technical support, please refer to the contact details provided with your purchase or visit the official AOPICK webojula.
Jọwọ ṣe idaduro ẹri rira rẹ fun eyikeyi awọn ibeere atilẹyin ọja.
Ask a question about this manual
Ask about setup, troubleshooting, compatibility, parts, safety, or missing instructions. Manuals+ will review the question and use this page’s manual context to help answer it.